
- Published on
Best AI Rendering for Cinema 4D: Native or Browser?
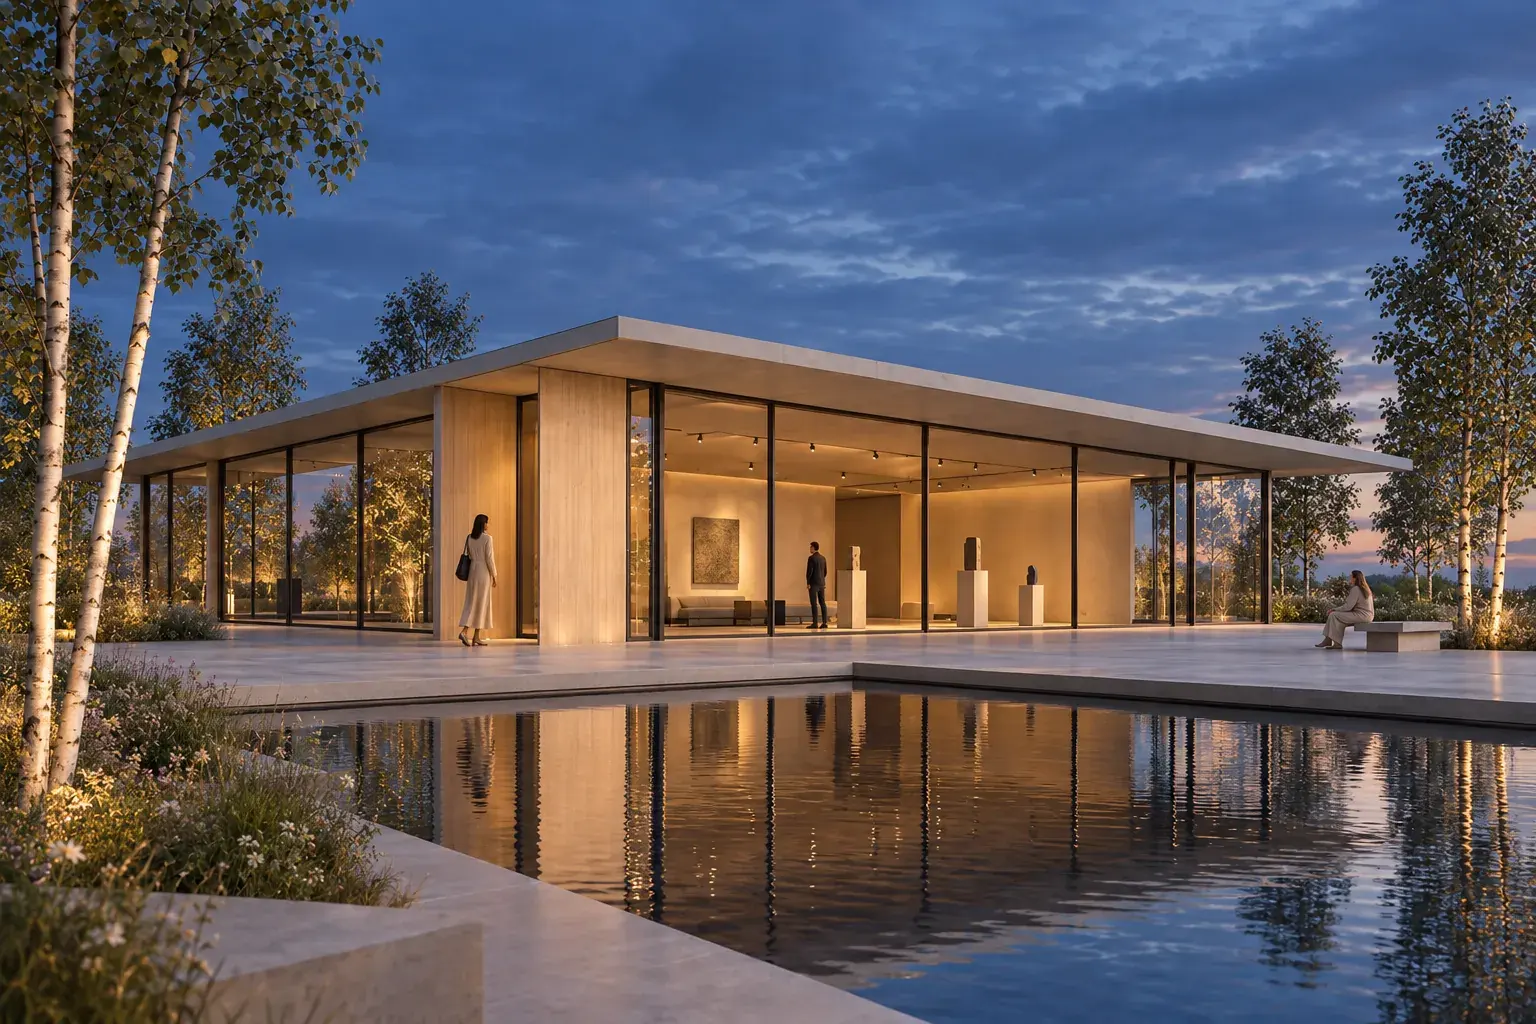
The best AI rendering route for Cinema 4D depends on the scene connection you need. Choose CAD Scene for browser studies across a mixed modeling stack. Choose Redshift for native Cinema 4D production rendering. Choose V-Ray or Corona when Chaos rendering and Veras ideation belong in one workflow. Choose D5 Render for a live-linked real-time scene. Visualizee offers a broader image-first browser route.
There is no universal image-quality winner. Test one fixed camera in two serious candidates. Check scene connection, visible geometry, corrections, delivery controls, and the work needed to approve an image.
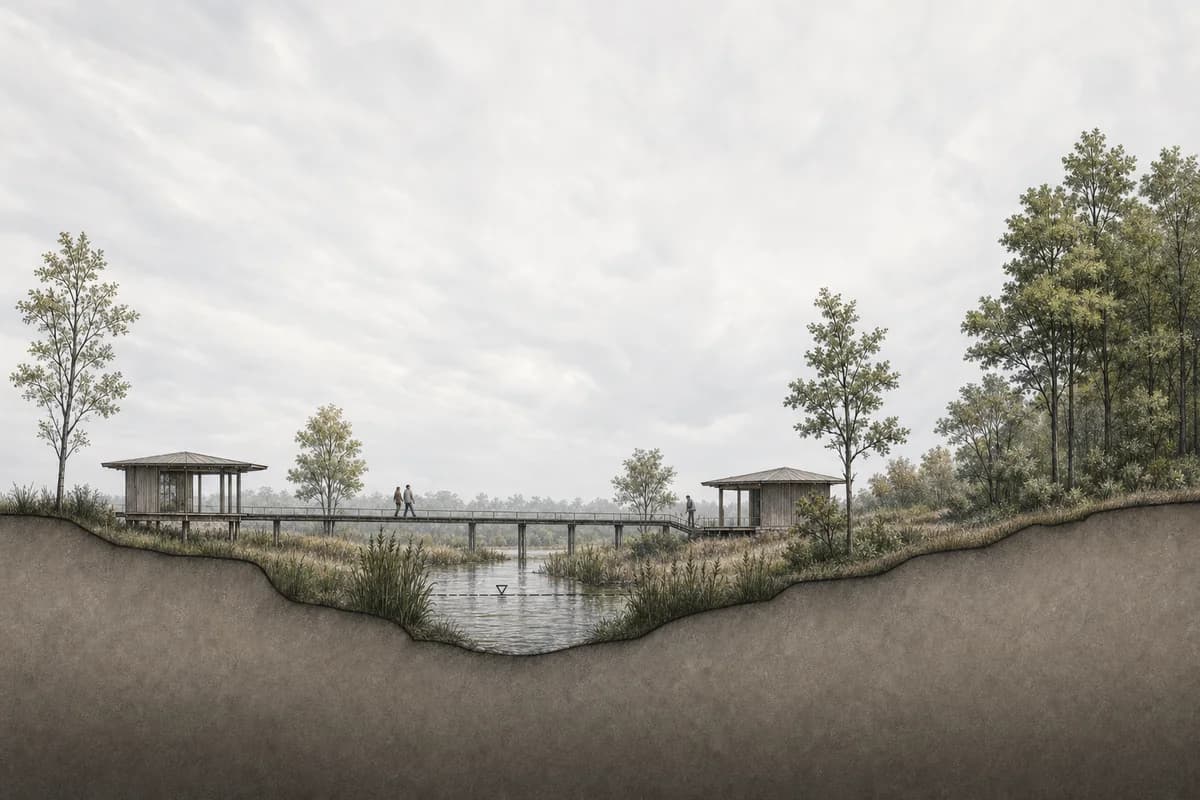
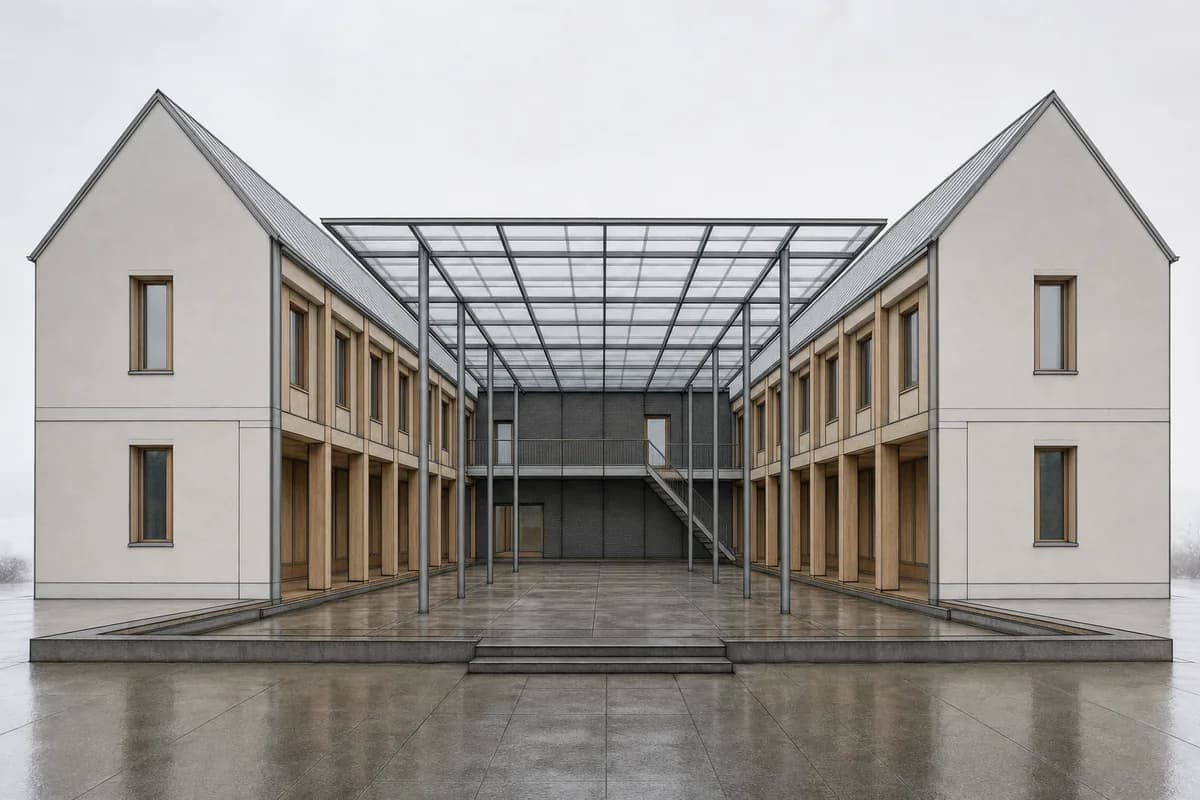
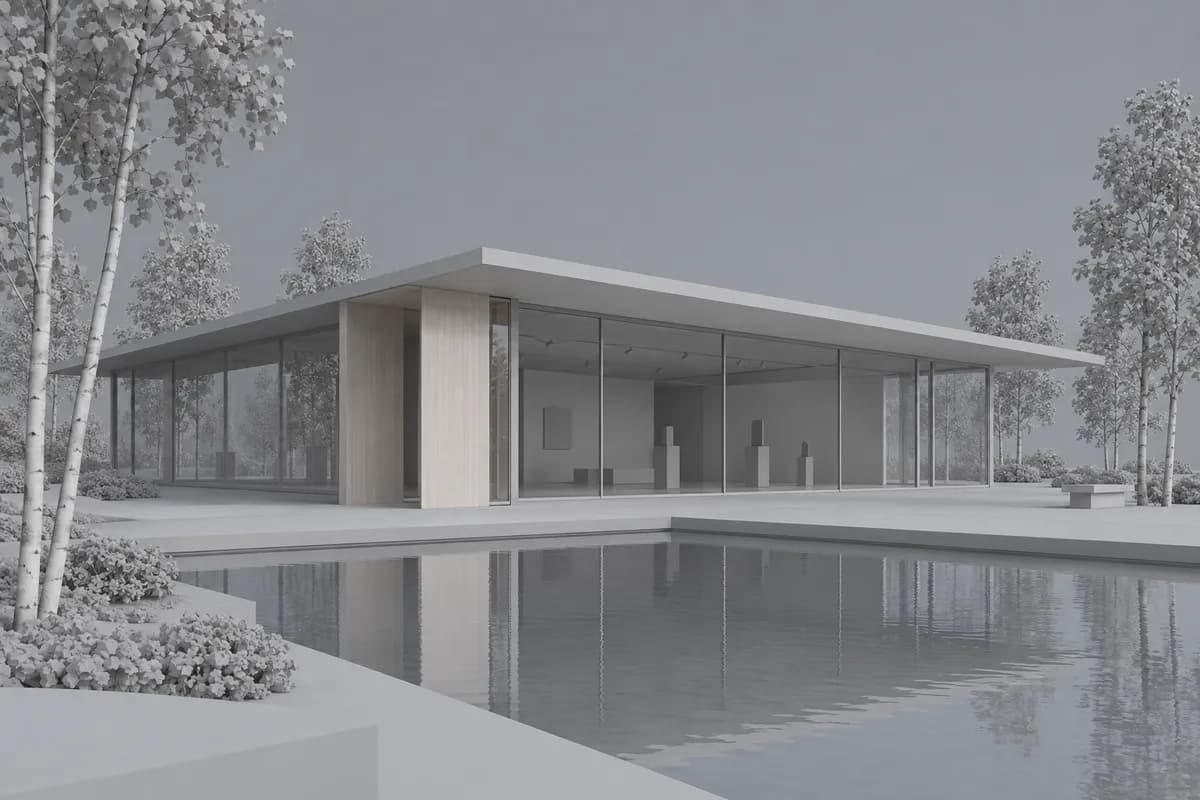 Synthetic source
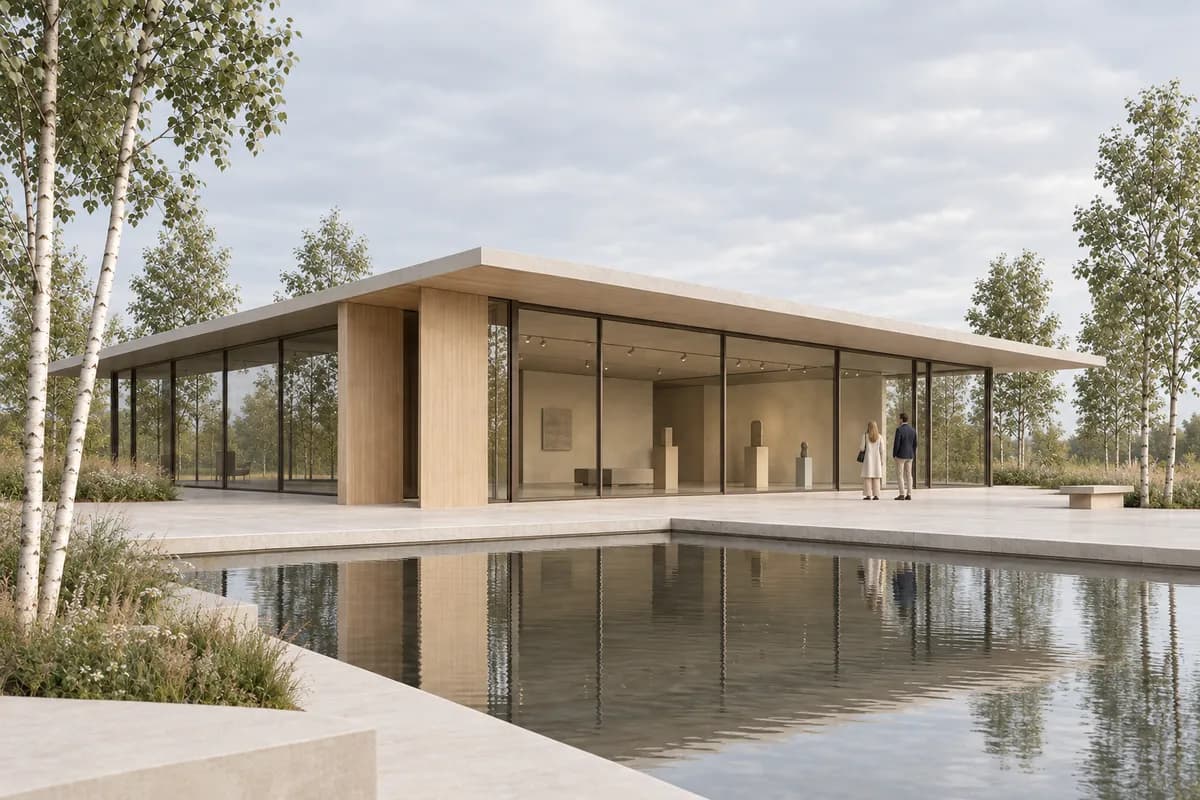 Render study
What is the honest verdict for Cinema 4D users?
Start with the final deliverable. A still-image study needs less scene control than an animation, multipass render, or model-linked revision.
| Decision | Best starting route |
|---|---|
| Mixed modeling stack | CAD Scene browser workbench |
| Native Cinema 4D production | Redshift |
| V-Ray scene plus AI ideation | V-Ray with Veras |
| Architecture-led Corona workflow | Corona with Veras |
| Live-linked real-time scene | D5 Render |
| Broad image-first browser work | Visualizee |
This shortlist is not a renderer directory. Each route solves a different handoff. The broader AI rendering software guide for architects covers team, collaboration, and commercial needs beyond Cinema 4D.
How was this Cinema 4D shortlist researched?
The review uses current official pages accessed on 5 October 2026. It checks Cinema 4D connection, AI features, scene continuity, corrections, and output scope. CAD Scene facts come from current product code and documentation.
This is a desk review. We did not test private competitor accounts. Vendor statements about speed, fidelity, and preservation remain vendor claims. Your own scene is the acceptance test. Unknown behavior stays unknown.
The practical Cinema 4D to AI render workflow owns camera setup, render frames, viewport filters, Picture Viewer, Enhance, and source review. This guide owns the tool choice around that process.
What should a Cinema 4D rendering tool do well?
A useful route should preserve the decisions already made in the scene. It should also support the correction work after the first attractive image.
Check seven things:
- Scene connection. Does it read the
.c4dscene or one exported image? - Camera behavior. Does the result keep the intended crop and perspective?
- Geometry evidence. Can you verify openings, edges, and repeated parts?
- Material control. Do finishes remain linked to scene objects or pixels?
- Lighting control. Are lights measured scene objects or image direction?
- Correction path. Can one issue change without restarting the image?
- Delivery. Does the job require passes, animation, or one approved still?
A long feature list cannot repair the wrong handoff. Judge the accepted deliverable and every step required to reach it.
Which rendering routes fit Cinema 4D workflows?
The strongest choices divide into native production, connected visualization, and portable image workflows.
CAD Scene for mixed-stack browser studies
CAD Scene starts from an exported Cinema 4D image in Enhance. The source image sets the visible camera, crop, geometry, and proportions as constraints. Generated output can still drift. Compare it with the source camera before client review.
Create, Enhance, and Edit share one Project. The Project Composition also stays available across related studies. Named Edit regions support focused changes. Presets can carry a visual direction into later images.
Choose CAD Scene when Cinema 4D is one source among Rhino, Revit, SketchUp, Blender, or another tool. The same image handoff works across that stack. CAD Scene does not read the .c4d scene. It does not return materials, lights, cameras, or geometry to Cinema 4D.
The screenshot-to-render method explains what an image can constrain. The public retention review method explains how to check it.
Redshift for native Cinema 4D production
Redshift is the direct starting point when Cinema 4D must remain authoritative. Maxon includes its GPU renderer with every current Cinema 4D subscription. Redshift materials, lights, and cameras behave as native Cinema 4D objects.
Its Render View supports interactive preview rendering, AOV previews, diagnostic views, PostFX, and snapshots to Picture Viewer. Choose Redshift for controlled stills, animation, passes, and scene-linked revisions.
Redshift is not a prompt-first architecture workbench. It asks the artist to build the lighting, materials, assets, and render settings. That extra setup is also the source of its production control.
V-Ray with Veras for connected rendering and ideation
V-Ray for Cinema 4D is a scene-connected production renderer. Current official pages document lighting, shading, distributed rendering, cloud rendering, Vantage viewport access, collaboration, and Veras AI.
Veras adds image-led ideation around the V-Ray process. Chaos documents material and environment changes, alternate views, detail studies, and short motion work. V-Ray remains the production engine.
Choose this route when a studio already owns V-Ray scenes and wants AI studies beside the renderer. Veras does not remove the need to check the result against the Cinema 4D scene. AI changes remain generated images.
Corona with Veras for architecture-led Cinema 4D work
Corona is a native Cinema 4D plugin built around architectural visualization. Its current Cinema 4D page covers interactive rendering, physically based light, materials, assets, post-processing, Vantage, collaboration, and Veras AI ideation.
Choose Corona when the team wants an architecture-focused production renderer inside Cinema 4D. Veras can support early mood and material exploration. Corona then carries the scene-linked final.
Corona and V-Ray overlap, but they are not interchangeable. Test scene conversion, material libraries, hardware, passes, animation, and team standards before changing an established renderer.
D5 Render for a live-linked real-time scene
D5 Sync connects Cinema 4D to D5 Render. D5 currently lists support through Cinema 4D 2026. Its official workflow documents live updates for geometry, materials, cameras, lights, and camera animation.
Choose D5 when fast scene exploration and live synchronization matter. The route keeps more model context than a screenshot. It also introduces another application, its own material behavior, and hardware requirements.
Test one production scene before committing. Check unsupported materials, texture baking, object updates, camera matching, and light translation.
Visualizee for a broader image-first browser route
Visualizee accepts standard image files and documents 3D viewport screenshots as a source. Its browser workflow covers image generation, local Studio edits, batch work, and video.
Choose it when a broad image workspace matters more than a Cinema 4D connection. The source is still an exported image. It does not read Cinema 4D objects, materials, lights, or animation.
Visualizee makes strong geometry and proportion claims. Treat them as vendor claims. Compare every design-critical edge with the source image.
Is native rendering better than a browser workflow?
Neither route is always better. The choice depends on which evidence must survive the handoff.
| Decision point | Browser image route | Native or linked route |
|---|---|---|
| Source | Exported pixels | Cinema 4D scene or synchronized model |
| Works across source tools | ||
| Scene-linked materials | ||
| Render passes | Renderer-dependent | |
| Best fit | Early still studies | Controlled finals and motion |
Use a browser route for rapid material, light, and atmosphere studies. Use a native or linked renderer when the final depends on scene objects, passes, animation, exact revisions, or repeatable production settings. Many studios use both at different stages.
Prompt library · 28 promptsSource-preserving conversionsBrowse prompts
How should you prepare one fair Cinema 4D test?
Fix the source before opening the shortlisted tools. Use one camera and one clear acceptance task.
Lock one named camera
Fix focal length, framing, output ratio, horizon, and the active render view.Prepare one readable source
Hide grids, axes, guides, selections, handles, and temporary working objects.Write one bounded brief
Name materials, light, landscape, and atmosphere without requesting new geometry.Request one correction
Change one finish or lighting decision after the first acceptable image.Export one delivery size
Compare the full path to the same still, pass, or animation requirement.
Use Render Safe to check the final image boundary. Export the same crop for each browser route. Keep the Cinema 4D scene unchanged during the test.
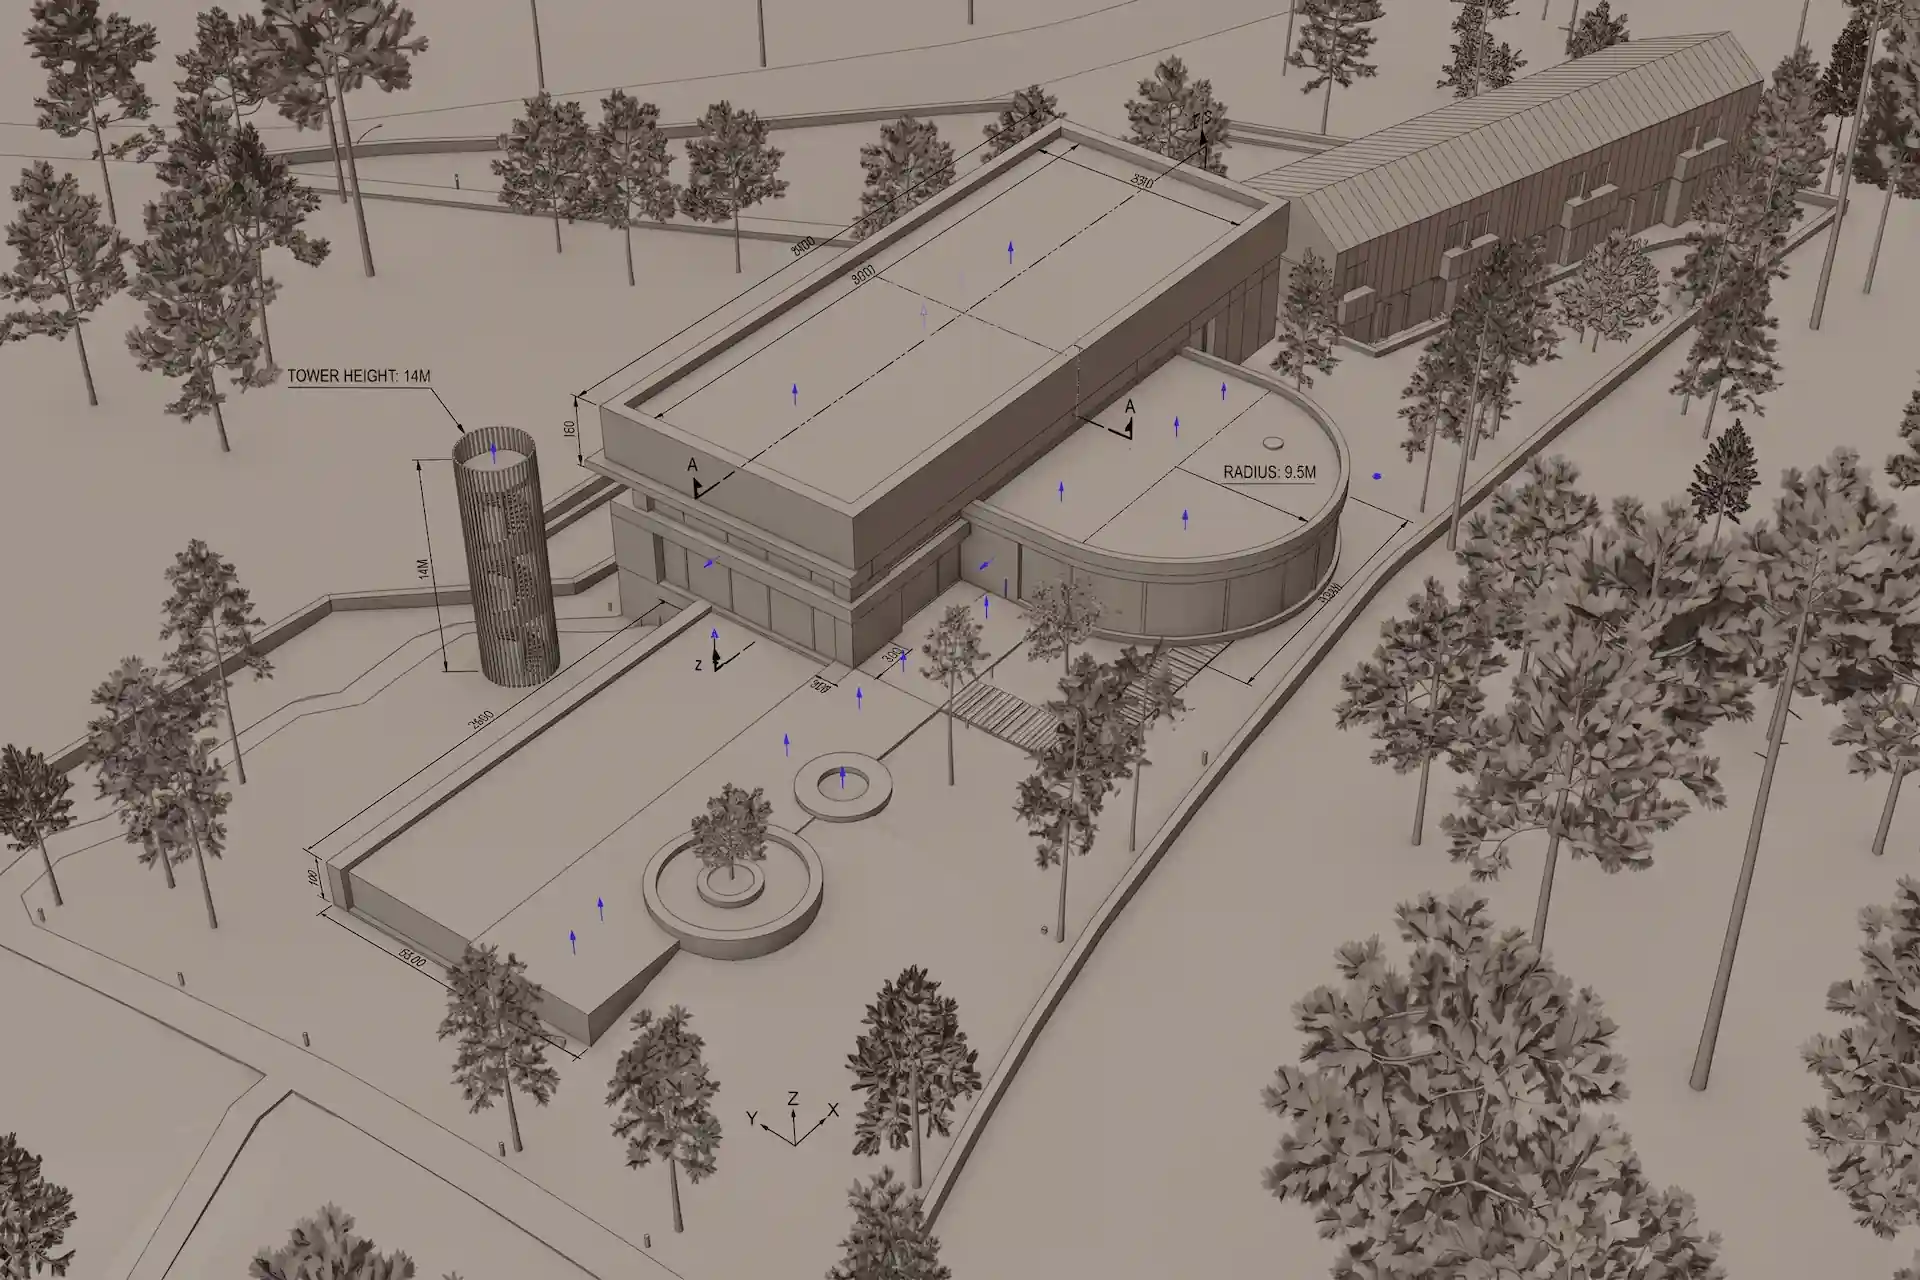
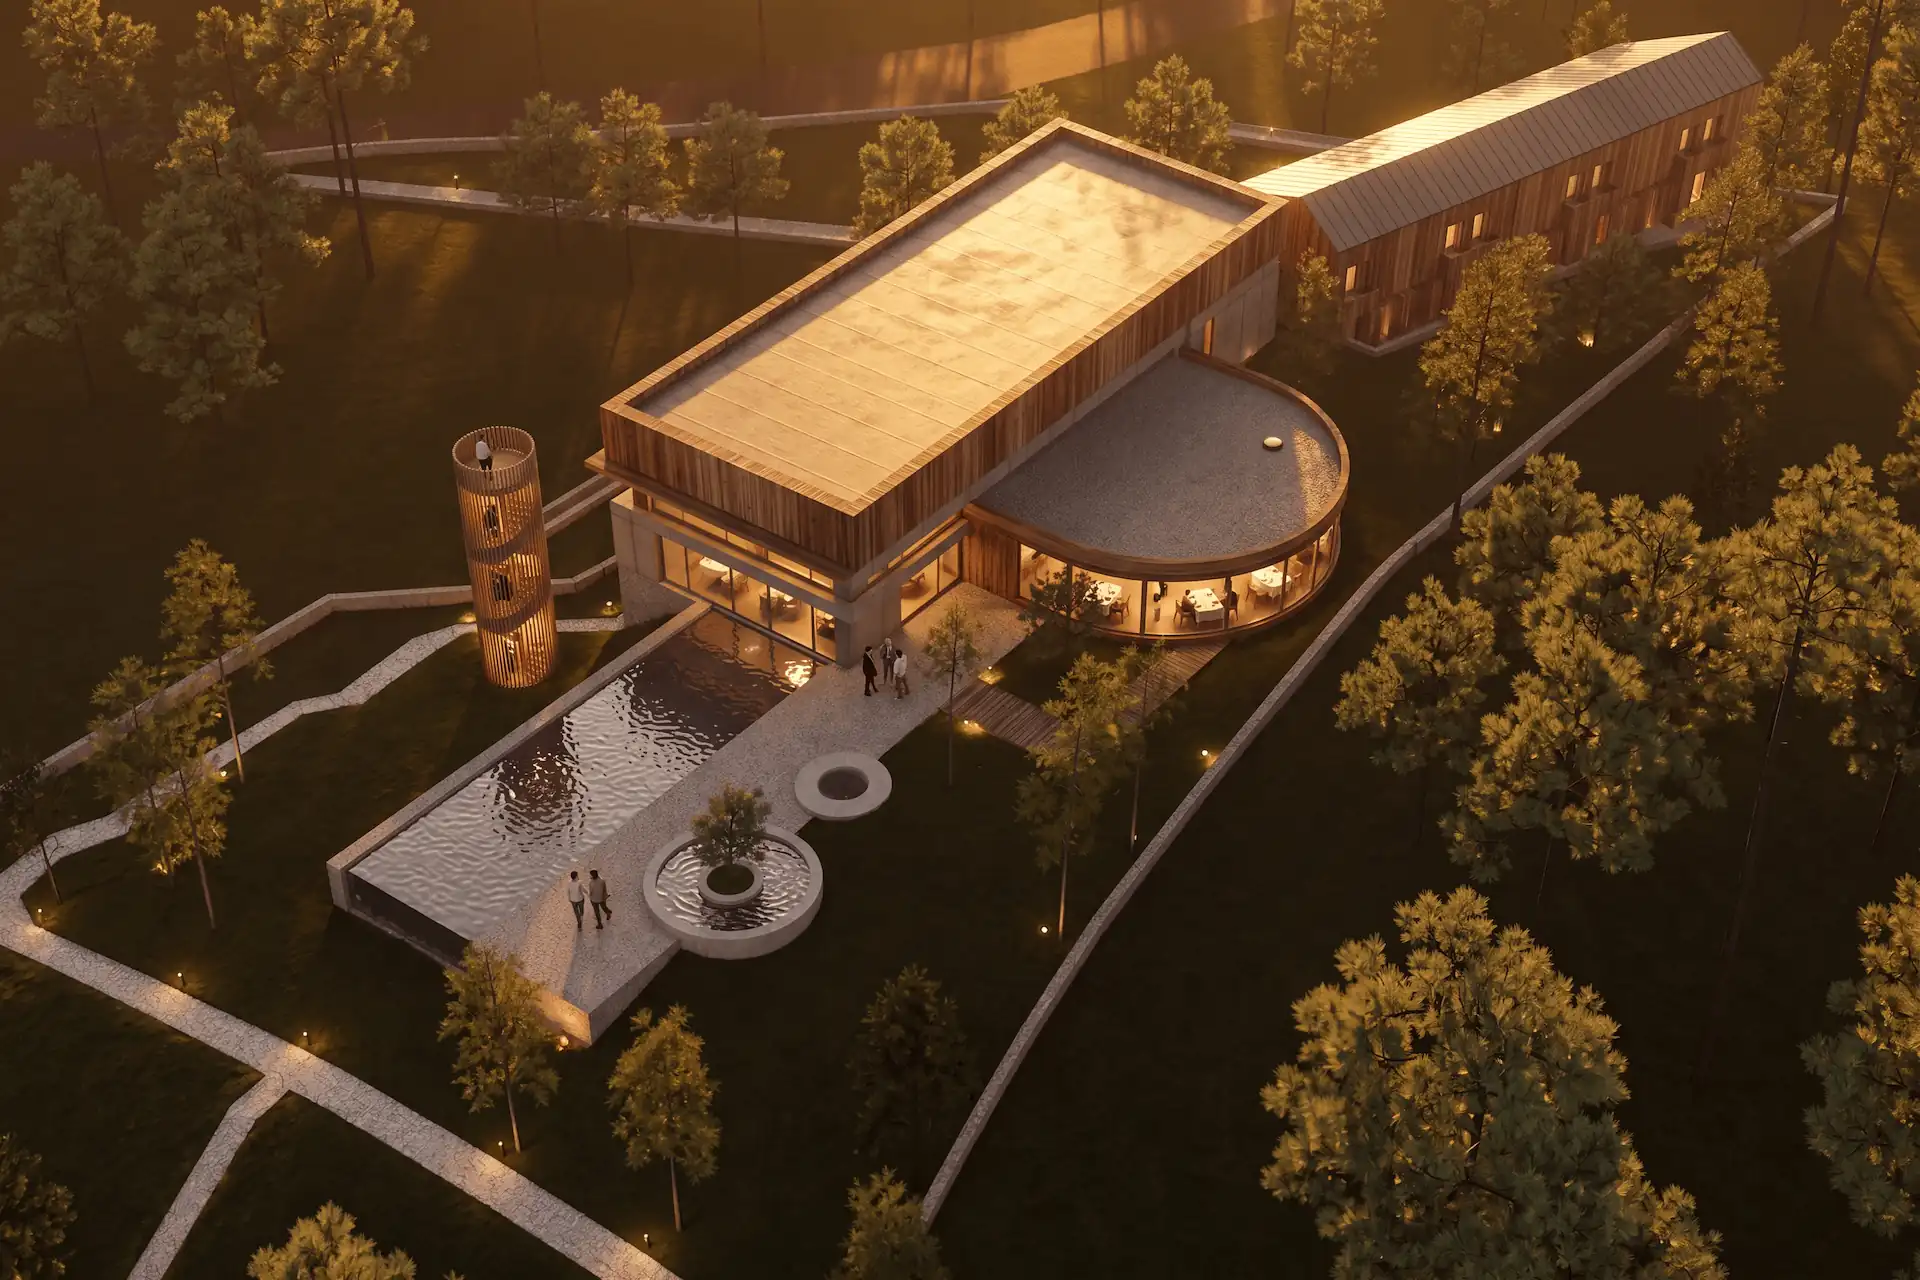
Before / after
Test one fixed Cinema 4D camera view in CAD Scene.
What should you check in each result?
Check source adherence before atmosphere. Place the source camera beside each result. Review camera height, crop, roof edges, openings, floor levels, repeated elements, terraces, water edges, and planting footprints.
Then inspect the requested finish:
- materials should stop at plausible object boundaries;
- glazing should remain inside the intended openings;
- timber and concrete should not merge across joints;
- landscape should not cover design evidence;
- people should keep believable scale;
- a correction should leave unrelated areas acceptable.
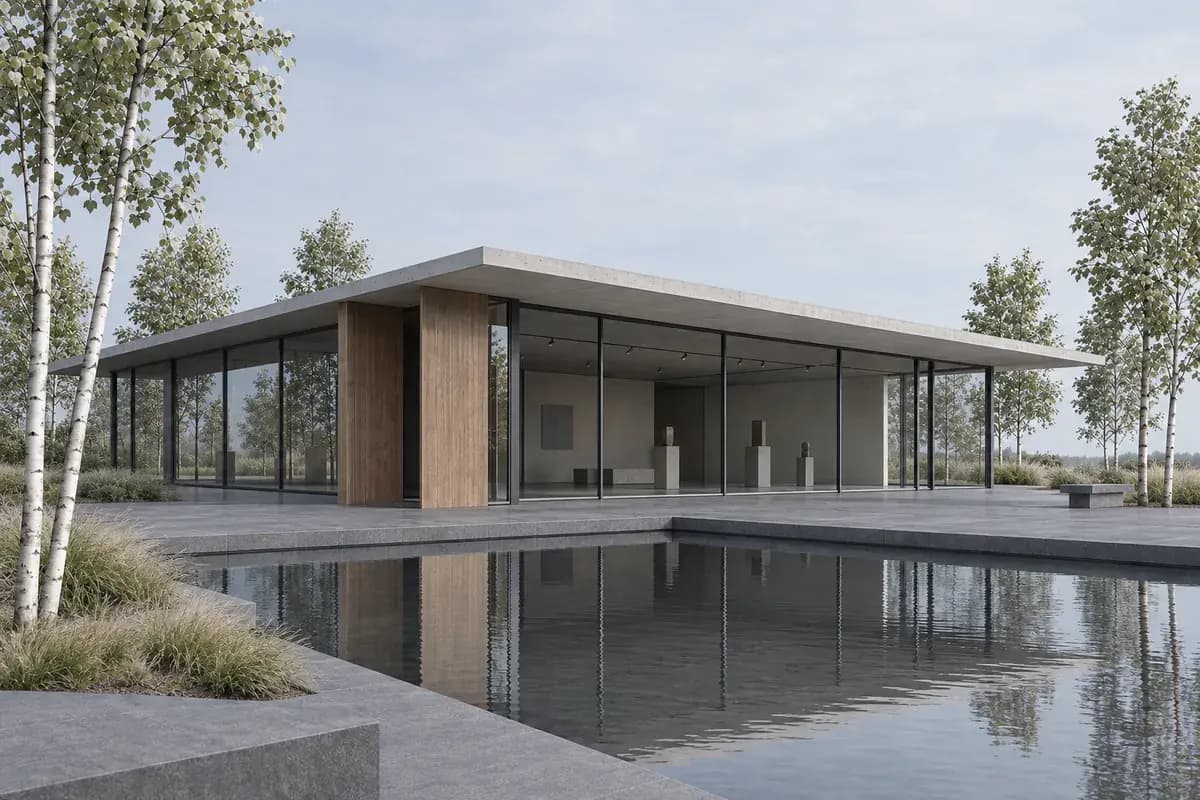
Record the approval path. Include setup, initial options, corrections, reruns, upscale, export, and review. A strong first image can still be the wrong route when each correction restarts the work.
How should you compare Cinema 4D rendering costs?
Price the accepted deliverable, not the cheapest plan card. Native renderers, live-linked tools, and browser credits use different cost models. Hardware, seats, cloud rendering, plugins, assets, output size, and AI allowances can all change the total.
CAD Scene uses model-dependent credits. Quality and Resolution can change the cost. The Composer shows the exact total before submission. Current plans and top-ups live on the pricing page. The AI rendering pricing guide explains the credit model.
Estimate monthly render credits
Choose one current setup and the number of images you plan to generate. The estimate reads CAD Scene's live pricing matrix.
Generation only. Existing rollover credits can change plan fit. Current top-ups range from 50 to 450 credits. The Composer shows the final cost before every send.
For every vendor, confirm the live product page and checkout. This article does not copy competitor prices. Those figures can change before the workflow does.
Sources reviewed
- Maxon Cinema 4D and included Redshift, reviewed 5 October 2026
- Maxon Redshift Render View, reviewed 5 October 2026
- V-Ray for Cinema 4D and V-Ray with Veras, reviewed 5 October 2026
- Corona for Cinema 4D, reviewed 5 October 2026
- D5 Sync for Cinema 4D and D5 model connections, reviewed 5 October 2026
- Visualizee design-preserving renders, reviewed 5 October 2026
- CAD Scene Product, Glossary, Help, and pricing code, reviewed 5 October 2026
What is the best AI rendering tool for Cinema 4D?
Choose CAD Scene for browser studies across a mixed modeling stack. Choose Redshift for native Cinema 4D production. Choose V-Ray or Corona when Chaos rendering and Veras ideation belong together. Test the final two on one fixed camera.
Does Cinema 4D include a renderer?
Yes. Current Cinema 4D subscriptions include Redshift. It runs natively with Cinema 4D materials, lights, and cameras.
Can an AI renderer read a Cinema 4D file?
Some connected products can read or synchronize scene data. CAD Scene and Visualizee use exported images. They do not read Cinema 4D objects, materials, lights, cameras, or animation.
Should I use Redshift or an AI image workflow?
Use Redshift for scene-linked finals, passes, and animation. Use an AI image workflow for early still studies when a portable camera image is enough.
How should I compare two Cinema 4D rendering tools?
Use one fixed camera, one source, one brief, one correction, and one delivery requirement. Compare scene connection, source adherence, correction behavior, total cost, and approval work.
Table of Contents
- What is the honest verdict for Cinema 4D users?
- How was this Cinema 4D shortlist researched?
- What should a Cinema 4D rendering tool do well?
- Which rendering routes fit Cinema 4D workflows?
- Is native rendering better than a browser workflow?
- How should you prepare one fair Cinema 4D test?
- What should you check in each result?
- How should you compare Cinema 4D rendering costs?
- Sources reviewed
Authors

- Name
- Vladimir Mindru
Previous Article
Table of Contents
- What is the honest verdict for Cinema 4D users?
- How was this Cinema 4D shortlist researched?
- What should a Cinema 4D rendering tool do well?
- Which rendering routes fit Cinema 4D workflows?
- Is native rendering better than a browser workflow?
- How should you prepare one fair Cinema 4D test?
- What should you check in each result?
- How should you compare Cinema 4D rendering costs?
- Sources reviewed
Authors
- Name
- Vladimir Mindru