
Cinema 4D to AI Render: A Clean Camera Workflow

To turn a Cinema 4D view into an AI render, fix the camera first. Set the output ratio and enable its render frame. Use a clear Gouraud or Quick Shading view. Hide grids, axes, guides, selection outlines, and working objects. Send the active view to the Picture Viewer, or render a still there. Save the exact crop as an image. Then use that image as the source in Enhance. Describe materials, light, landscape, and entourage without requesting new geometry. Finally, compare the result with Cinema 4D before client review.
This route suits early still-image studies. It does not read the .c4d file. Keep Cinema 4D as the source of truth for scene data and final production.
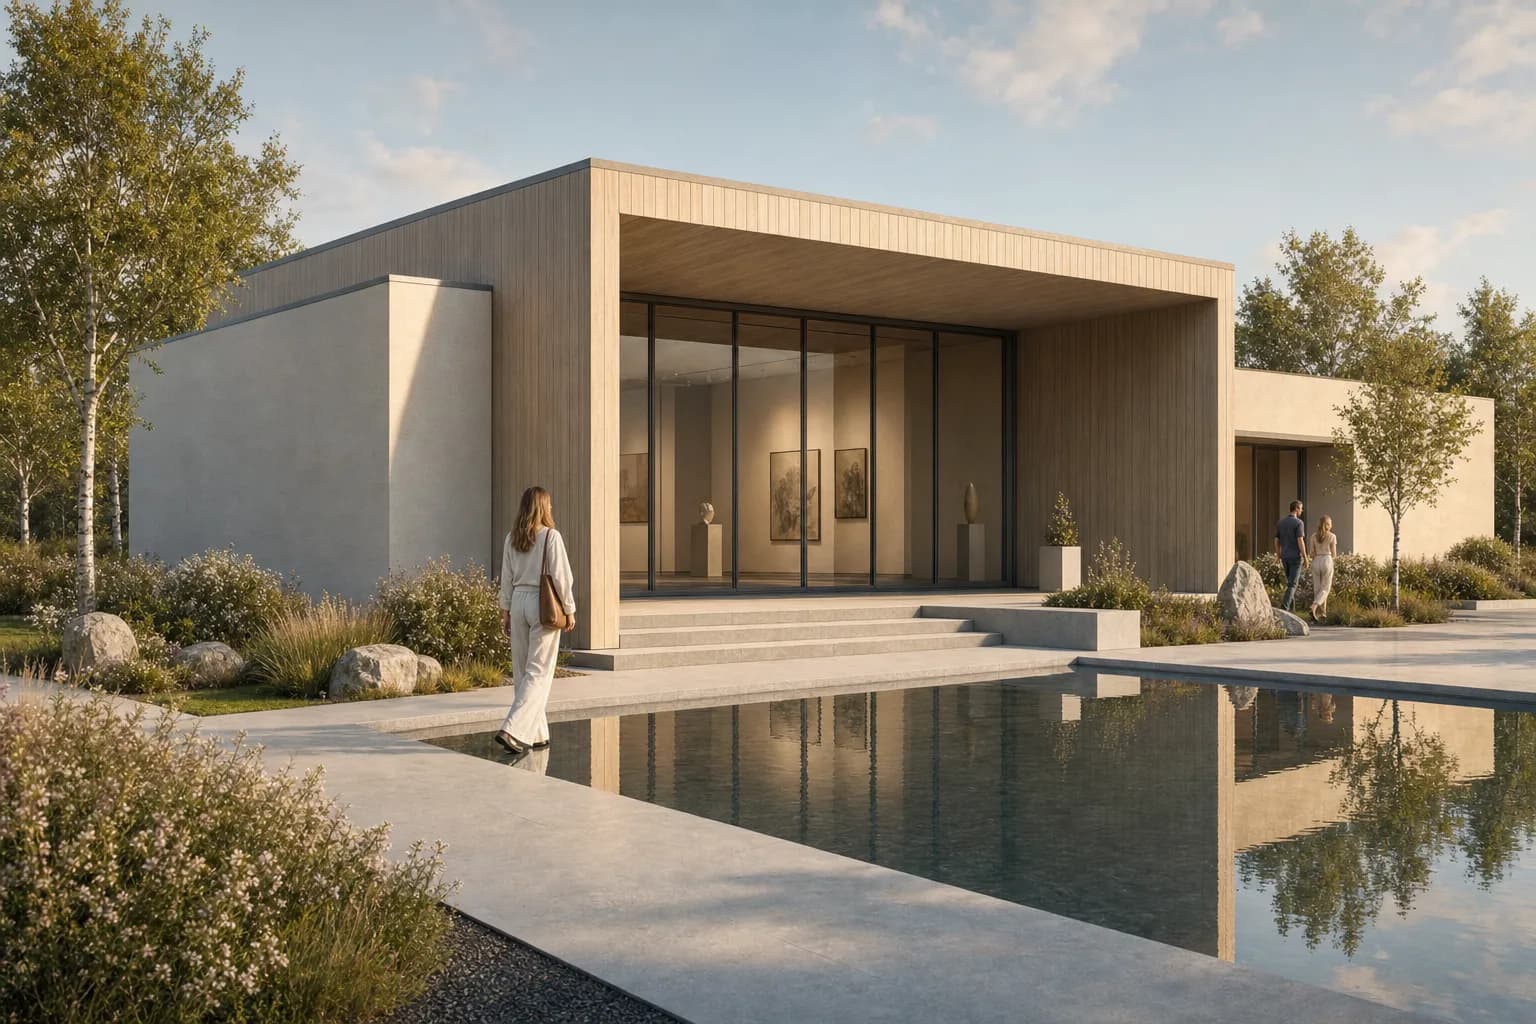
Can you turn a Cinema 4D view into an AI render?
Yes. A clean Cinema 4D image can guide a separate render study. The source carries visible camera, massing, openings, site, and object placement. The brief supplies the intended finish.
CAD Scene Enhance starts from one source image. It asks the image model to preserve camera, framing, geometry, and proportions. That instruction remains a constraint, not a guarantee. Generated details can still drift.
The broader screenshot-to-render workflow applies across modeling and visualization tools. Cinema 4D adds direct controls for the render view, output ratio, display filters, and Picture Viewer.
Should you use a camera or the editor view?
Use a camera when the view supports a client decision. A named camera gives the team a repeatable point of comparison. The editor camera suits loose composition tests before the view is fixed.
| View | Useful for | Main risk |
|---|---|---|
| Named camera | Repeatable stills and client options | The wrong camera can remain set as the render view |
| Editor camera | Fast internal composition tests | Navigation can change the view before export |
| Parallel or orthogonal view | Elevation, section, and diagram studies | Depth can remain ambiguous |
Maxon's current View reference states that Use as Render View selects the active camera for Picture Viewer rendering. Confirm that state before export. A scene with several cameras can otherwise produce the wrong composition.
Cinema 4D also separates Film Move, Film Magnify, and Film Zoom from ordinary camera navigation. Maxon notes that these controls retain the angle of lines while changing the framed view. Record the focal length and offsets when a view needs to be recreated.
How should you prepare the Cinema 4D viewport?
Prepare a source image, not a working screen. Keep the geometry that explains the design. Remove controls that can become false image detail.
Fix the camera
Choose the intended camera, focal character, horizon, and subject position.Set the output
Define width, height, and aspect ratio before checking the visible frame.Choose a clear display mode
Use Gouraud or Quick Shading. Add lines only when they clarify form.Filter the viewport
Hide grids, axes, handles, guides, HUD elements, helpers, and selections.Export one fixed image
Send the active view to Picture Viewer or render the current frame there.
The Cinema 4D display filter can hide the workplane, world grid, axes, guides, HUD, joints, and other helpers. Its Geometry Only option hides axes, handles, and guides together. Check the result rather than assuming every temporary object disappeared.
Clear the active selection before capture. Disable object and component highlighting when they remain visible. A selection outline can become a joint, trim, or illuminated edge in the generated image.
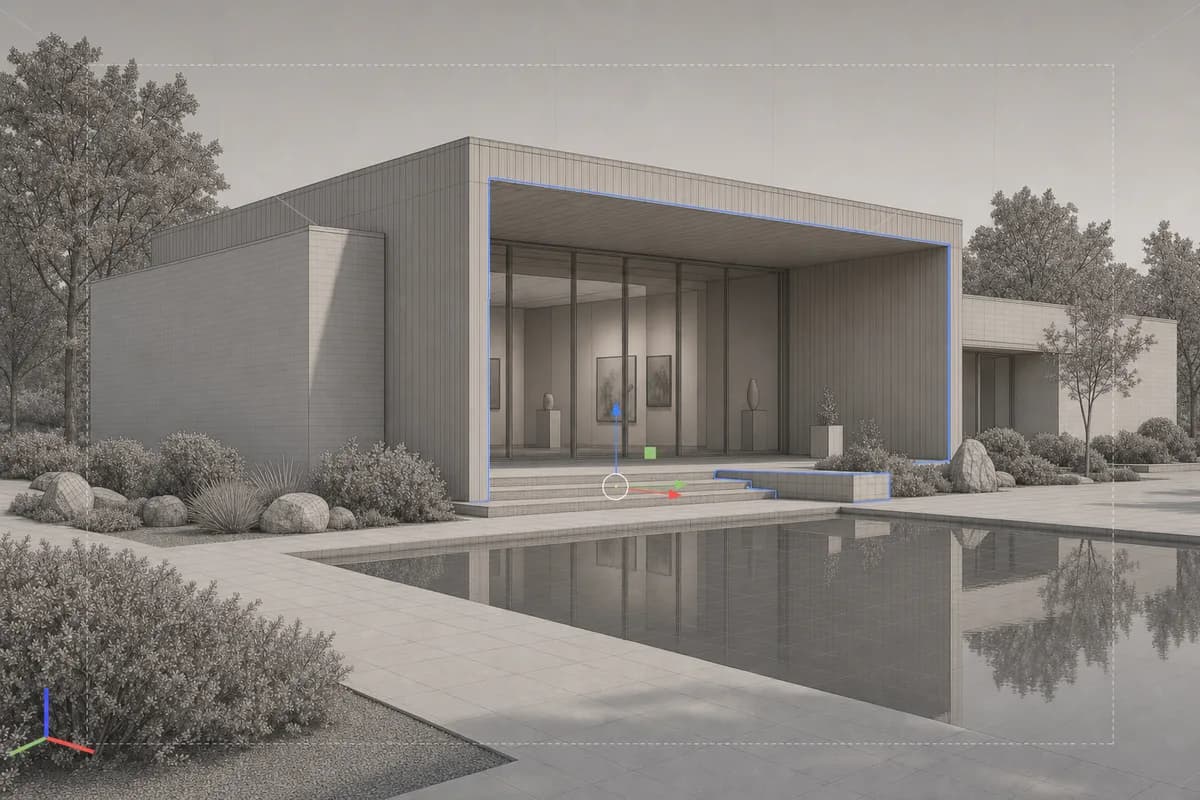
Which Cinema 4D display mode makes the best source?
Use the simplest shaded mode that still communicates the design. Gouraud Shading can carry surfaces and scene lights. Quick Shading uses its auto light. Either can provide a clear source.
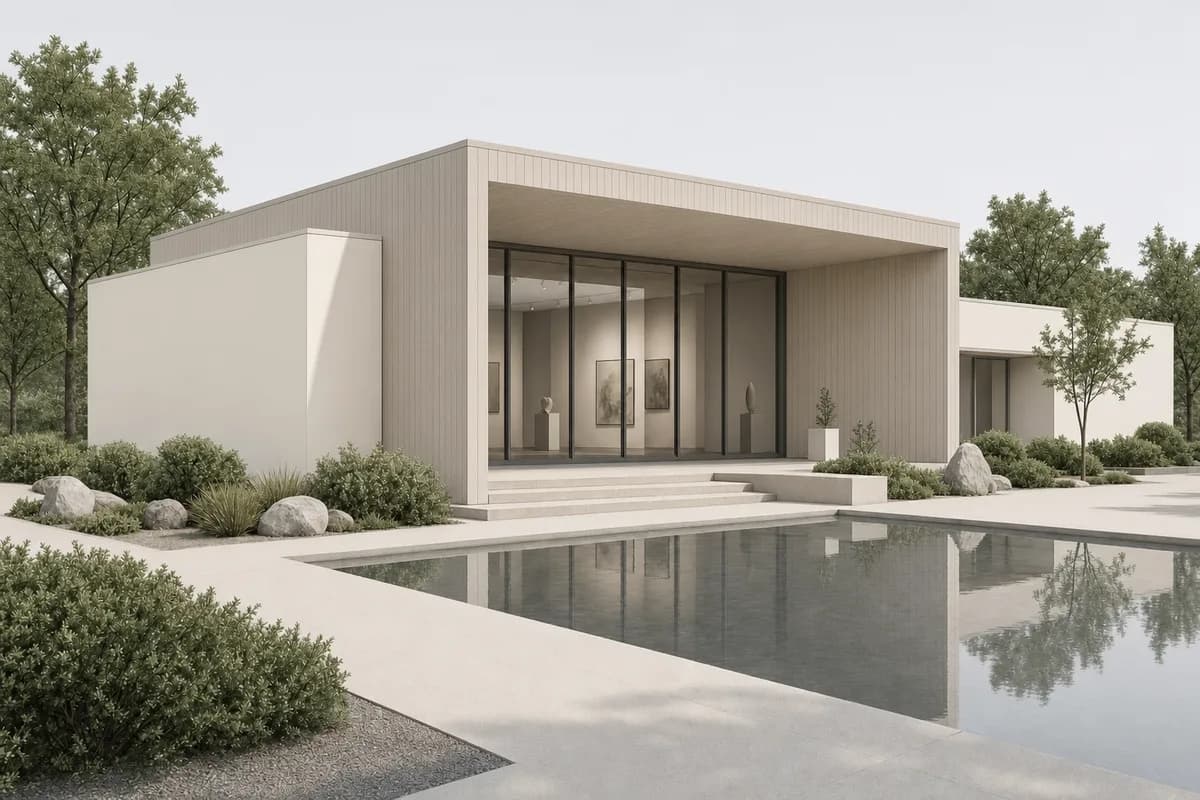
Maxon's viewport View reference describes Gouraud Shading as a smoothed mode that considers light sources. Quick Shading uses an automatic light. Both can add wireframes or isoparms.
| Mode | What it carries | Watch for |
|---|---|---|
| Gouraud Shading | Smooth form, surfaces, and scene-light cues | Existing light can make dark edges hard to read |
| Quick Shading | Clear form under an automatic light | It may not reflect the intended scene lighting |
| Shading with lines | Surface form with visible mesh or isoparms | Lines can become facade joints or seams |
| Hidden Line | Visible edges with little surface information | The brief must supply materials and atmosphere |
Use a Redshift preview when its material and lighting decisions matter. Transfer it to Picture Viewer when you need a fixed image. Maxon's Redshift Render View reference documents Snapshot to Picture Viewer for that handoff.
How do you keep the intended crop?
Set the output dimensions before positioning the final camera. The render frame follows the output aspect ratio. Anything outside that frame will not appear in the finished still.
Maxon's current Output reference states that width and height define the bitmap dimensions. Lock Ratio retains the current aspect while changing one dimension. The page also notes that Safe Frames show the area that will be calculated.
Use Render Safe for the actual output boundary. Title Safe and Action Safe serve screen-delivery conventions. They do not define extra source content. The Safe Frames reference separates those regions.
For a clean AI source:
- set the target output ratio;
- enable Render Safe while composing;
- keep critical architecture inside the rendered area;
- export only the rendered crop;
- exclude safe-frame graphics from the saved image.
The cross-tool screenshot guide covers crop, edge clarity, and source review in more detail.
How do you export the source image?
Use Render > Render to Picture Viewer for a scene-rendered still. Set the path and file format under Render Settings when the file should save automatically. Choose the current frame for a single image.
Maxon's Render to Picture Viewer reference states that Picture Viewer handles saved render output. The Picture Viewer reference also documents saving images already loaded there.
For a viewport-led source, use Send to Picture Viewer from the active view. That command loads the visible viewport result for comparison. Inspect the saved file before upload. Check dimensions, crop, overlays, and color.
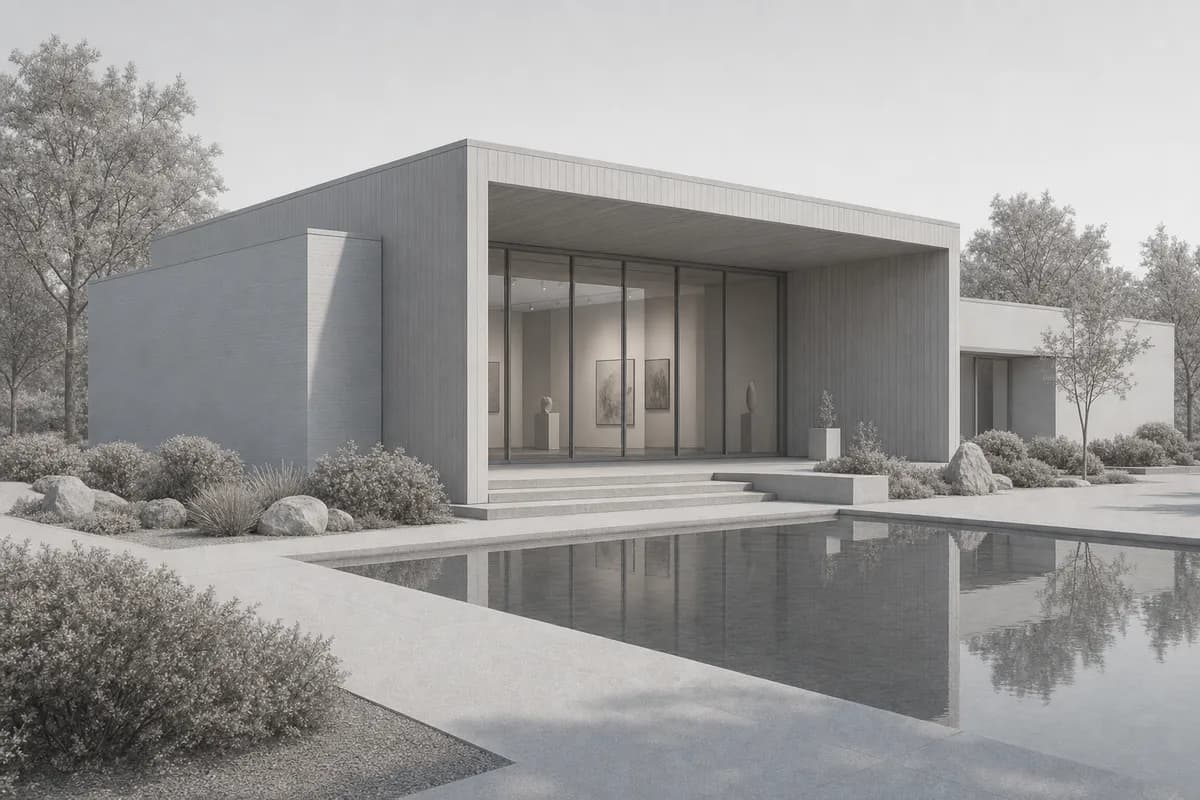 Synthetic camera viewRender study
Cinema 4D view / render study
Test one fixed Cinema 4D camera view in CAD Scene.
What should the Enhance brief say?
The source already carries the visible design. Ask for finish decisions, not a replacement building.
Cinema 4D pavilion study
Copy the full brief, then adjust one variable at a time.
Prompt
Preserve the source camera, crop, pavilion massing, roof form, timber portal, glazing, terrace, reflecting pool, and planting footprints. Render the pavilion with warm lime render, pale oak soffits, dark bronze frames, honed stone paving, birch trees, meadow planting, soft late-afternoon Nordic light, and three restrained figures. Do not add floors, move openings, change the portal, or alter the landscape layout.
Name surfaces and locations. Separate walls, soffits, frames, glazing, paving, water, and planting. State the light direction and weather. The realistic material guide explains how to brief concrete, timber, glass, and related finishes.
Set the Project Composition before sending. Keep Style, Scene, Lighting, Materials, and Entourage consistent across related studies. Use Edit later for one focused change to a finished Render.
What should you check in the finished image?
Review design before atmosphere. Keep the Cinema 4D source beside the generated image.
- Compare camera height, perspective, crop, and horizon.
- Check roof edges, floor levels, and primary massing.
- Count openings. Compare their placement and proportions.
- Check object positions, terraces, water edges, and planting footprints.
- Inspect material boundaries, reflections, shadows, and entourage scale.
Reject a polished image when a design-critical edge moved. The public render-retention method provides a repeatable review sequence. It does not publish benchmark results.
When should you stay in Cinema 4D?
Stay in Cinema 4D when the deliverable depends on scene data. Native rendering provides direct control over geometry, materials, lights, cameras, passes, animation, and object-linked revisions.
Use screenshot-based Enhance for quick still studies. It can test materials, light, atmosphere, and presentation direction. It cannot update the .c4d scene or return native assets.
| Screenshot-based Enhance | Native Cinema 4D render | |
|---|---|---|
| Source | Exported image | Cinema 4D scene data |
| Materials | Brief and visible source cues | Materials, shaders, and maps |
| Lighting | Requested image direction | Placed lights and renderer settings |
| Render passes | ||
| Animation | ||
| Best fit | Early still options and review studies | Controlled finals, passes, and motion |
The 3ds Max camera-view workflow covers a related visualization source. The Blender screenshot workflow explains another camera-led route. Compare broader categories in the AI rendering software guide.
Questions about Cinema 4D AI rendering
Can CAD Scene read a Cinema 4D file?
No. Enhance reads an exported image. It does not read Cinema 4D geometry, materials, lights, cameras, tags, takes, or renderer settings.
Which Cinema 4D view is best for AI rendering?
Use a named camera for repeatable stills. Set it as the render view, define the output ratio, and check the rendered frame before export.
Should grids and safe frames stay visible?
No. Use the render frame to compose the camera, then exclude grids, axes, guides, selection outlines, and frame graphics from the saved source.
Does AI replace Redshift or another native renderer?
No. Use Enhance for early still studies. Use native rendering when you need scene-linked materials, exact lights, passes, animation, or controlled production output.
Sources reviewed
- Cinema 4D 2026 View commands, reviewed 10 September 2026
- Cinema 4D 2026 Output settings and Safe Frames, reviewed 10 September 2026
- Cinema 4D 2026 Viewport filters and viewport display modes, reviewed 10 September 2026
- Cinema 4D 2026 Render to Picture Viewer, Picture Viewer, and Redshift Render View, reviewed 10 September 2026