
Screenshot to Render: Guide the View, Check the Geometry

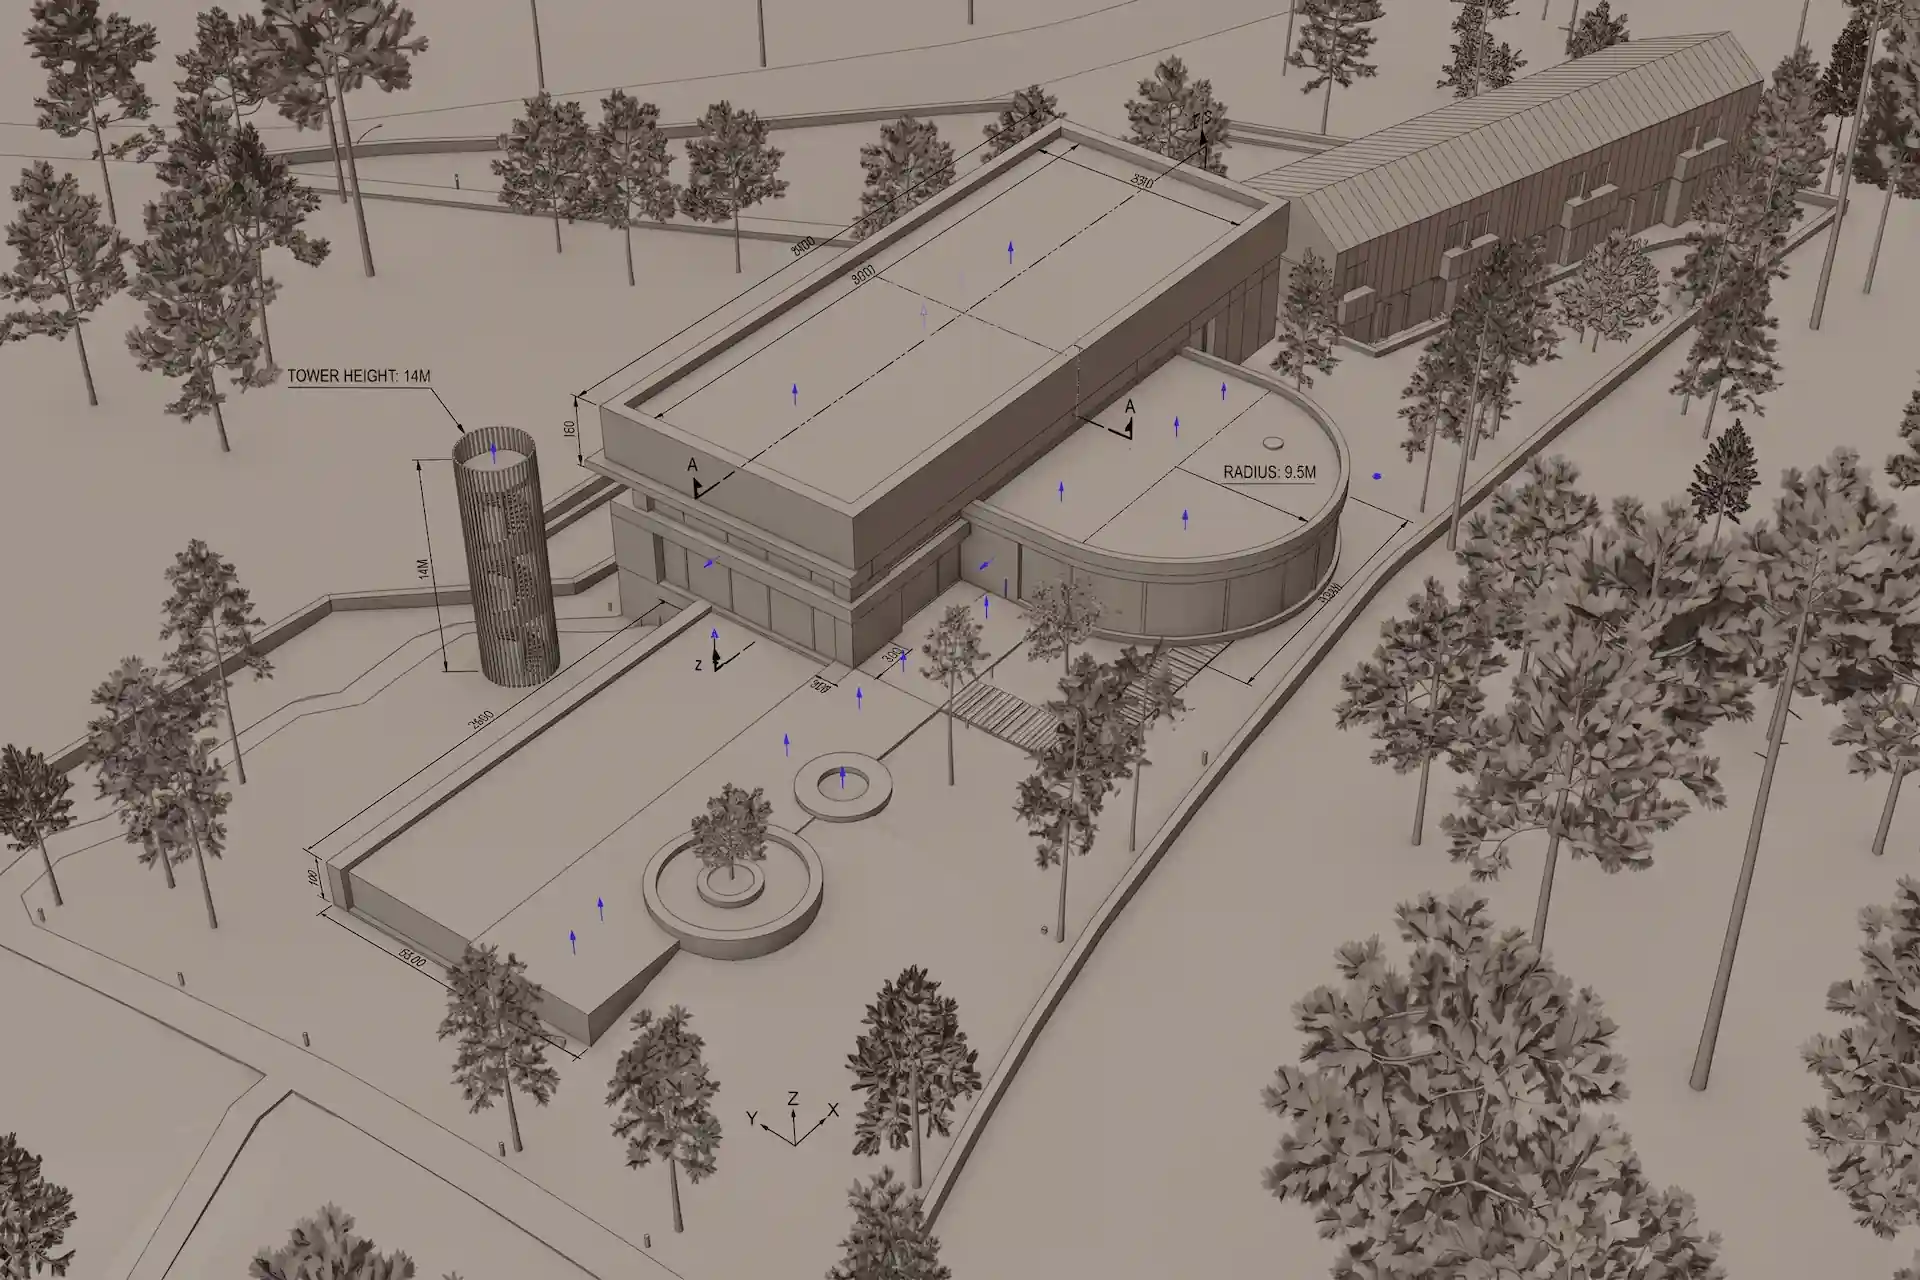
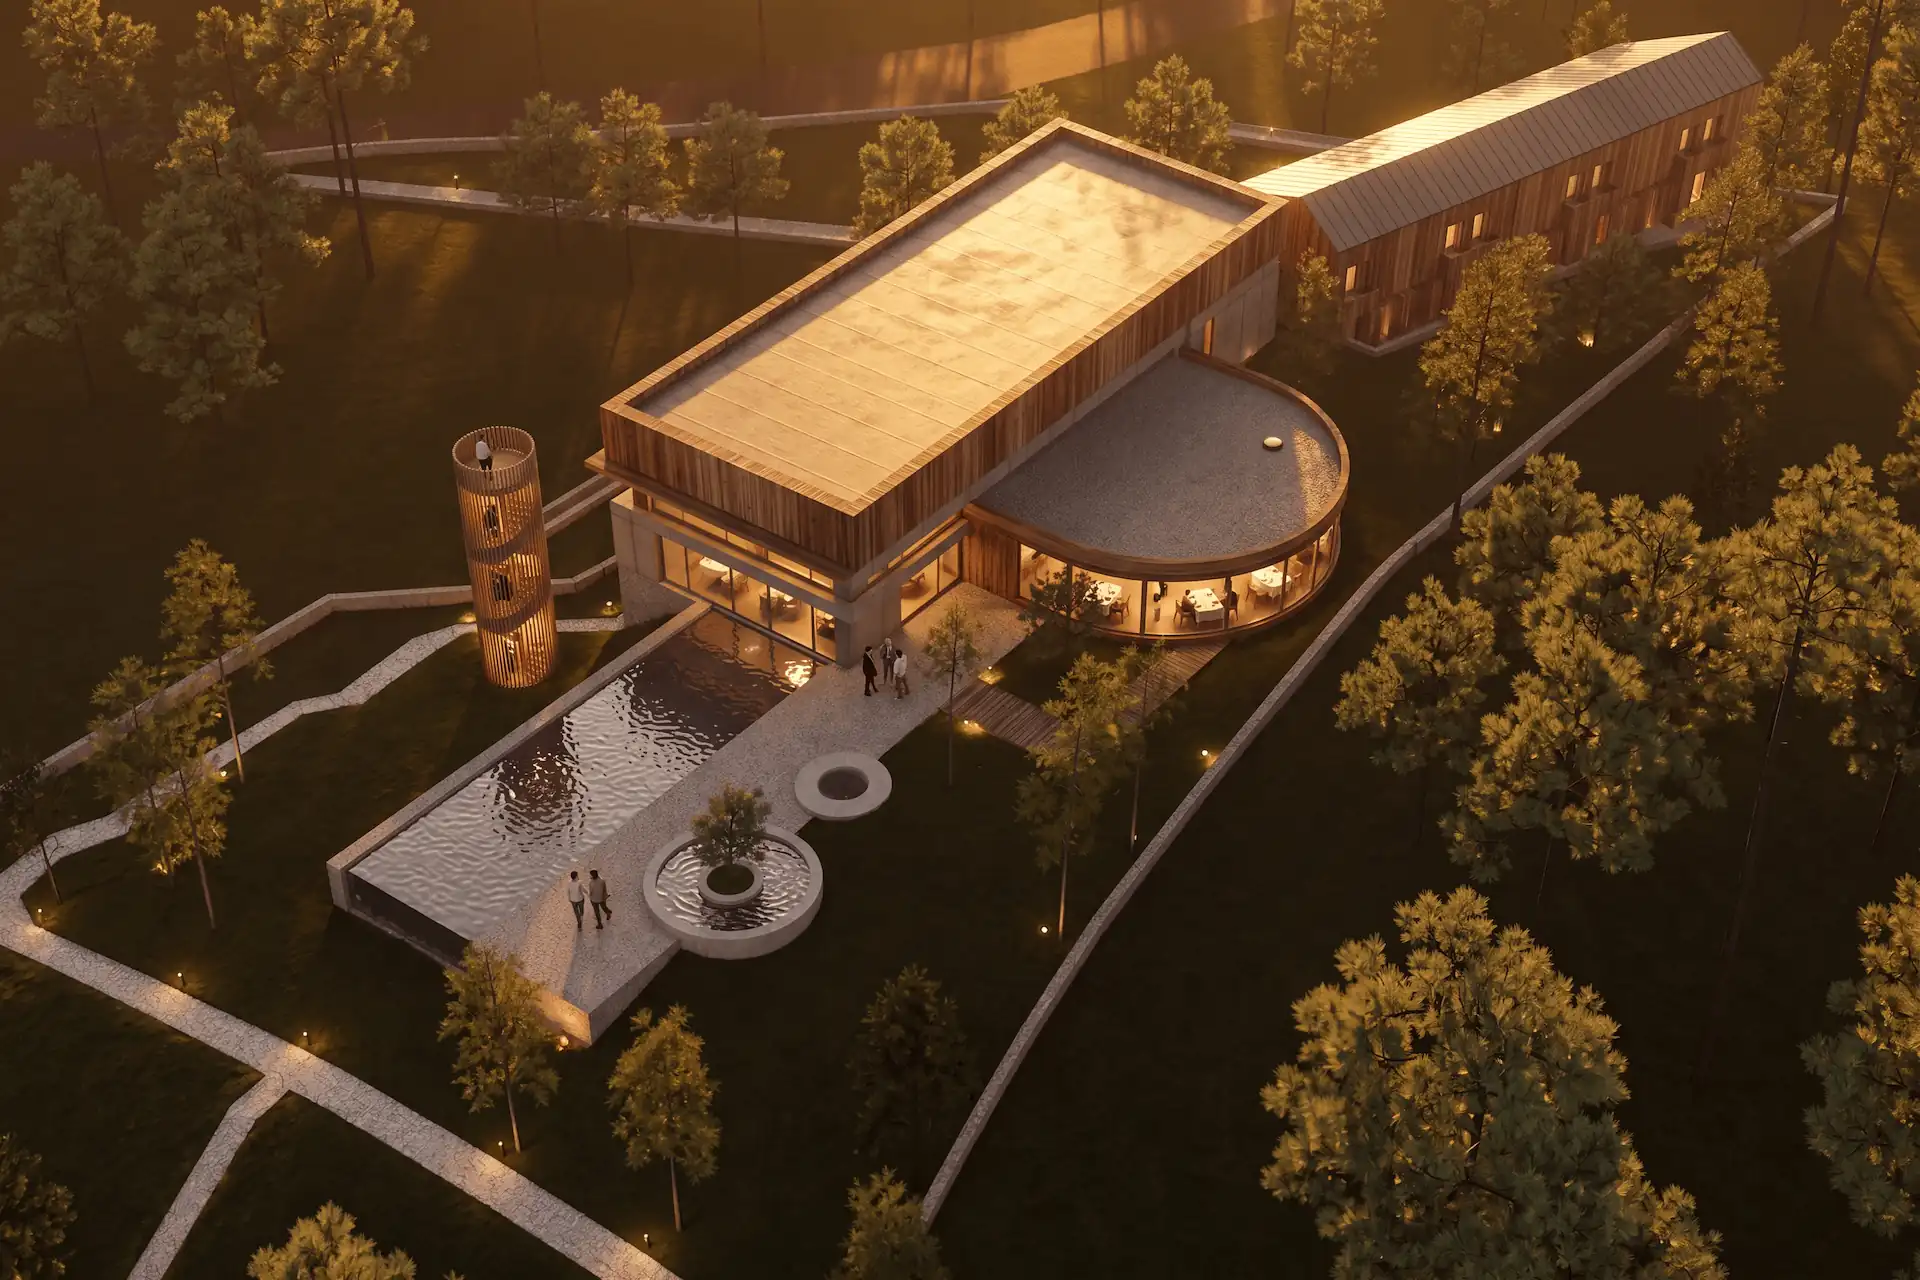
Screenshot to render uses a flat CAD or 3D screenshot as the visual constraint for a photorealistic image. CAD Scene Enhance instructs the image model to preserve the camera, framing, proportions, and major geometry. Materials, light, and atmosphere can change.
This is a preservation aim, not a geometry lock. Generated details can drift. Compare each result with the source before client review.
This is different from sketch to render. A sketch explores. A screenshot starts from a modeled view and treats that view as the source of truth.
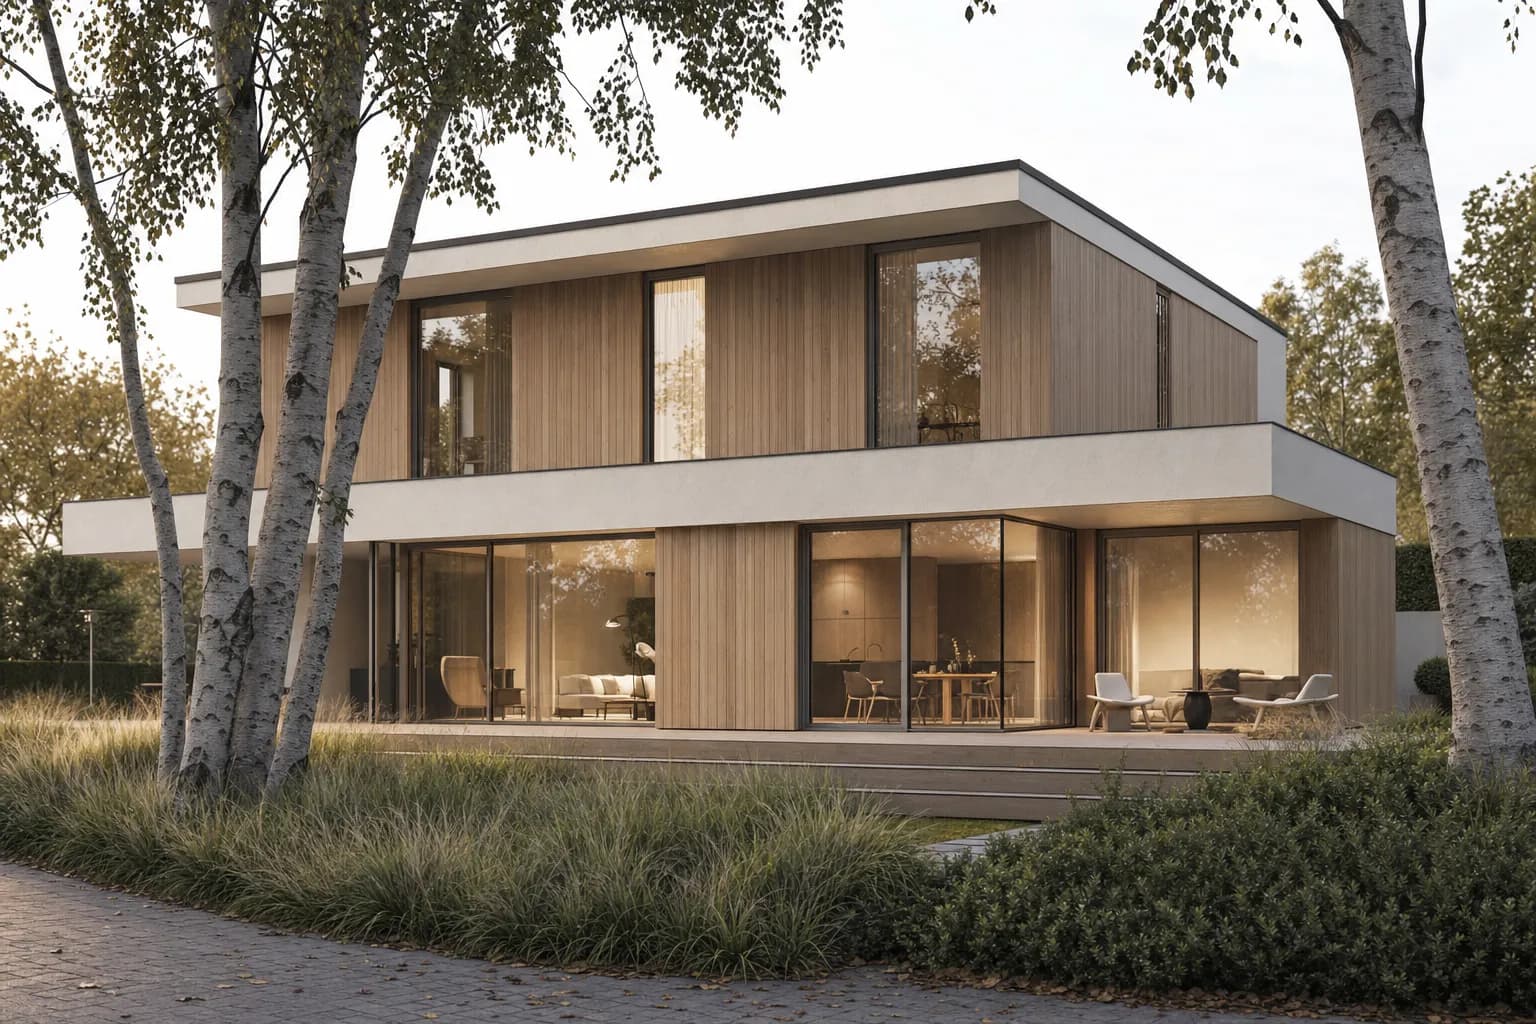
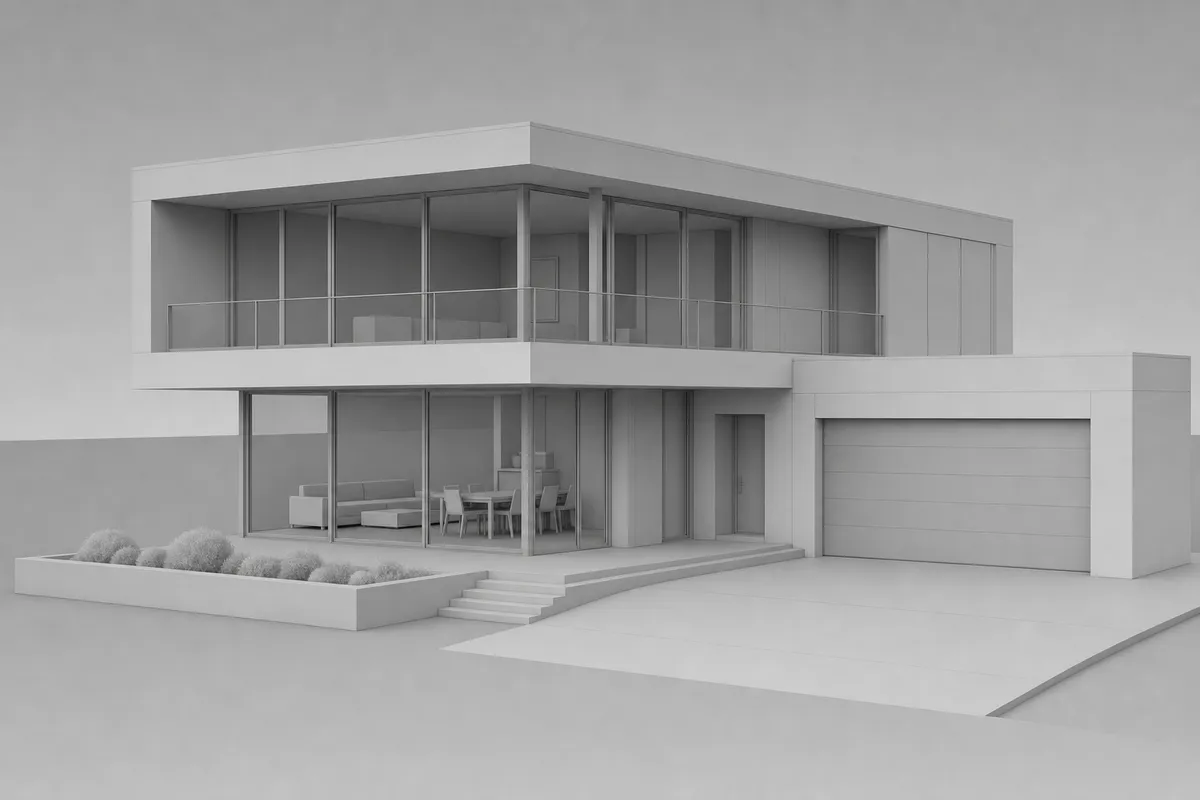 Model view
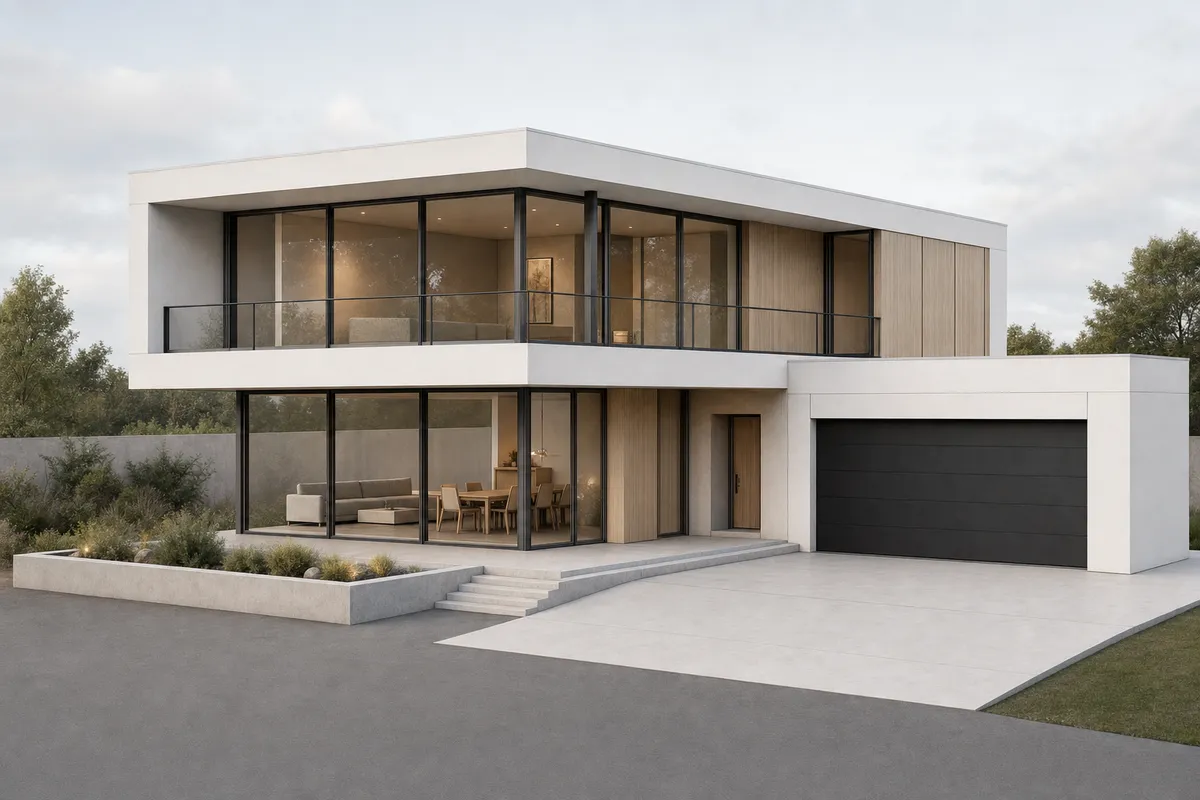 Rendered
What is screenshot to render?
Screenshot to render is an AI rendering workflow that starts from a flat model view. The input is a viewport screenshot. The output is a photorealistic image guided by its camera and composition.
For architects, the point is control. You already decided the massing, angle, and crop in your model. Enhance asks the image model to retain those decisions while adding materials, light, landscape, and mood. The result still needs comparison with the source.
This makes screenshot to render one branch of AI architectural rendering. It sits between a loose idea and a full render engine setup. The model is resolved enough to show. The image is not ready for a client yet.
How does AI rendering keep the camera and dimensions from a screenshot?
It does not lock them mathematically. The screenshot supplies the camera, crop, horizon, walls, roof, windows, and ground plane as visual evidence. Enhance adds an explicit instruction to preserve that structure. Your prompt should describe the surface layer: timber cladding, white render, dusk light, birch trees, stone paths, or interior glow.
Think of the screenshot as the drawing under the trace paper. The prompt is the material and lighting note. A clean capture reduces ambiguity. It does not remove model drift.
Read the Enhance preservation contract for the current product instruction. Use the render-retention test method to compare repeated outputs.
Adapt the source-assisted render prompts to your materials, light, and scene. Use the realistic materials review method when surface assignment, unit scale, joints, and reflections need their own acceptance pass.
Capture the view
Frame the camera in your modeling tool. Keep the crop and horizon exactly as you want the final image.Describe the finish
Name the style, materials, light, scene, and entourage. Leave the camera alone.Render the screenshot
Enhance sends the screenshot as structure and asks the image model to preserve it.Check the geometry
Compare repeated outputs for camera, openings, rooflines, edges, and floor levels.
Will an AI render change my building's proportions?
It can. A clear screenshot gives the image model a stronger constraint, but the result can still drift. Common risks include clipped geometry, extreme perspective, busy UI overlays, hidden edges, and prompts that imply a different building type.
Use the model view as a constraint. Do not ask for "a new villa" when you want your own house. Say "render this model as a Scandinavian timber house." Then check windows, parapets, stairs, and floor heights. One aligned output proves only that run.
Screenshot to render vs sketch to render: what is the difference?
Screenshot to render starts from modeled geometry. Sketch to render starts from a loose drawing. Both are useful, but they serve different stages.
| Screenshot to render | Sketch to render | |
|---|---|---|
| Best input | CAD or 3D viewport | Hand sketch or loose concept |
| Design stage | Developed concept | Early exploration |
| Camera source | Modeled view | Drawing intent |
| Geometry source | Modeled view | Drawing intent |
| Best for | Client review and option studies | Finding the first image direction |
If you have a resolved Revit model or a SketchUp massing, use screenshot to render. If you have a napkin elevation and no model yet, use sketch to render. If you only have an idea, start with Create and write the scene in words.
How do I capture a clean screenshot for AI rendering?
A clean screenshot gives the AI a clean reading of your scene. Hide interface noise. Pick a clear camera. Keep the whole subject inside the crop. Export at the aspect ratio you need for the board, slide, or client email.
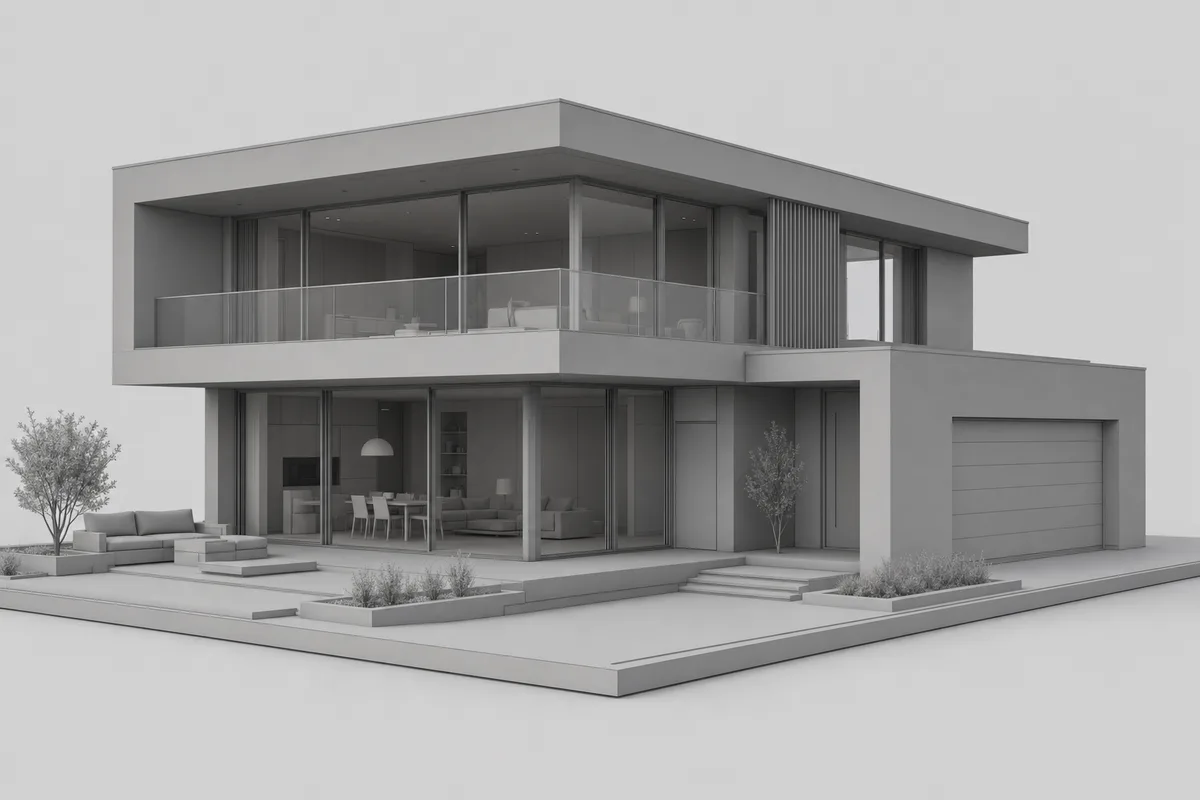
Set the camera
Use a three-quarter view for exteriors or a one-point view for interiors. Keep the horizon calm.Hide viewport clutter
Turn off axes, selection outlines, grids, section planes, clipping planes, guides, and object handles.Check the crop
Keep the full subject inside the frame. Avoid cutting off rooflines, stairs, or key openings.Export cleanly
Use PNG or JPG. Aim around 1600px wide or larger. Keep the target aspect ratio.
What should I hide before I screenshot?
Hide anything you would not print on a client board. Axes, grid lines, section handles, selected edges, clipping boxes, and toolbars confuse the render. Keep model edges only when they help the AI read the geometry.
Clay, hidden-line, and shaded views can all work. A shaded model with readable edges is often the safest starting point. It shows the form without asking the AI to remove texture noise.
For a fuller checklist, use the screenshot for AI rendering guide before you upload the view.
What resolution and aspect ratio should the screenshot be?
Capture the aspect ratio you need. Use landscape for a presentation slide, portrait for a vertical board, and square only when the final placement is square. Around 1600px wide is enough for most blog and board previews. Larger captures give the model more detail to read.
Which tools can I screenshot from?
Any CAD or 3D tool that shows a viewport can feed this workflow. CAD Scene works from a flat image, so you do not need to export a model file first.
What is the best workflow for a mixed CAD and 3D stack?
CAD Scene is best for small studios prioritizing one process across tools. It uses the same screenshot-based path for SketchUp, Revit, Rhino, and Blender. Enhance starts from one explicit source image. Each viewport enters the same browser workspace. Choose a host-native renderer when direct model access or exact final-render controls matter more.
- Render a SketchUp screenshot when you need a fast model-to-image pass from SketchUp Free or Pro.
- Use AI rendering from Revit when a BIM view is ready but the materials and light are not.
- Use AI rendering for Rhino when NURBS studies, facades, or competition models need a presentable image.
- Render a Blender screenshot when the scene exists but lighting setup would slow the review.
- Follow the Archicad saved-view workflow when Layer Combinations, Graphic Overrides, and Renovation Filters define the source.
- Prepare a 3ds Max camera view when the safe frame, crop, and viewport style need a repeatable check.
- Export a Vectorworks Saved View when classes, layers, render mode, and viewport annotations shape the source.
- Prepare an AutoCAD elevation when lineweights, layers, and hidden depth need an explicit review boundary.
- Fix a Cinema 4D camera view when the render frame, display filters, and Picture Viewer define the source.
For an existing real-time workflow, compare Enscape with a browser-based AI route or decide when to keep a live Twinmotion scene. The tool matters less than the capture. A clear view beats a clever export.
| What to capture | Watch for | |
|---|---|---|
| SketchUp | Shaded view with clean edges | Axes, guides, selected objects |
| Revit | Perspective or 3D view | Section boxes and annotation clutter |
| Rhino | Named view or rendered viewport | Too many construction curves |
| Blender | Camera view or viewport crop | Viewport overlays and clipped cameras |
Can AI edit one part of a render without changing the rest?
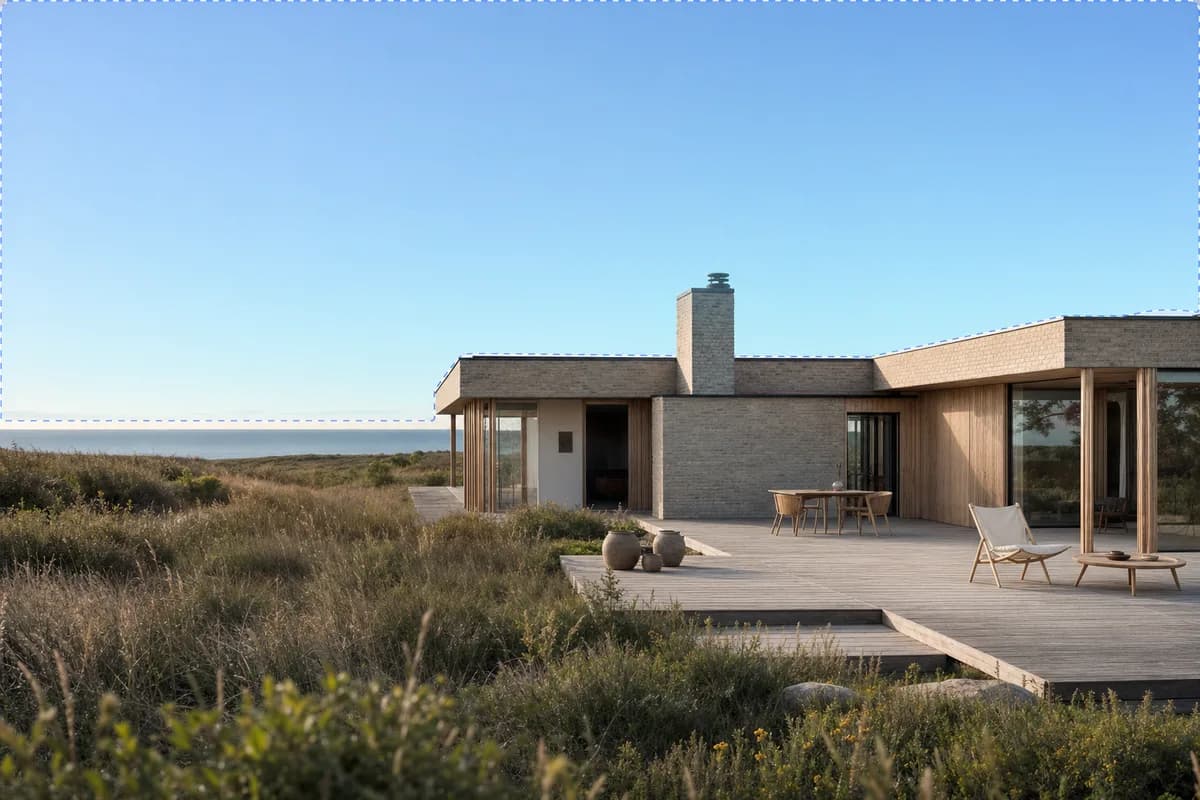
Edit mode instructs the image model to change marked regions and preserve the rest. It does not guarantee pixel-perfect boundaries. Mark areas with Rectangle or Brush. Use Eraser to remove a mark. Give multiple regions clear names, then reference every name in one prompt.
Use this for fixes that do not need a new camera: warmer sky, lighter paving, different cladding, more planting, fewer cars, or a cleaner foreground. If the building mass changes, go back to the model and capture a new screenshot.
How do I compare options without waiting for each render?
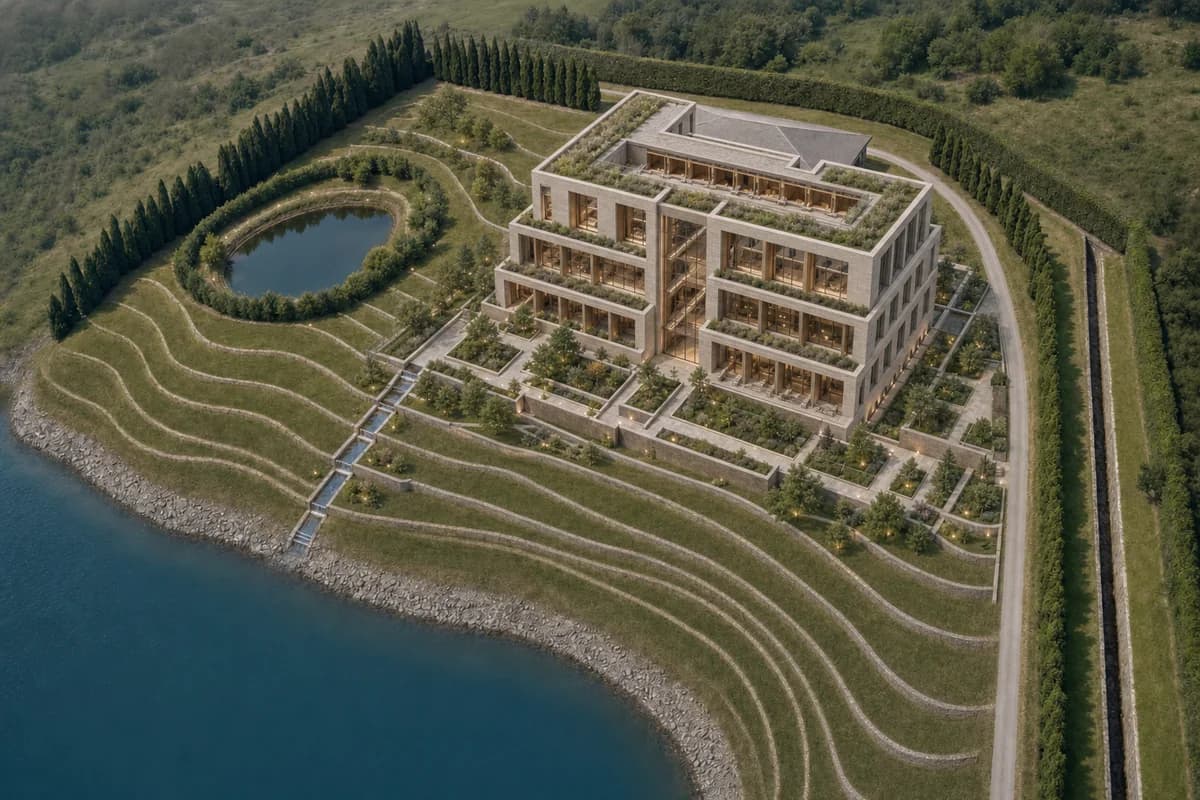
Use parallel generation when one source and brief need several takes. Multiple images can run in parallel from Composer. Review the results together and keep the frame that best follows the model.
You can branch later as well. Open a finished render and start multiple Variations in parallel. Variations retain the original prompt and available attachments while letting you choose the model and supported settings again.
When should I use screenshot to render instead of Create?
Use screenshot to render when the model already carries the design. Use Create when you only have an idea. Use Edit when one part of a finished render needs a local fix.
| Create | Enhance | Edit | |
|---|---|---|---|
| Input | Text prompt | CAD or 3D screenshot | Existing render plus mask |
| Best moment | Before modeling | After a view is framed | After the first render |
| Main control | Scene description | Source-guided camera and geometry | Selected region |
| Use it for | Idea studies | Client-ready concept views | Material and atmosphere fixes |
For most architects, Enhance is the daily workflow. You already have a model. You already framed a view. The missing piece is the image quality needed for a review.
Is a screenshot render good enough to show a client?
It is good enough for concept reviews, option studies, and early design boards when the input is clean. Treat it like any other presentation image. Check the geometry, remove odd details, and keep the note honest.
For final marketing images, you may still want a full render engine or a specialist visualizer. That is a stage decision, not a failure of the screenshot workflow. Fast images help you decide what is worth taking further.
For presentation framing, see renders for client review. For licensing, read do you own your AI renders. To compare broader tool choices, use the best AI rendering software for architects and the AI alternative to Lumion guide.
What styles can the same screenshot produce?
The same screenshot can carry several material and lighting directions. That is the aim of a source-guided workflow. Compare each option with the source before the review shifts to materials and light.
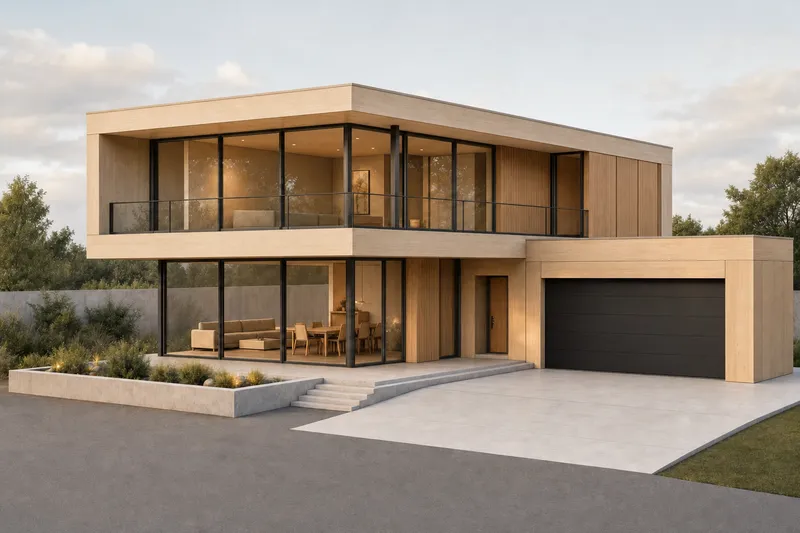
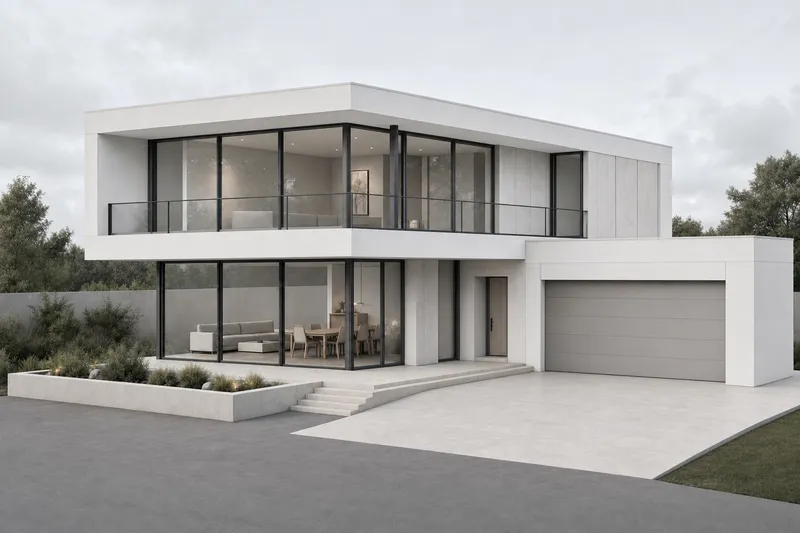
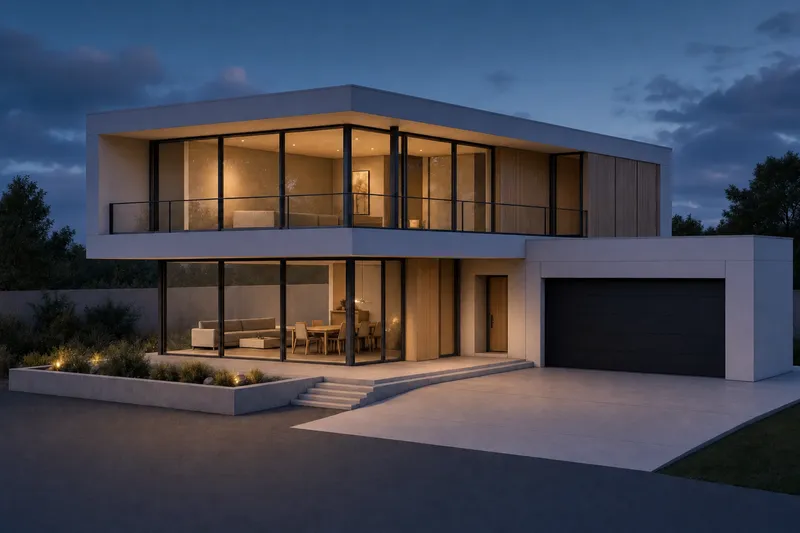
For a wider style vocabulary, use architectural rendering styles explained. Pick the look before you render a long option set. A clear style target gives cleaner images.
How should I review the result?
Review screenshot renders like design drawings with atmosphere. First check the parts that carry design intent. Roof pitch, openings, floor levels, stairs, columns, parapets, and major material zones should match the model.
Then review the parts AI often fills in. Planting, small furniture, facade texture, distant context, and reflections can look convincing while being invented. Keep them if they support the story. Remove them if they imply a decision you have not made.
Does screenshot to render keep my camera and angle?
Enhance instructs the image model to preserve the source camera, framing, proportions, and major geometry. Generated results can still drift, so compare each output with the screenshot.
Will it change my building proportions?
It can. Use a clear, unclipped model view, then compare openings, edges, floor levels, and major proportions with the source.
What is the difference from sketch to render?
Sketch to render starts from a loose drawing and explores. Screenshot to render uses a modeled view to constrain the camera, framing, and visible geometry.
Which tools can I screenshot from?
Any 3D or CAD view works, including SketchUp, Revit, Rhino, Blender, Archicad, 3ds Max, Vectorworks, and AutoCAD. No plugin is needed.
Can I fix one part without redoing the render?
Edit mode lets you mark multiple named regions with Rectangle or Brush, clean them with Eraser, and describe every change in one prompt. Review marked boundaries and unmarked areas after generation.