
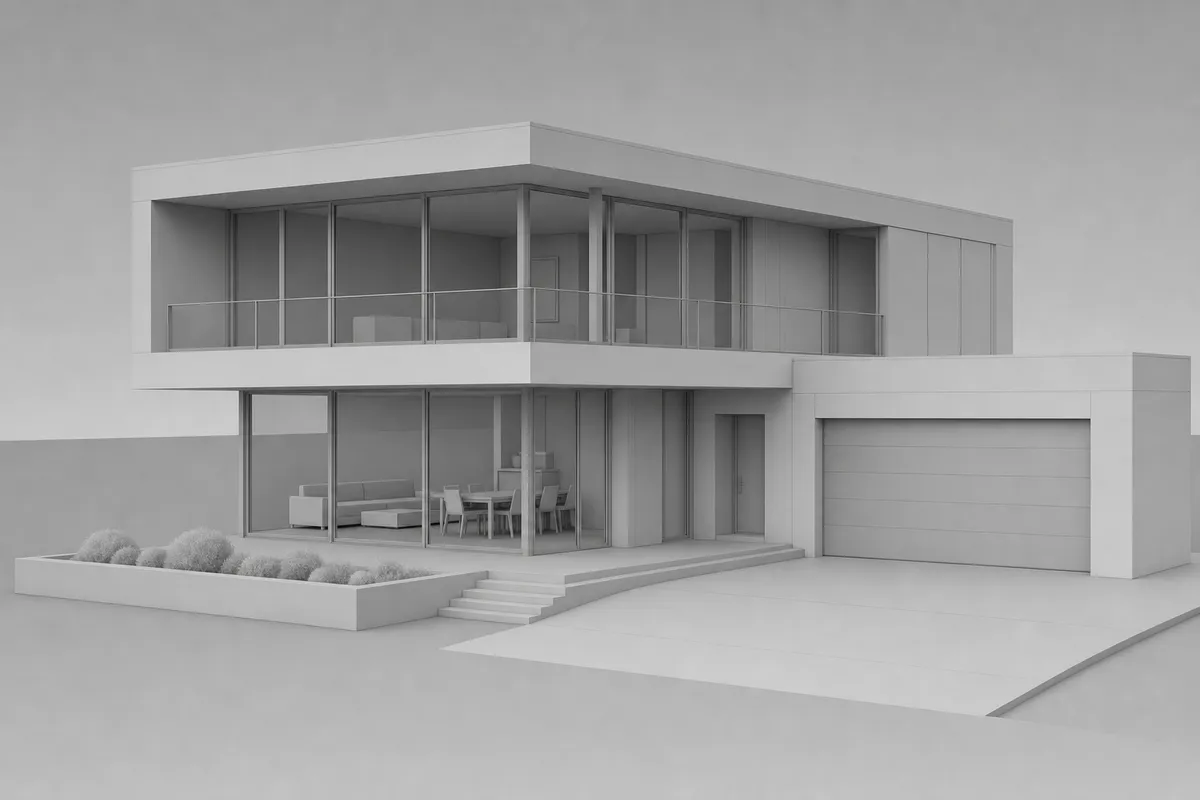
Before
Start with the chosen view
Export a clean viewport image. The model defines the camera and broad proportions.
From modeled view to client image
Screenshot to render starts with the CAD or 3D view you already framed. Work from that camera and broad proportions. Move straight to materials, light, and context.
Your first renders are free. No credit card.
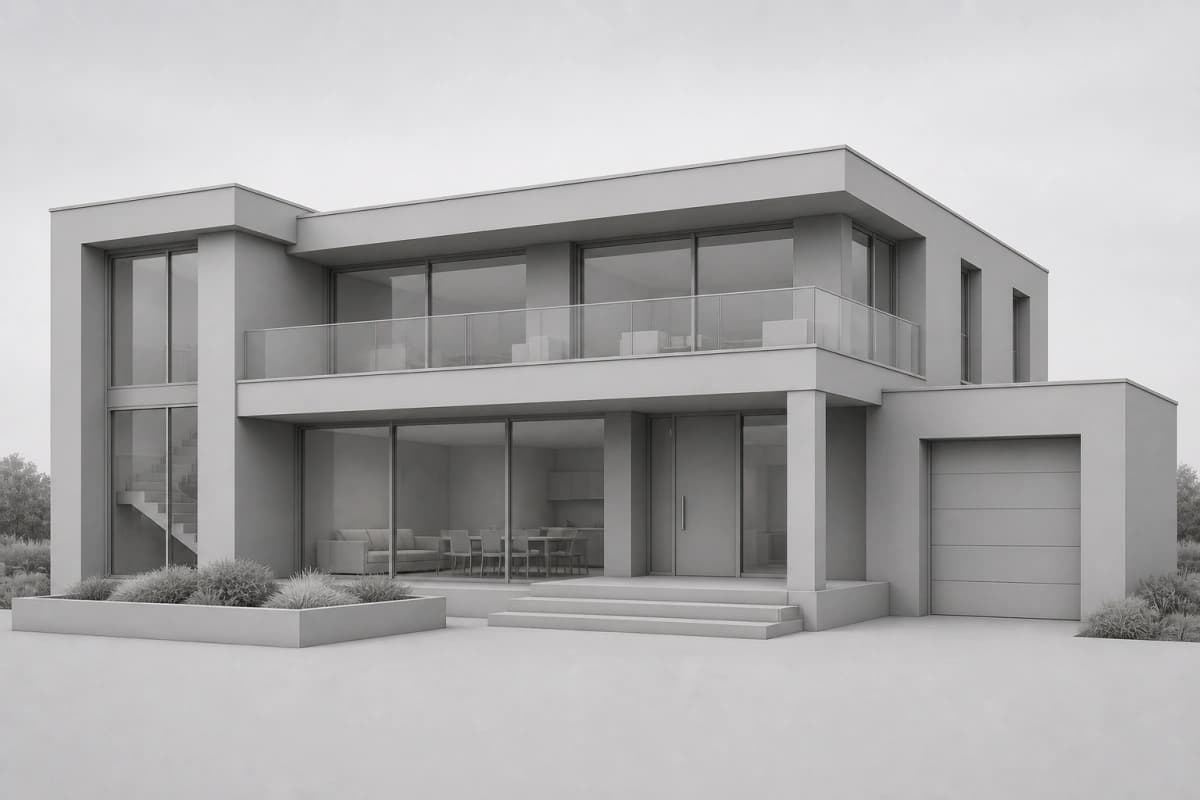 3D screenshot
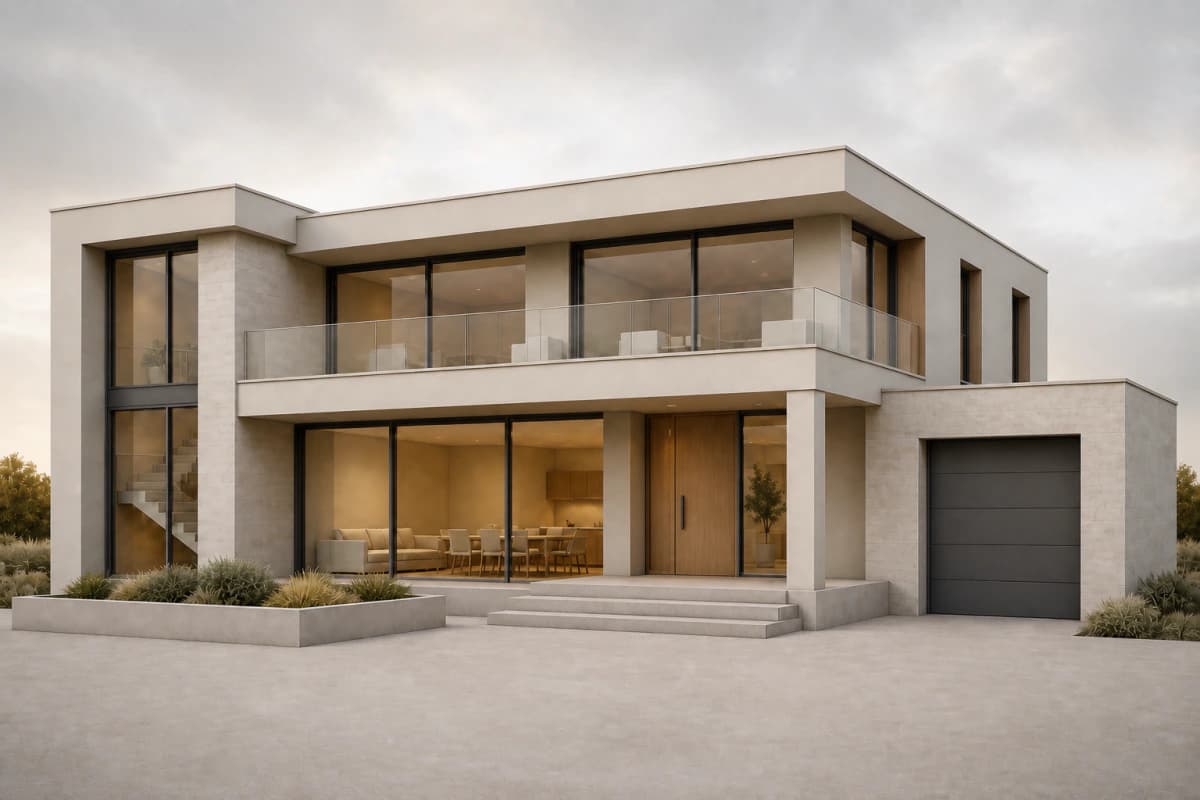 Rendered
Step from the clean viewport capture you framed to a finished render. The source view guides the camera, massing, and proportions.
Start free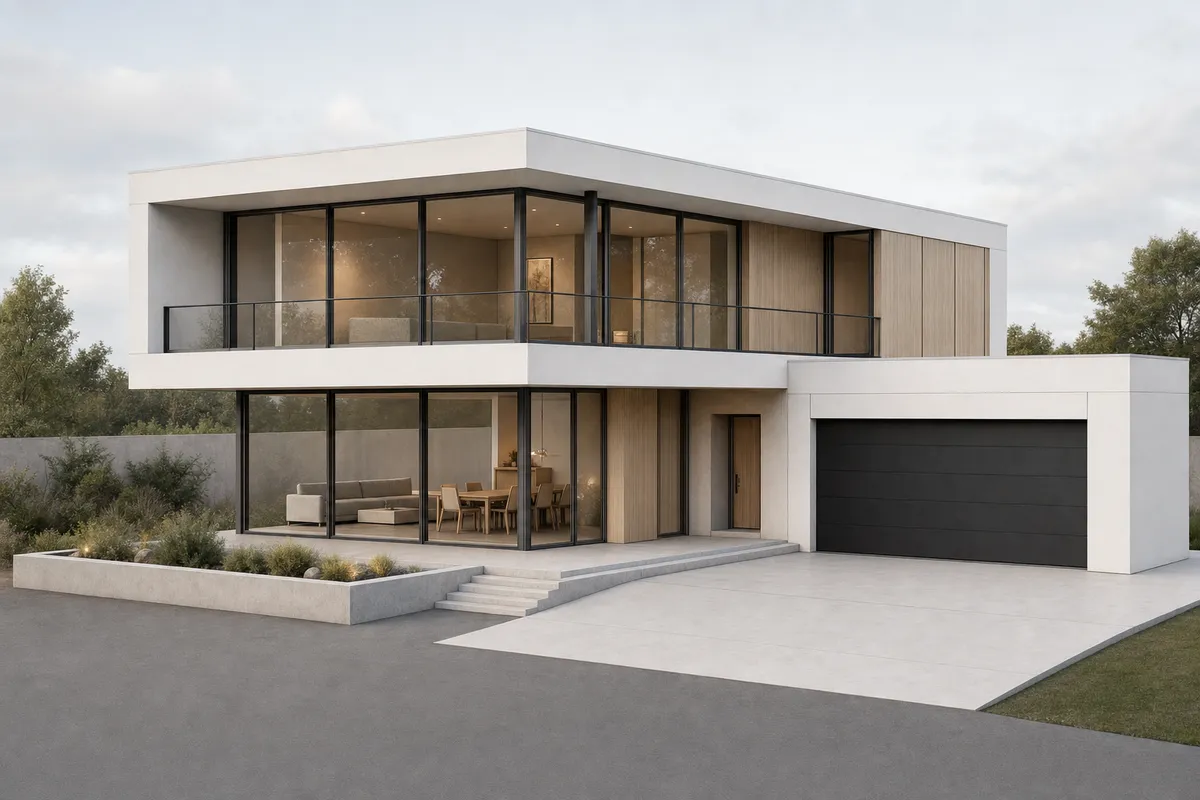
Pale timber, white render, soft daylight, and restrained planting.
The framed villa gains timber, landscape, daylight, and a grounded site.
The model sets the camera. Materials, light, and context complete the presentation.
Rendered view · presentation study
Do not redraw the idea. Carry its view into a client-ready study.
Before
Export a clean viewport image. The model defines the camera and broad proportions.
After
Name materials, light, landscape, and atmosphere. Apply them to the framed view.
Bridge
Compare the result with your model. Mark one region when details need adjustment.
Create starts from a prompt. Enhance develops your screenshot. Edit revises one marked area. Every study shares one project.
Read the screenshot-to-render guideAI interprets the source image. Review geometry, openings, edges, and specified products before client issue.
Your first renders are free. No credit card.
Free
100 credits
No card
Hobby
$12 / month
250 credits
Studio
$35 / month
1000 credits
Clear answers for screenshot to render, before you put a project in.
No. CAD Scene runs in the browser and accepts a flat viewport image.
A loose sketch leaves geometry open to interpretation. Here, your modeled view leads the result.
No. The screenshot guides the image, but AI can alter details. Compare every result with your model.
Describe materials, light, landscape, atmosphere, and entourage. Keep camera changes out of the brief.
Work from a flat image in your browser. No plugin required. Your first renders are free. No credit card.
Start freeYour first renders are free. No credit card.