
- Published on
Best AI Rendering for Revit: Plugin or Browser?

The best AI rendering tool for Revit depends on the source connection you need. Choose CAD Scene for browser-based still studies across a mixed modeling stack. Choose Chaos Veras when direct Revit view context and in-host iteration matter most. Visualizee suits a broader image and motion workflow. VizBase suits browser-based material studies, but its native Revit plugin is still planned.
Do not choose from a gallery alone. Fix one Revit 3D view. Test the same brief, local correction, and delivery size in two serious candidates. Check the camera, openings, repeated elements, materials, and total path to an accepted image. Revit remains the authority for dimensions and coordinated design.
 Synthetic source
 Render study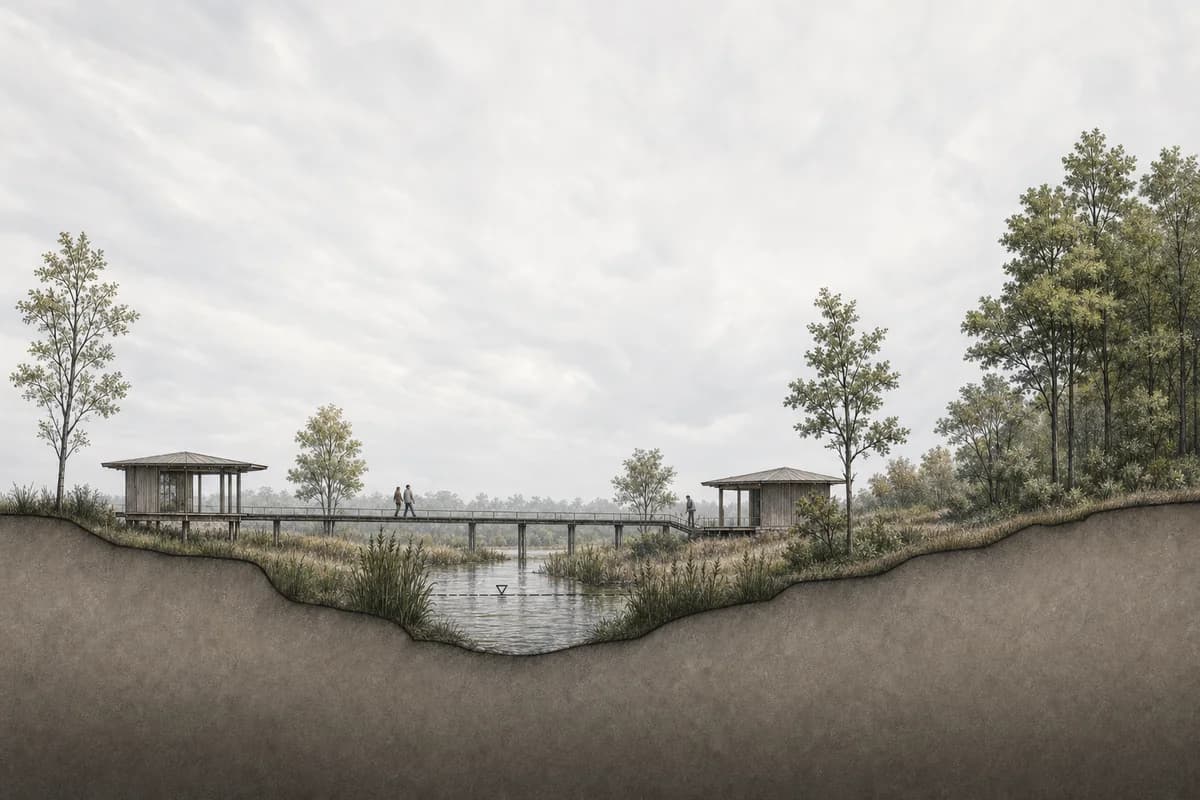
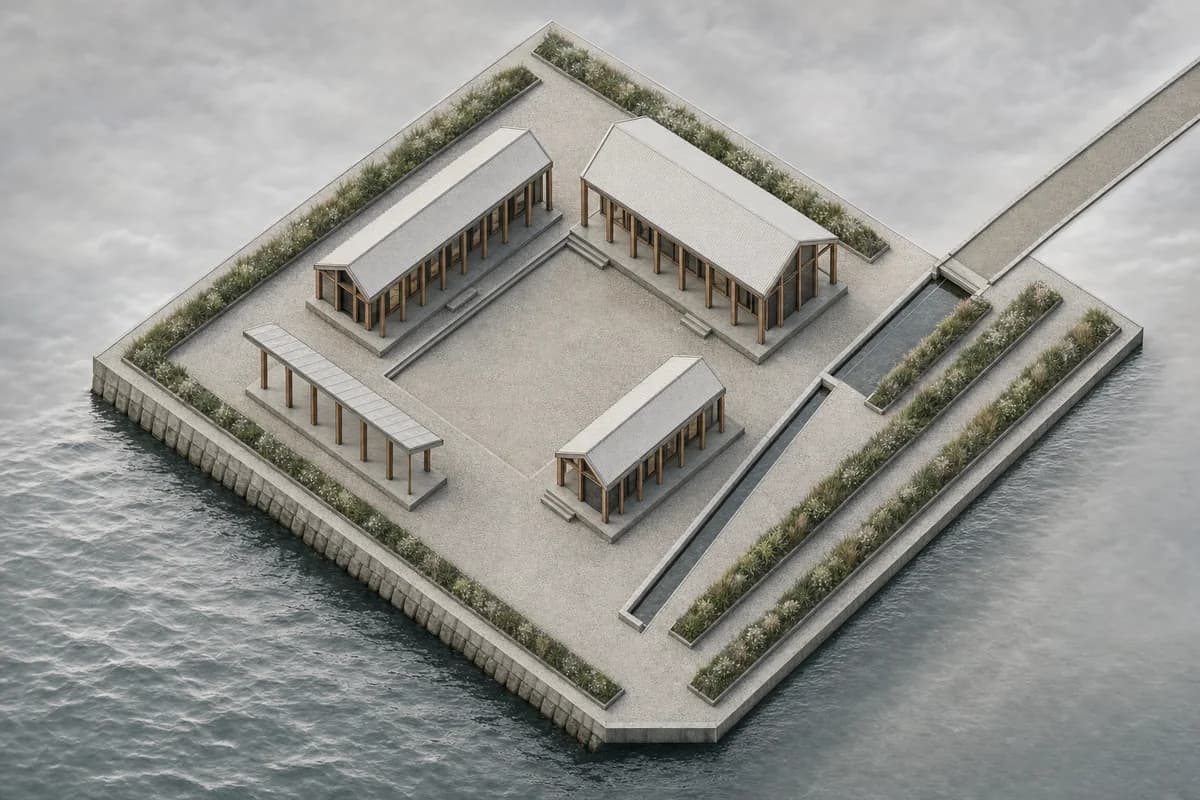
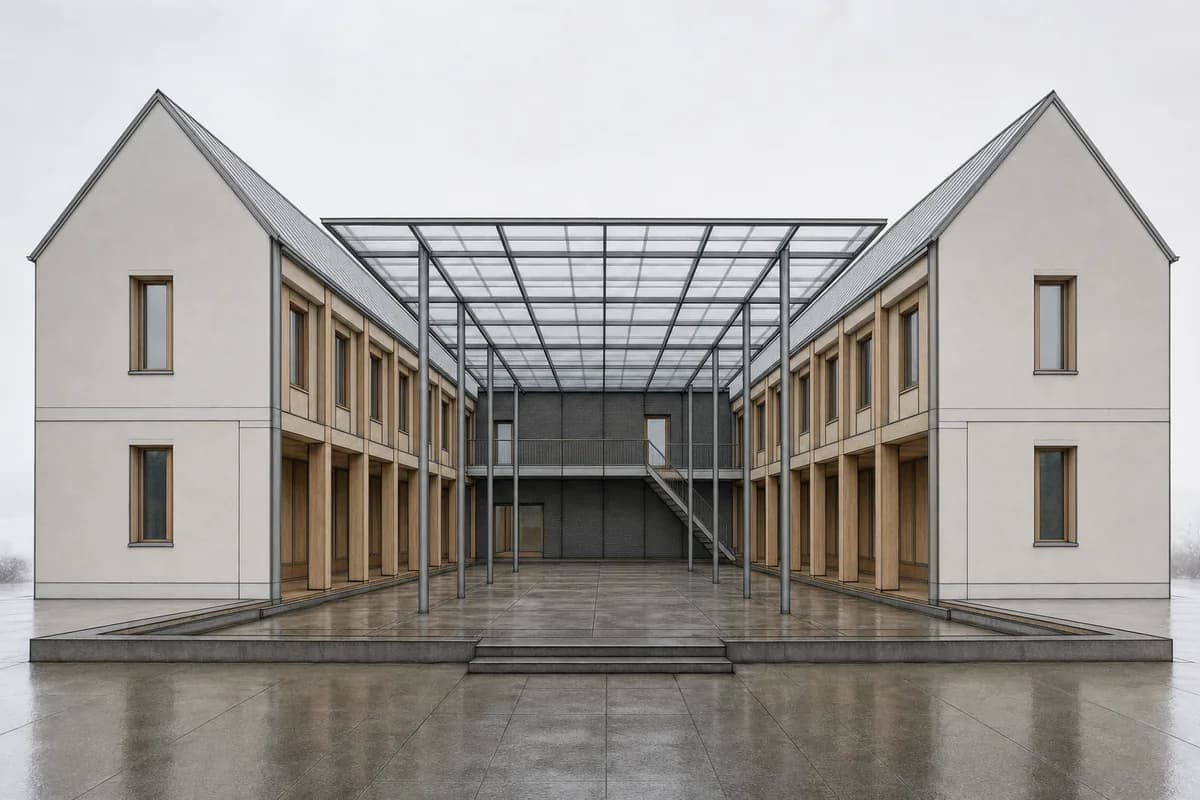
What is the honest verdict for Revit users?
Start with source context. A Revit plugin can read more than a raster image. A browser workflow can accept one portable view from several modeling tools.
| Decision | Best starting route |
|---|---|
| Mixed Revit, Rhino, and SketchUp stack | CAD Scene browser workbench |
| Direct Revit view context | Chaos Veras plugin |
| Images and motion in one browser project | Visualizee |
| Element-led material options | VizBase browser workflow |
| Live walkthrough or measured output | Model-connected conventional renderer |
This is a focused shortlist. It is not a complete market directory. Each route has a distinct Revit decision and current public documentation. The broader AI rendering software guide for architects covers team canvases, general suites, output controls, and other source tools.
How was this Revit shortlist researched?
The review uses official pages accessed on 24 September 2026. It checks Revit input, plugin status, source context, edit controls, project continuity, and output scope. CAD Scene facts come from current product code and documentation.
This is a desk review. We did not run private competitor accounts. Vendor statements about fidelity, speed, and source preservation remain vendor claims. Unknown behavior stays unknown. Your own model is the acceptance test.
The page serves a different task from the practical guide to AI rendering from Revit. That guide covers view export, prompting, Enhance, and source review. This page helps you choose the tool around those steps.
What should a Revit AI rendering tool do well?
A useful tool should preserve the design decision before adding atmosphere. It should also support the correction work that follows.
Check seven things:
- Source path. Does it use an exported image or active Revit context?
- View behavior. Does the camera, crop, and perspective remain useful?
- Visible geometry. Do openings, roof lines, and repeated bays hold?
- Material control. Can finishes change without crossing boundaries?
- Edit control. Can one local issue change without a full restart?
- Project continuity. Can later views reuse one visual direction?
- Delivery scope. Do you need images, walkthroughs, VR, or measured light?
A longer feature list does not repair a moved mullion. Judge the accepted image and every step required to reach it.
Which AI rendering tools fit Revit workflows?
The strongest options solve different handoffs. The order starts with a portable browser workbench, then moves toward direct and broader routes.
CAD Scene for mixed-stack browser studies
CAD Scene starts from an exported Revit view in Enhance. The image sets the camera, framing, visible geometry, and proportions as constraints. Generated details can still drift. Compare every result with the fixed Revit view.
Create, Enhance, and Edit share one Project. The Composition also stays at Project level. Its Style, Scene, Lighting, Materials, and Entourage fields apply across every study. Named Edit regions support focused corrections. Built-in Presets and saved Presets can carry direction into later views.
Choose CAD Scene when Revit is one source among Rhino, SketchUp, Blender, Archicad, Vectorworks, or another tool. The same image handoff works across the stack. CAD Scene does not read the .rvt model and has no Revit plugin.
The screenshot-to-render method explains what pixels can constrain. The public retention review method explains how to check camera, framing, perspective, and visible geometry.
Chaos Veras for direct Revit context
Chaos Veras is the direct plugin choice. Its June 2026 workflow guide says the Revit add-in reads the active 3D view, including geometry, camera, and materials. It lists Revit 2022 through 2026 support.
Veras also supports Presets, reference images, prompt-led geometry control, and Smart Selection. Choose it when Revit remains open through material and design development studies. The current product also extends into video and image-to-3D asset work.
Direct context is an input advantage, not BIM verification. Check curtain-wall grids, slab edges, families, and repeated parts. The source-backed CAD Scene vs Chaos Veras comparison covers integrations, controls, output, and current commercial terms.
Visualizee for a broader image project
Visualizee documents Revit screenshots as inputs for its Render workflow. The browser route can begin from a sketch, model screenshot, or photograph. Its Studio workspace then supports local regions and branching image work.
Choose Visualizee when the project also needs larger image batches or motion. Its reviewed public documentation does not describe a native Revit plugin. The source is a flat image, so object data and BIM parameters do not cross over.
The CAD Scene vs Visualizee comparison covers project structure, editing, output, and current plan boundaries.
VizBase for element-led material studies
VizBase publishes a Revit screenshot workflow. Its browser tool detects visible elements and creates material targets. Local inpainting can then revise a selected surface or object.
Choose it when the main task is comparing finishes on one exported view. The current Revit page states that a native Revit plugin is on the roadmap. Do not buy it today for an integration that has not shipped.
VizBase makes strong claims about geometry and untouched image areas. Treat them as vendor claims. Inspect masks, mullions, beams, and adjacent finishes on your own model. The CAD Scene vs VizBase comparison records the current source notes and unresolved plugin-plan details.
A conventional renderer when the scene must stay live
Stay with a model-connected renderer when the live Revit scene is the deliverable. Walkthroughs, VR, measured light, exact material systems, and coordinated changes need more than a generated still.
Chaos now includes Veras in current Enscape plans. That route combines AI options with a live renderer. The Enscape and AI decision explains when that connected workflow is the better fit.
Is a Revit plugin better than a browser workflow?
Neither route is always better. The useful question is what must remain connected after the view is framed.
| Decision point | Browser image | Revit plugin |
|---|---|---|
| Source handoff | Exported raster view | Active Revit view |
| Works across source tools | ||
| Deployment | No host add-in | Install and version checks |
| BIM context | Visible pixels only | Product-dependent model context |
| Best fit | Mixed software stack | Revit-centered studio |
Choose a plugin when Revit remains open through every option study. Choose a browser route when consultants and staff supply views from several tools. Some studios use both. They keep a plugin for model-connected studies and a browser workbench for shared still-image review.
How should you prepare one fair Revit test?
Save the source before opening any rendering tool. Revit can export the current window, the visible portion, or selected views and sheets as raster images.
Fix one 3D view
Lock the camera, crop, visual style, model revision, and visible categories.Remove temporary marks
Hide grids, levels, scope boxes, crop boundaries, section boxes, and selections.Export one controlled source
Use a raster image with enough pixels to inspect openings and repeated parts.Write one short brief
Name materials, light, landscape, and atmosphere without redesigning the building.Request one local correction
Change one finish or object after the first acceptable render.Review against Revit
Check camera, crop, levels, openings, repeated bays, and material boundaries.
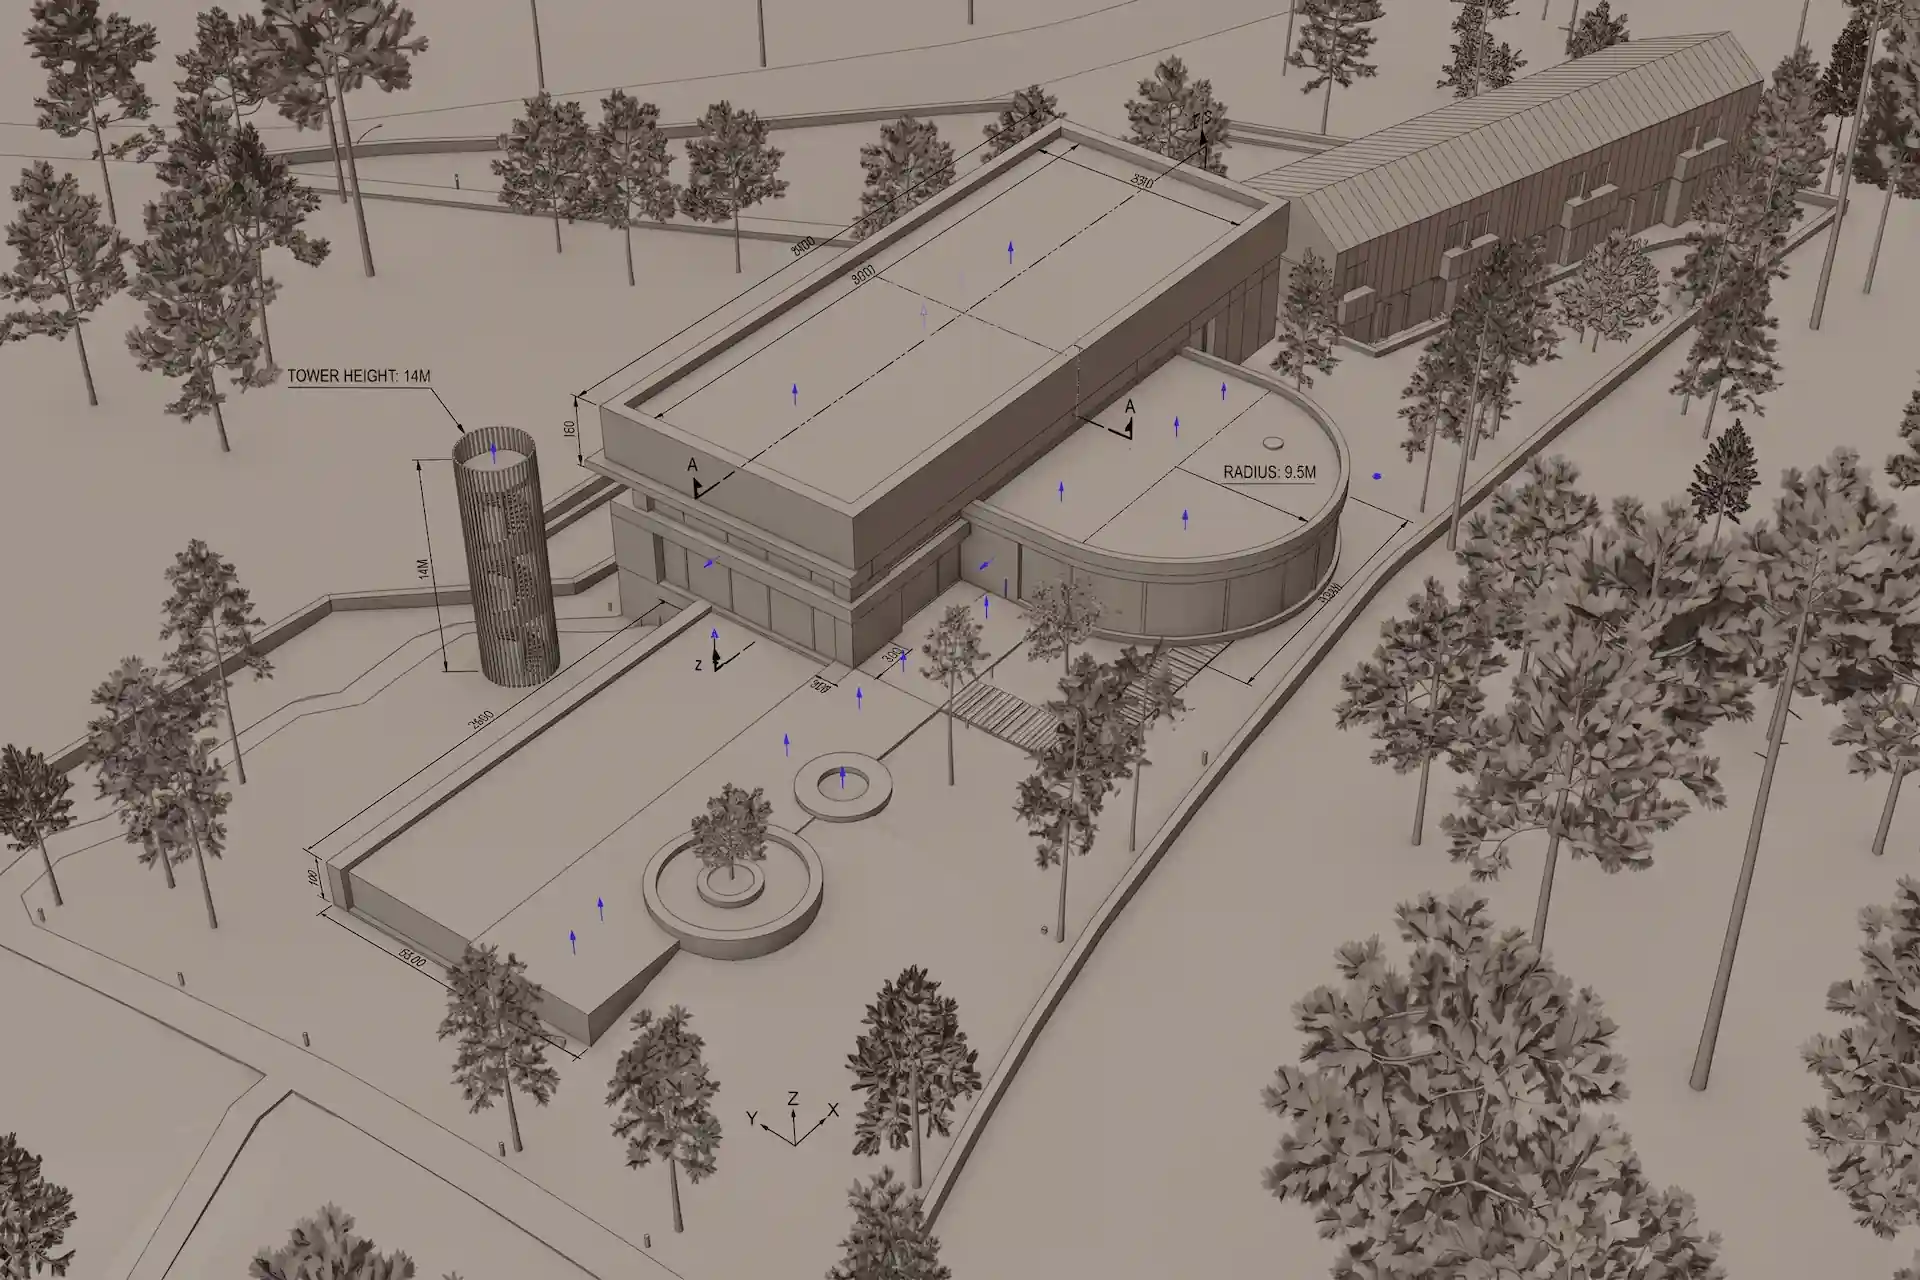
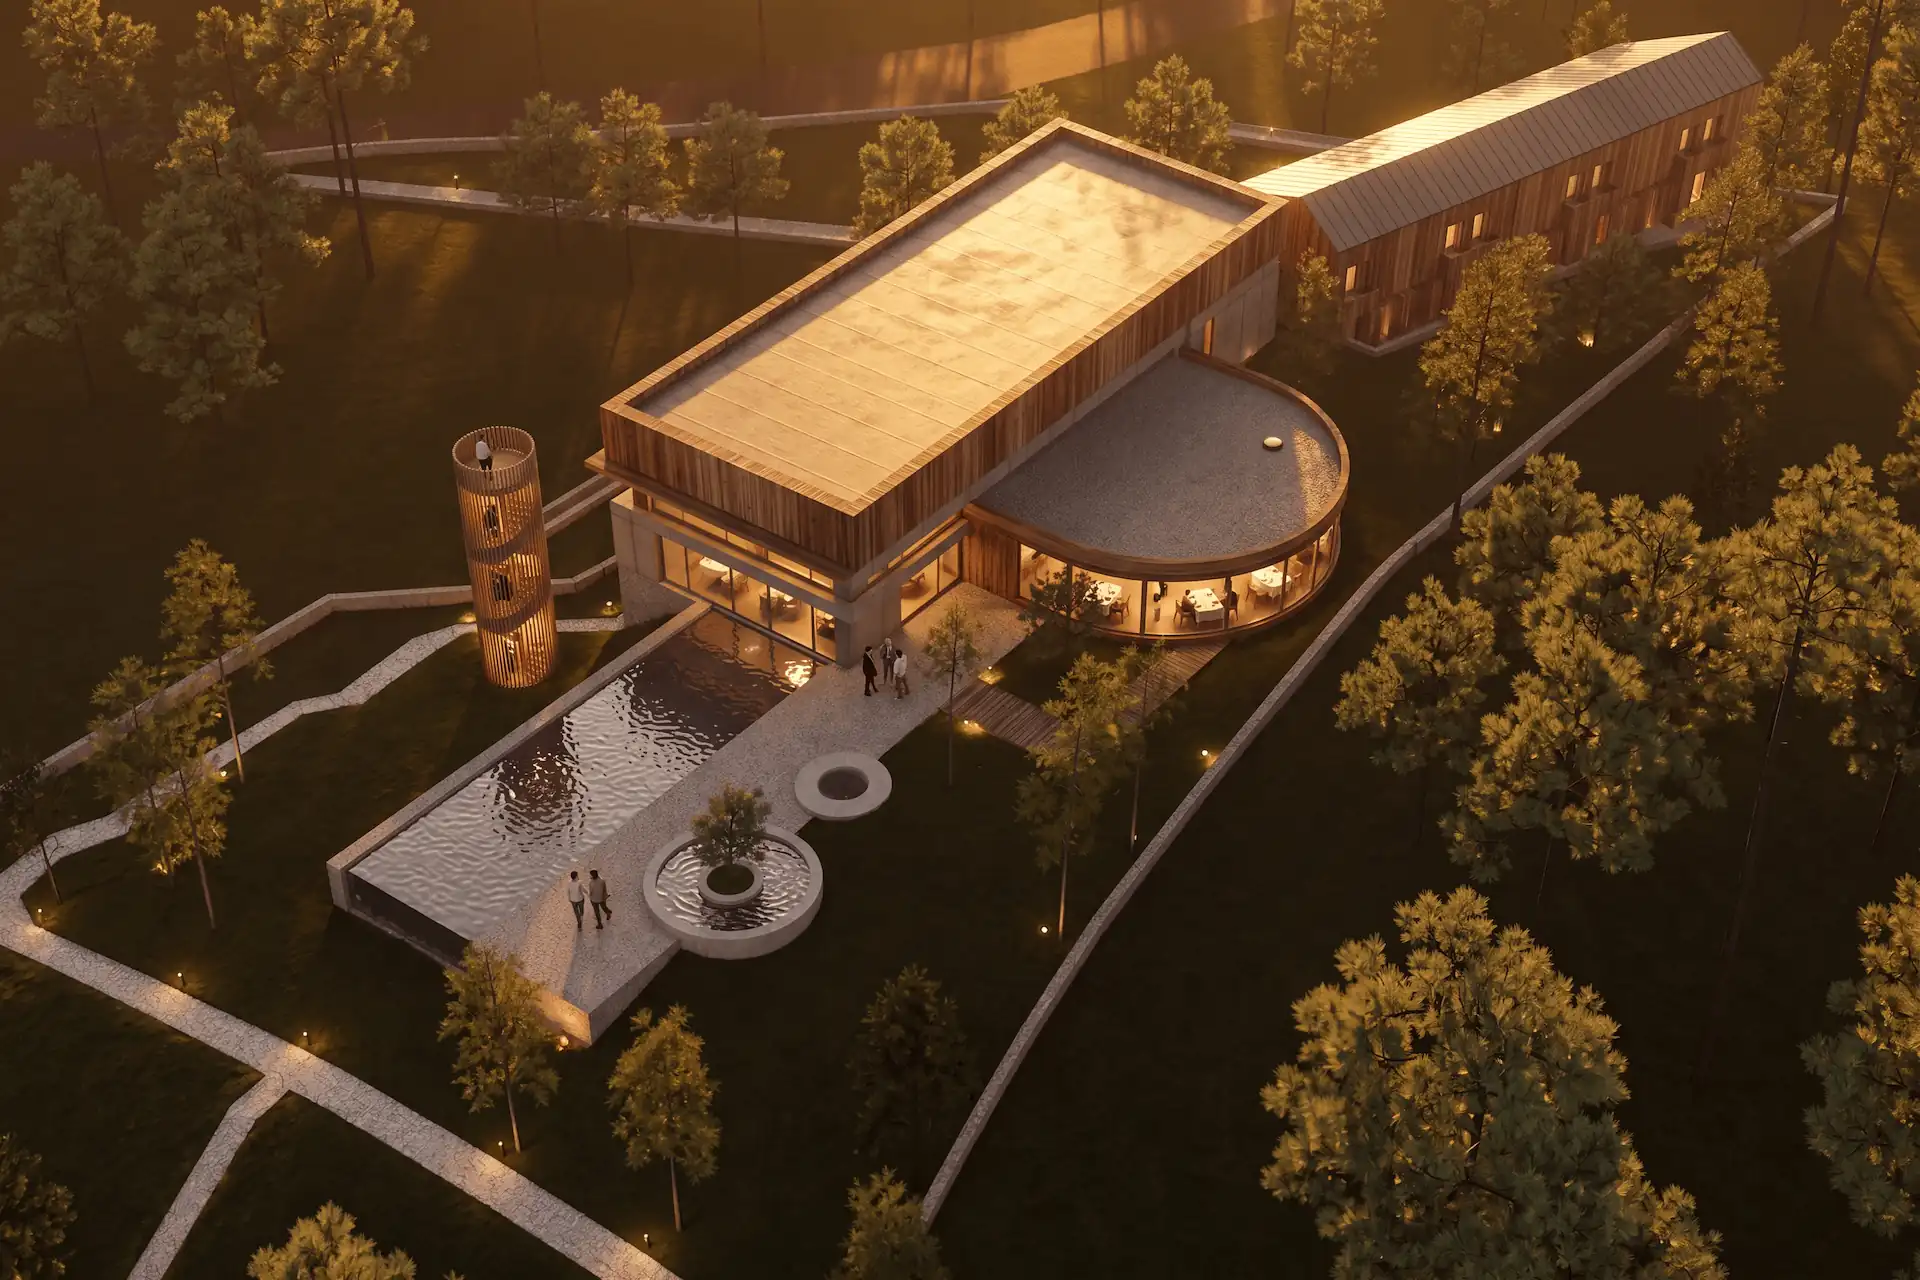
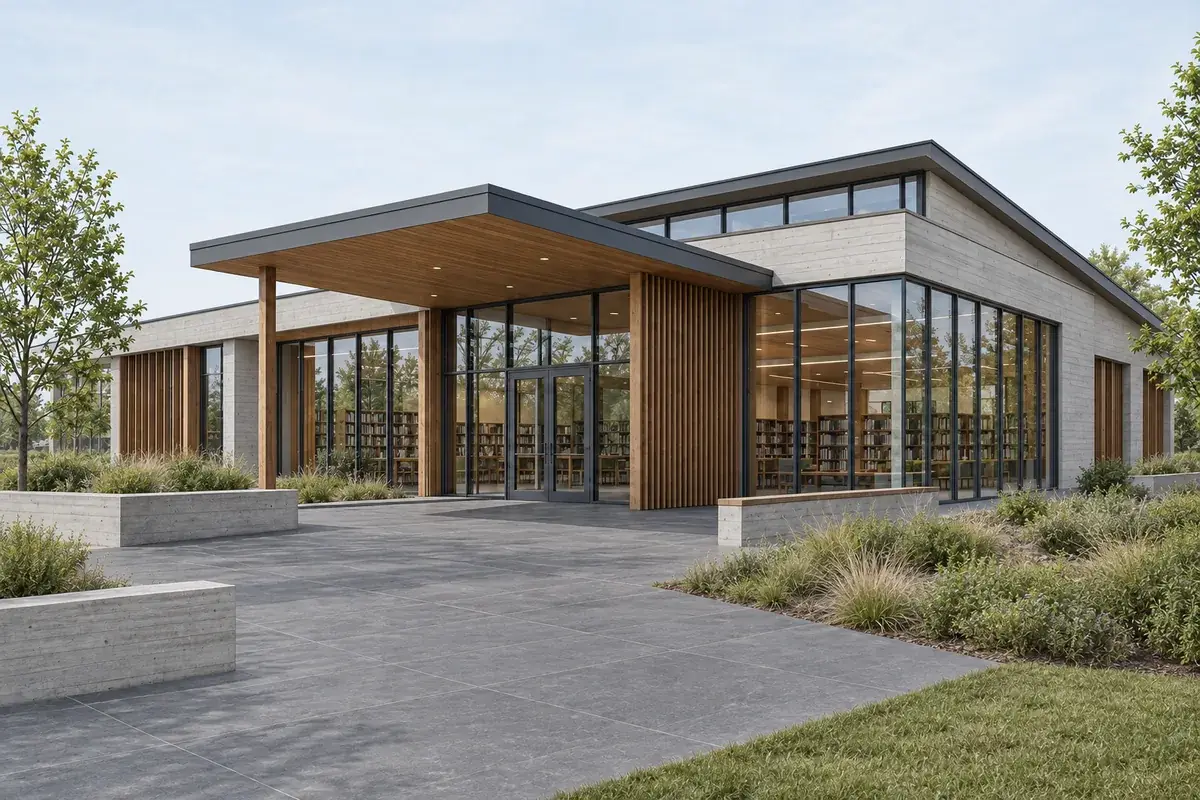
Before / after
Test one fixed Revit view in CAD Scene.
What should you check in each result?
Check source adherence before realism. Place the fixed Revit view beside the render. Review the camera, crop, major edges, openings, floor levels, and repeated parts.
Then inspect the requested finish:
- glazing should stay inside the intended openings;
- mullions should keep a plausible rhythm and depth;
- timber, concrete, and masonry should stop at clear boundaries;
- roof edges should not gain false trim;
- planting should not cover design evidence;
- a local edit should leave unrelated areas acceptable.
Record the full approval path. Count initial options, local edits, reruns, upscale, export size, plugin setup, and review time. A strong first image can still be the wrong tool if every correction restarts the scene.
How should you compare Revit AI rendering prices?
Price the accepted image, not the cheapest plan card. Credit units, image allowances, output rights, upscale, seats, and plugin access differ.
CAD Scene uses model-dependent credits. Quality and Resolution can change the cost. The Composer shows the exact total before submission. Current plans and top-ups live on the pricing page. The AI rendering pricing guide explains the credit model.
Estimate monthly render credits
Choose one current setup and the number of images you plan to generate. The estimate reads CAD Scene's live pricing matrix.
Generation only. Existing rollover credits can change plan fit. Current top-ups range from 50 to 450 credits. The Composer shows the final cost before every send.
For other tools, use the dated comparison pages linked above. Then confirm the live vendor card and checkout. This article does not copy competitor prices, because those figures can change before the workflow does.
Sources reviewed
- Autodesk Revit 2026 image export documentation, reviewed 24 September 2026
- Chaos Revit and SketchUp workflow guide, published 12 June 2026 and reviewed 24 September 2026
- Chaos Veras product and host support, reviewed 24 September 2026
- Visualizee Render workflow, reviewed 24 September 2026
- VizBase Revit workflow, reviewed 24 September 2026
- Enscape updates and Veras inclusion, reviewed 24 September 2026
- CAD Scene Product, Glossary, Help, and pricing code, reviewed 24 September 2026
What is the best AI rendering tool for Revit?
Choose CAD Scene for browser studies across a mixed modeling stack. Choose Chaos Veras when direct Revit view context matters. Test both on one fixed model view.
Do I need a Revit plugin for AI rendering?
No. Revit can export a clean raster view for a browser workflow. A plugin is useful when Revit stays at the center of every iteration.
Will an AI renderer keep my Revit geometry?
A source-guided tool can use the view as a constraint. Generated details can still drift. Compare openings, levels, repeated parts, camera, and crop against Revit.
Can AI rendering replace Enscape or V-Ray for Revit?
Not when the deliverable needs a live scene, walkthrough, VR, measured light, or exact materials. AI still studies fit concept and design review.
How should I compare two Revit AI renderers?
Use one fixed view, one source image, one brief, one local correction, and one delivery size. Compare source adherence, edit behavior, setup, cost, and approval work.
Table of Contents
- What is the honest verdict for Revit users?
- How was this Revit shortlist researched?
- What should a Revit AI rendering tool do well?
- Which AI rendering tools fit Revit workflows?
- Is a Revit plugin better than a browser workflow?
- How should you prepare one fair Revit test?
- What should you check in each result?
- How should you compare Revit AI rendering prices?
- Sources reviewed
Authors

- Name
- Vladimir Mindru
Previous Article
Table of Contents
- What is the honest verdict for Revit users?
- How was this Revit shortlist researched?
- What should a Revit AI rendering tool do well?
- Which AI rendering tools fit Revit workflows?
- Is a Revit plugin better than a browser workflow?
- How should you prepare one fair Revit test?
- What should you check in each result?
- How should you compare Revit AI rendering prices?
- Sources reviewed
Authors
- Name
- Vladimir Mindru