
ADU Render AI: Site, Privacy, and Small-Space Review

ADU render AI turns a small dwelling model, sketch, or site view into an image for design review. Start with the relationship to the main house. Keep the unit, entry, path, boundaries, trees, and ground levels visible. Use a fixed model view when those elements should guide the result. Then test one decision, such as cladding, privacy screening, landscape, or evening access. Compare the image with the model and site information before presenting it. The render can explain intent. It cannot verify setbacks, overlooking, access, services, code, or planning approval.
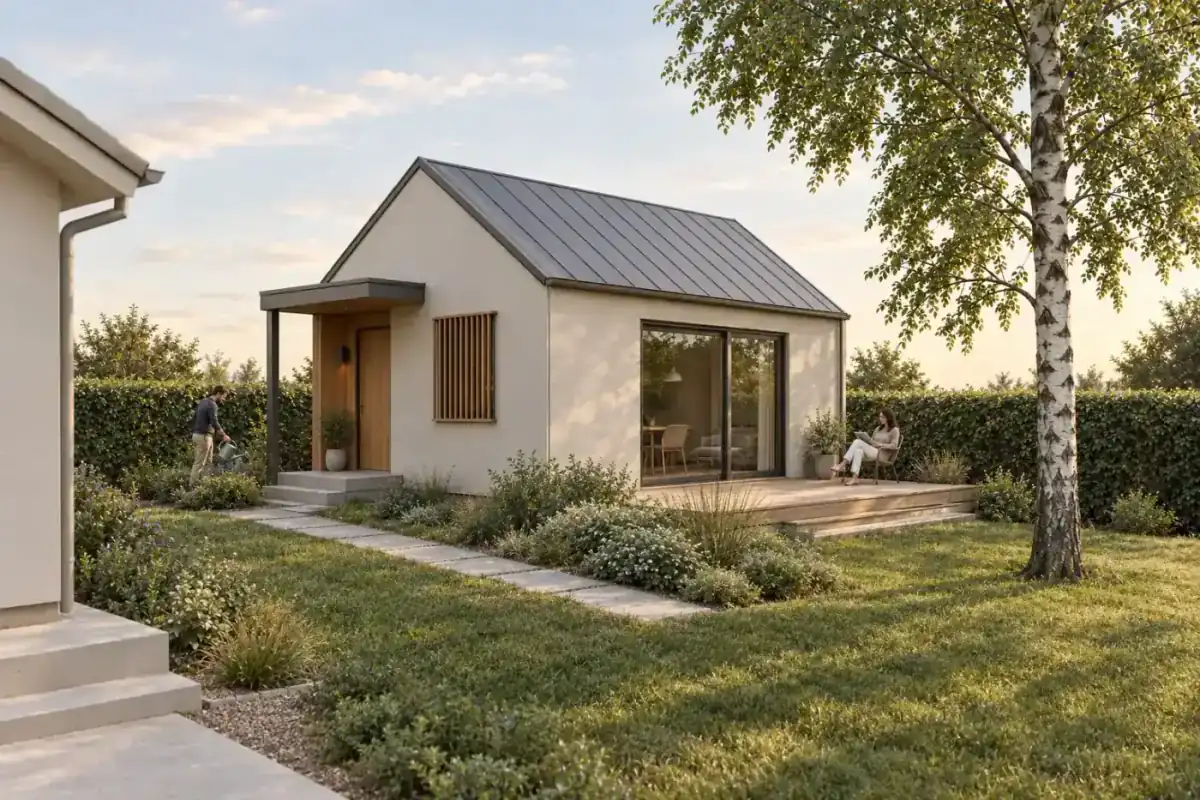
What is ADU render AI?
ADU render AI creates architectural images of an accessory dwelling unit from text or visual input. The source might be a sketch, plan image, BIM view, or 3D model screenshot.
The term ADU is common in the United States. Other places use annex, garden studio, secondary dwelling, or granny flat. Local definitions and approval routes differ. Use the project team's current terminology in client and planning material.
An ADU is small, but its image task is not. The view needs to explain the unit's scale, entry, privacy, daylight, and relationship to the main home. The wider residential AI rendering guide covers houses, apartments, extensions, and interiors.
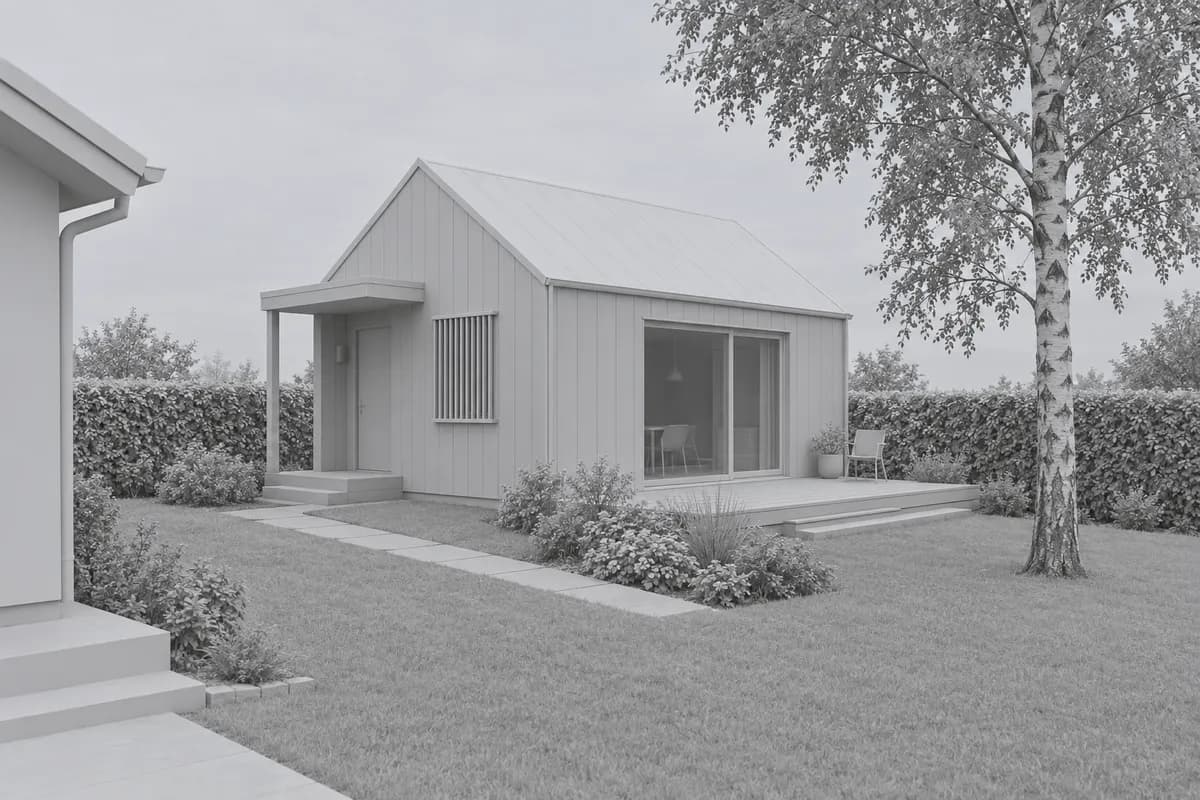 Synthetic sourceDaylight study
Start the comparison with the building outline. Check the roof, openings, entry, deck, path, tree, boundary, and ground. Review materials and atmosphere only after those elements still agree.
Which ADU view should you render first?
Choose the view that exposes the current decision. A dramatic image can hide the site relationship that makes an ADU workable.
| View | Useful question | Main limit |
|---|---|---|
| Garden three-quarter | How do entry, deck, windows, planting, and the main house relate? | One boundary or side passage may sit outside the frame |
| Street or access view | Can a visitor find the unit without crossing private space? | The private garden relationship may disappear |
| Plan or aerial view | How do paths, setbacks, trees, parking, and outdoor areas connect? | Human scale and facade depth remain abstract |
| Interior threshold | Do the compact room, glazing, storage, and garden edge read together? | It cannot explain the whole site |
Use a plan image when the site arrangement is the question. The floor plan to render workflow explains what a plan can guide and what the image model must infer.
For an exterior study, keep the main-house edge in frame when possible. That single reference helps the reader judge scale, separation, and shared landscape.
How do you prepare an ADU model view?
Set the camera and crop before generation. Save the view in the source model. Hide selections, axes, guides, grids, section boxes, and interface controls.
Keep design-critical context visible:
- the main-house wall, corner, or roof edge;
- boundaries and existing mature trees;
- the approach path and entry threshold;
- steps, ramps, retaining edges, and ground changes;
- windows facing neighbors or shared outdoor space;
- service or parking areas that affect the route.
Avoid a wide lens that makes the garden and interior feel larger. Check the source image against a plan or site model. The cross-tool screenshot guide covers camera, overlays, edges, and export size.
Use a stable Scene in SketchUp before you render the model view. In Revit, hide annotations and temporary graphics before the BIM view becomes an image study.
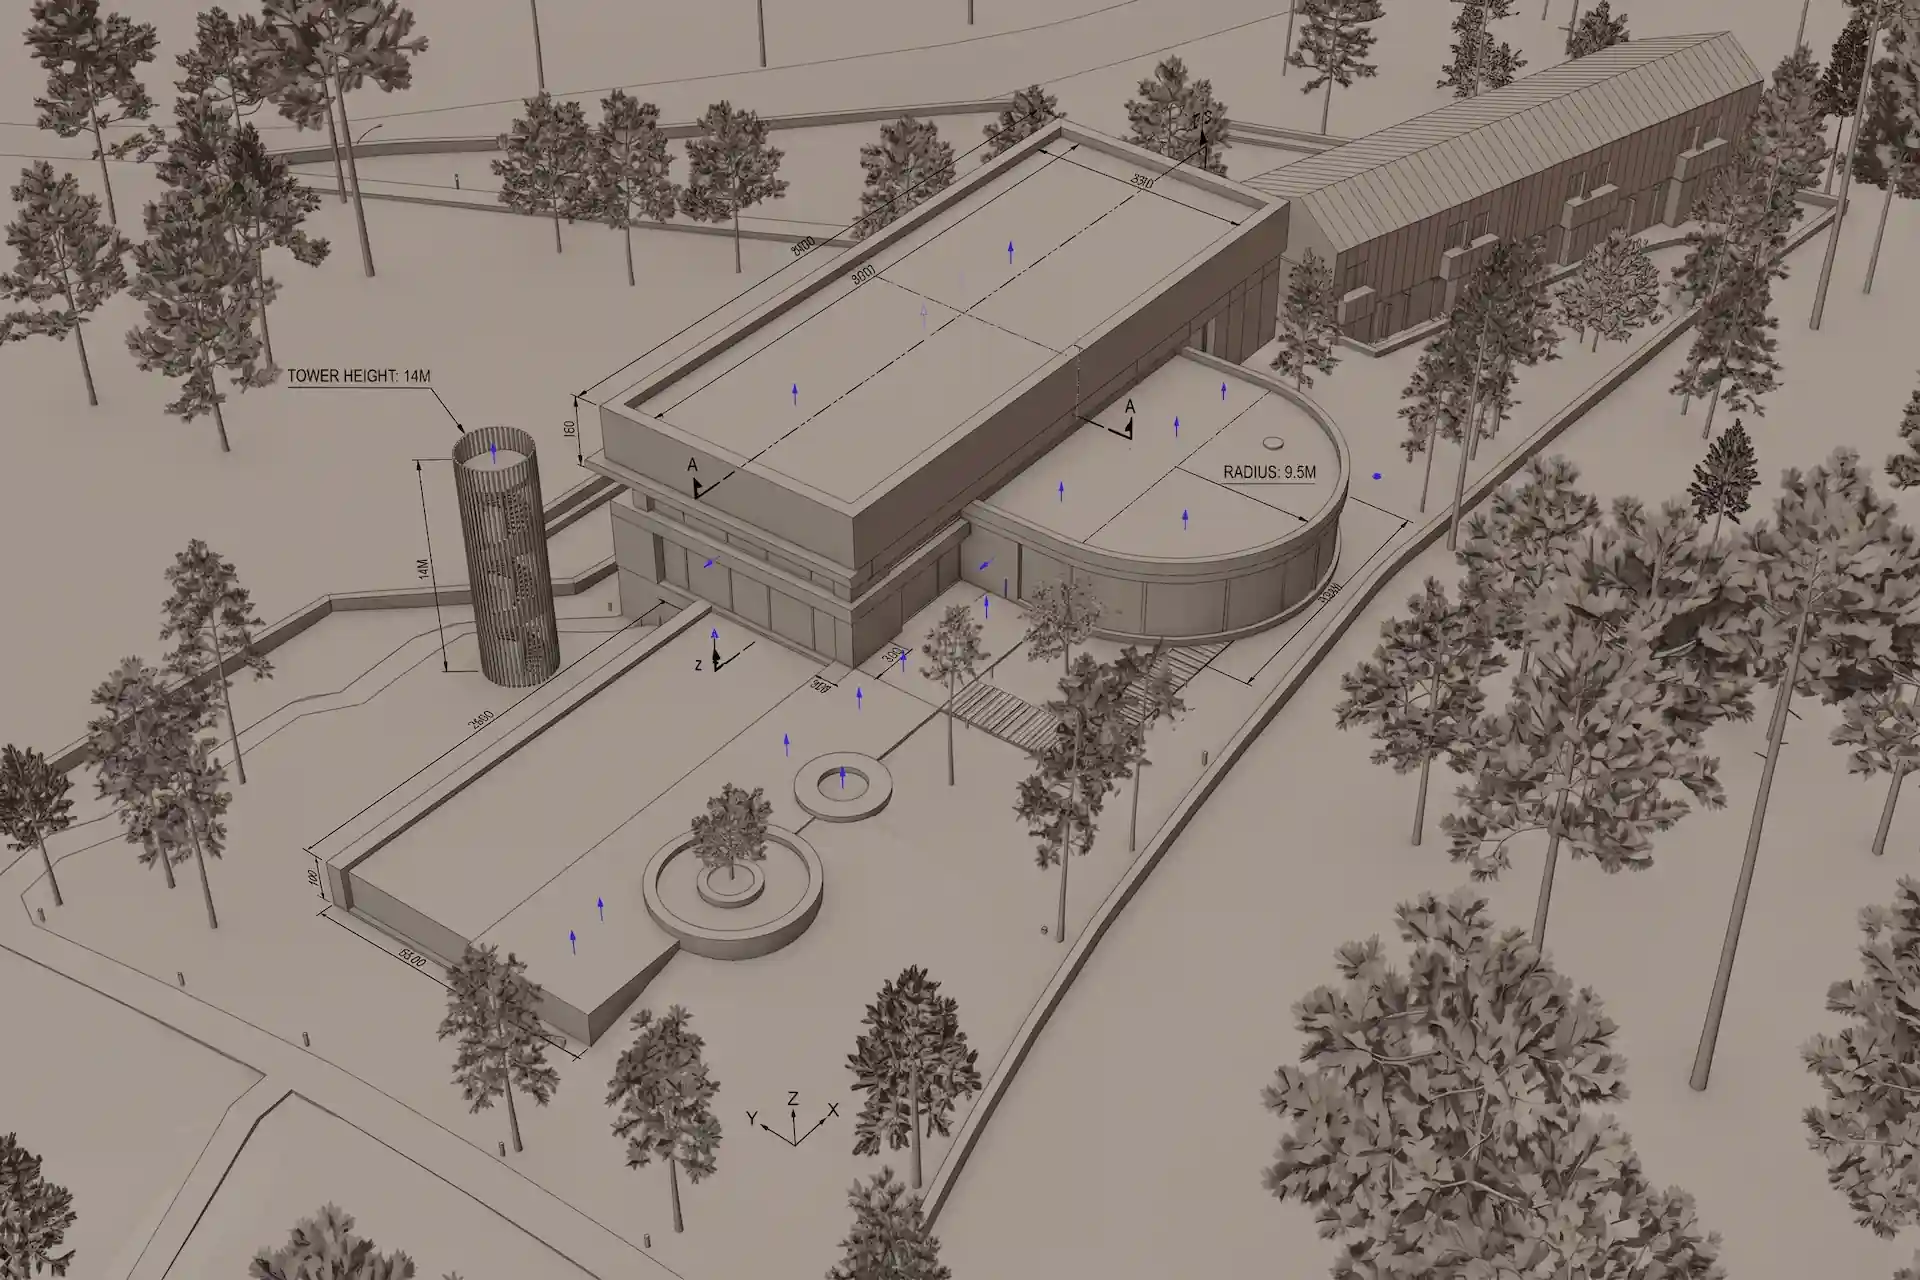
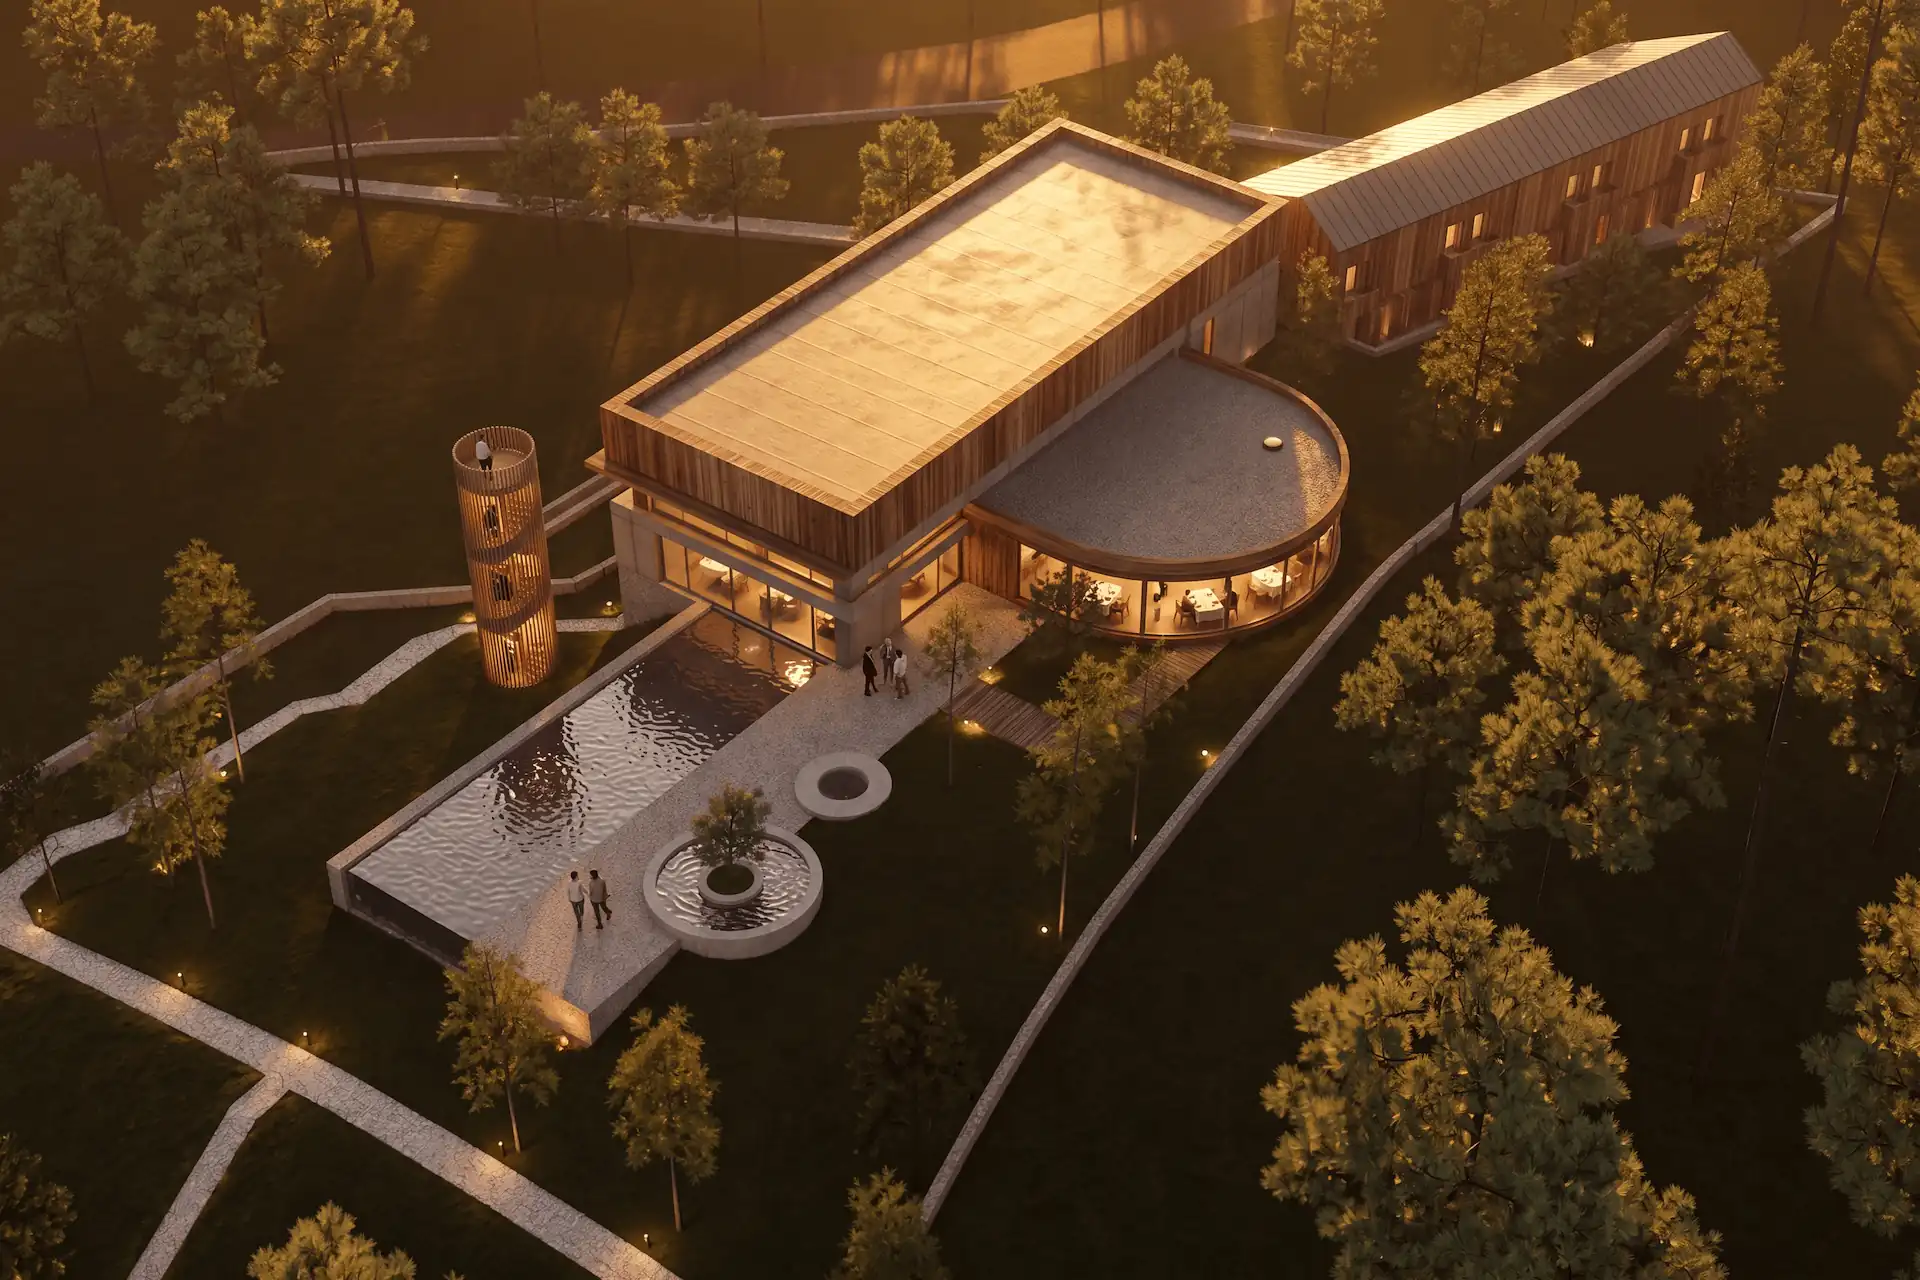
Before / after
Test one ADU decision on a clean model view.
What should an ADU rendering brief include?
Write the brief from fixed site facts toward changeable visual direction. Name what should remain before describing materials or light.
Name one decision
Choose siting, access, privacy, materials, landscape, daylight, or presentation as the current question.Fix the source and camera
Keep the unit, relevant main-house edge, boundaries, path, trees, and ground visible.Protect the visible design
Name the roof, openings, entry, deck, levels, and site elements that should not move.Describe one visual change
Set cladding, screening, planting, or light without reopening unrelated architecture.Review against the project
Compare massing, openings, access, privacy, levels, landscape, and artifacts with authoritative sources.
Source-led ADU brief
Copy the full brief, then adjust one variable at a time.
Prompt
Use the attached garden model view as the source. Keep its camera, crop, compact gabled unit, roof edges, openings, covered entry, deck, path, main-house edge, mature tree, boundary, and ground levels. Produce a clear daylight review image. Use pale mineral render, vertical oak at the entry, dark bronze frames, a restrained standing-seam roof, permeable paving, and low native planting. Keep the entry and windows visible. Do not add rooms, roofs, openings, steps, walls, parking, or neighboring buildings. Compare the result with the model and site information before client review.
Keep the preservation list short and visible. Hidden project facts need drawings, not a longer image prompt. The architecture render prompt guide covers subject, materials, light, camera, activity, and constraints.
How should privacy and overlooking appear?
Privacy is a spatial question before it is a planting effect. Review window direction, sill height, distance, level, boundary treatment, and occupation in the model and drawings.
Use the image to discuss how the proposal feels. A screen, canopy, hedge, or tree can explain visual direction. It cannot prove that an overlooking angle is resolved.
Keep screening selective. A dense hedge may conceal a weak window relationship. A tall fence may hide the unit's ground contact. Show enough of the opening, route, and boundary to support a real conversation.
How do you compare ADU materials and light?
Hold the building and camera while changing one main variable. Small facades make material scale and junction errors easy to see.
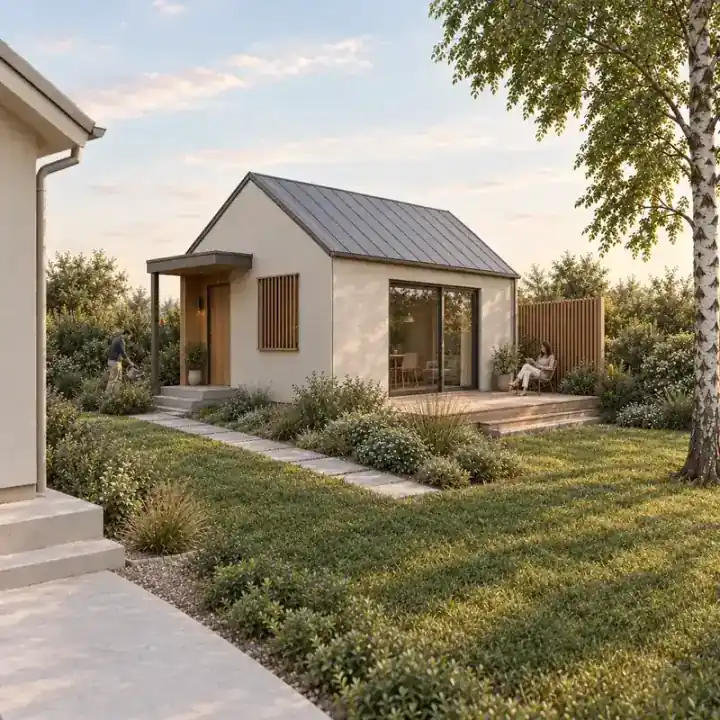
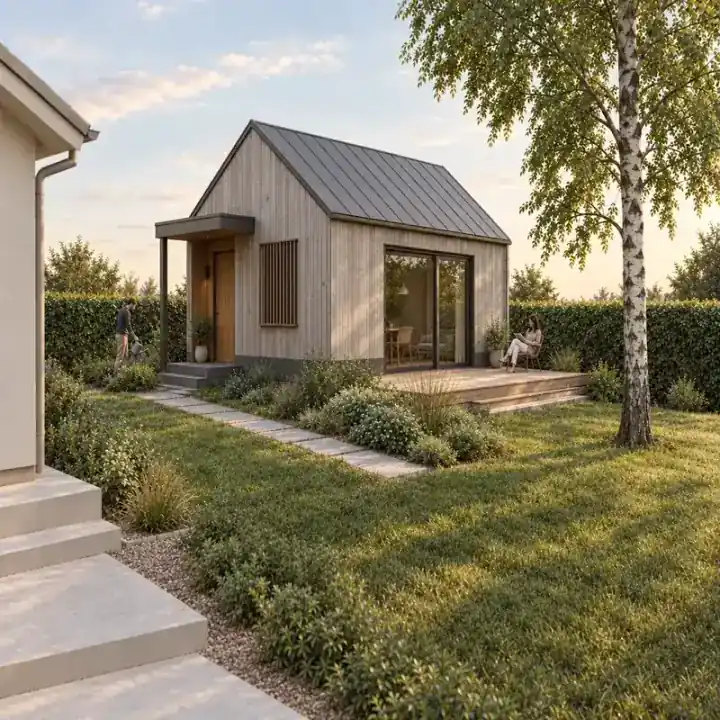
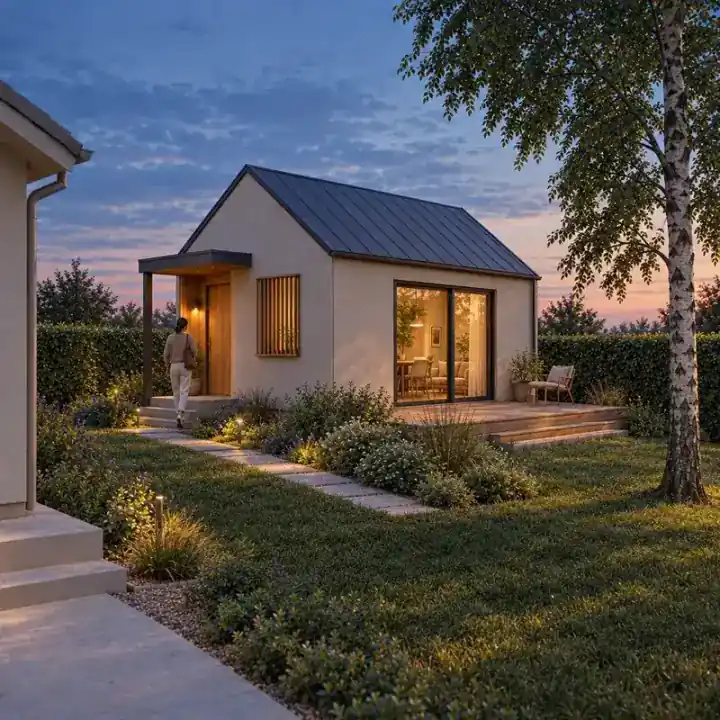
These editorial images share one source lineage. The unit, camera, site, and crop stay consistent. Each study shifts one review emphasis.
Use daylight for cladding tone, glazing, and ground contact. Use evening light only when access or occupation matters. Avoid uniform glowing windows. They can hide the compact interior and create a false sense of depth.
The exterior rendering method adds facade, glazing, ground, planting, and entourage checks. For presentation sets, the render review checklist separates pass, correct, and defer decisions.
What should you check before presenting an ADU render?
Review the site and building before image polish.
- Massing: compare footprint, height, roof, eaves, and projections.
- Openings: check size, position, sill, frame rhythm, and privacy direction.
- Access: check the route, threshold, steps, ramps, gates, and lighting.
- Ground: check levels, drainage edges, retaining elements, and deck contact.
- Landscape: check retained trees, roots, planting, boundaries, and seasons.
- Use: check furniture, storage, circulation, and the relationship outside.
- Artifacts: inspect repeated boards, warped frames, glass, people, and text.
Place the accepted render beside the site plan, floor plan, and one section. That set explains more than another atmospheric image. The presentation board guide helps assign each image a clear role.
What can an ADU render not prove?
An ADU render cannot verify planning approval, setbacks, height limits, occupancy, fire separation, access, structure, energy, drainage, or services. It also cannot confirm a survey, easement, tree-protection zone, or product.
Generated windows, paths, plants, and neighboring context can look plausible while being wrong. Use current surveys, models, drawings, schedules, consultant information, and local requirements as the project record.
Use a conventional model-connected workflow when verified dimensions, sun, repeatable cameras, or coordinated view updates govern the deliverable. Use AI images for focused visual studies whose limits remain visible.
Questions about ADU render AI
Can AI render an ADU from a SketchUp or Revit view?
Yes. Export a clean fixed view with the unit, relevant site context, and design-critical edges visible. Compare the result with the model because generated details can drift.
Which ADU view should I render first?
Start with a garden three-quarter view that shows the unit, entry, path, boundary, and part of the main house. Add a plan or access view for site questions.
Can an ADU render prove privacy or planning compliance?
No. It can support discussion, but sightlines, levels, setbacks, code, and planning requirements need verified project information.
What should an ADU render prompt include?
Name the fixed building and site elements first. Then describe cladding, glazing, privacy treatment, planting, light, and restrained occupation.