
AI Rendering from Revit: Keep the Model, Get the Render

Use CAD Scene Enhance when an exported Revit view and a browser project fit the job. It instructs the image model to preserve the camera, framing, proportions, and major geometry while changing materials and light.
Choose a native Revit plugin when direct active-view model context matters more than a shared cross-tool workflow. Chaos says Veras reads geometry, camera, and materials from the active Revit view. That removes the image-export step.
Neither path produces coordinated BIM evidence. Treat the generated image as a design study. Check openings, roof lines, repeated elements, camera height, and crop against the Revit model before review.
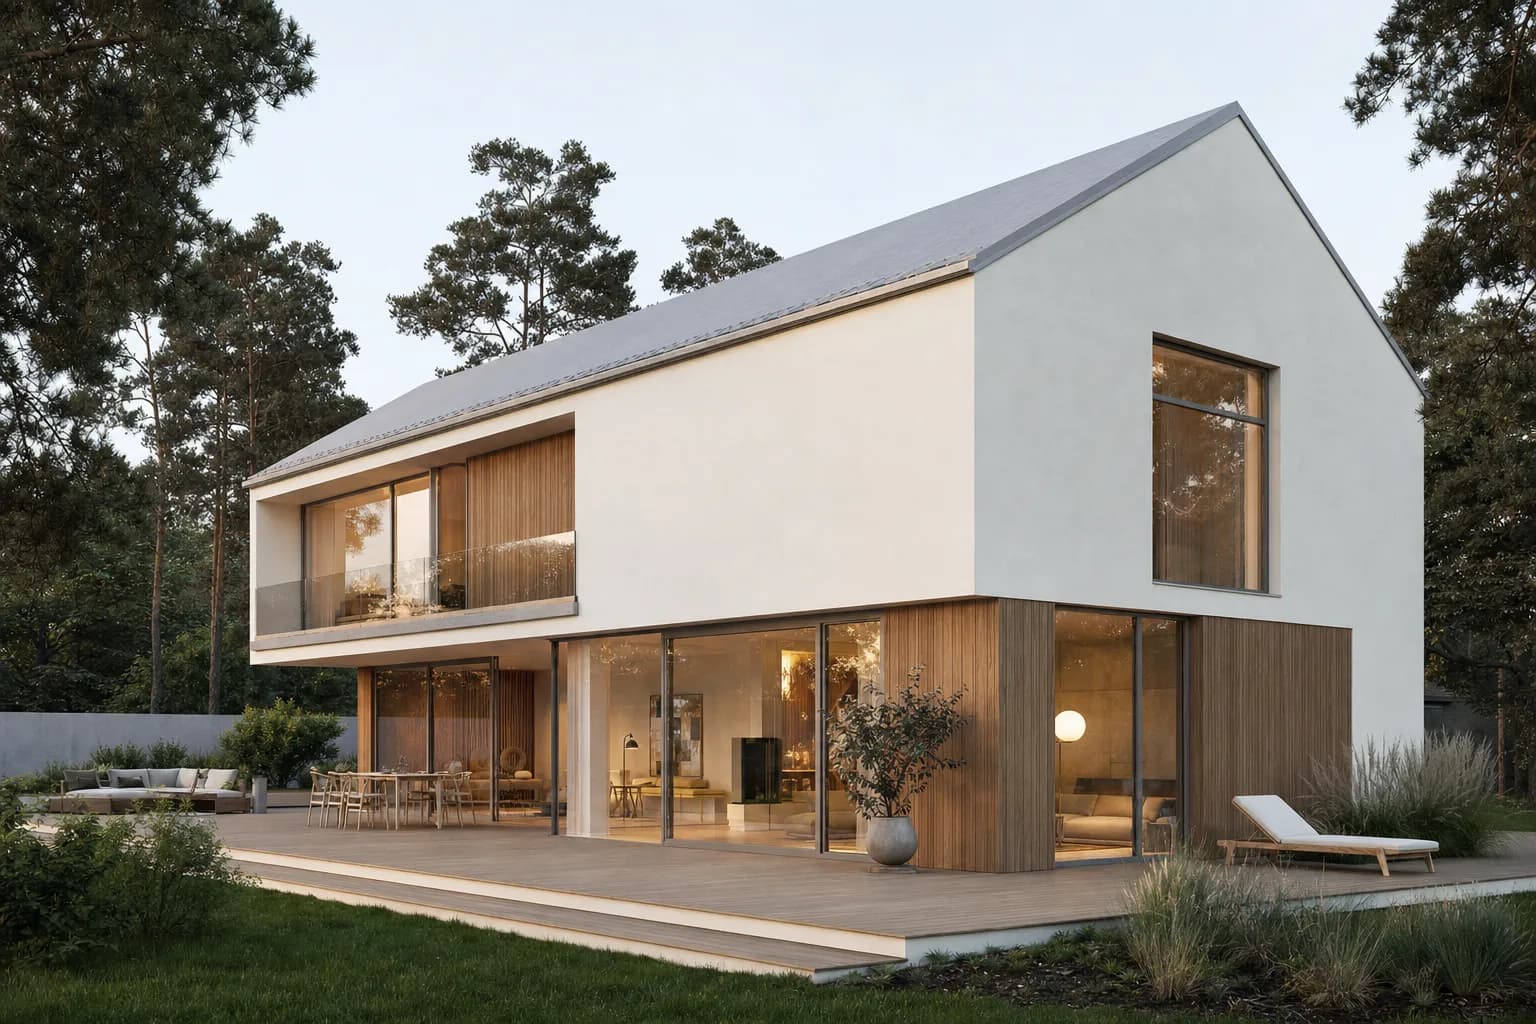
Screenshot workflow or native Revit plugin?
The choice is about source context and studio fit.
CAD Scene starts from pixels. Export or capture the exact Revit view, then use Enhance in the browser. The same process works for SketchUp, Rhino, Blender, and other source tools. One CAD Scene project keeps its Composition, studies, and render history together.
A native plugin starts closer to the model. In its June 2026 Revit workflow guide, Chaos says Veras reads active-view geometry, camera, and materials. It lists support for Revit 2022 through 2026. That is the stronger route when the direct Revit loop matters more than a shared browser workspace.
| CAD Scene Enhance | Native Revit plugin | |
|---|---|---|
| Source | Exported raster view | Active Revit view and host context |
| Setup | Browser workflow | Host add-in and version compatibility |
| Model context | Pixels from the chosen view | Plugin-dependent geometry, camera, and material context |
| Mixed-tool studio | One path across source tools | Strongest inside supported hosts |
| Best fit | Cross-tool concept studies | Direct in-host design iteration |
| Required check | Compare with the BIM model | Compare with the BIM model |
Read the full CAD Scene and Chaos Veras decision for project context, editing, output, and current product differences.
Export a clean Revit view
Set a clean 3D view
A three-quarter camera showing two faces. Level the horizon. Hide clutter that muddies the read.Export the view
Use the current window, visible portion, or a selected view. Keep temporary guides out.Enhance the source
Upload the exported image. Name the cladding, glazing, ground, and light.Check against Revit
Compare stable geometry first. Then judge materials, atmosphere, and presentation fit.
Autodesk's current export documentation confirms that Revit can export the current window, its visible portion, or selected views and sheets as raster images. Use the exact camera and crop you want to review.
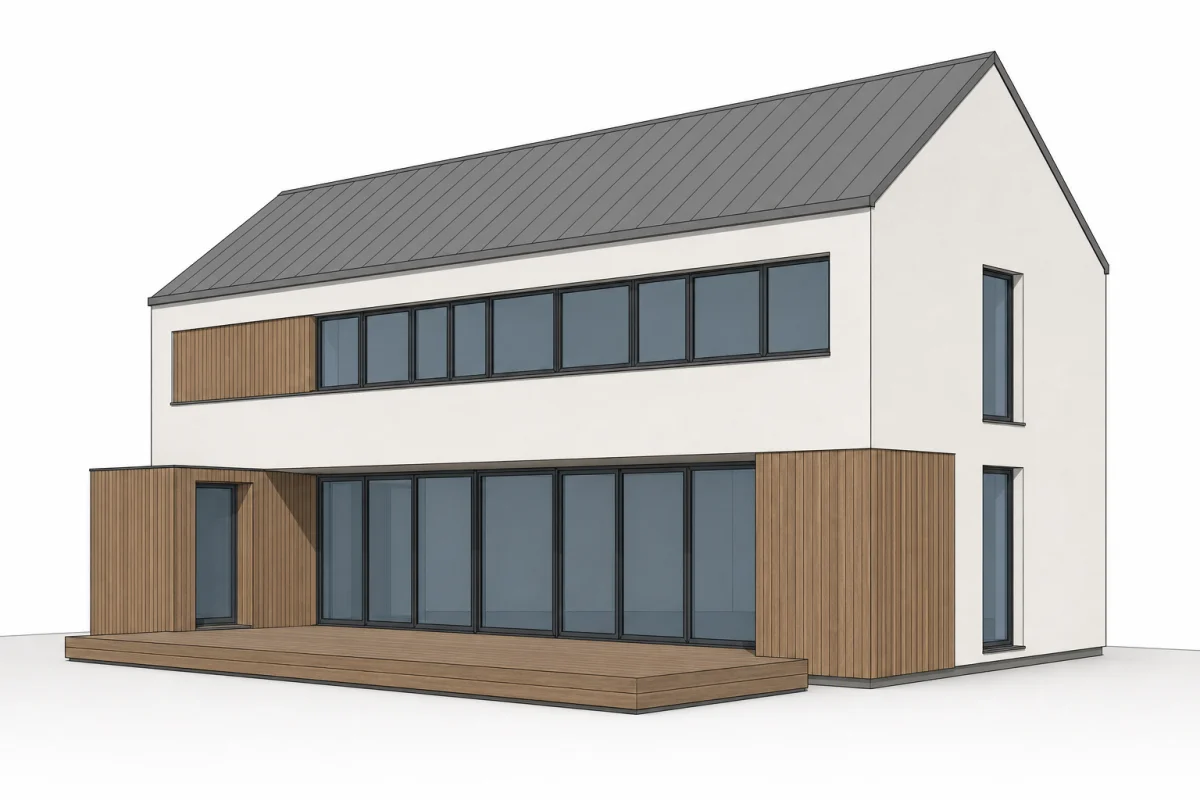
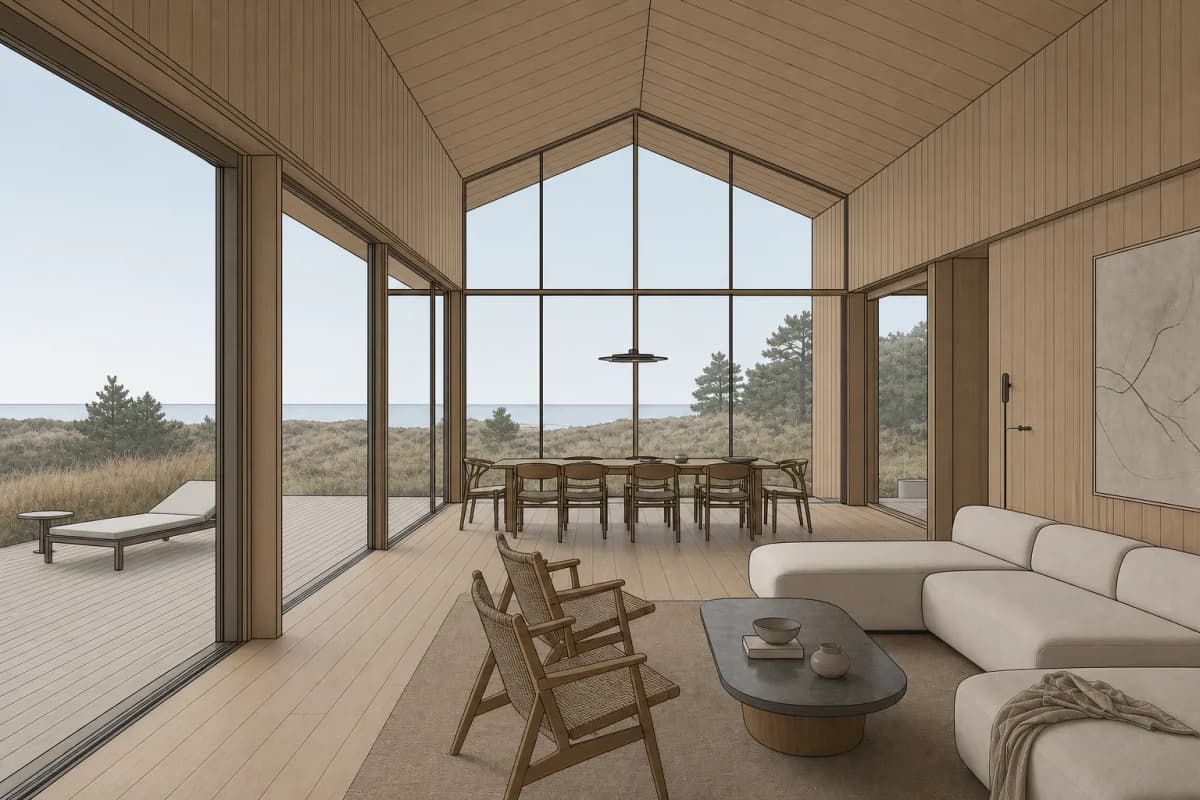 Revit
Revit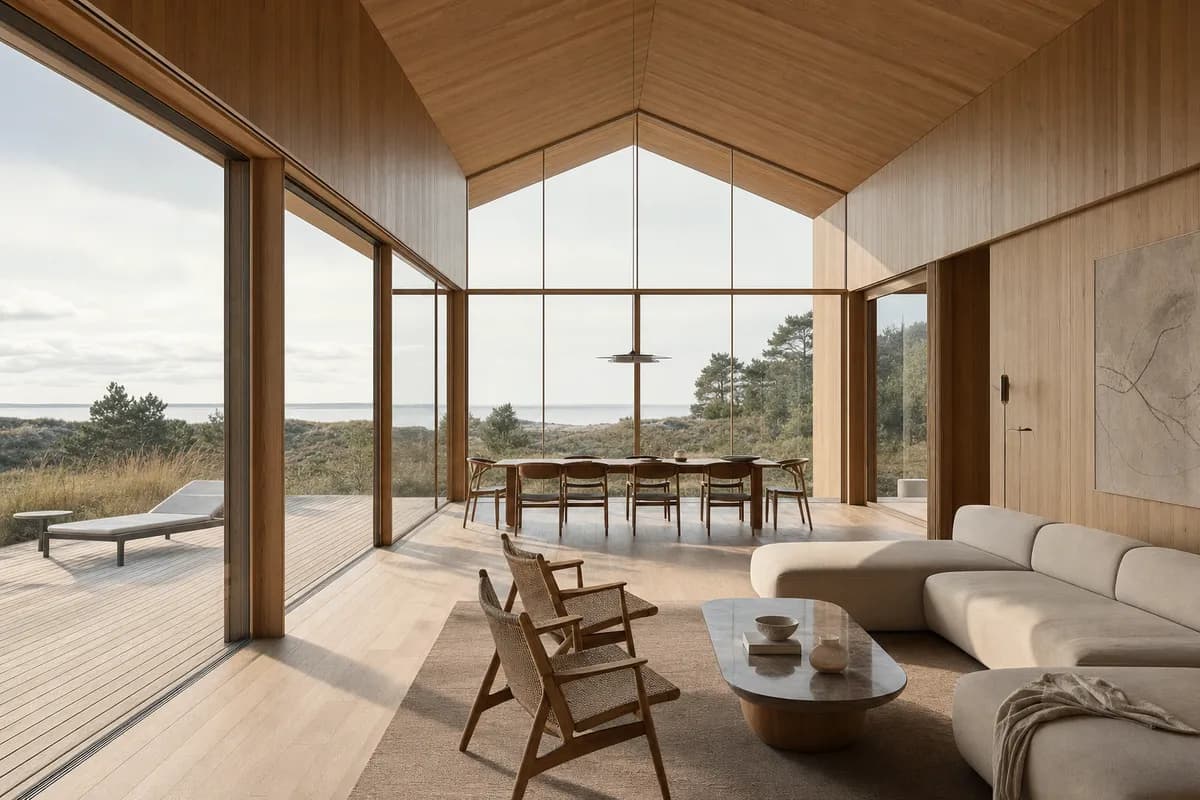 Rendered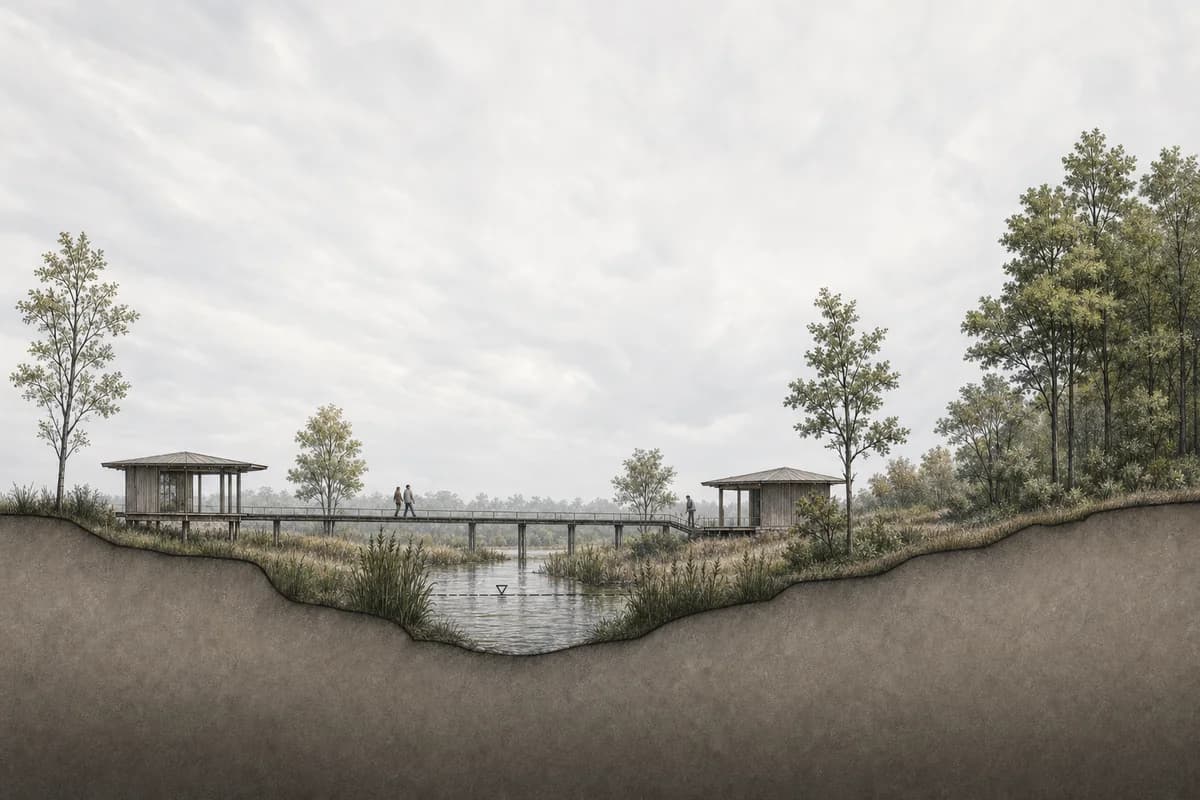
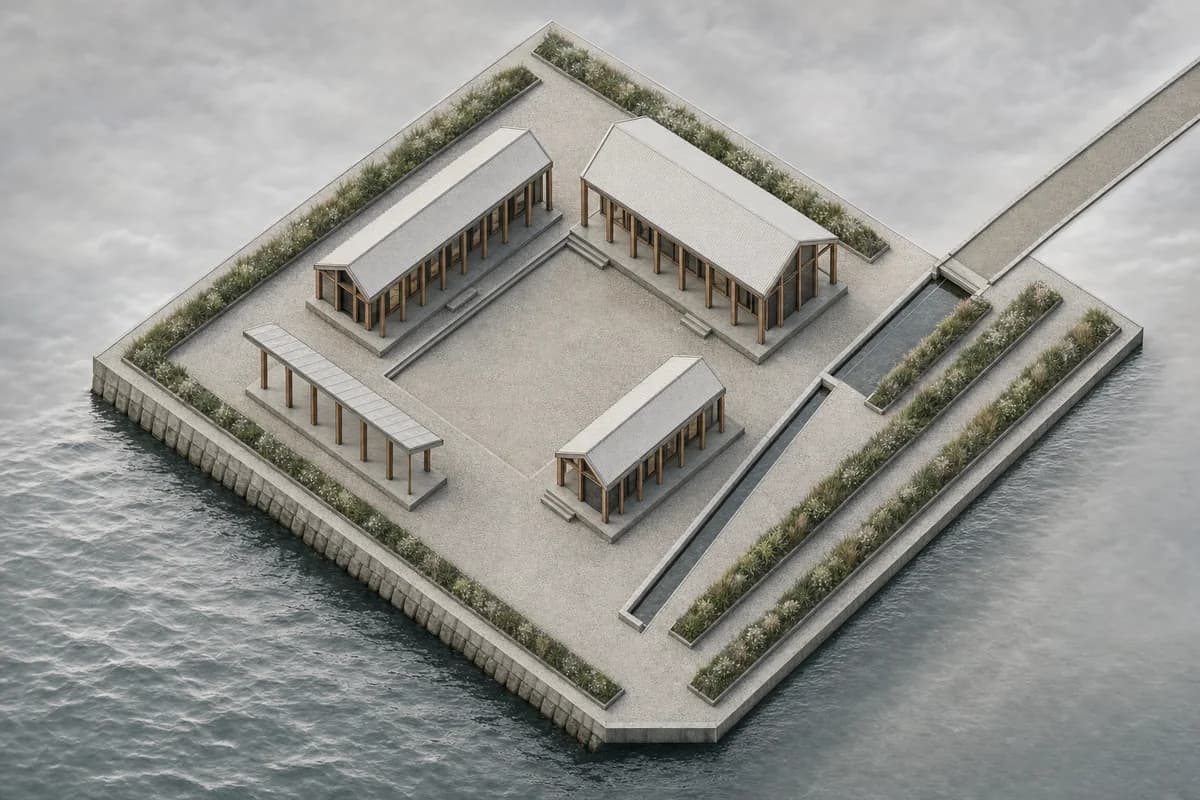
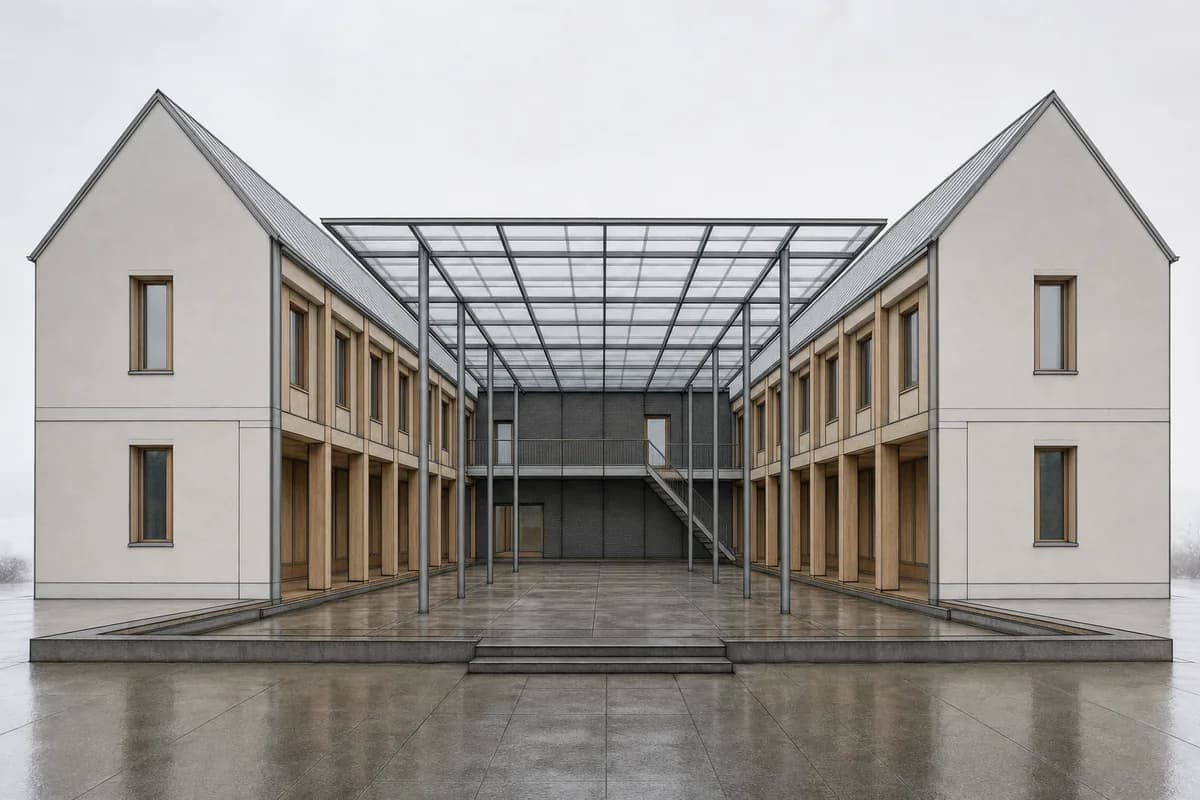
What Enhance preserves, and what it cannot prove
Enhance requires one explicit source image. It instructs the model to preserve:
- camera position, angle, lens, and perspective;
- composition, framing, aspect ratio, scale, and proportions;
- buildings, walls, doors, windows, and major site features.
It instructs the model to change finish: materials, textures, light, atmosphere, vegetation, sky, and surface quality. Read the canonical Enhance source-image guidance before sending.
The source-assisted architecture prompts separate preservation clauses from finish changes.
These are generation instructions, not measured guarantees. A screenshot does not carry Revit object identity, parameters, constraints, or dimensions. Small drift can occur. If a window moves or a roof edge changes, the BIM model wins.
How a native plugin differs
Chaos describes Veras as a native add-in for Revit and other design tools. Its current product overview, updated June 26, 2026, also describes a standalone web app and integrations with Enscape, V-Ray, and Corona.
The native route removes the export step and supplies more host context. It also adds plugin deployment, supported-version checks, and a vendor-specific workflow. Choose it when the studio stays in Revit and direct view updates are the main requirement.
That connection is an input advantage. It is not independent proof that every generated edge or dimension is exact. Chaos positions Veras for concept and design-development imagery, with conventional renderers still serving final controlled output.
Test both paths on one Revit view
Use one approved exterior or interior view. Keep the camera, crop, and source model revision fixed.
- Pick one difficult junction, such as glazing at a slab edge.
- Name one material change and one lighting change.
- Generate the same number of options in each workflow.
- Compare openings, roof lines, repeated elements, and material boundaries.
- Check camera height, perspective, and crop against Revit.
- Record plugin setup, export steps, and review effort separately from image preference.
Do not score fidelity from the most attractive output alone. The useful result is the workflow that produces reviewable studies without hiding unacceptable drift.
Keep the project stage clear
Use generated images to test visual direction during concept and design development. Keep Revit as the source for dimensions, coordination, schedules, and issue information.
For a studio that also uses SketchUp, Rhino, or Blender, follow the same screenshot-to-render workflow. For the wider picture, see the guide to AI architectural rendering. For other hosts, read how to render a SketchUp screenshot and AI rendering for Rhino. If Enscape is already part of the stack, compare Enscape with a browser image workflow. Before exporting the BIM view, use the screenshot for AI rendering checklist to hide levels, grids, crop boxes, and section boxes. For a broader platform decision, compare the best AI rendering software for architects.
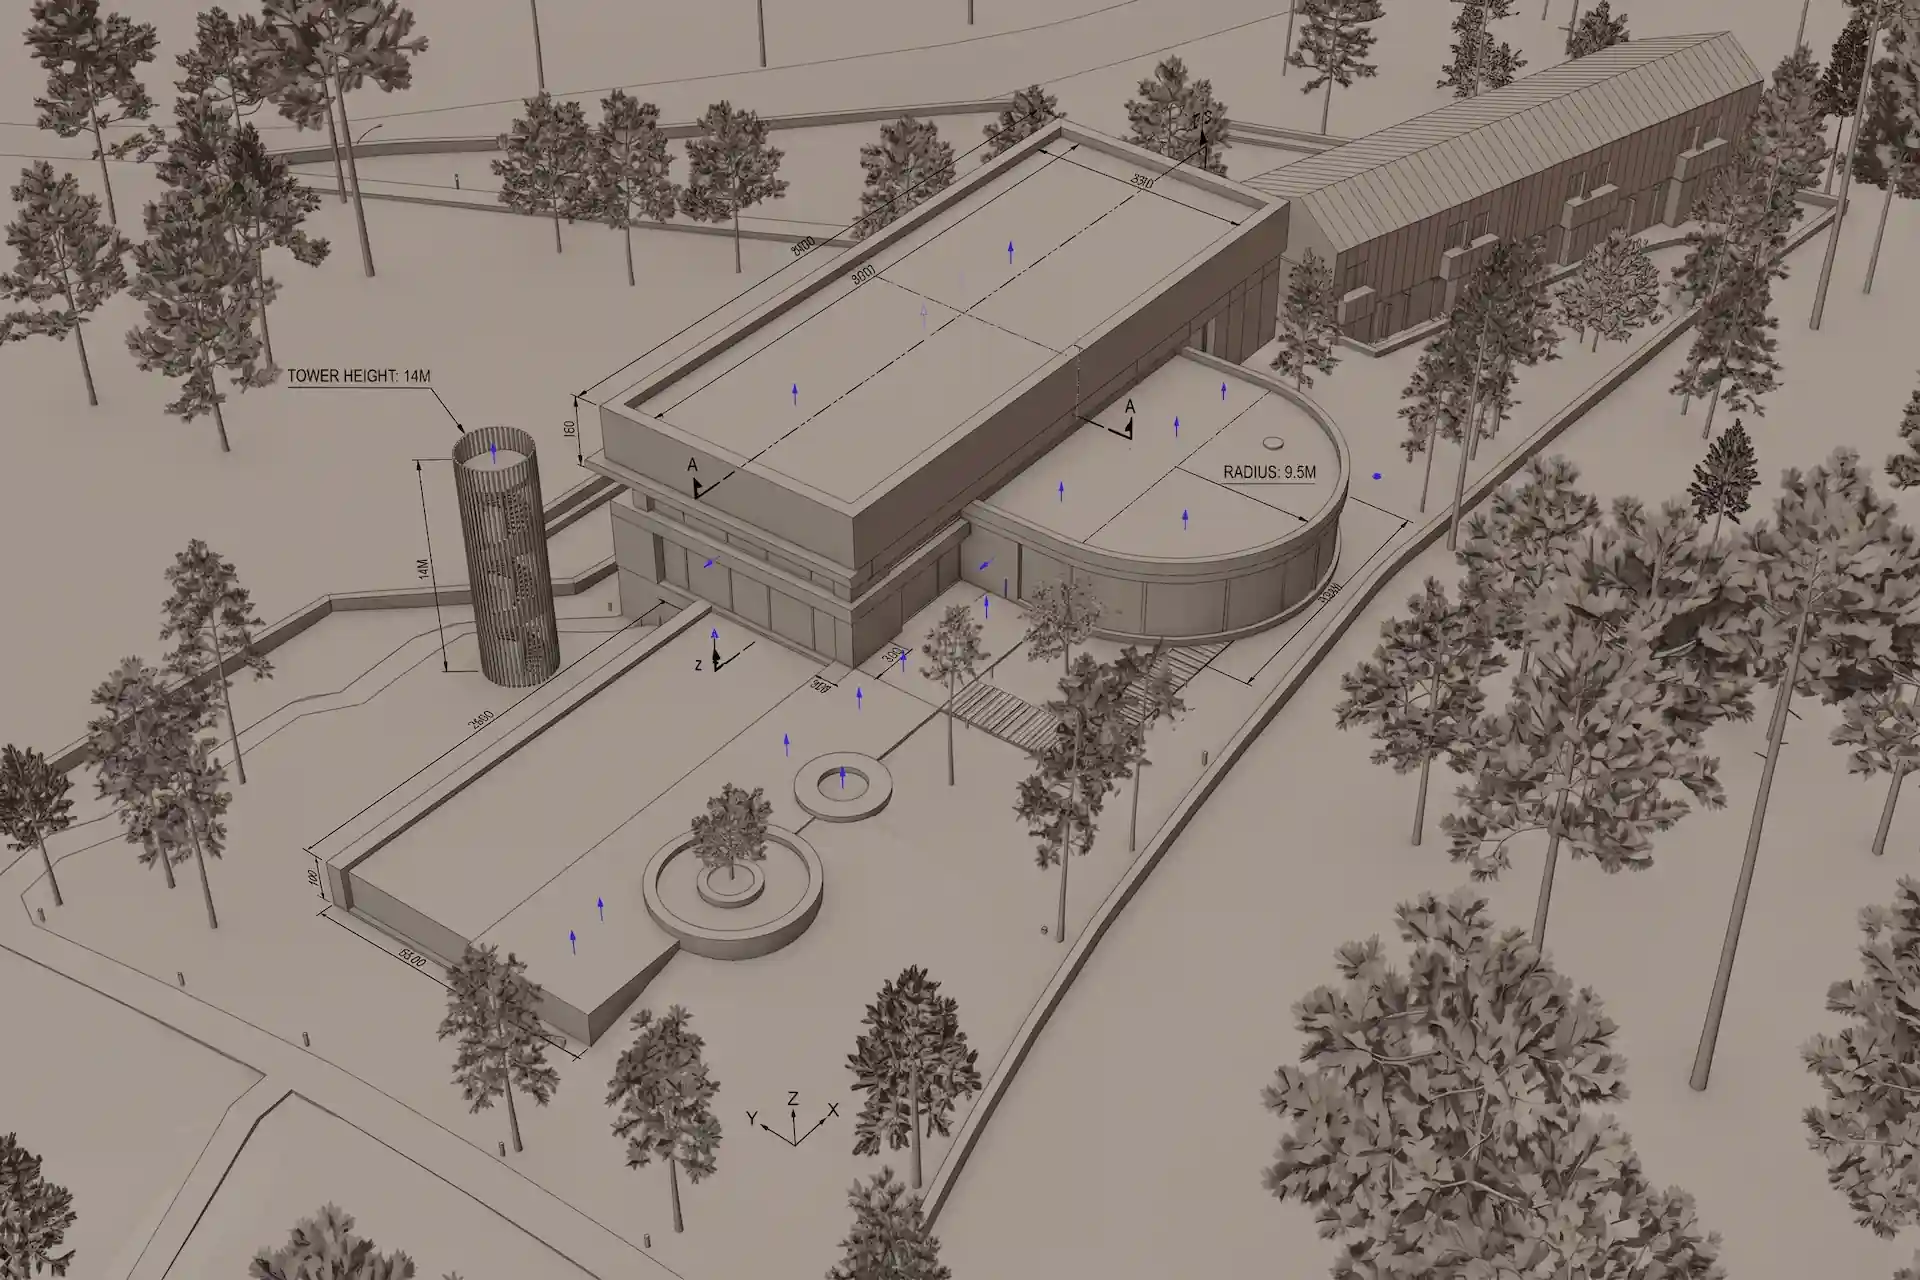
Before / after
Test an exported Revit view in Enhance.
Do I need a Revit plugin?
No. CAD Scene Enhance starts from an exported 3D view or screenshot. A native plugin is a separate choice when direct Revit model context matters.
Does CAD Scene read the Revit model?
No. It reads the exported image. Revit remains the source of truth for object data, dimensions, constraints, and coordinated design.
Will Enhance keep every Revit edge exactly?
No exact-retention guarantee applies. Enhance instructs the model to preserve the view and major geometry. Check every generated image against Revit.
When is a native Revit plugin the better choice?
Choose a native plugin when active-view geometry, camera, and material context and in-host iteration matter more than one browser workflow across several source tools.