
Architectural Rendering Techniques: What to Use and When

Architectural rendering techniques turn design information into images. They range from watercolor and ink to ray tracing, real-time engines, and AI. Each method trades control, setup, speed, and finish differently.
Hand work communicates authorship and leaves room for interpretation. Ray-traced rendering gives precise control. It needs a prepared model, materials, and lighting. Real-time engines shorten iteration after scene setup. AI can create fast material and atmosphere studies from a clear screenshot. It does not replace reliable geometry or construction drawings.
The right technique follows the design stage and review question. This guide compares methods by time-to-image, useful stage, and typical look. It also shows a practical screenshot-to-render workflow for early and mid-stage studies.
What are architectural rendering techniques?
A rendering technique is the production method used to make an image. The main families are hand rendering, digital image-making, real-time rendering, ray tracing, and AI-assisted rendering.
For a working architect, technique is a practical choice. It affects setup, revision, and the confidence you can place in repeated views. It also affects who can revise the image before a deadline.
Most current images use several methods. A viewport export may receive collage textures and tonal correction. A ray-traced base may use masks and entourage. An AI material study still starts from a controlled camera.
What is the difference between a rendering technique and a rendering style?
Technique means how the image is made. Style means how the image looks. A watercolor image can be painted by hand or produced digitally. A photoreal image can come from ray tracing, a real-time engine, or AI.
This page covers the technique axis. The architectural rendering styles guide covers visual treatment. The types of architectural rendering guide covers deliverables and views.
Separating these terms improves a brief. “Ray-traced exterior” names method and output. Add “neutral daylight” to specify the finish. The team can now review each decision without mixing them together.
Which traditional architectural rendering techniques still matter?
Traditional techniques still matter when interpretation and authorship lead the brief. They work well when selective detail matters more than repeatable realism.
Watercolor
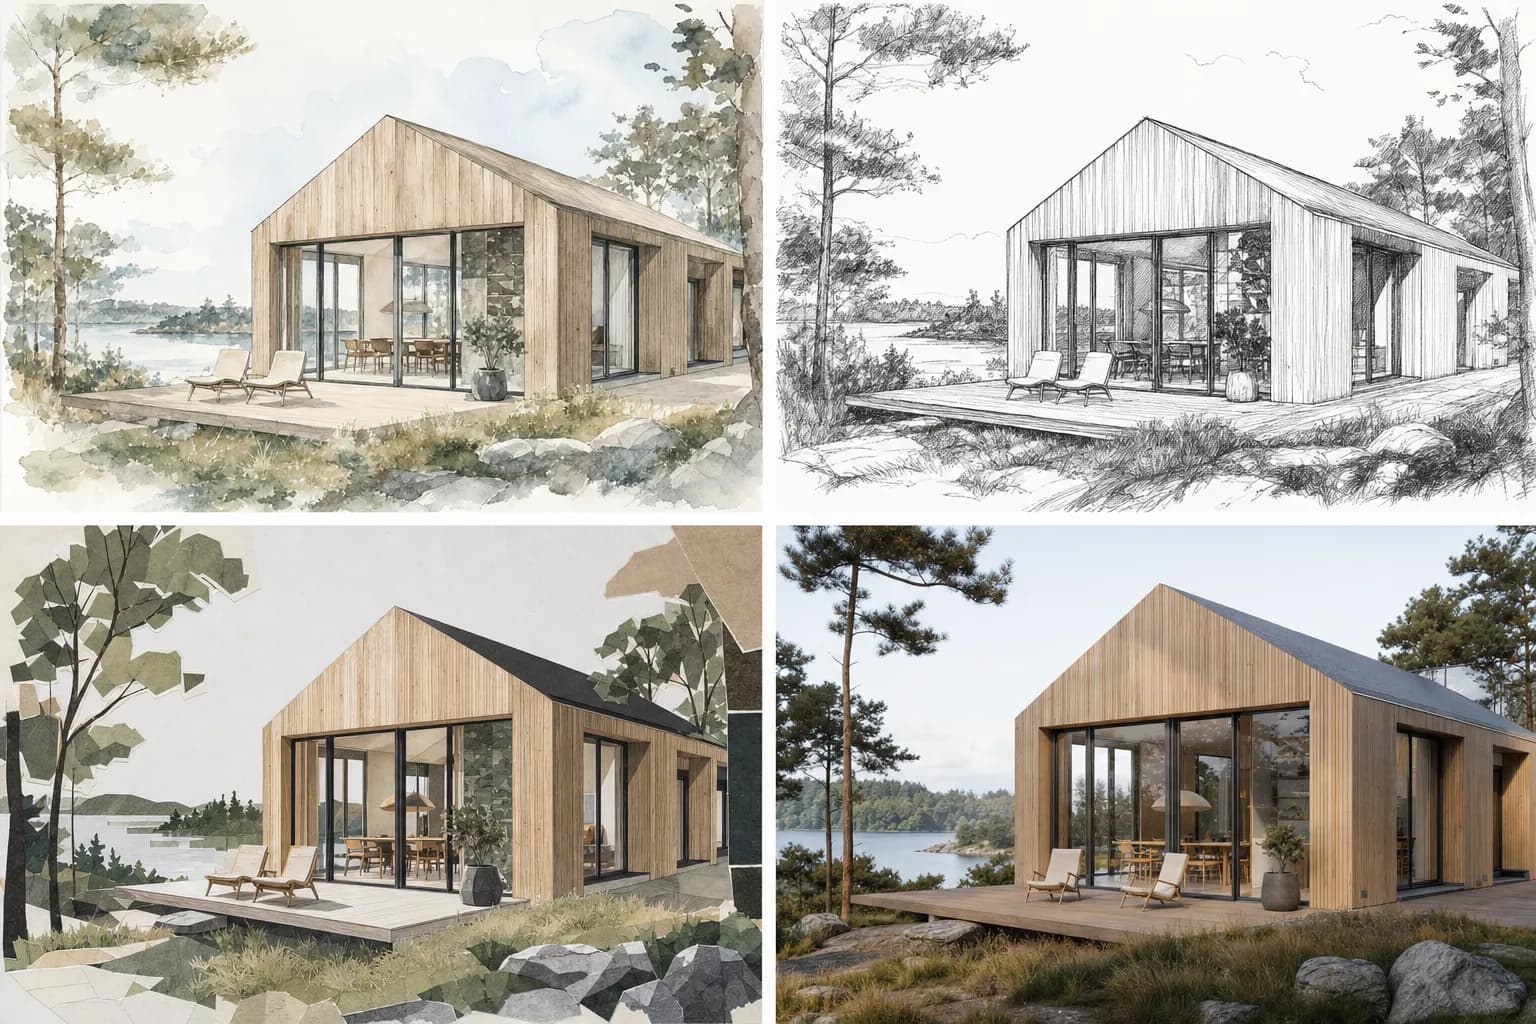
Architectural watercolor builds depth through transparent washes. Reserved paper creates highlights. Controlled edges direct attention toward openings, facades, or landscape.
It suits concepts, competitions, and place-led studies. A wash can leave uncertain areas quiet without making the image feel incomplete. Every extra view requires more manual work. Late geometry changes can be costly.
Watercolor also develops observation. The artist must choose which edges matter. That same judgement helps with digital images.
Marker and ink
Marker and ink combine line hierarchy with quick tonal blocks. Ink defines geometry. Marker establishes shadow, material zones, and depth. Annotation can sit directly beside the image.
The method suits early options and desk reviews. It reads quickly and encourages direct conversation. The result depends on drawing skill. Corrections are less forgiving than changes to digital layers.
Hand and digital collage
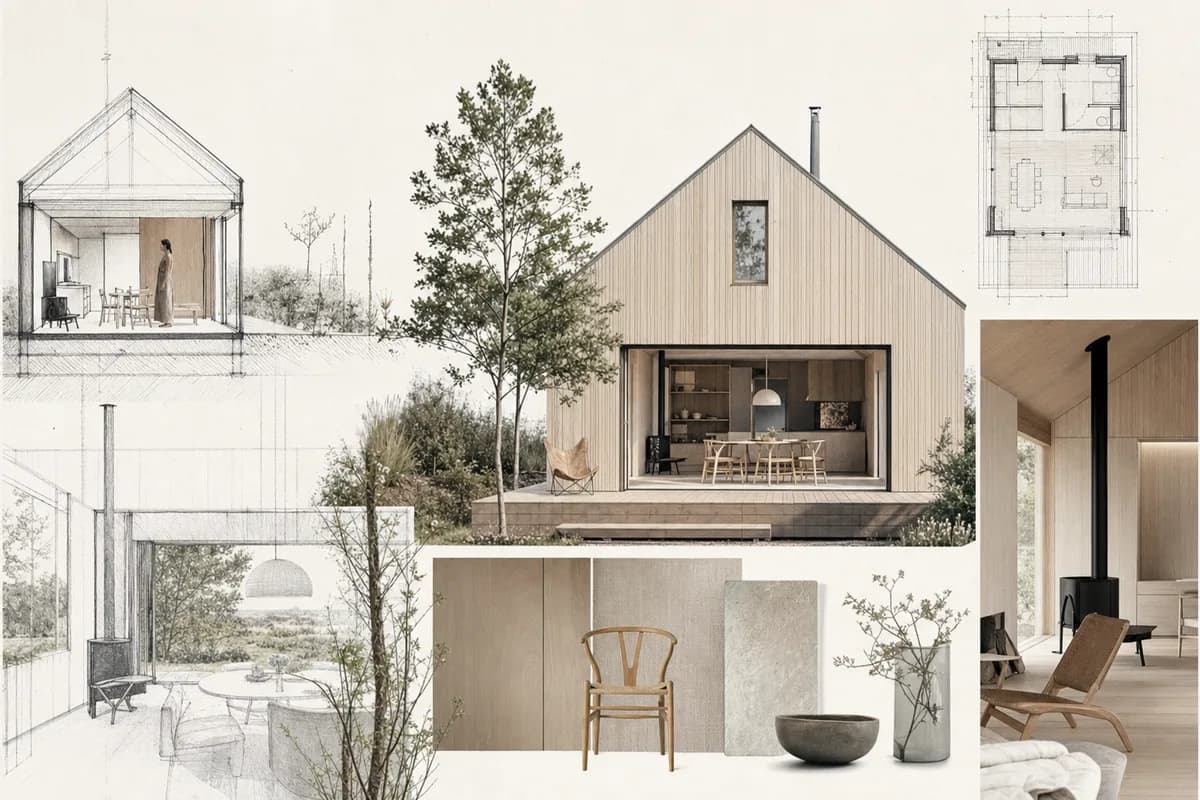
Collage combines cut layers, textures, figures, planting, and scanned marks. Hand linework can anchor the geometry. Digital masks make revisions easier than a finished painting.
It suits concept boards and narrative work. The method can balance precision with deliberate incompleteness. Asset selection still takes time. Weak masking or inconsistent scale can distract from the design.
How are digital architectural renderings made?
Digital architectural renderings share a basic pipeline. Fix the model and camera, add materials and light, create the image, then grade it.
The technique changes how light gets calculated or displayed. It also changes how quickly cameras, materials, and geometry can be revised. A clear source scene remains important across every method.
Raster and viewport rendering
Raster viewport rendering uses screen-based shading from the modeling environment. It can show flat colors, simple materials, edges, and ambient shadows. The image arrives quickly once the model exists.
Use it for massing, diagrams, and rapid design checks. It also provides a clean base for collage or AI rendering. The result is usually schematic. That can be an advantage during early review.
Ray-traced rendering
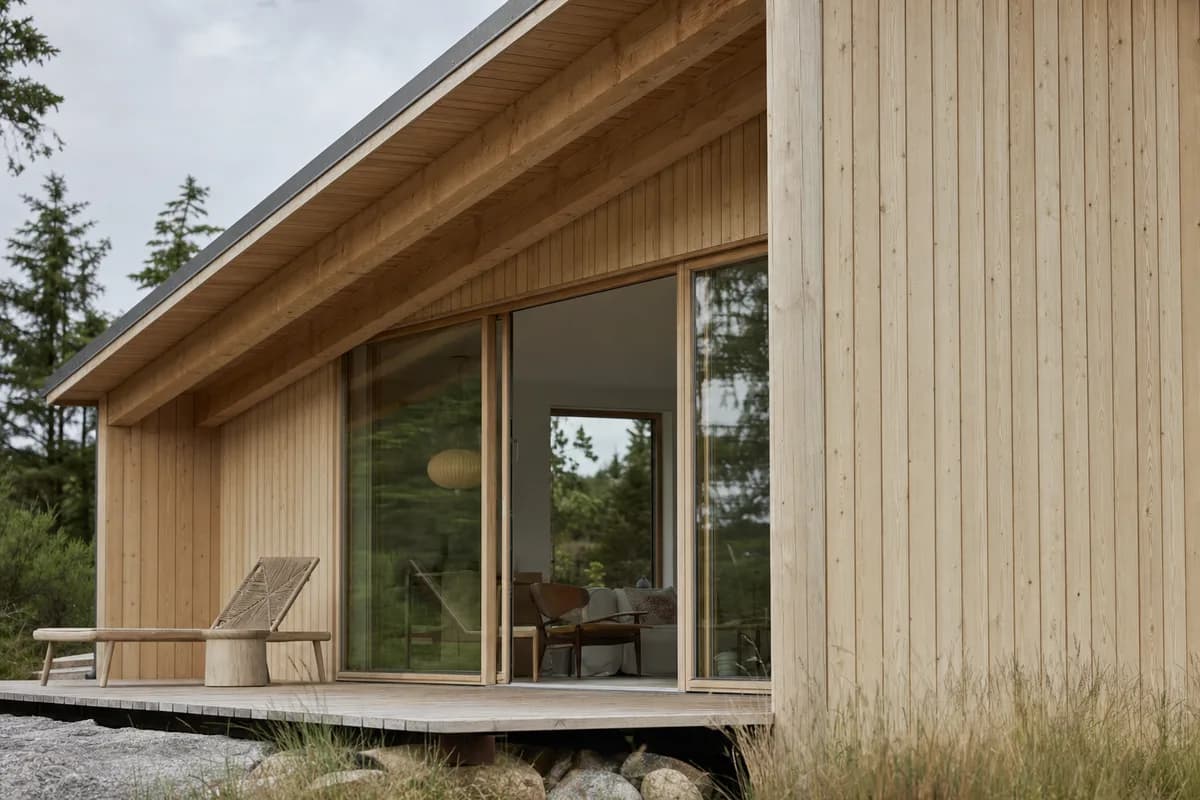
Ray tracing calculates light paths, reflections, shadows, and material response. In practice, it offers close control over image behaviour. Glass, polished surfaces, and indirect light can be tuned with care.
That control requires scene preparation. Materials need mapping and scale. Lights need testing. Assets, cameras, and render settings need refinement. Repeated views benefit from that setup because they share one prepared scene.
Real-time engines
Real-time engines respond quickly to lighting and camera changes. They suit live reviews, walkthroughs, and many views from one scene. The team can test options without waiting for each frame to finish.
The setup does not disappear. Materials, assets, lighting, and optimization still need attention. Large scenes may require careful geometry and texture management. Fast navigation follows preparation.
Digital post-production
Post-production combines passes, masks, entourage, skies, and tonal correction. It clarifies focus and joins image layers. A restrained grade can hold several views together.
Treat it as a production layer. It cannot repair a weak camera or unreliable model. Heavy effects can also hide information needed during review.
| Technique | Time-to-image | Best stage | Typical look |
|---|---|---|---|
| Watercolor | Slow per view | Concept and competition | Selective and interpretive |
| Marker and ink | Moderate per view | Early design | Crisp line with loose tone |
| Digital collage | Moderate and revision-friendly | Concept and competition | Layered and graphic |
| Raster viewport | Fast once the model exists | Massing and coordination | Clear and schematic |
| Ray tracing | Longer setup and refinement | Developed design and final images | Controlled and photoreal |
| Real-time engine | Setup first, then fast iteration | Reviews and walkthroughs | Responsive and polished |
| AI from a screenshot | Fast first pass with review required | Early and mid-stage studies | Soft, illustrative, or photoreal |
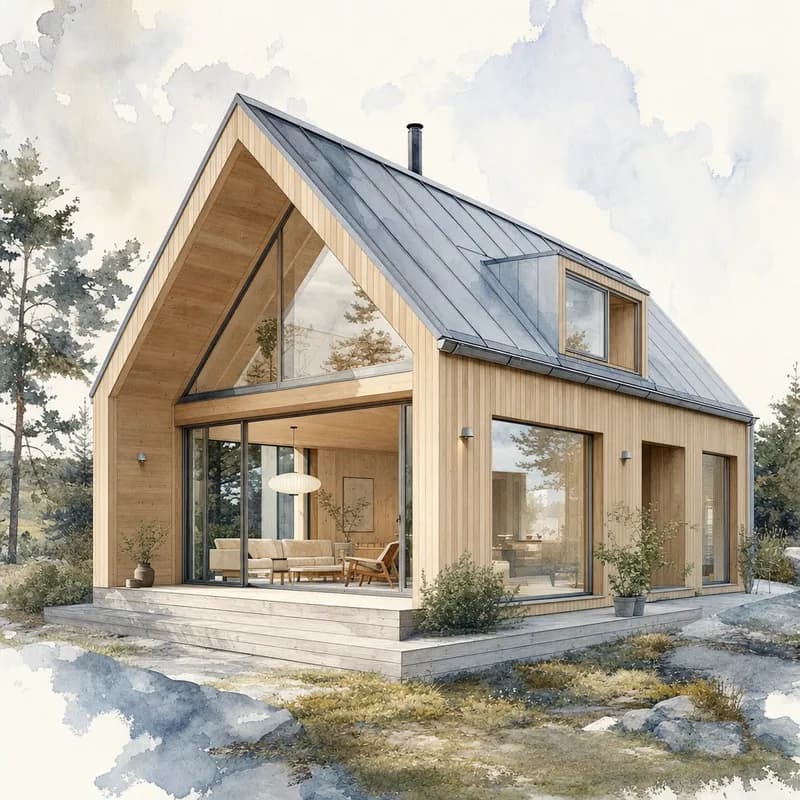
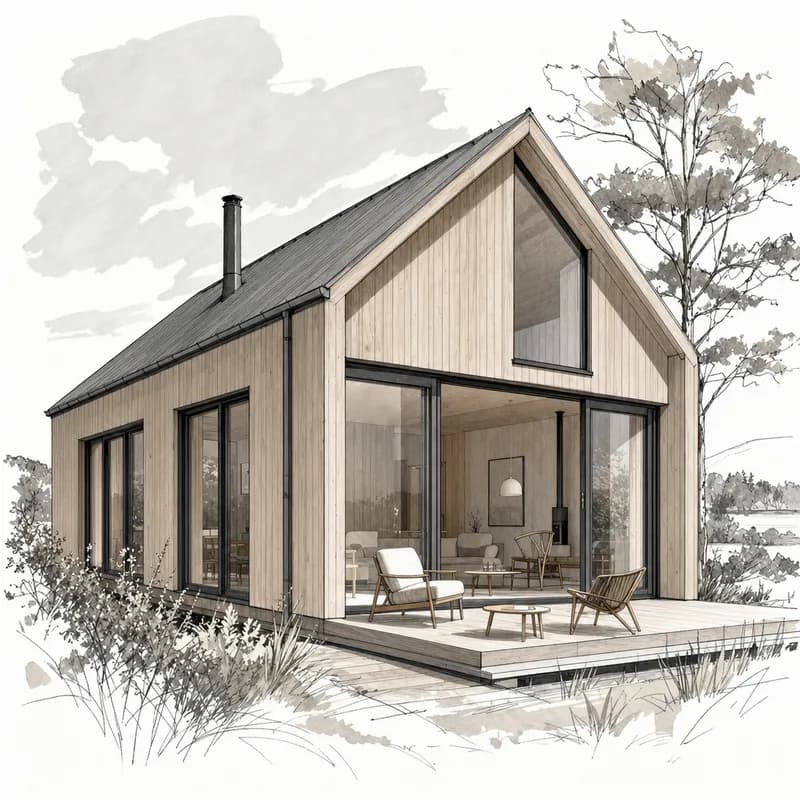
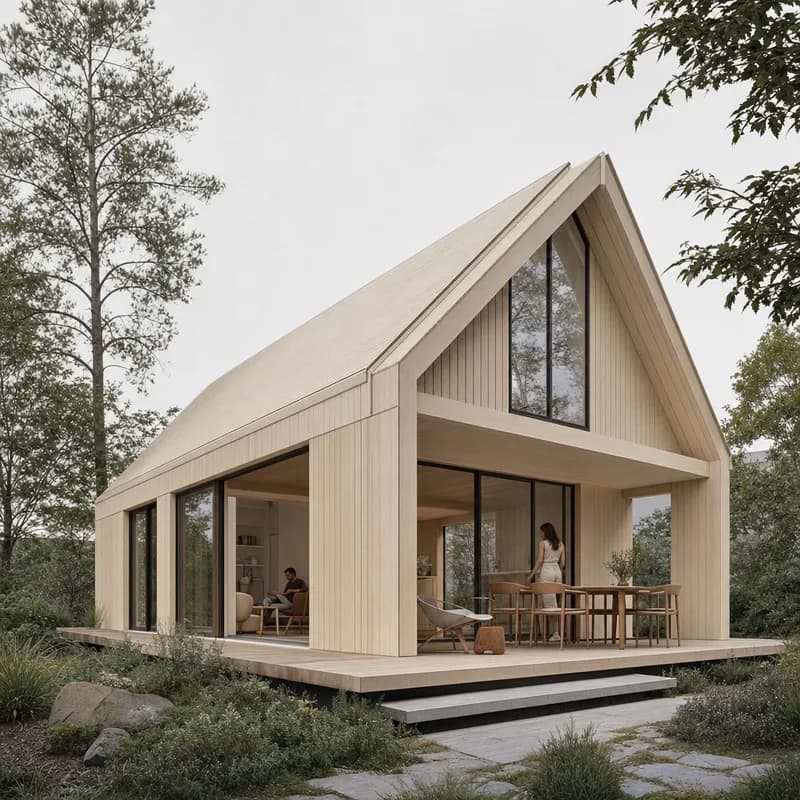
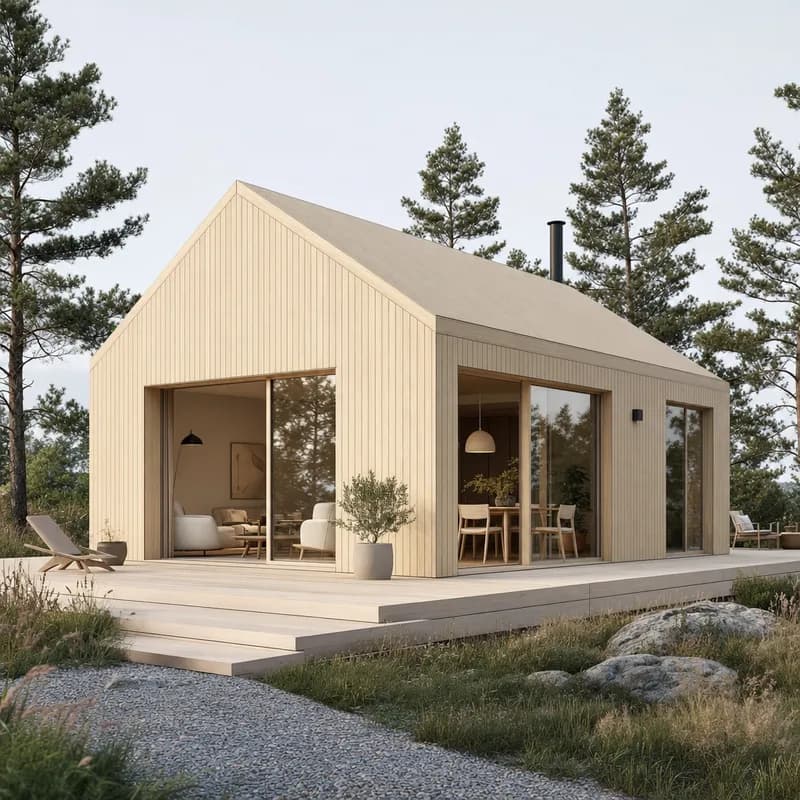
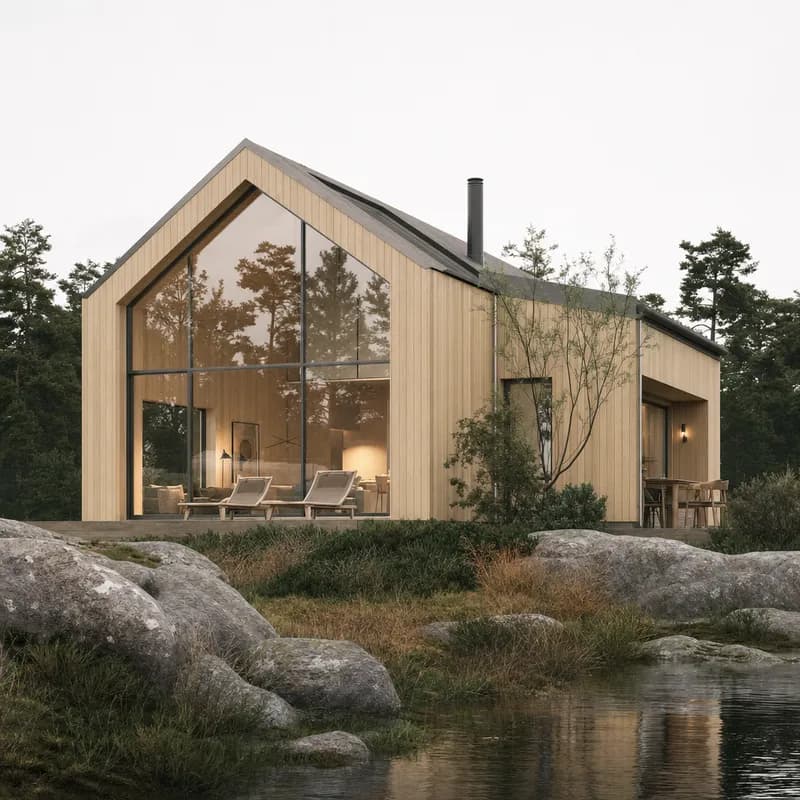
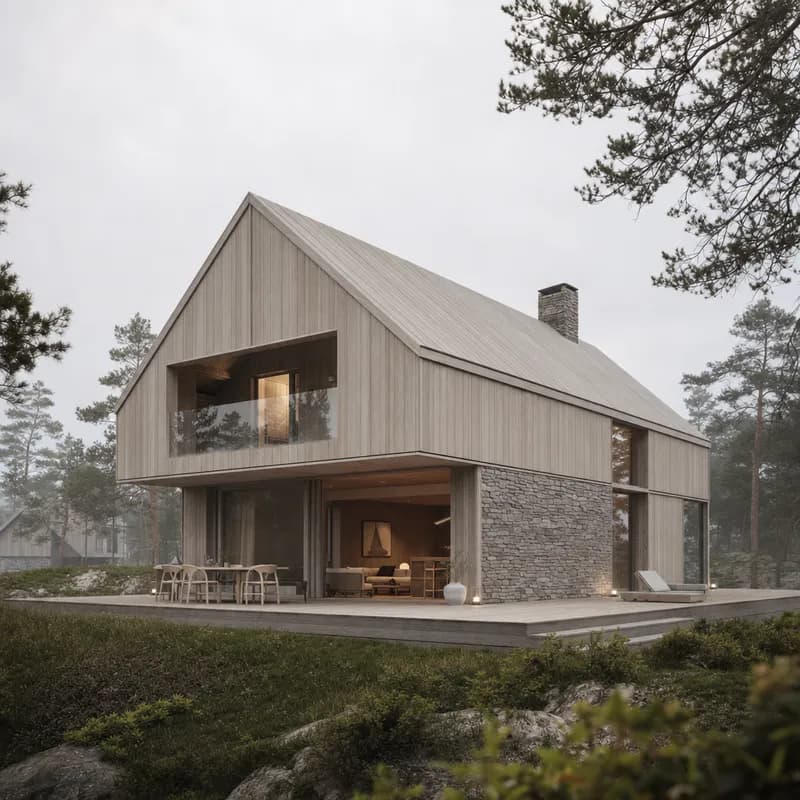
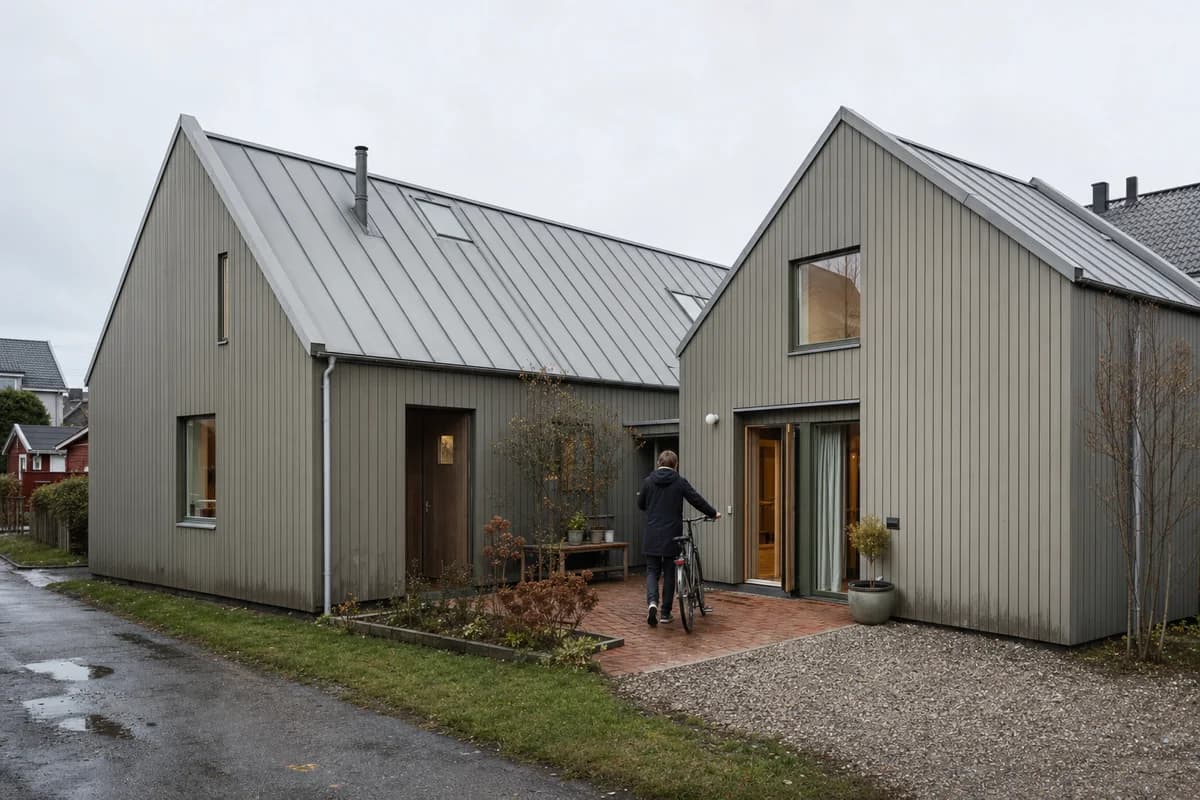
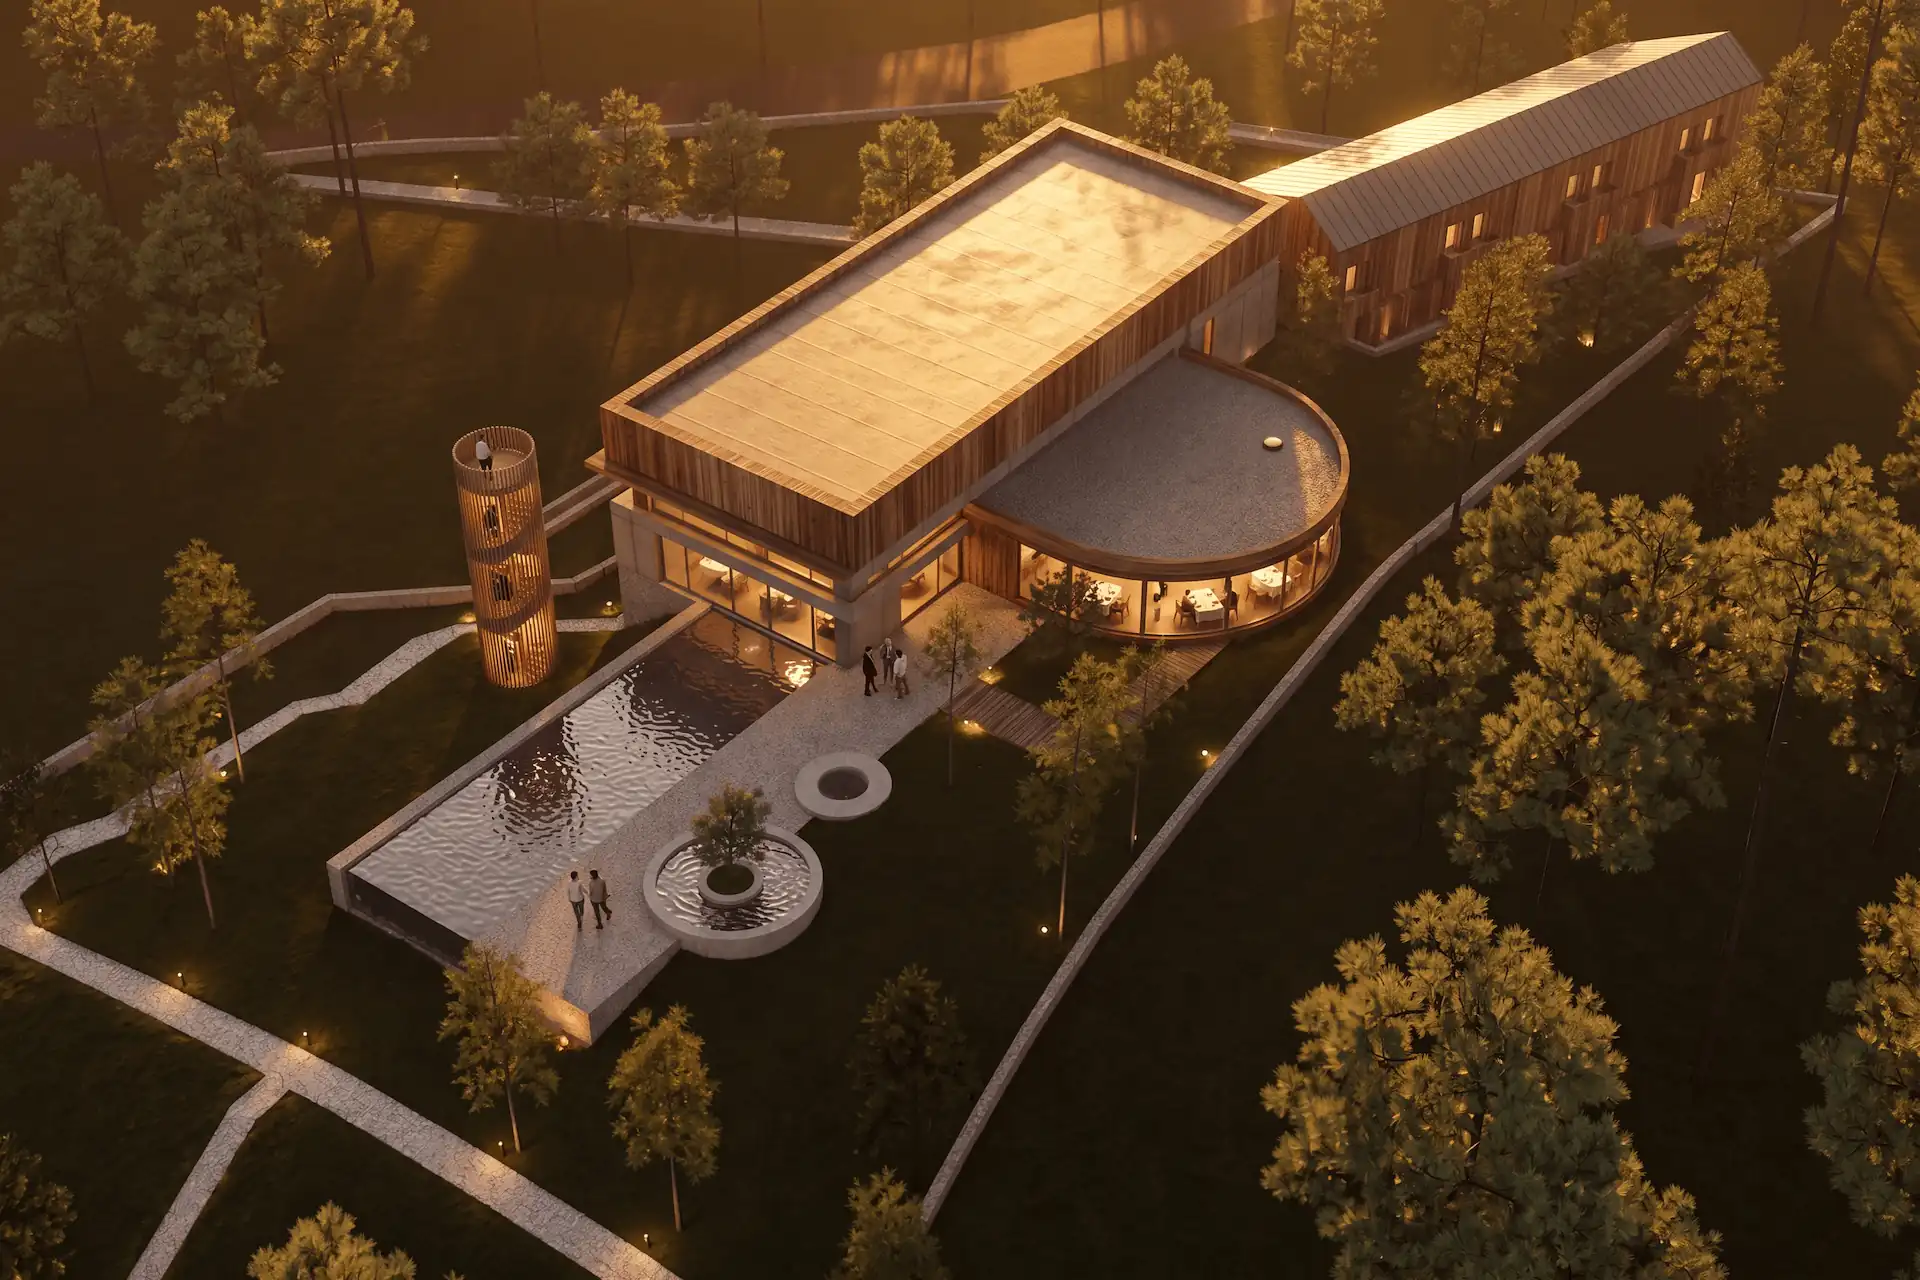
The gallery fixes the house, camera, geometry, and season. Each technique can therefore be judged on its own terms. The comparison is less useful when every frame changes composition.
How does AI architectural rendering work?
AI architectural rendering uses an image and written brief to guide a result. A clean model screenshot supplies the camera, massing, and visible geometry.
The prompt can guide materials, light, context, and finish. References can provide a more specific visual target. The model does not know hidden geometry or unshown assemblies. It interprets the pixels and instructions it receives.
This makes AI useful for rapid atmosphere and material studies. It is less reliable when exact hidden details must be inferred. Repeated technical details also require close review. Keep the source model as the geometric authority.
Use the guide to AI architectural rendering for the wider workflow. It covers source preparation, iteration, and review in more depth.
Prompt library · 626 promptsArchitecture render promptsBrowse prompts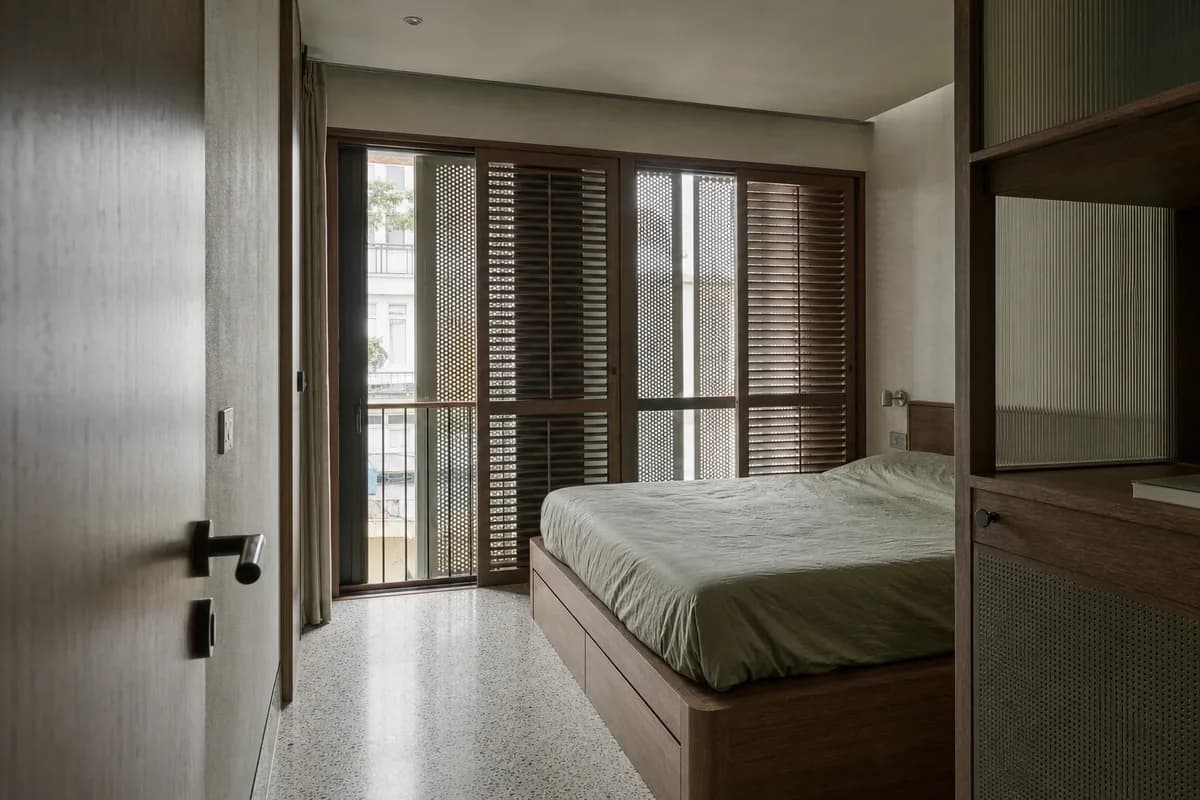
How do I turn a CAD screenshot into an AI render?
Export a clear view, state what must remain, and describe material and light. Then compare the result against the source before using it.
Fix the camera
Hide selection edges, guides, grids, and interface overlays before capture.Export a readable view
Show clear depth, openings, roof lines, and the whole subject.Name the intended finish
Describe materials, light, context, and finish without requesting a different building.Run one controlled study
Keep the camera fixed and change one important variable at a time.Check the source
Compare the result with the model and reject any geometry drift.
The first two steps are covered in the screenshot-to-render workflow. A clean viewport gives the image model fewer conflicting cues. It also makes later checking easier.
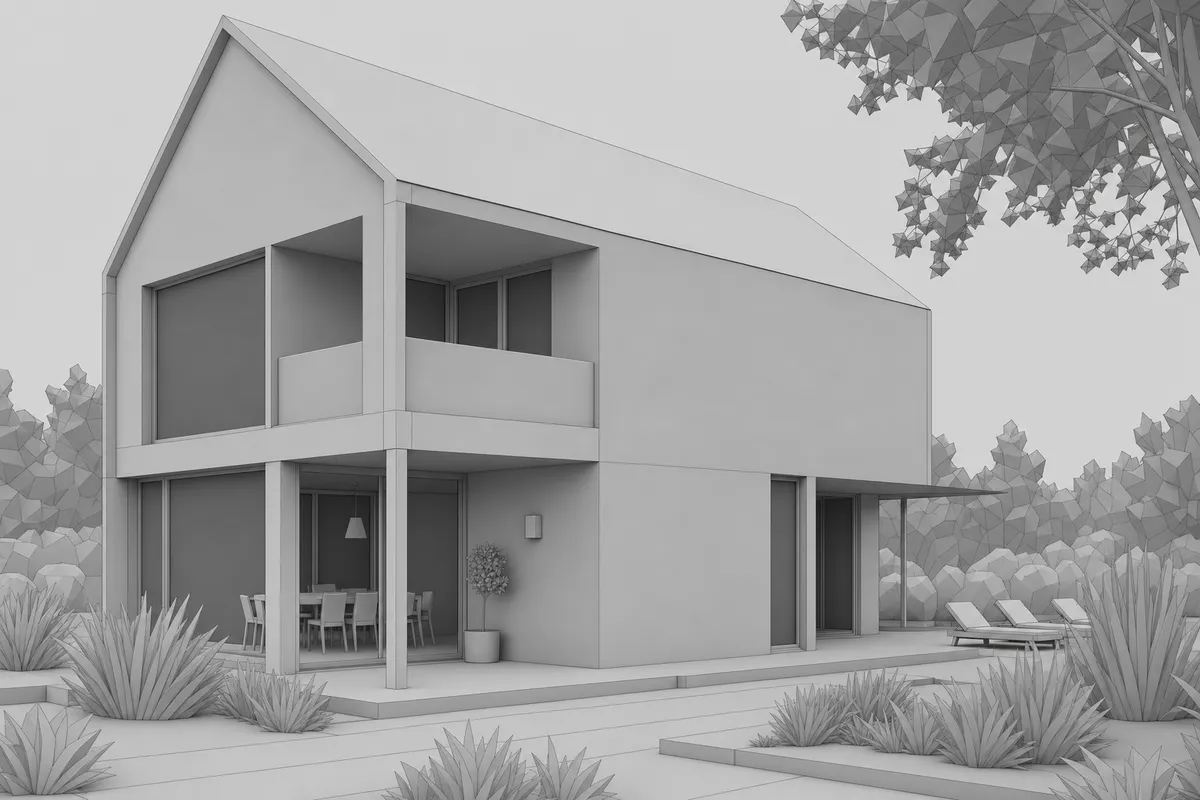 CAD viewport
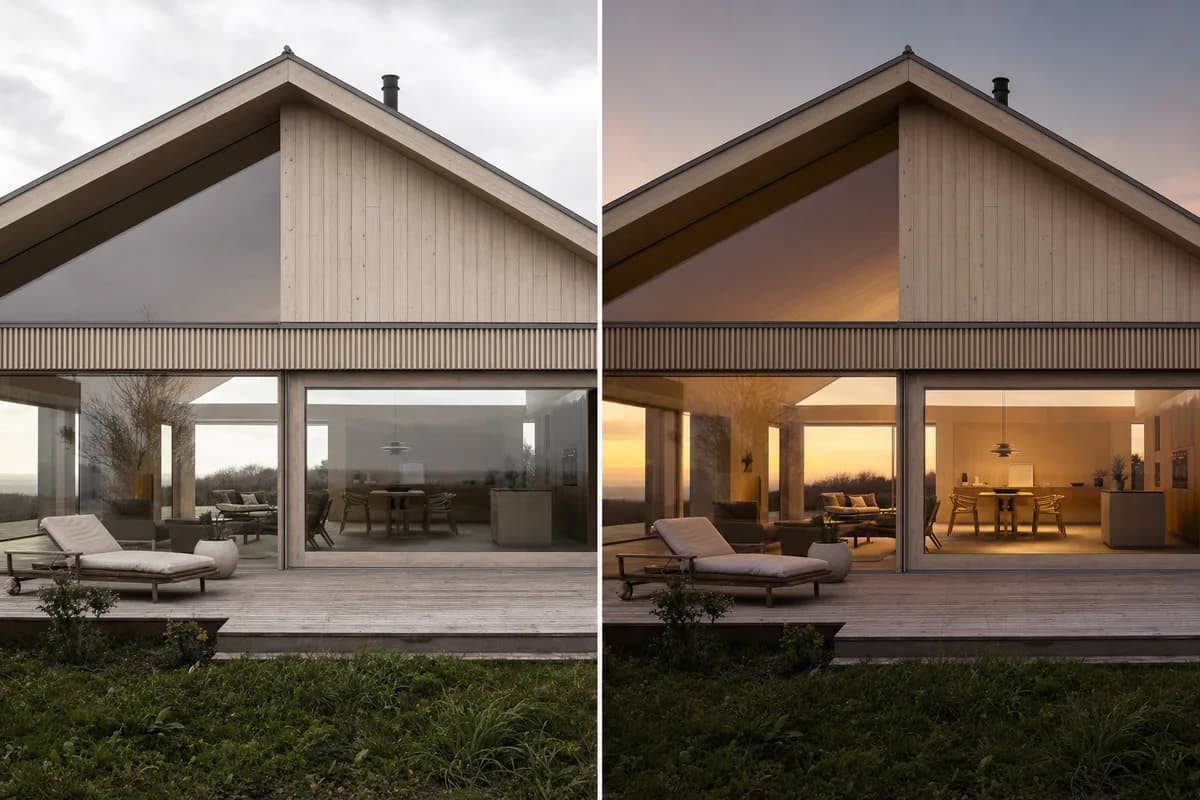
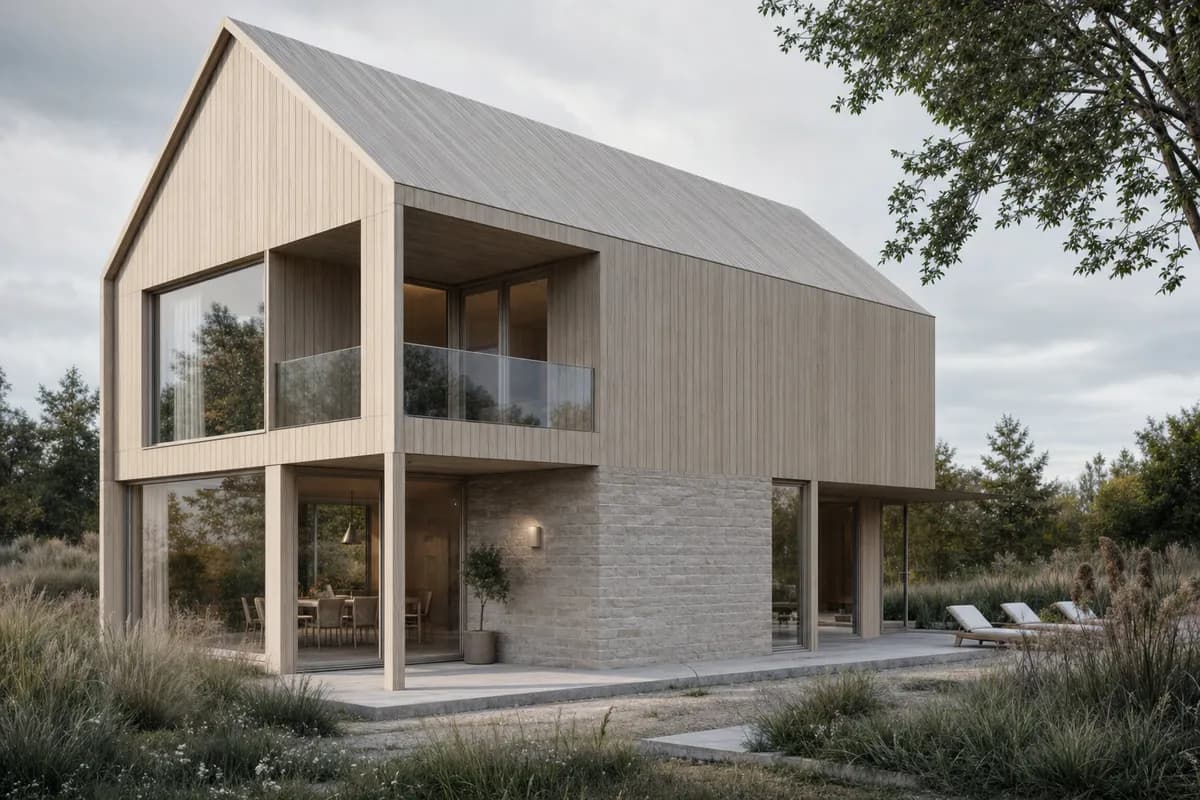 Daylight study
Before / after
Turn a clear CAD screenshot into a material and light study. Start free.
Which rendering technique should I use at each design stage?
Choose the simplest technique that answers the current review question. Change methods when the required control or finish changes.
- Early concept: use marker, collage, viewport, or a soft AI study.
- Developed design: use controlled AI studies, real-time views, or ray-traced tests.
- Client review: choose the clearest method that preserves agreed geometry.
- Final marketing image: use ray tracing, a prepared real-time scene, or a reviewed hybrid.
- Technical issue: use CAD or BIM documentation, not an interpretive render.
Early images should leave room for change. Soft and conceptual rendering styles can communicate that uncertainty clearly. Developed images can carry more material and lighting detail.
Sections need a separate graphic hierarchy. Use architectural section rendering styles when cut lines, poche, and linework lead the explanation.
A final image still needs checking. Photoreal finish does not prove dimensional accuracy. Use the model, drawing set, and schedules for technical decisions.
Can architectural rendering techniques be combined?
Yes. Most strong production workflows combine methods. Each layer should answer the review question rather than add surface detail.
BIM linework can anchor a digital collage. The linework protects openings, levels, and edges. Textures and figures then explain material and occupation.
A ray-traced base can receive restrained post-production. Masks can balance materials, sky, and depth without rebuilding the scene. The camera and lighting still need to work before grading.
A CAD screenshot can guide an AI atmosphere study. The screenshot fixes the visible geometry and camera. The AI explores materials, planting, weather, and light. The source remains beside the result for checking.
Hybrid does not mean complicated. Use only the layers needed for the decision. You can compare rendering styles on one scene before developing a long option set. Use the AI rendering and traditional 3D rendering guide when the choice is rapid image study or model-connected production.
FAQ
What are the main architectural rendering techniques?
The main techniques are hand rendering, digital collage, viewport rendering, ray tracing, real-time rendering, and AI-assisted rendering. Many finished images combine two or more methods.
What is the difference between rendering styles and techniques?
A technique is how the image is made. A style is how it looks. Ray tracing can produce daylight or dusk styles, while watercolor can be hand-made or digital.
How are digital architectural renderings made?
Most start with a model and fixed camera. The artist adds materials and light, creates the image, then uses restrained post-production to clarify depth and focus.
Can AI replace ray-traced architectural rendering?
Not in every case. AI is useful for quick material and atmosphere studies. Ray tracing gives closer control when geometry, materials, and repeated views must stay exact.