
Sketch to render and screenshot to render
Explore illustrative AI architectural rendering pairs for sketches, clay renders, and 3D viewports. Drag each slider to compare the source with a photorealistic direction. Examples include SketchUp AI rendering, Rhino, Revit, and Blender workflows. They are not measured geometry-retention benchmarks.
AutoCAD elevation to facade study
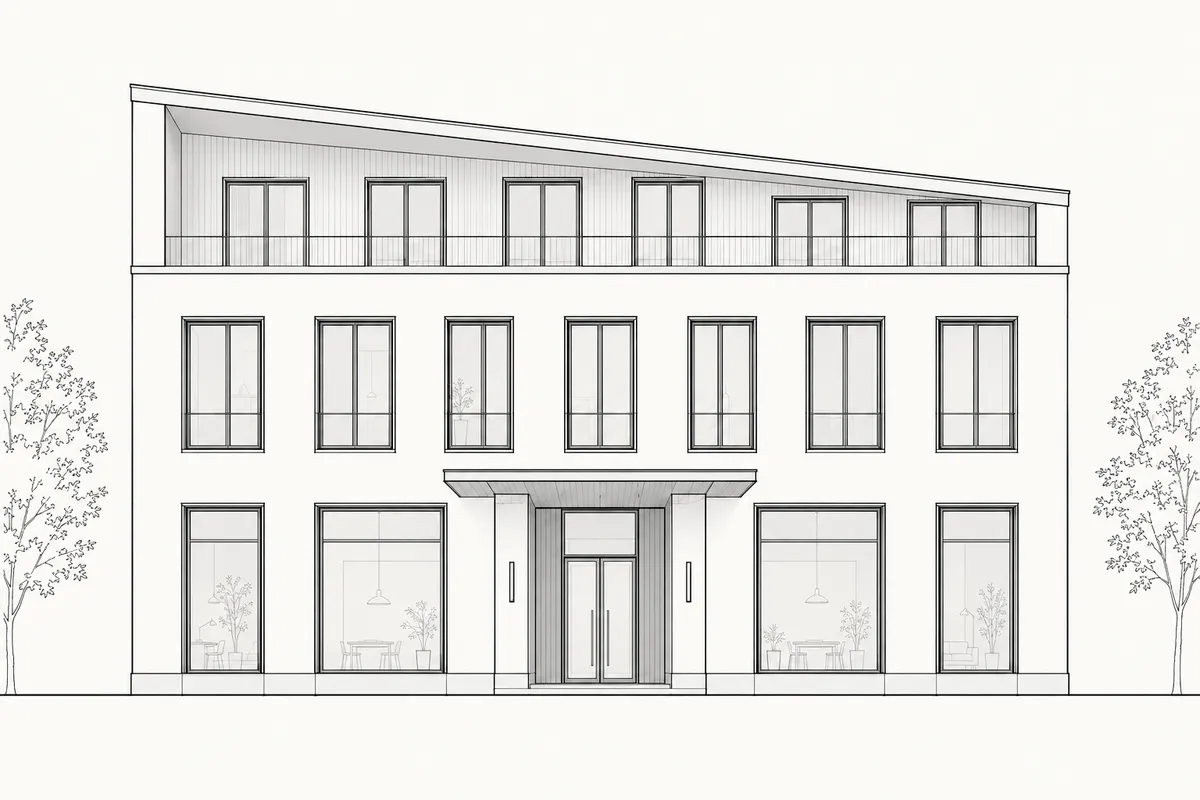 Synthetic elevation
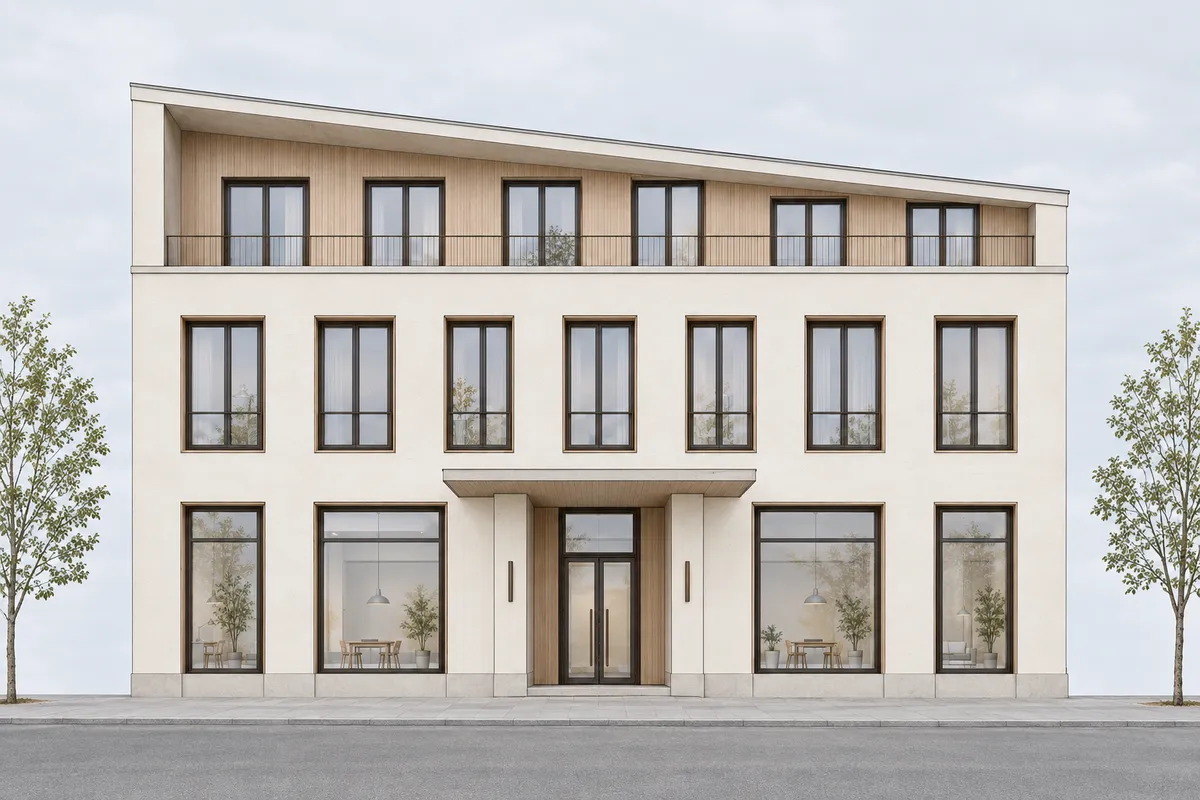 Facade study
One matched synthetic lineage illustrates elevation review without claiming measured AutoCAD or CAD Scene performance. Student model view to daylight review
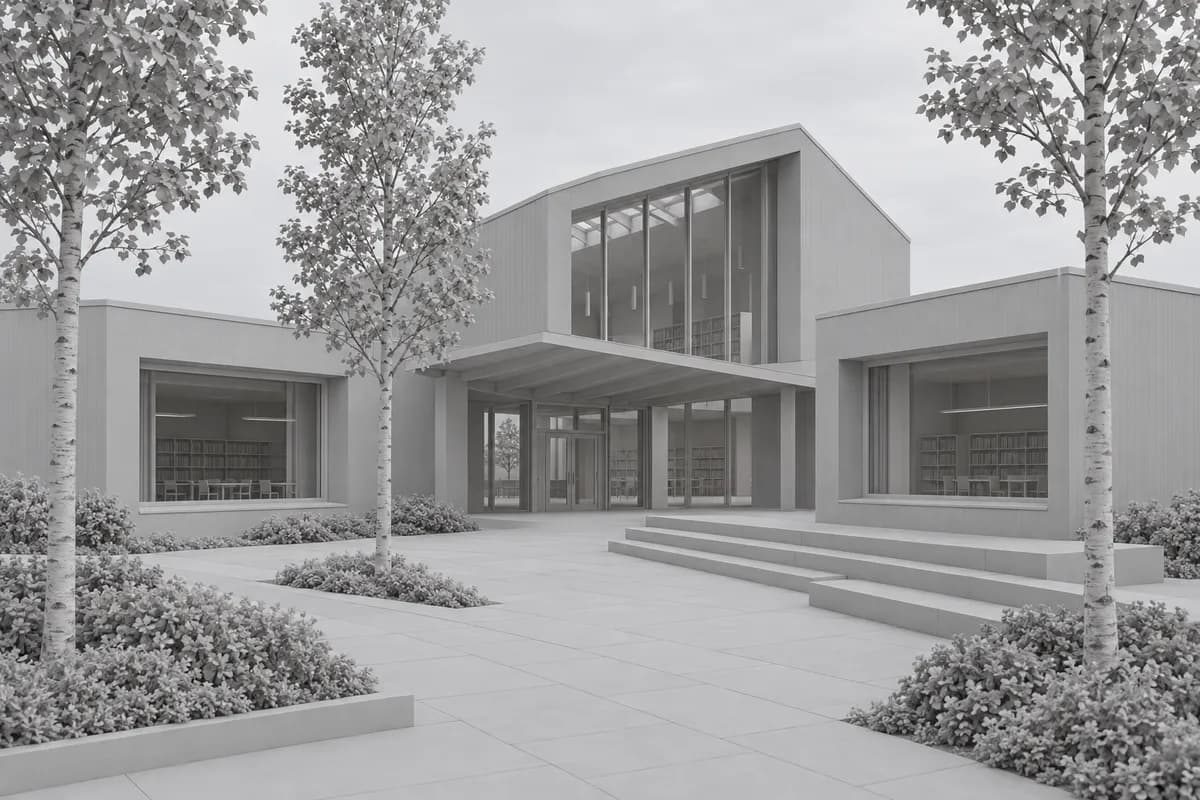 Synthetic source
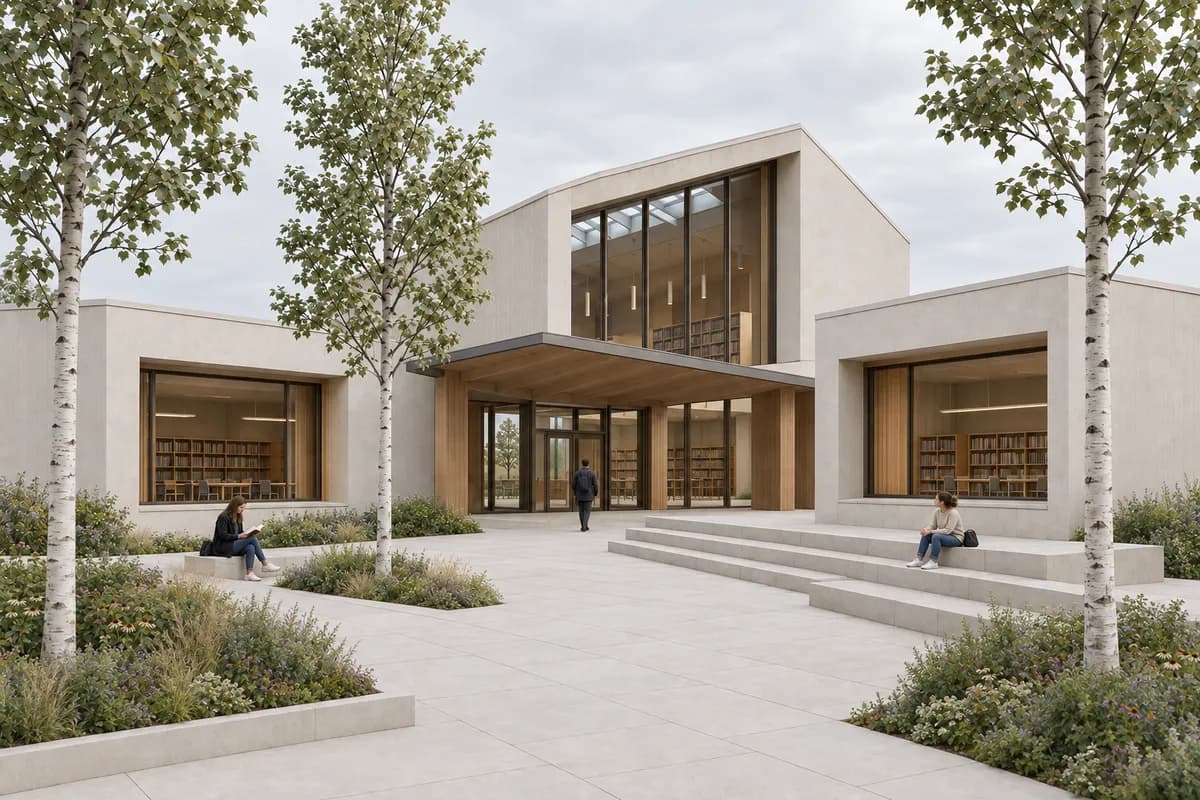 Daylight study
One matched synthetic lineage illustrates a student studio-review method without claiming measured CAD Scene retention. Kitchen model view to material study
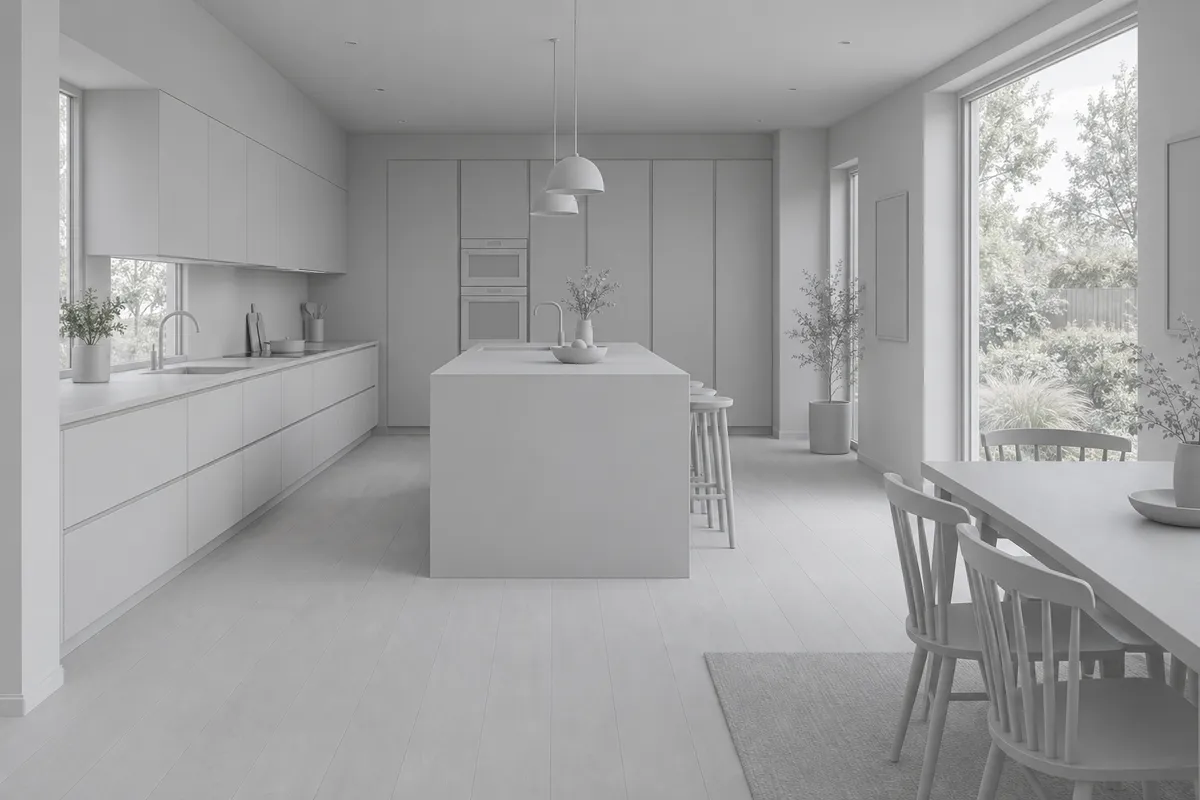 Synthetic model
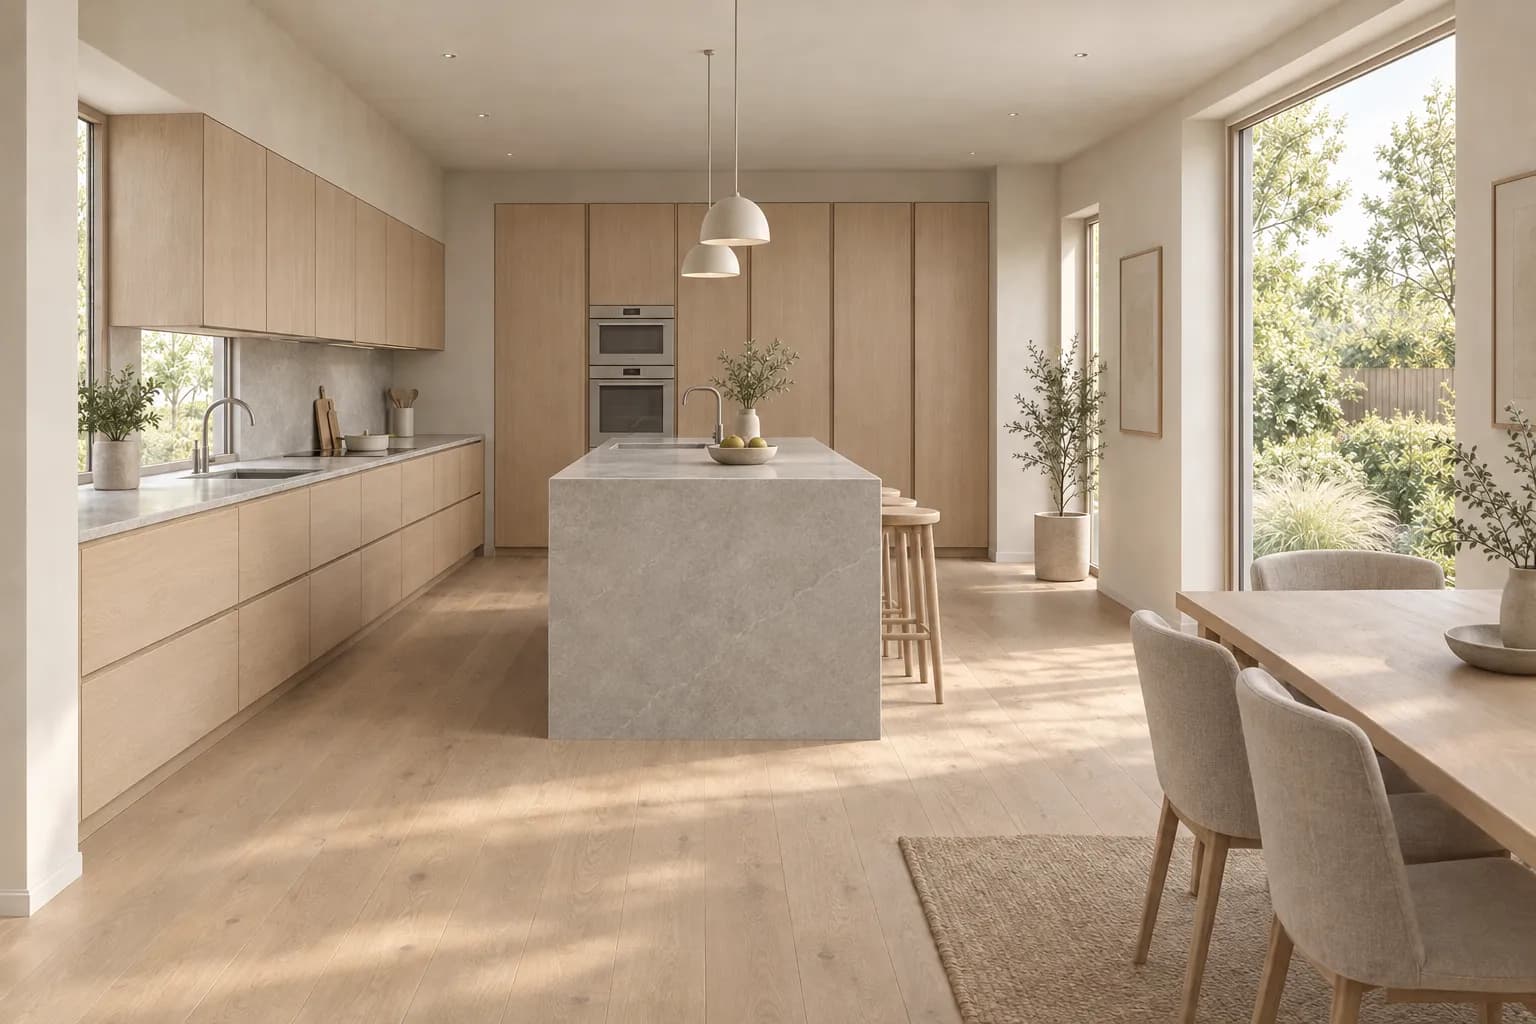 Kitchen study
One matched synthetic lineage illustrates kitchen review without claiming measured CAD Scene retention. Bathroom model view to material study
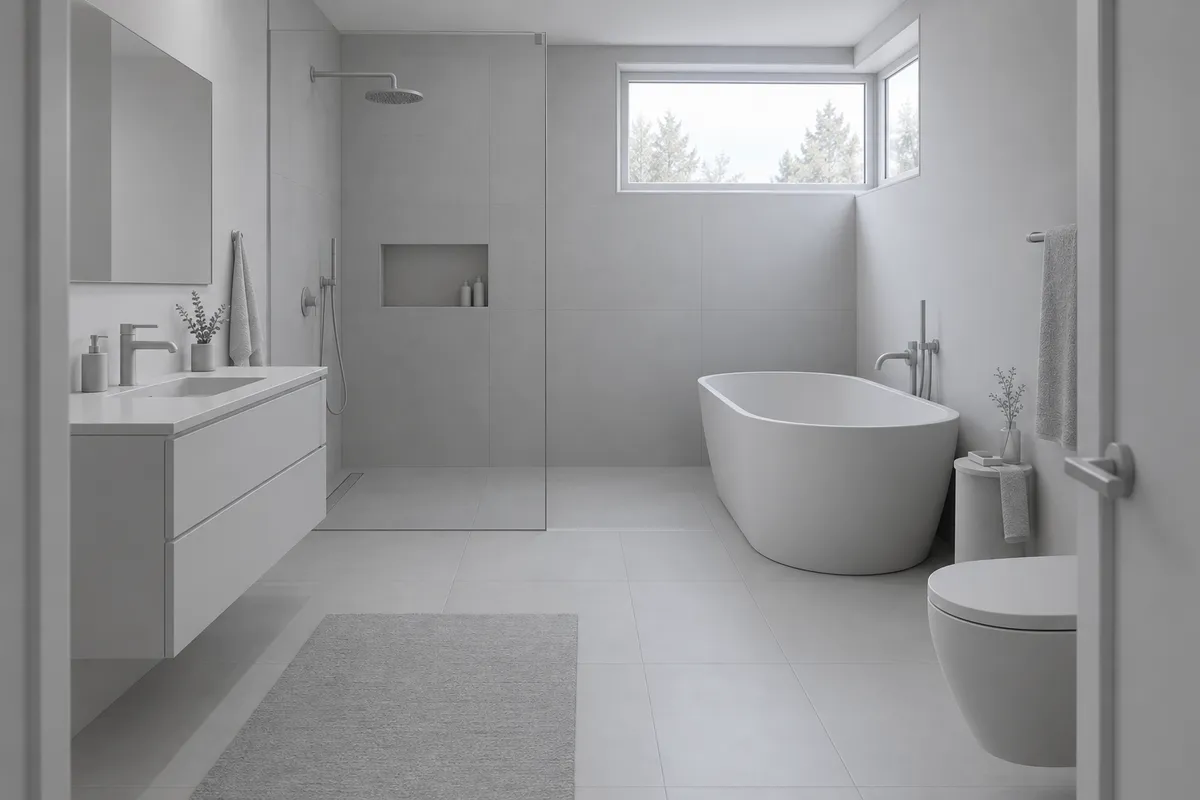 Synthetic model
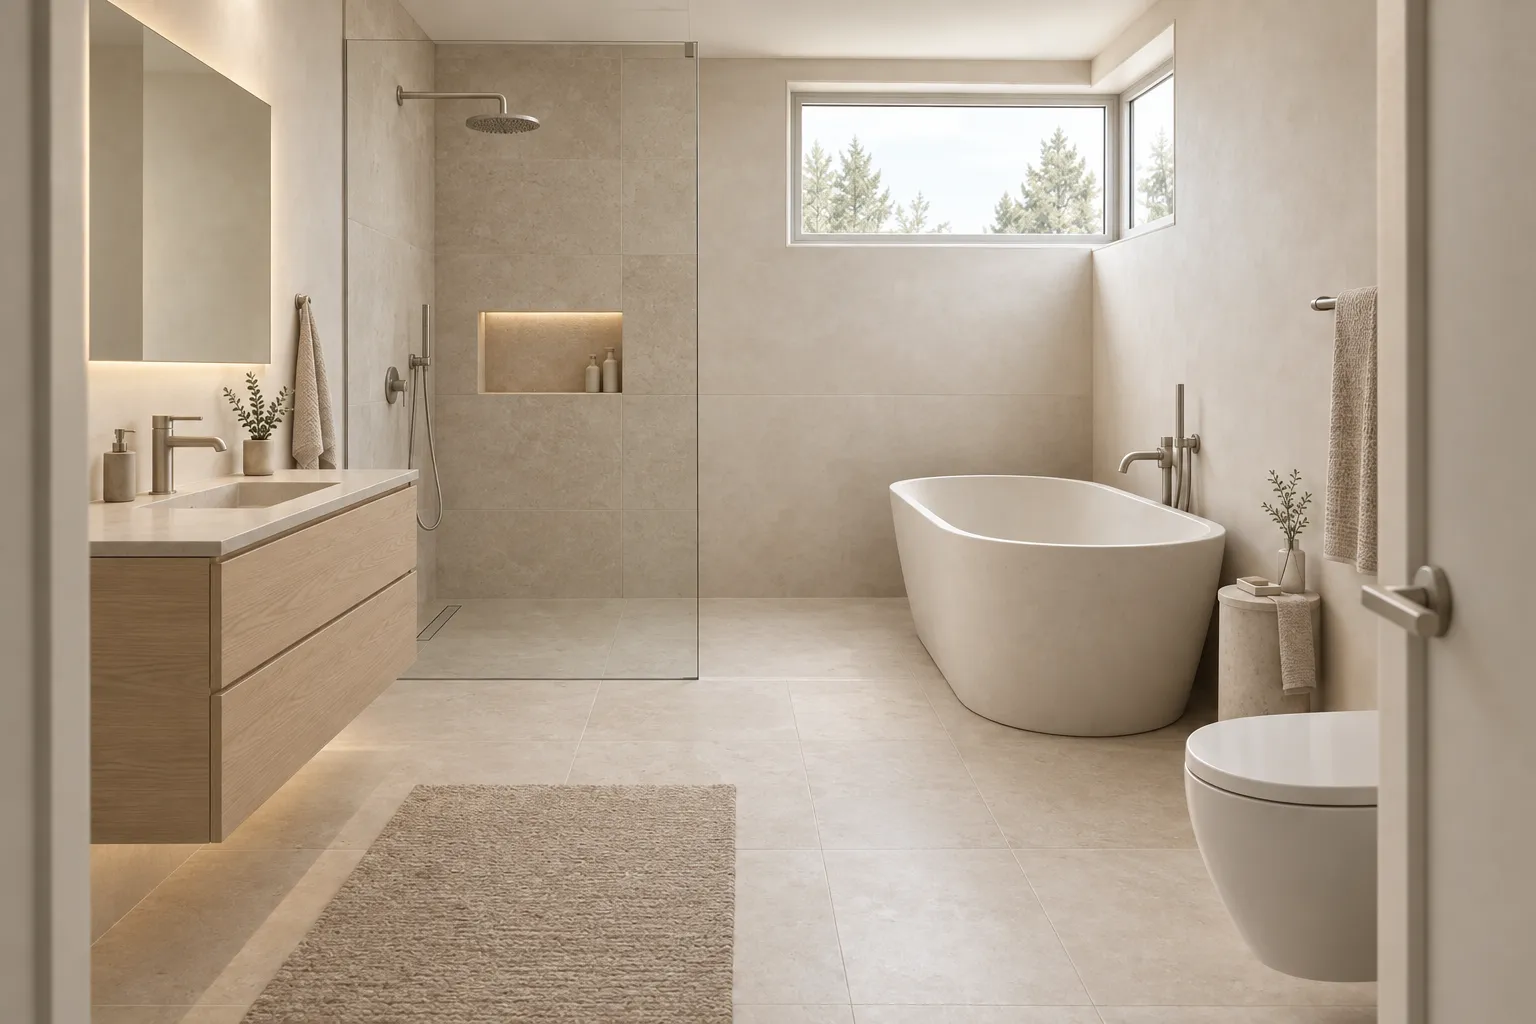 Bathroom study
A matched synthetic pair illustrates bathroom material review without claiming measured geometry retention. Existing workshop to reuse study
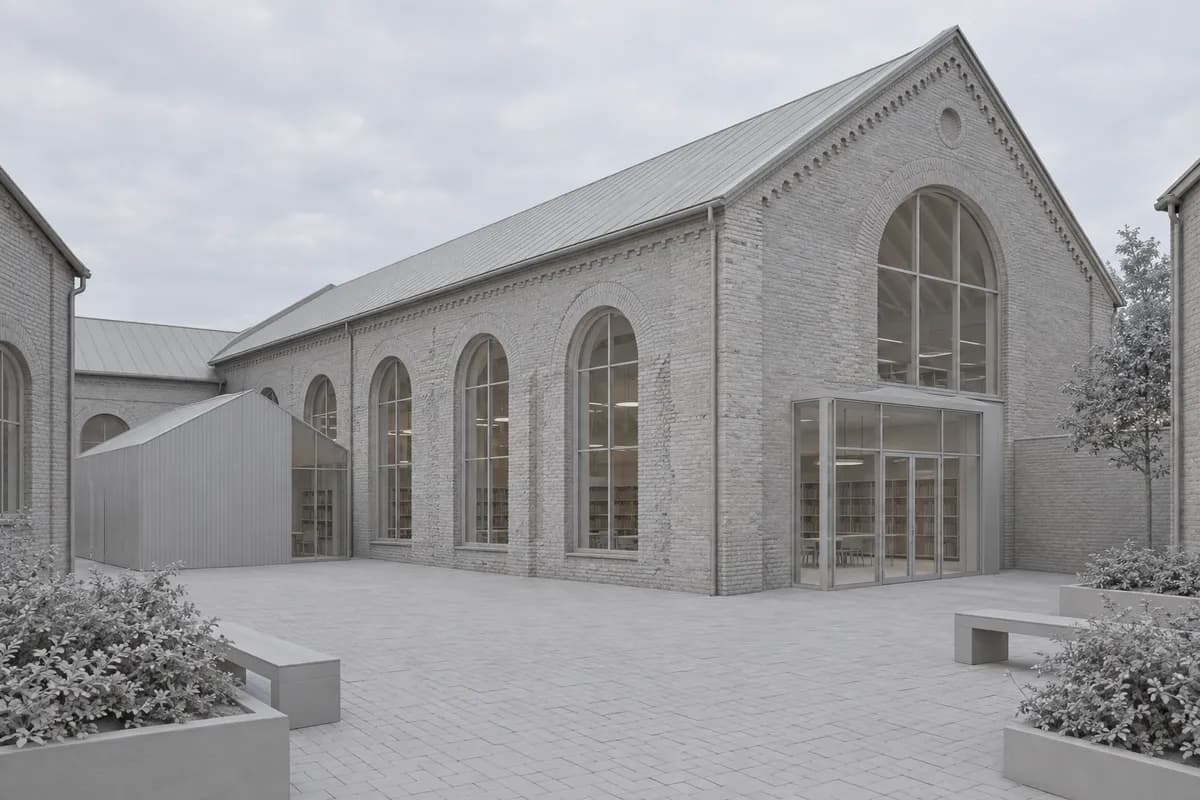 Synthetic source
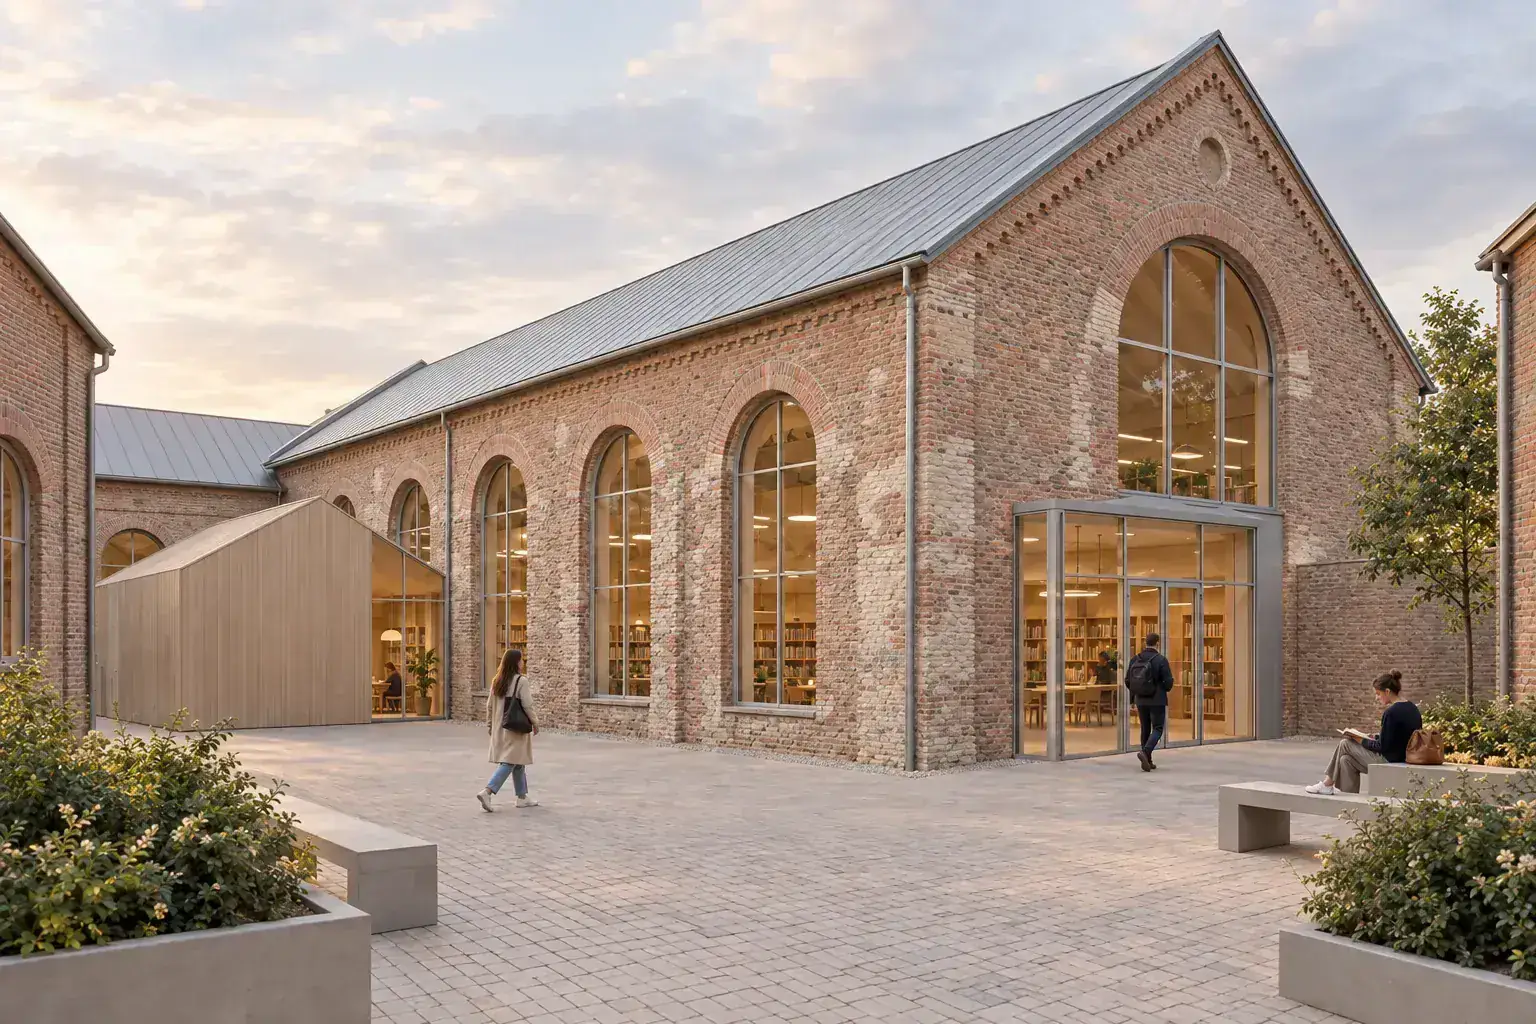 Reuse study
A matched synthetic pair illustrates adaptive reuse review without claiming measured CAD Scene performance. Facade model to material study
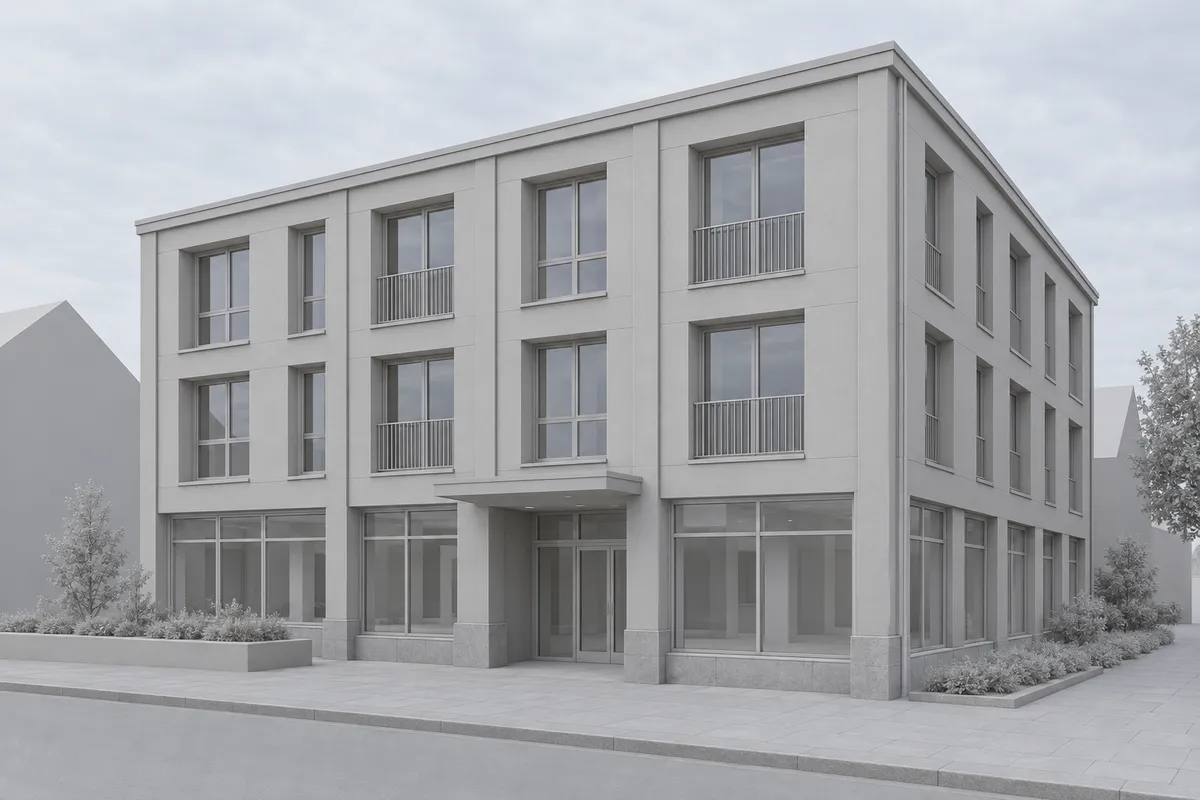 Synthetic model
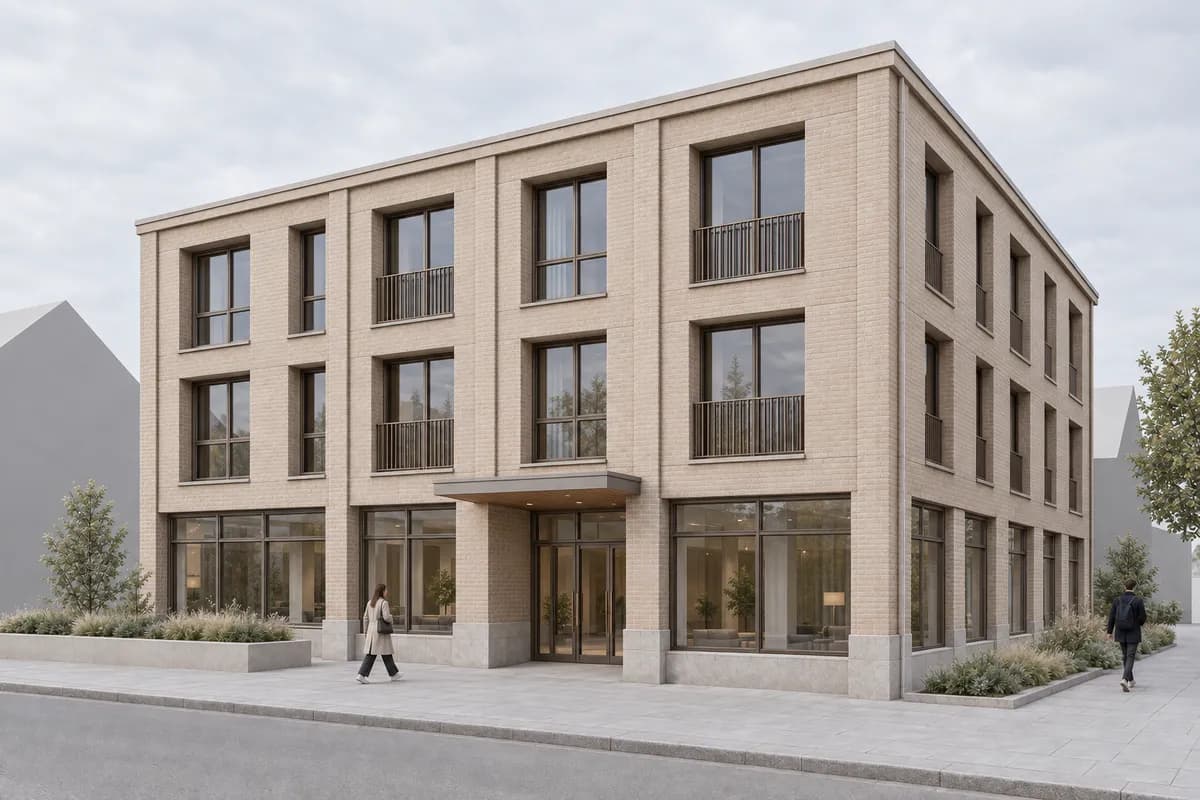 Facade study
A matched synthetic pair illustrates facade review without claiming measured CAD Scene performance. Masterplan source to urban design study
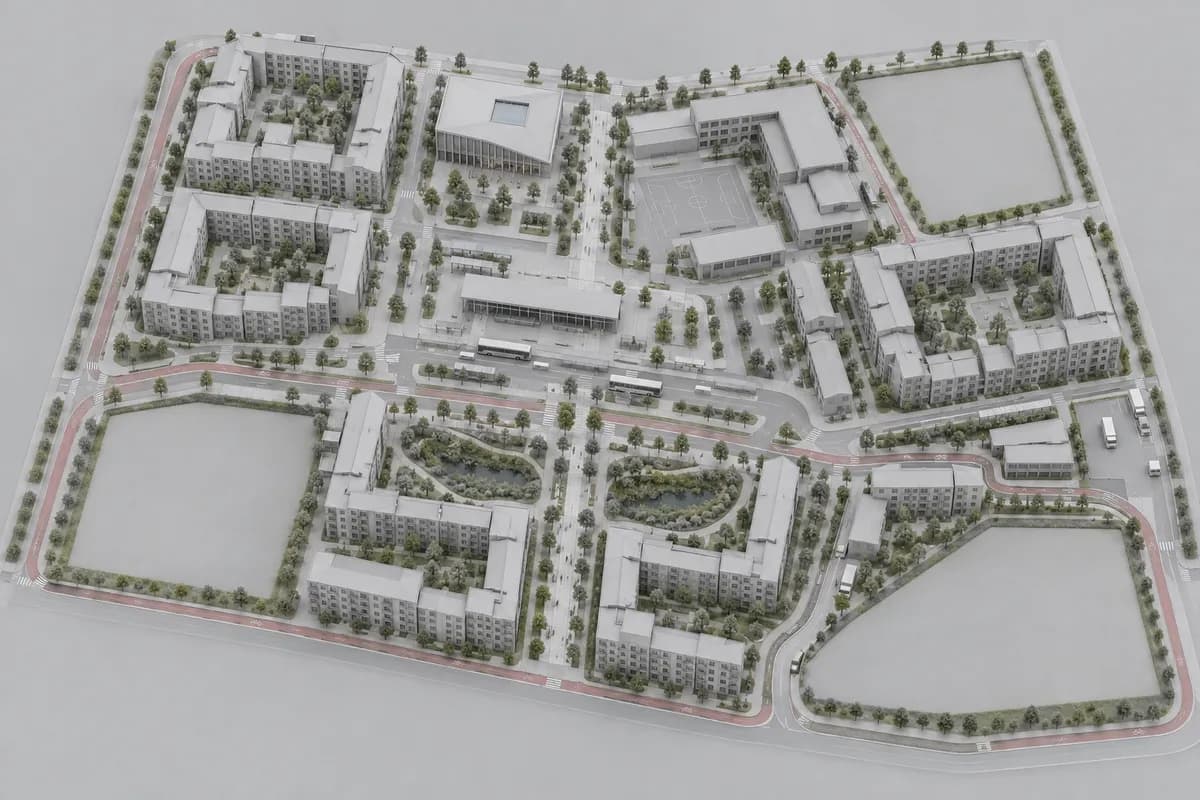 Synthetic source
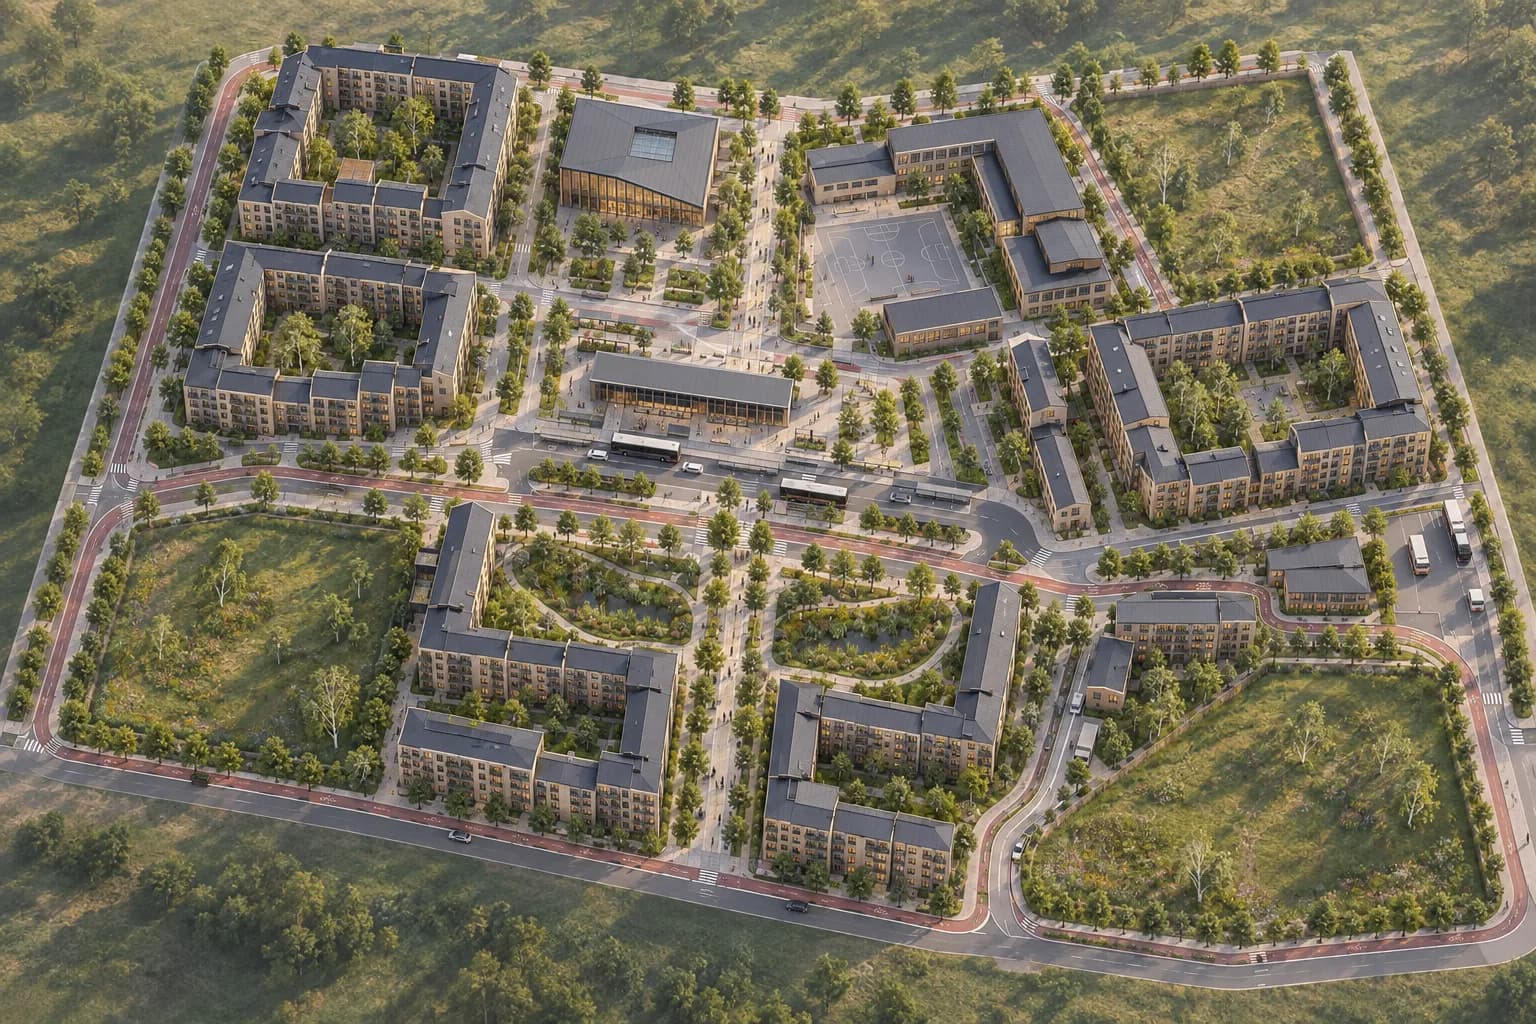 Urban study
One matched synthetic lineage illustrates district-scale review without claiming measured CAD Scene retention. Site model to landscape study
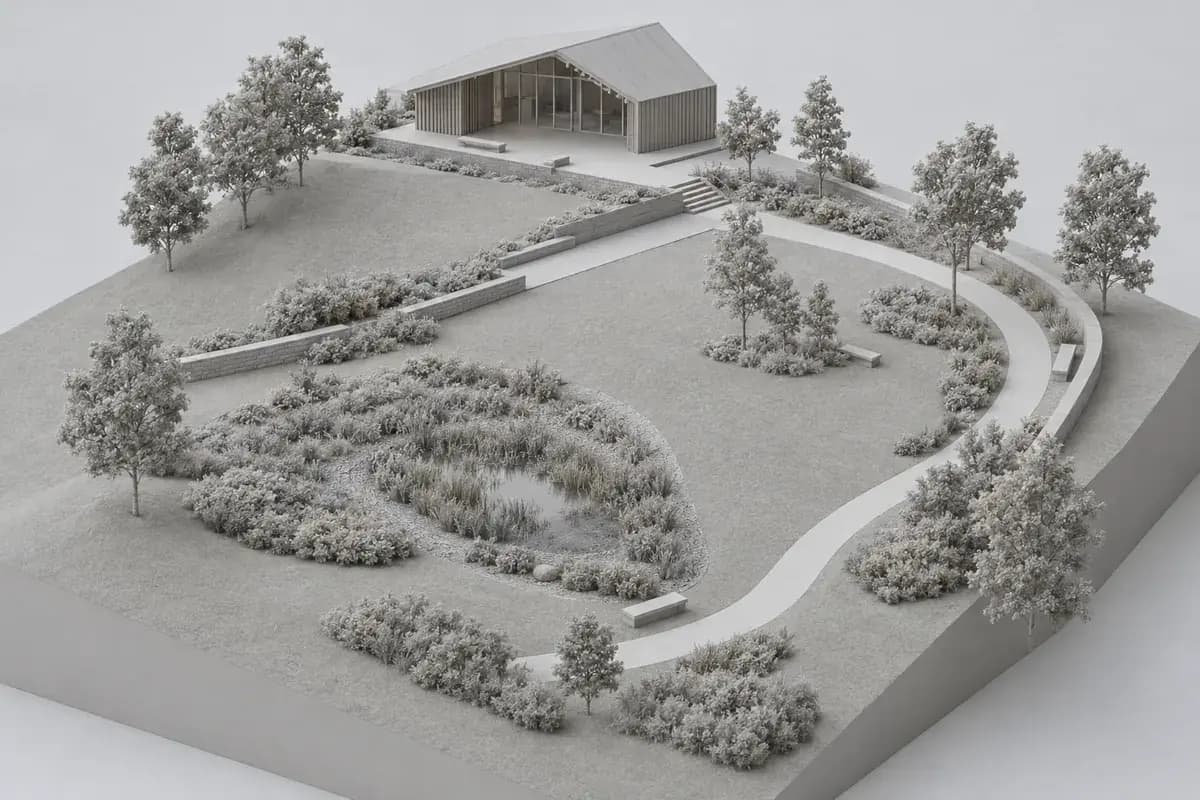 Synthetic site model
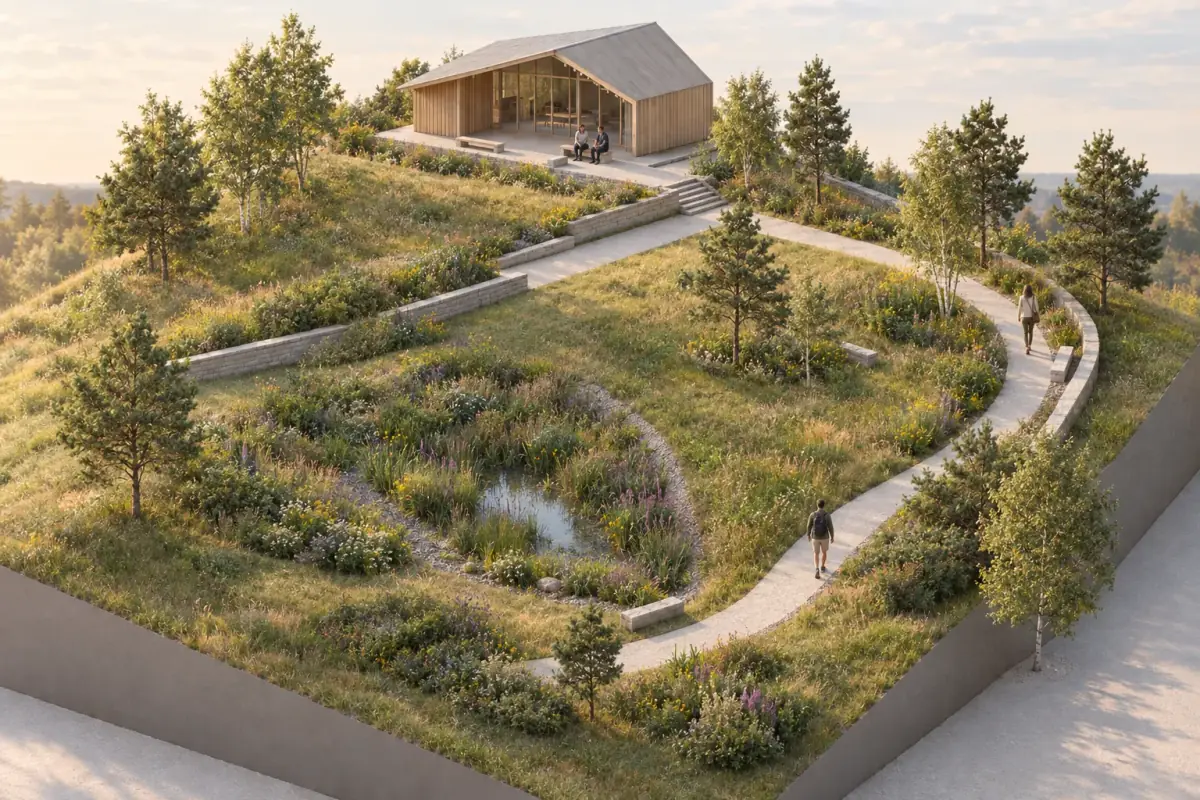 Landscape study
A matched synthetic pair illustrates site-design review without claiming measured CAD Scene performance. Retail model view to boutique study
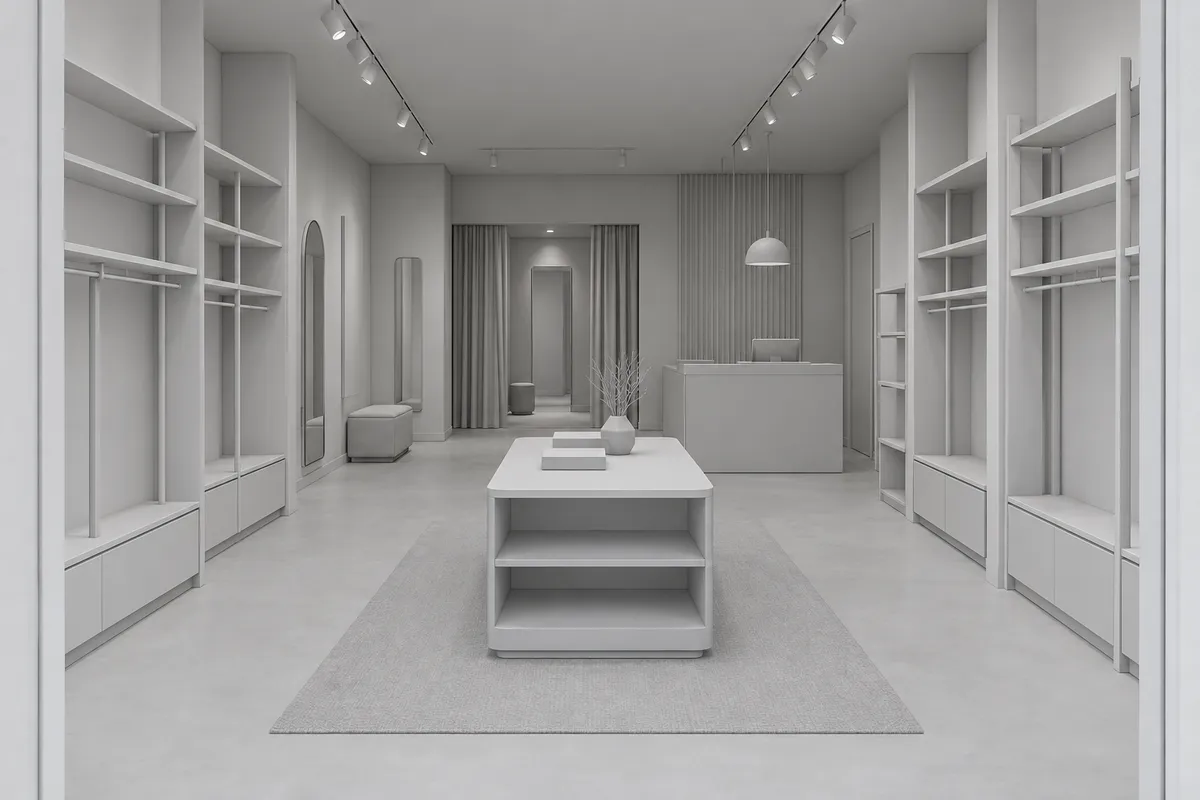 Synthetic model
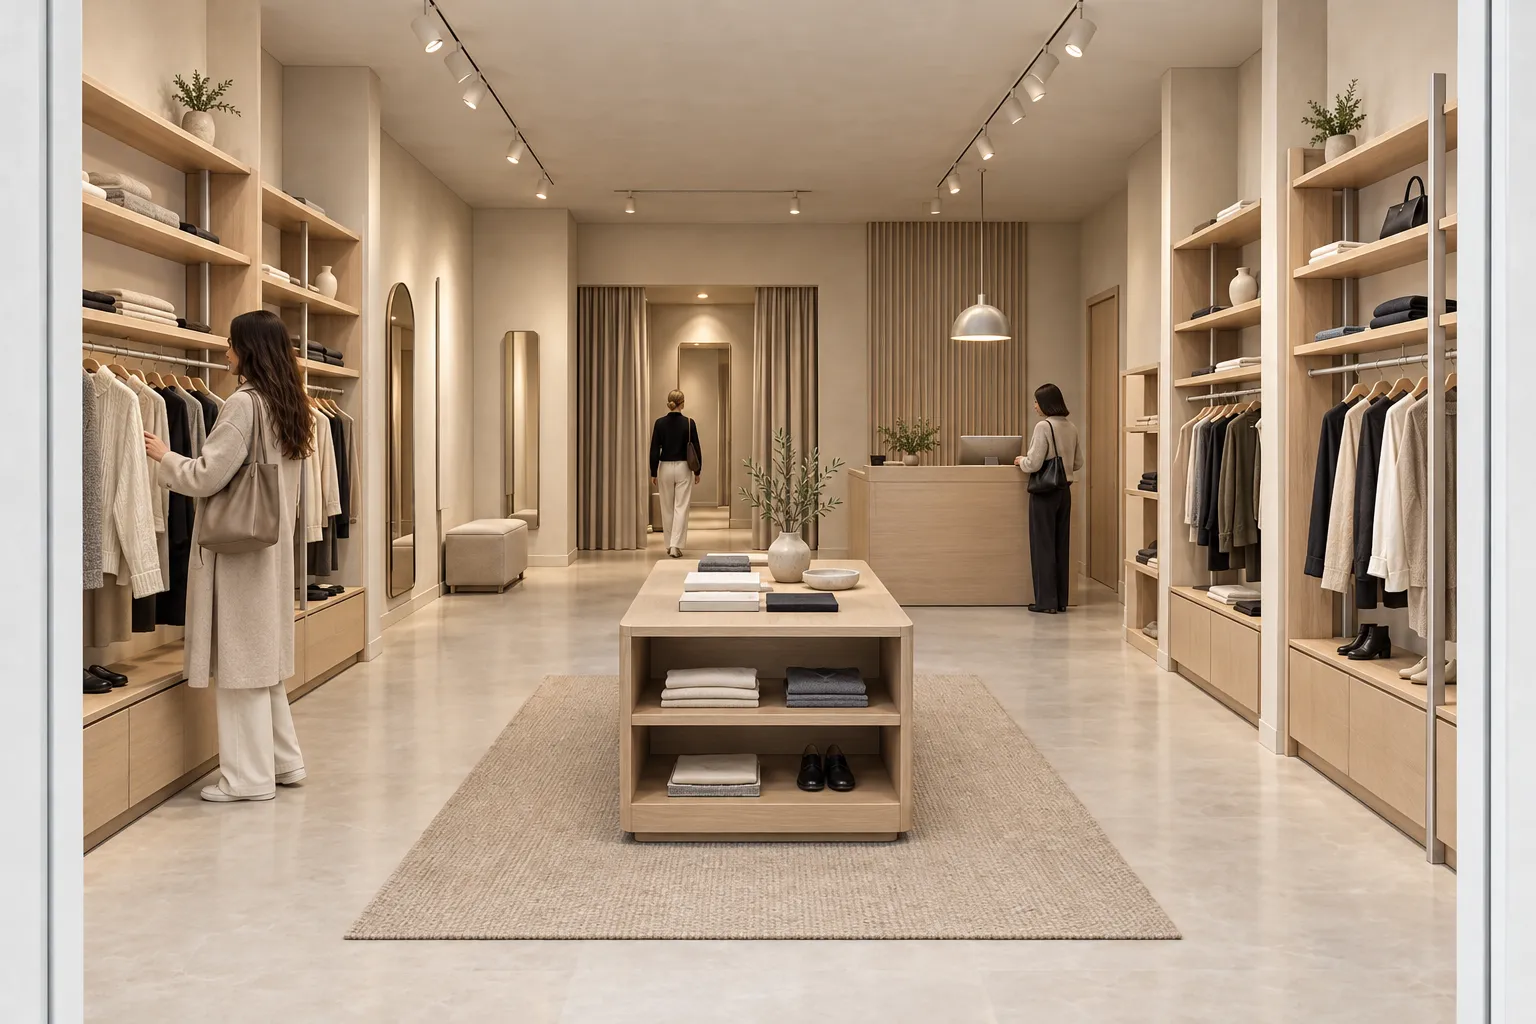 Retail study
A matched synthetic pair that illustrates retail review without claiming measured geometry retention. Office model to daylight study
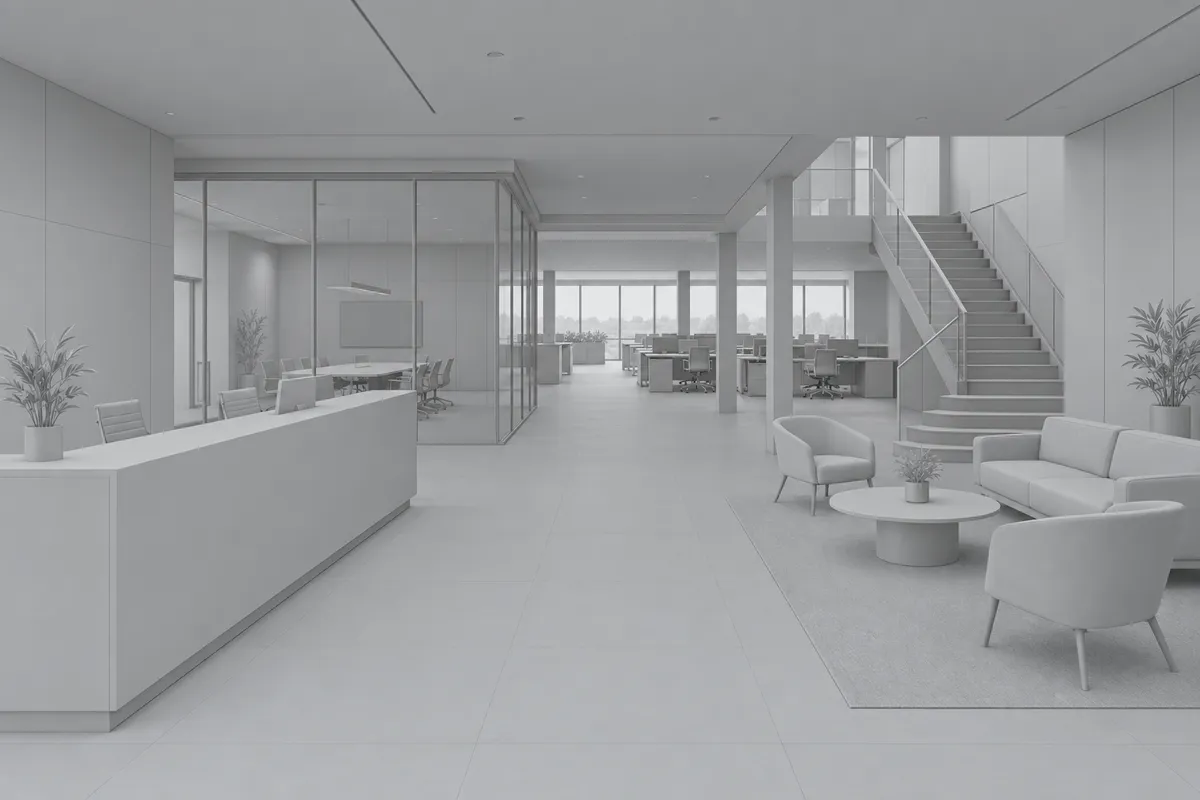 Synthetic source
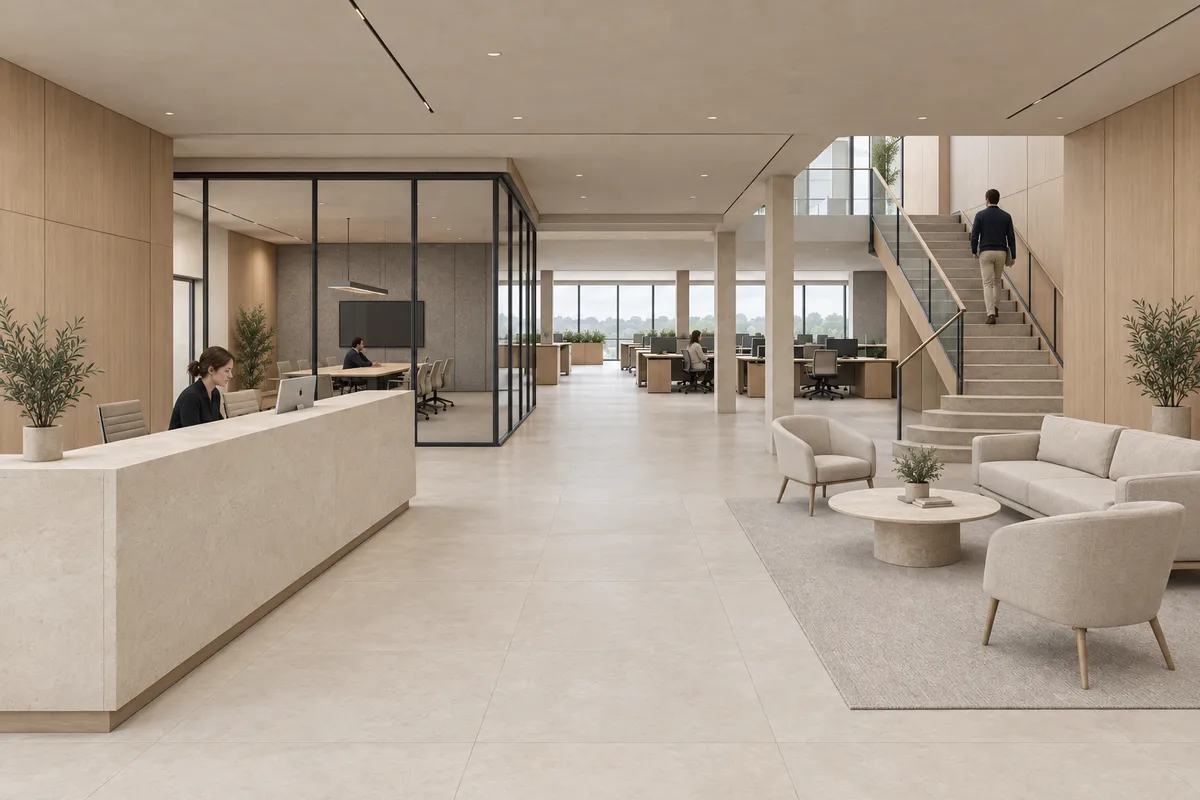 Daylight study
One matched synthetic lineage illustrates office-image review. It is not a measured CAD Scene result. Hospitality model view to daylight study
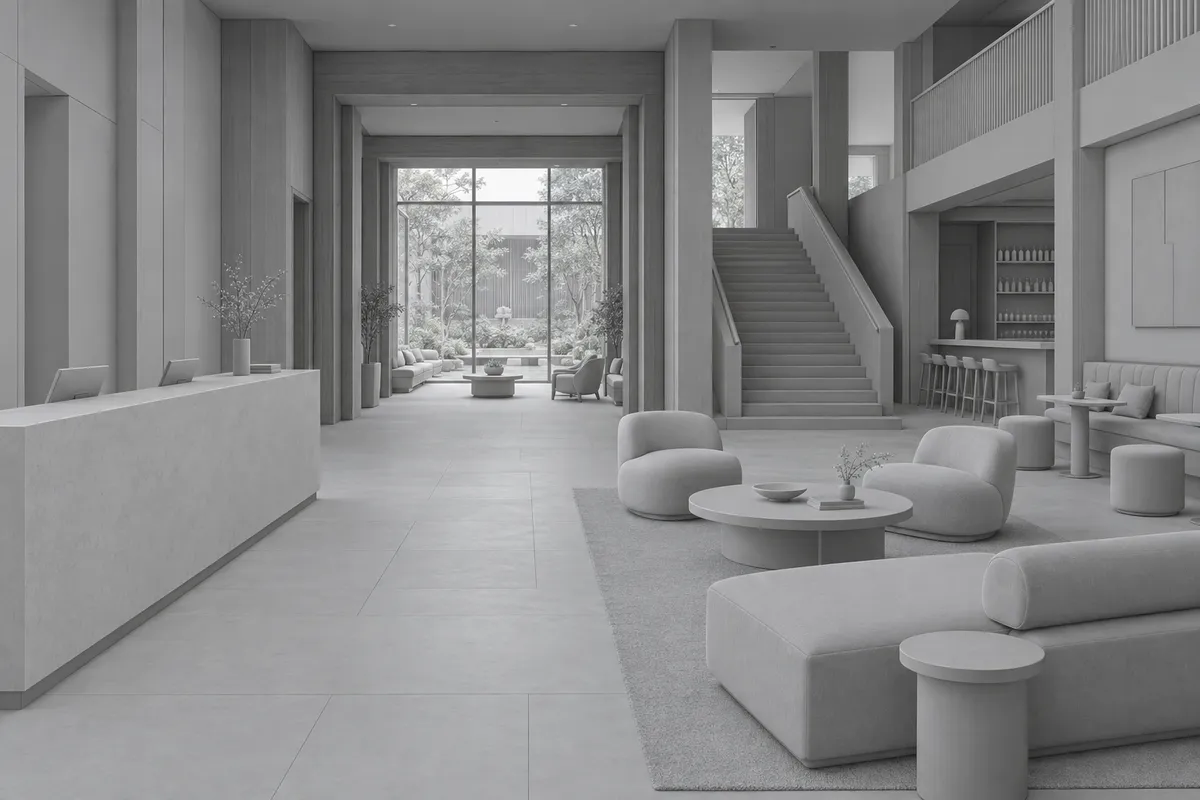 Synthetic source
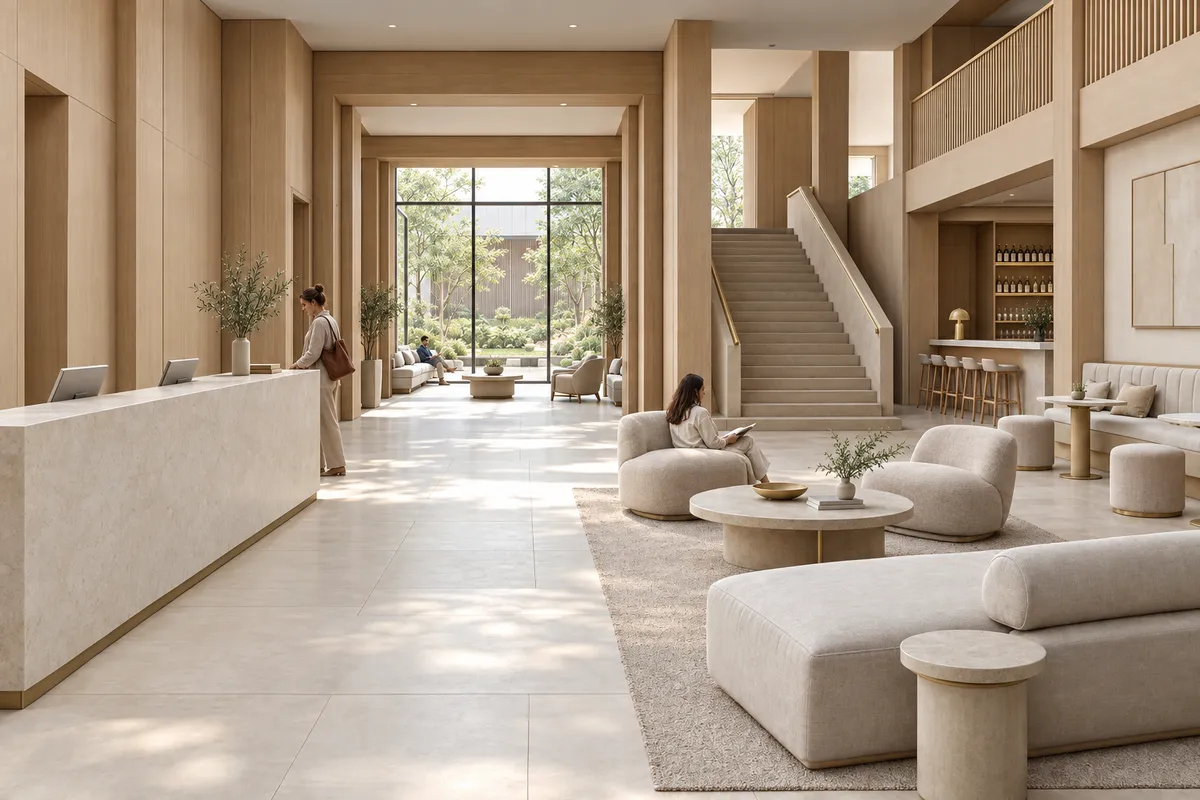 Hospitality study
One matched synthetic lineage illustrates a source-led hospitality study without claiming measured CAD Scene performance. Residential model view to review study
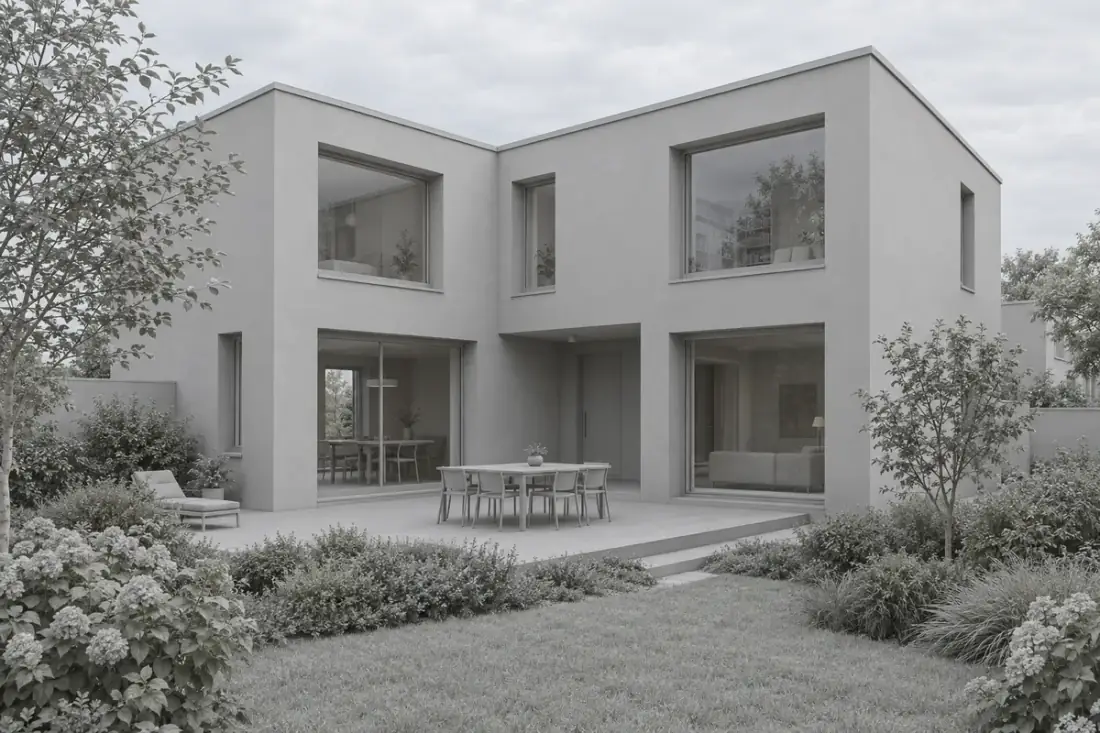 Synthetic source
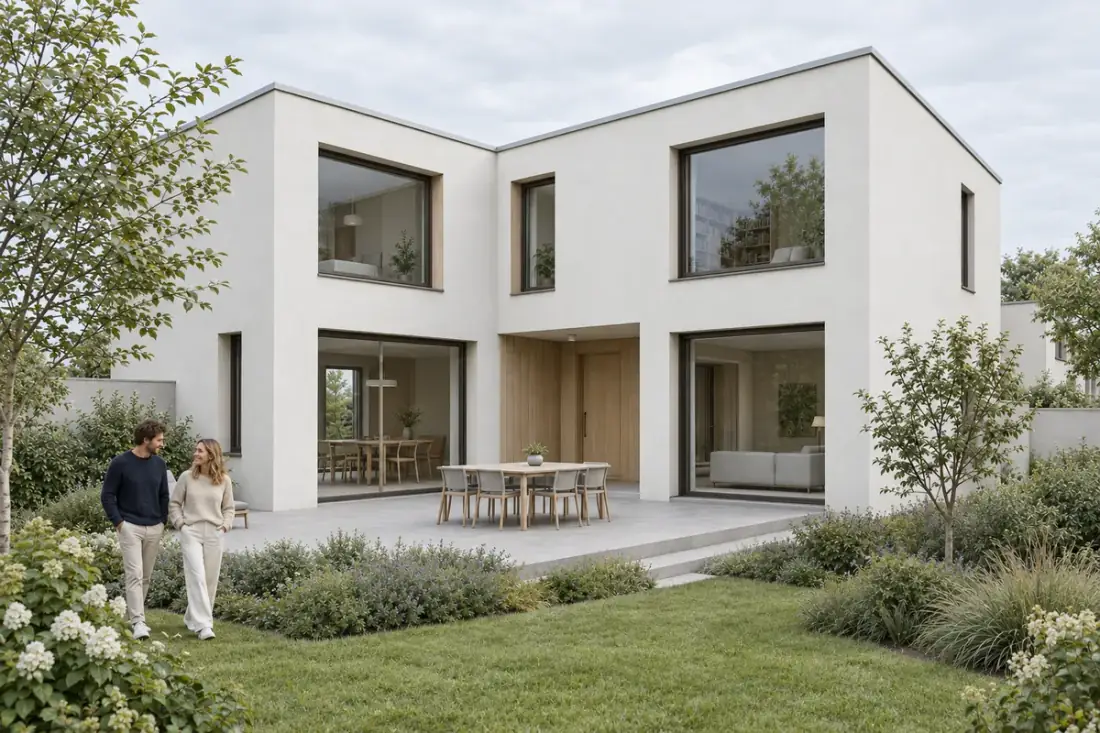 Daylight review
Camera, crop, house, openings, and landscape footprint stay within one synthetic lineage. The images demonstrate a review method, not measured retention. Residential interior source to daylight review
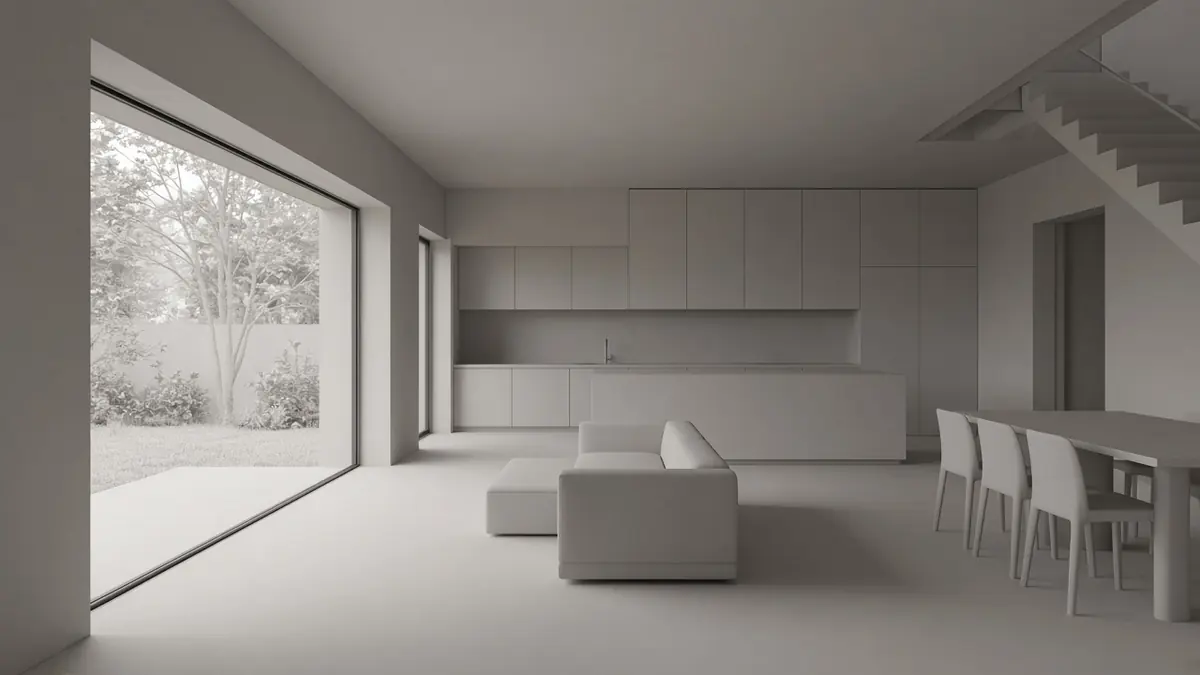 Synthetic source
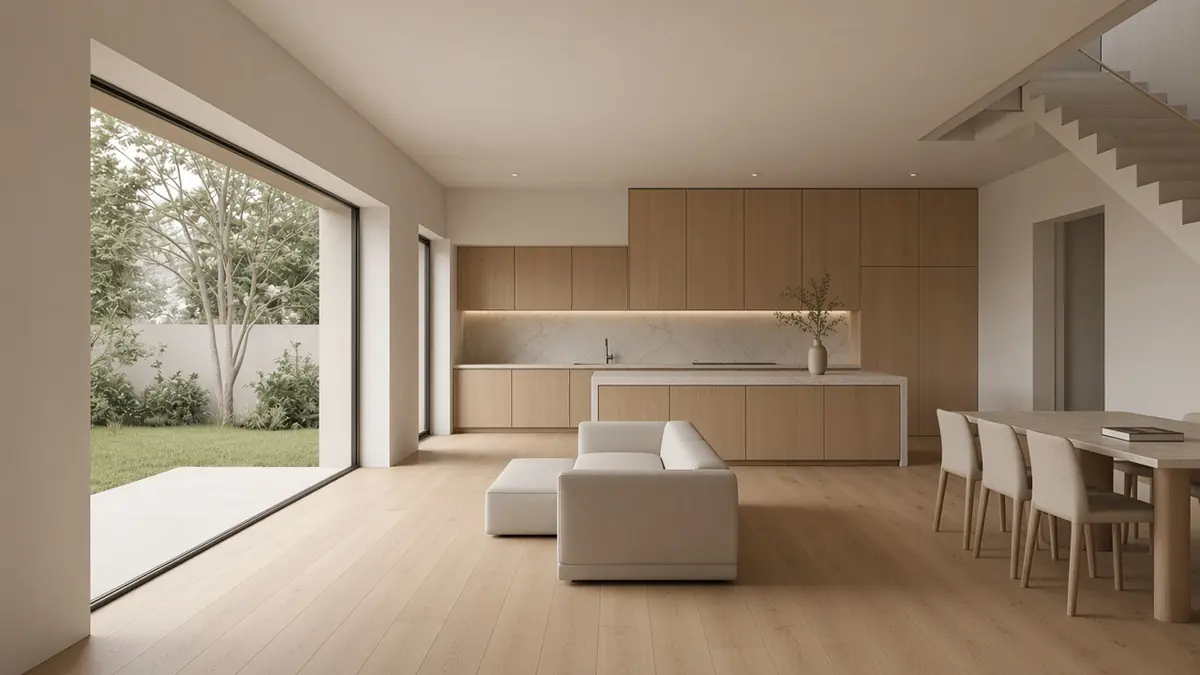 Daylight review
One interior source supports daylight, material, and evening drafts. Review each change against the source before accepting it. Cinema 4D camera view to render study
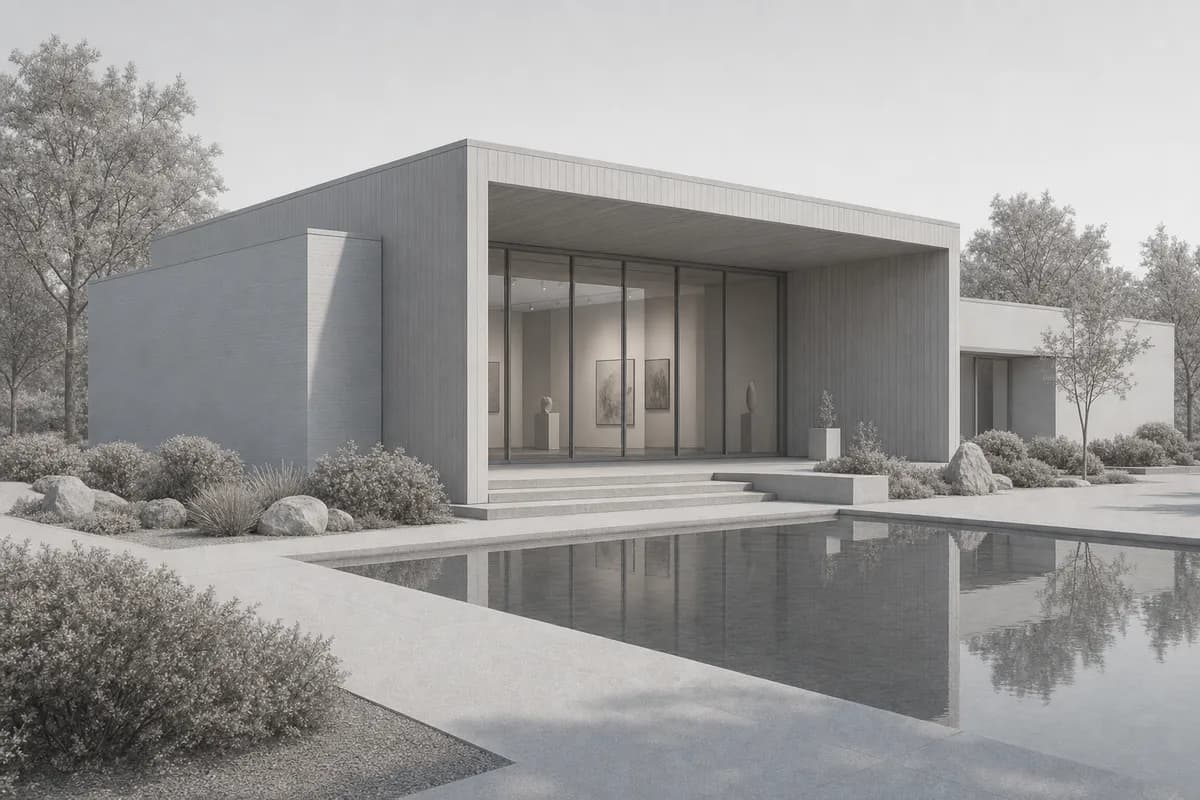 Synthetic camera view
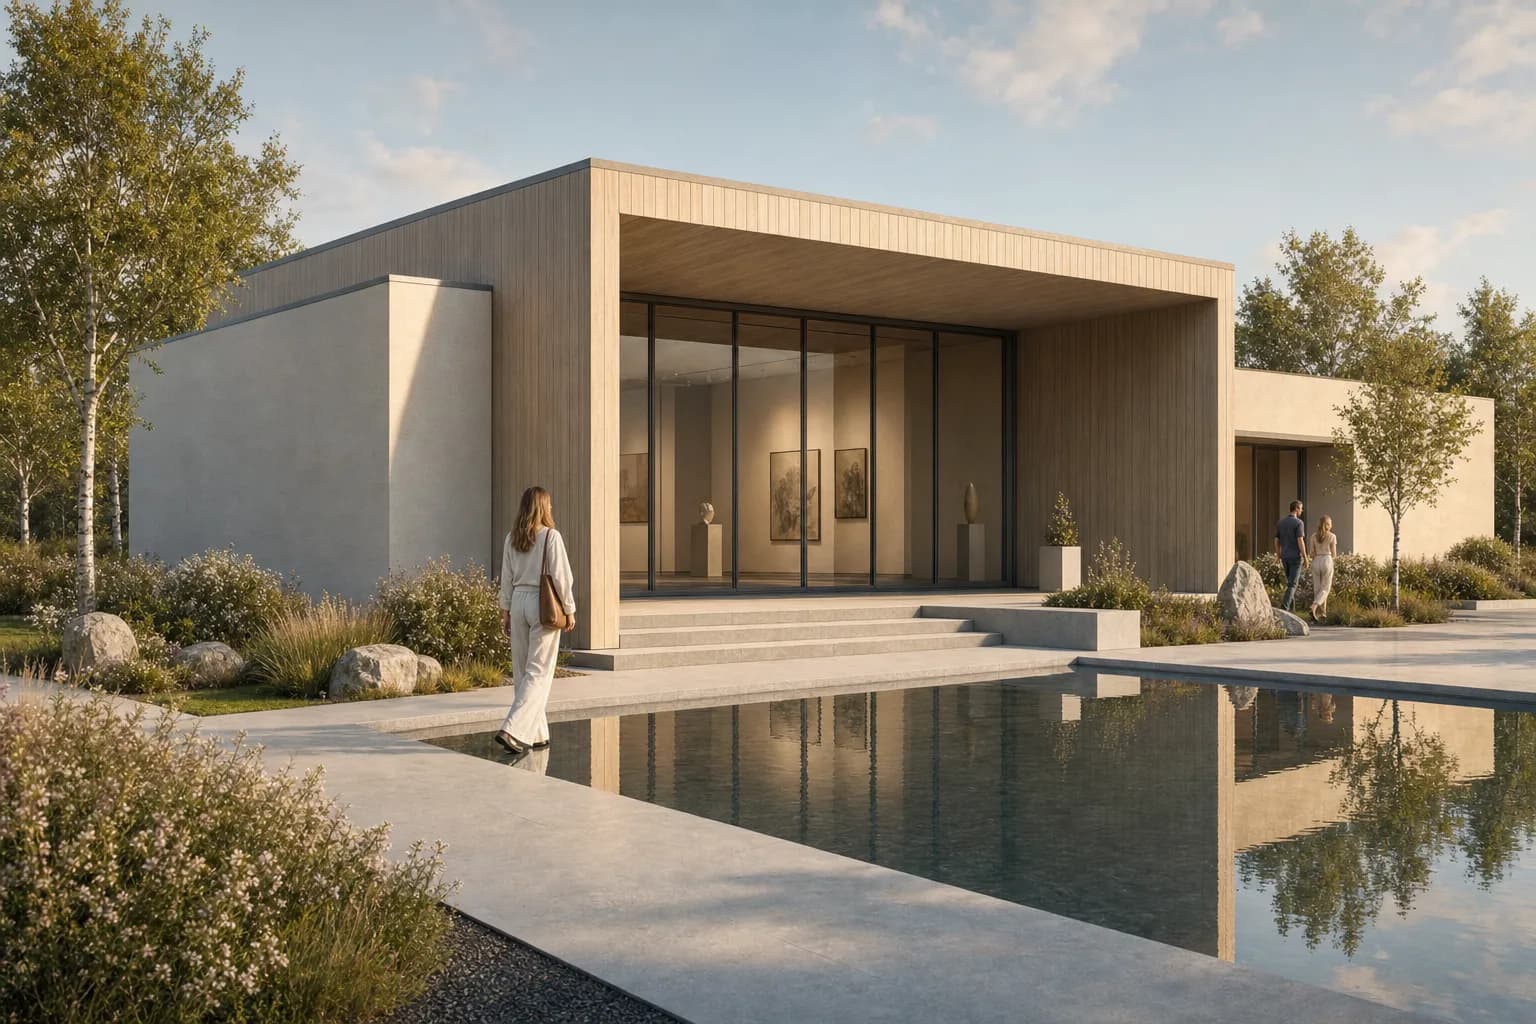 Render study
A matched synthetic pair that illustrates the Cinema 4D review method without claiming measured product performance. SketchUp source to render study
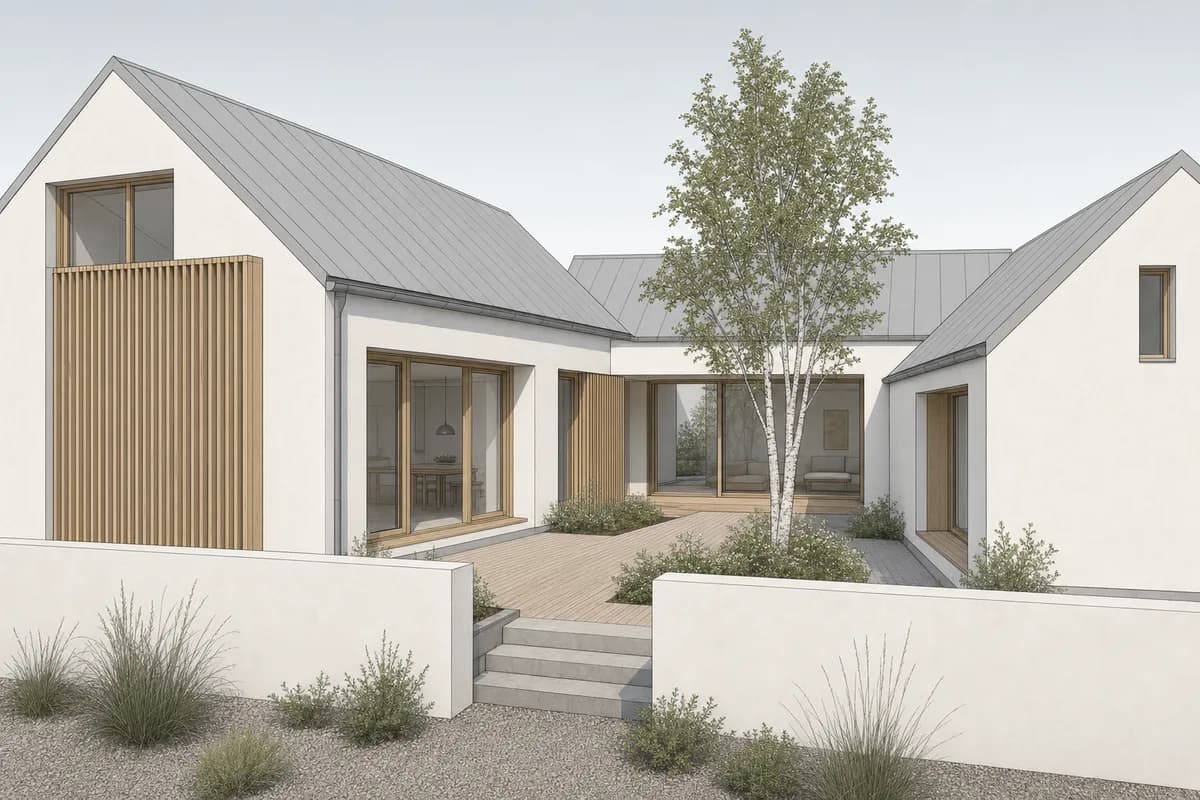 Synthetic source
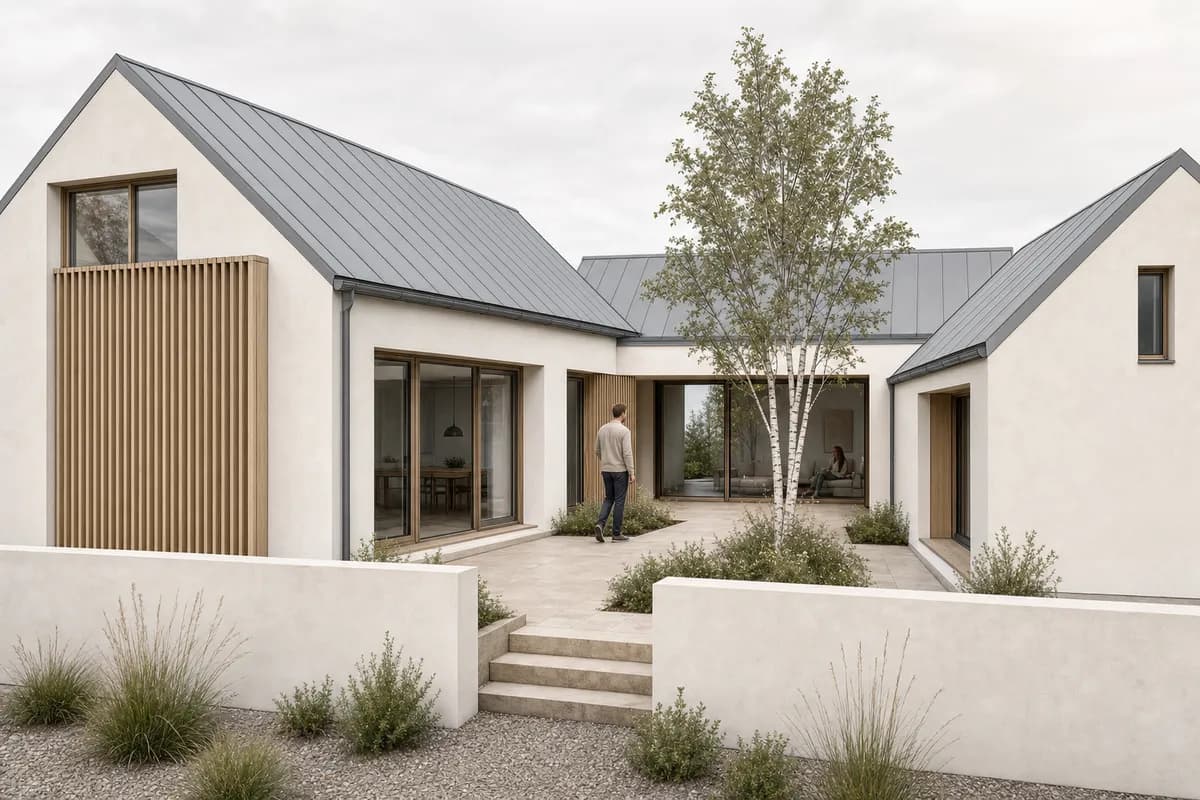 Render study
A matched editorial pair demonstrates the SketchUp tool test without claiming measured CAD Scene or cross-vendor performance. GPT Image 2.5 material edit
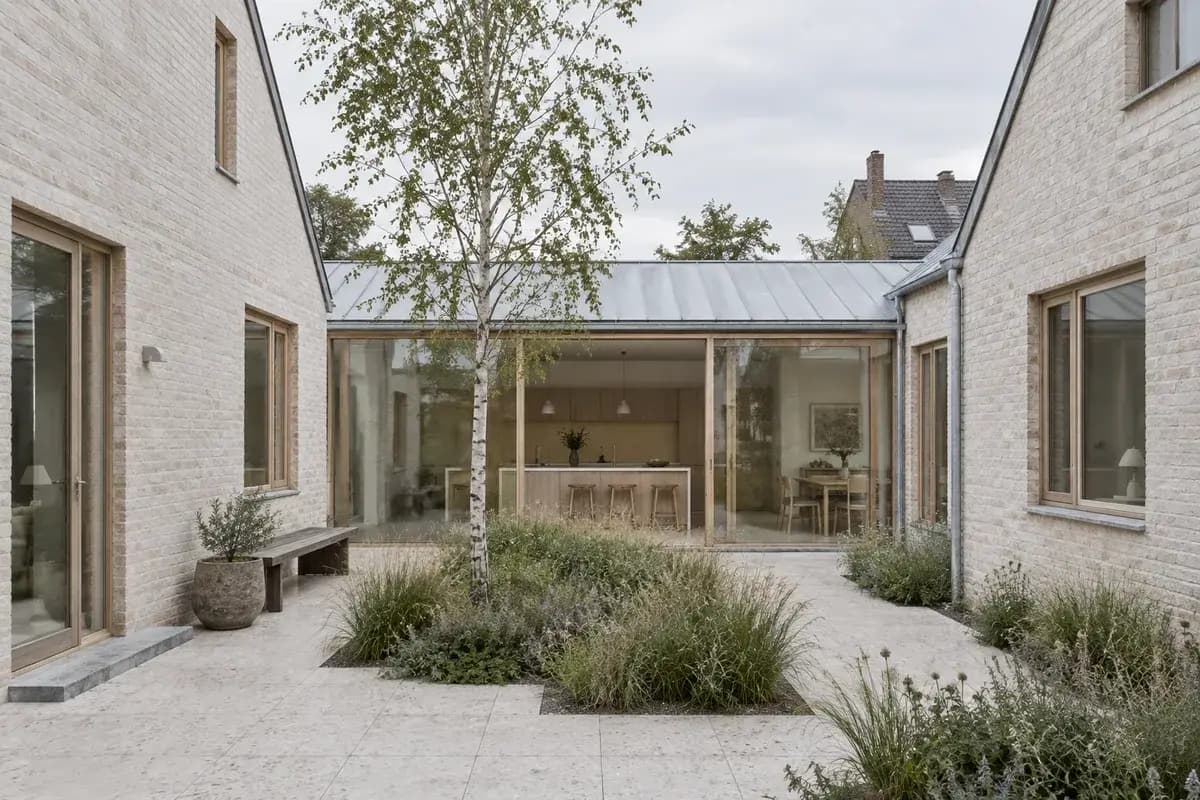 Flare study
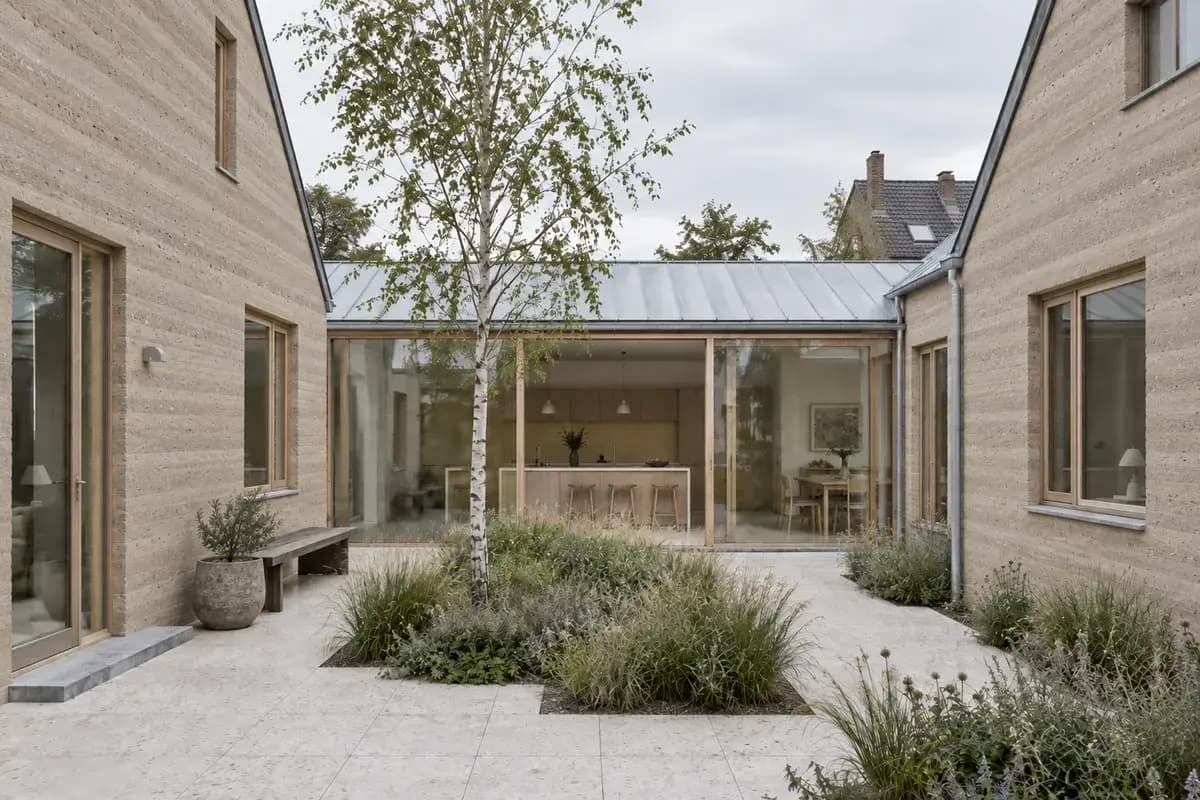 Sunburst edit
A matched editorial pair shows a bounded material edit without claiming measured production-workspace performance. Model view to board lead render
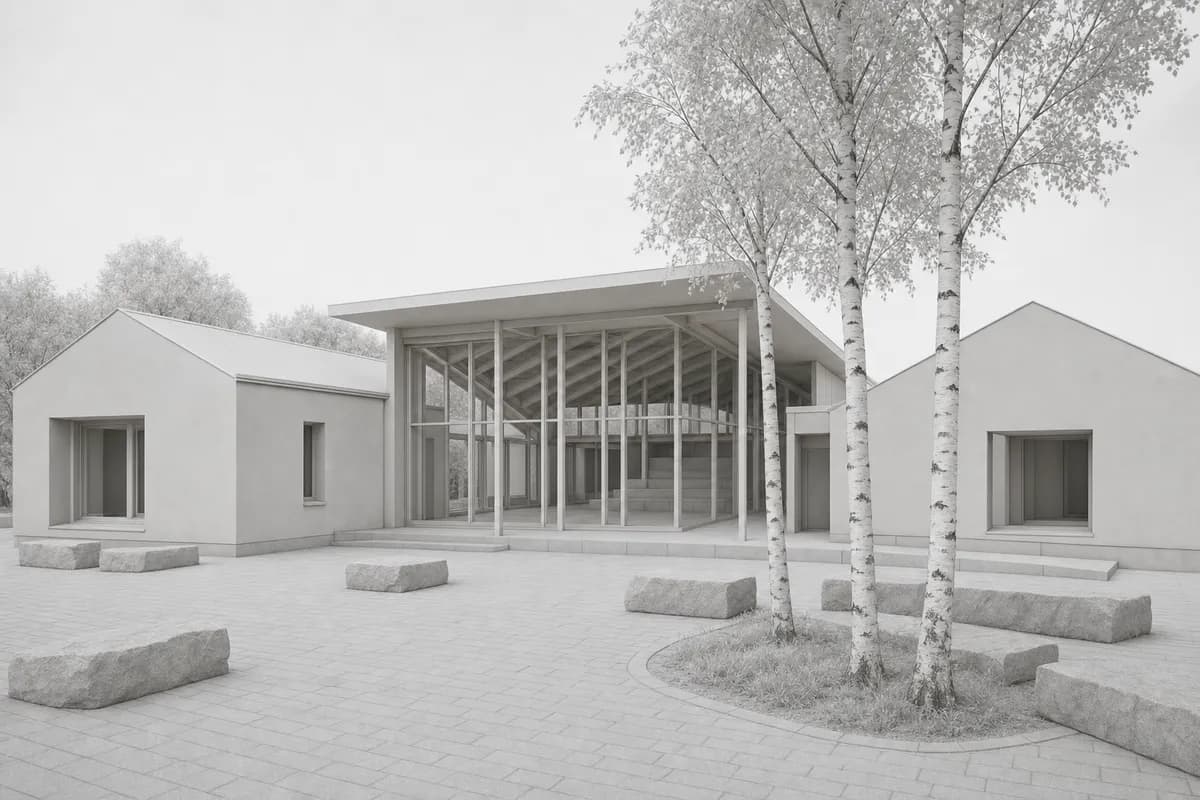 Synthetic source
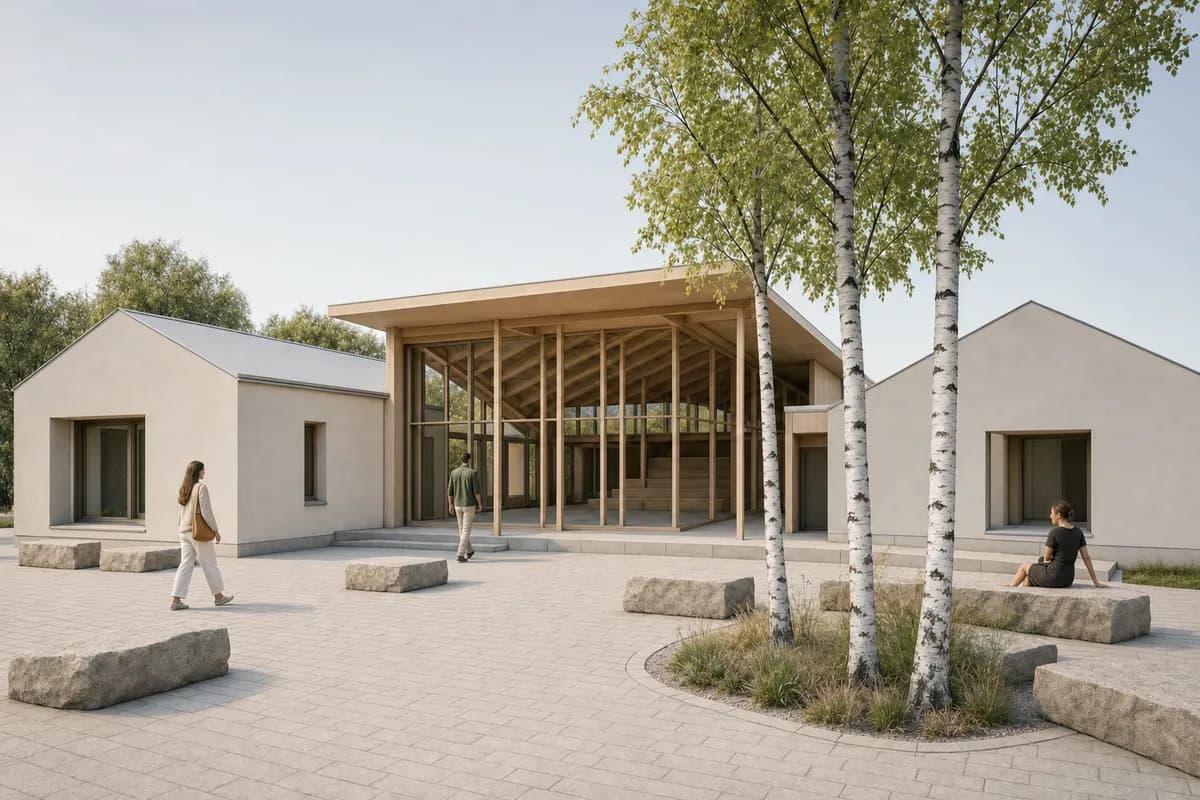 Lead render
One matched synthetic pair illustrates framing and review for a presentation board without claiming measured CAD Scene performance. Overloaded board to resolved hierarchy
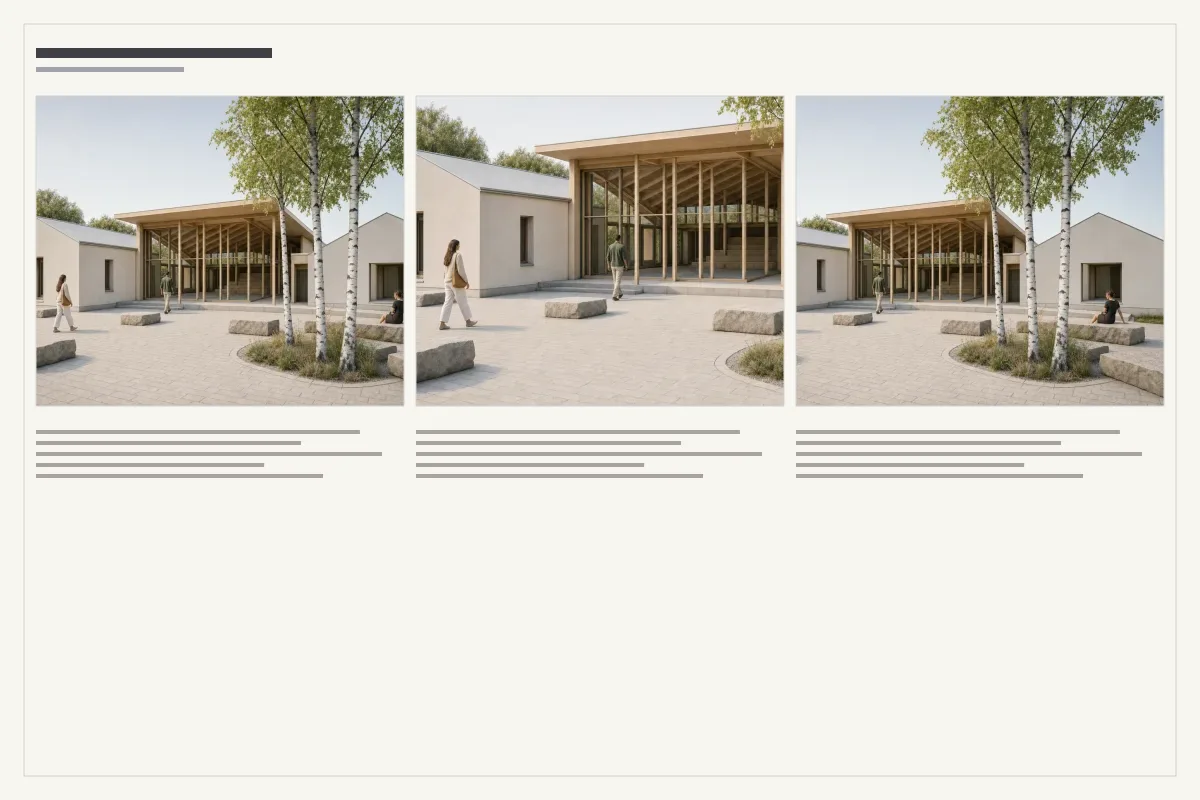 Competing hierarchy
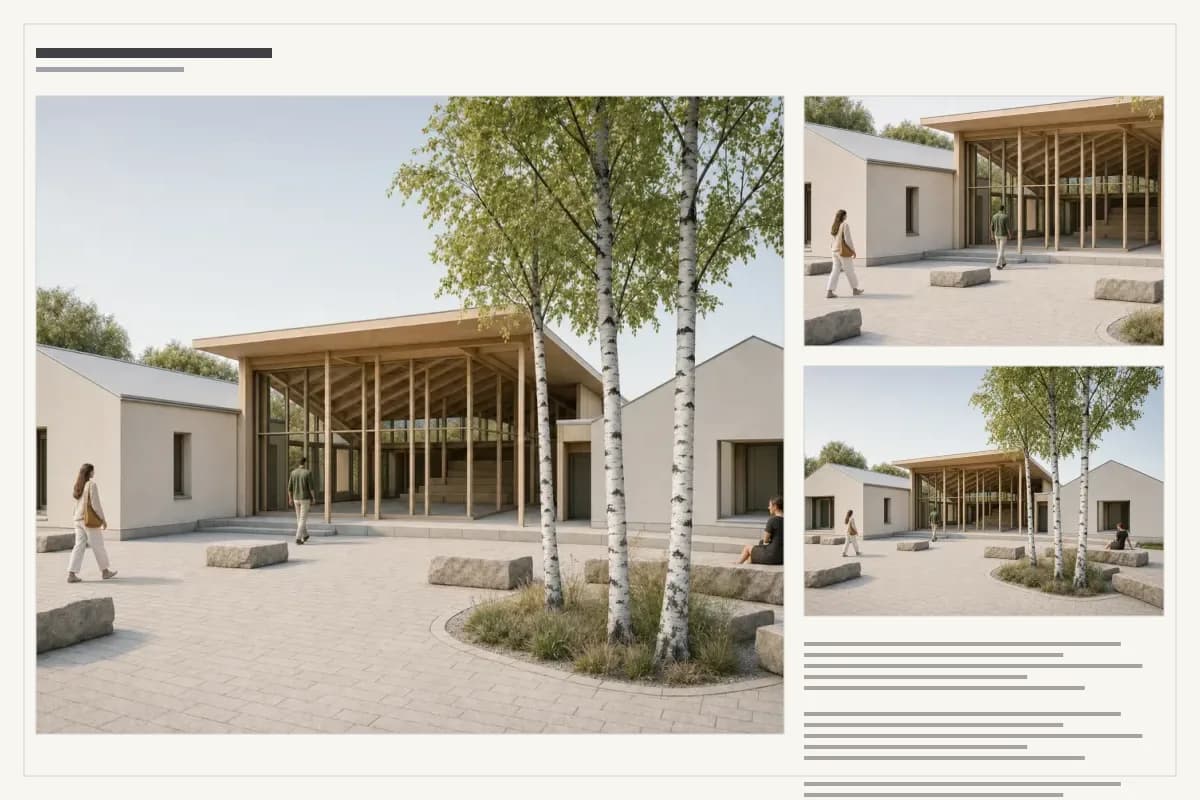 Resolved hierarchy
A deterministic script reorganizes the same three raster placements and information bars to demonstrate hierarchy, alignment, and negative space. Empty court to balanced occupation
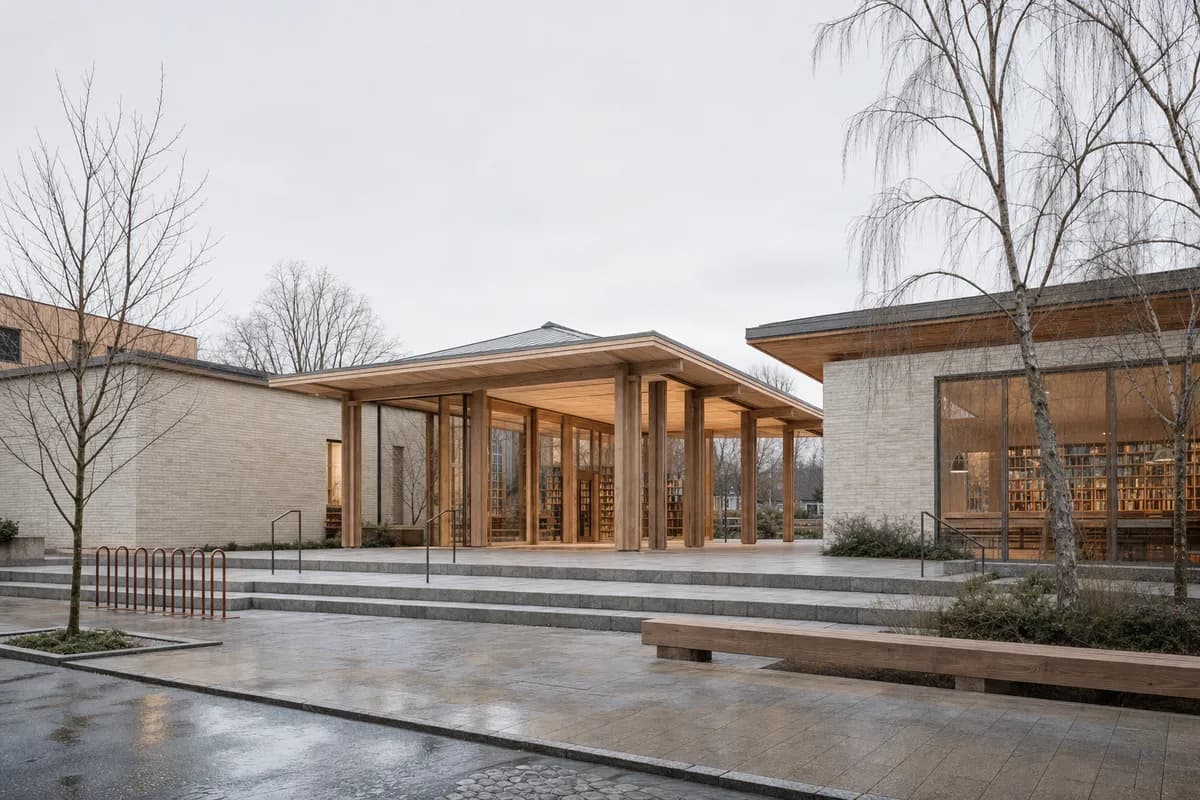 Empty court
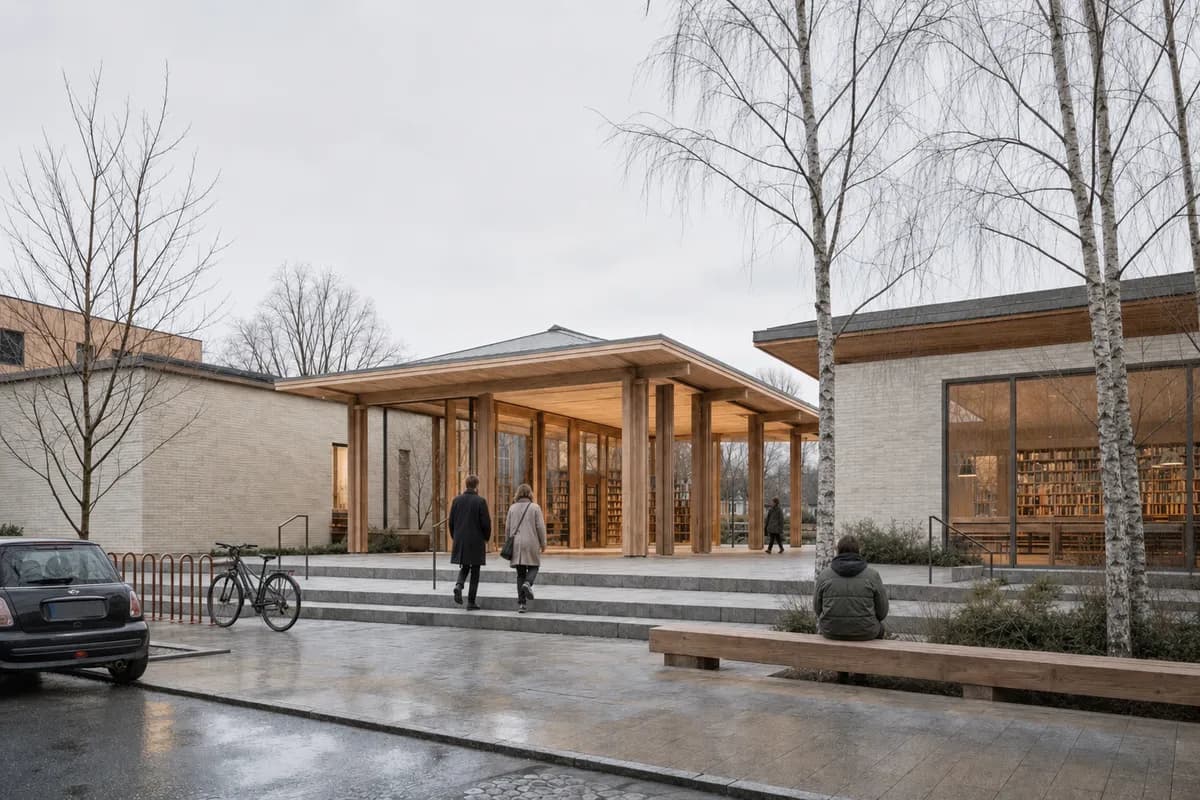 Balanced use
One matched synthetic scene shows how restrained entourage can explain scale and occupation without claiming measured CAD Scene performance. Empty reading room to balanced occupation
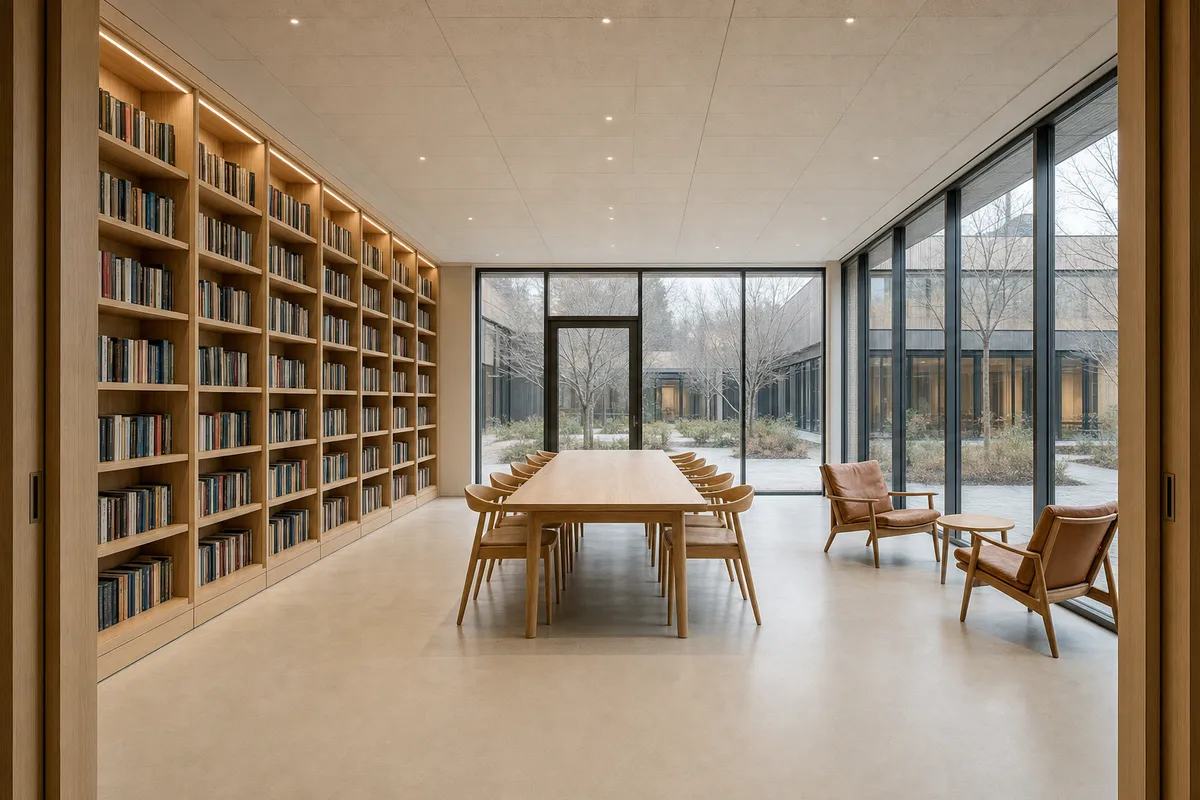 Empty reading room
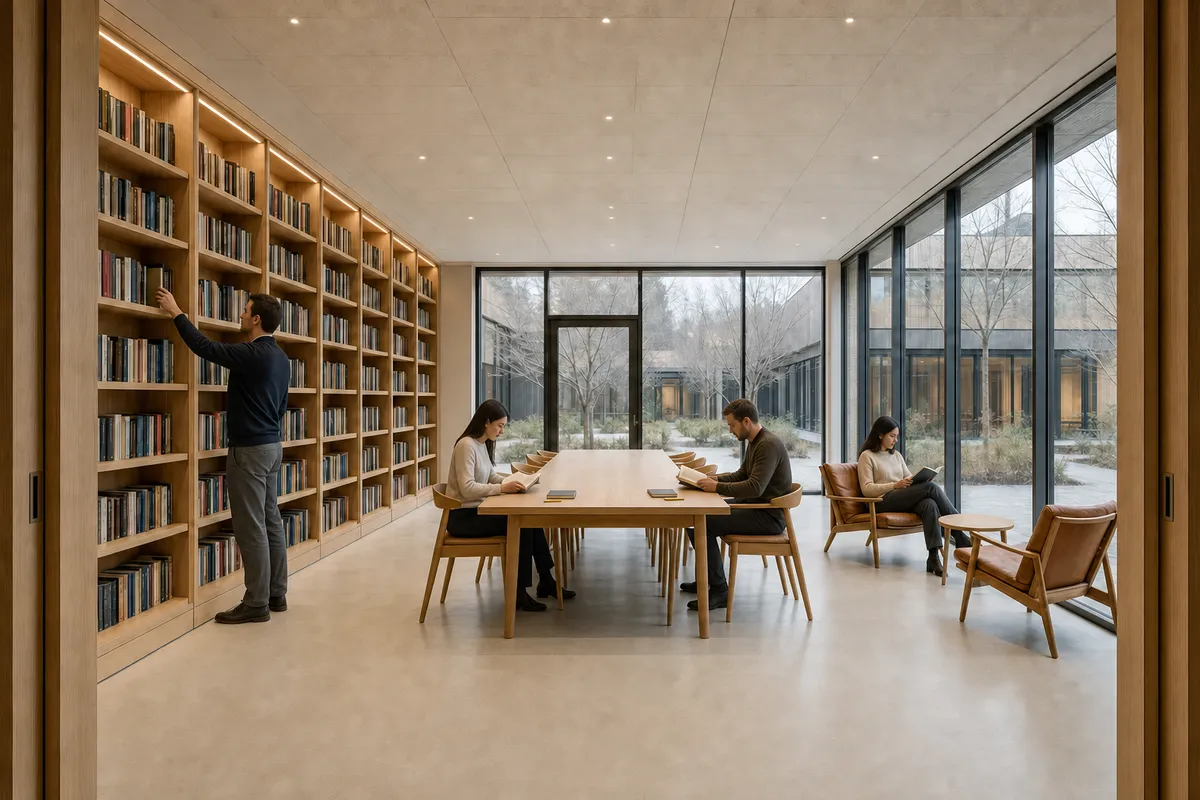 Balanced use
A matched synthetic interior study shows how restrained occupation can explain use while keeping furniture and circulation visible. Competition source to daylight study
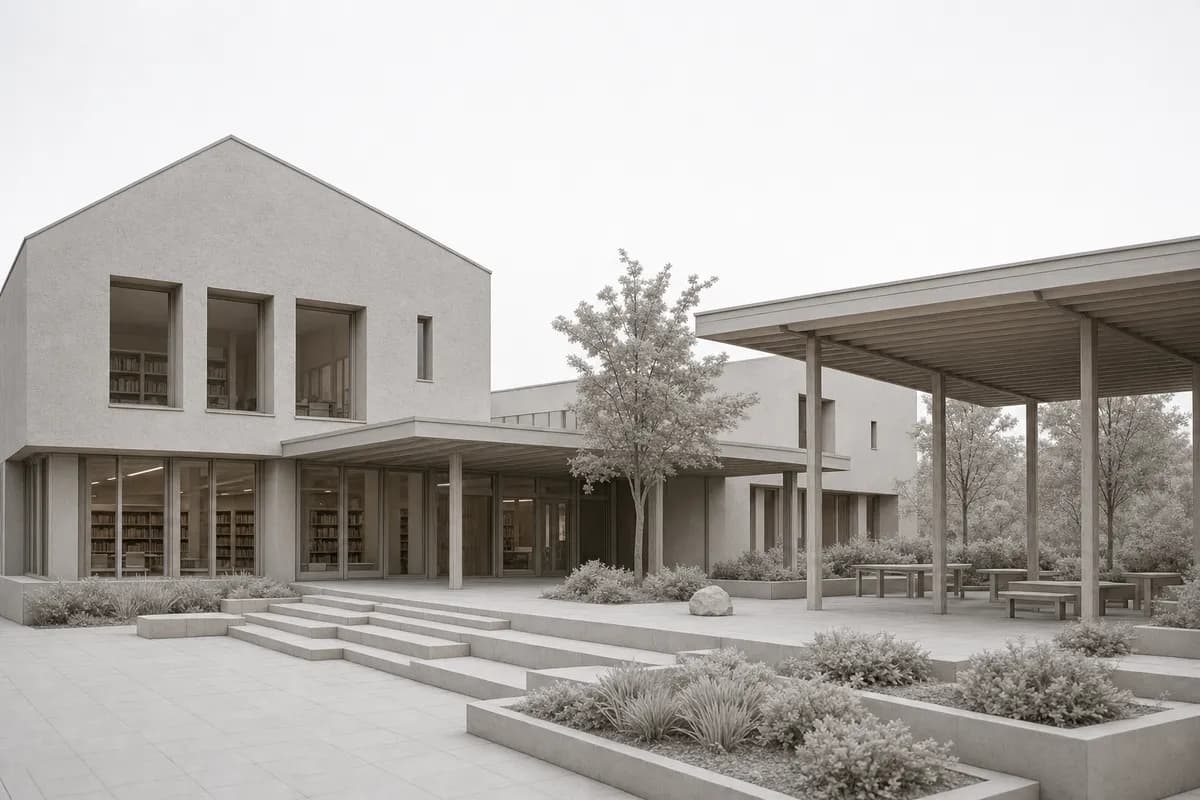 Synthetic source
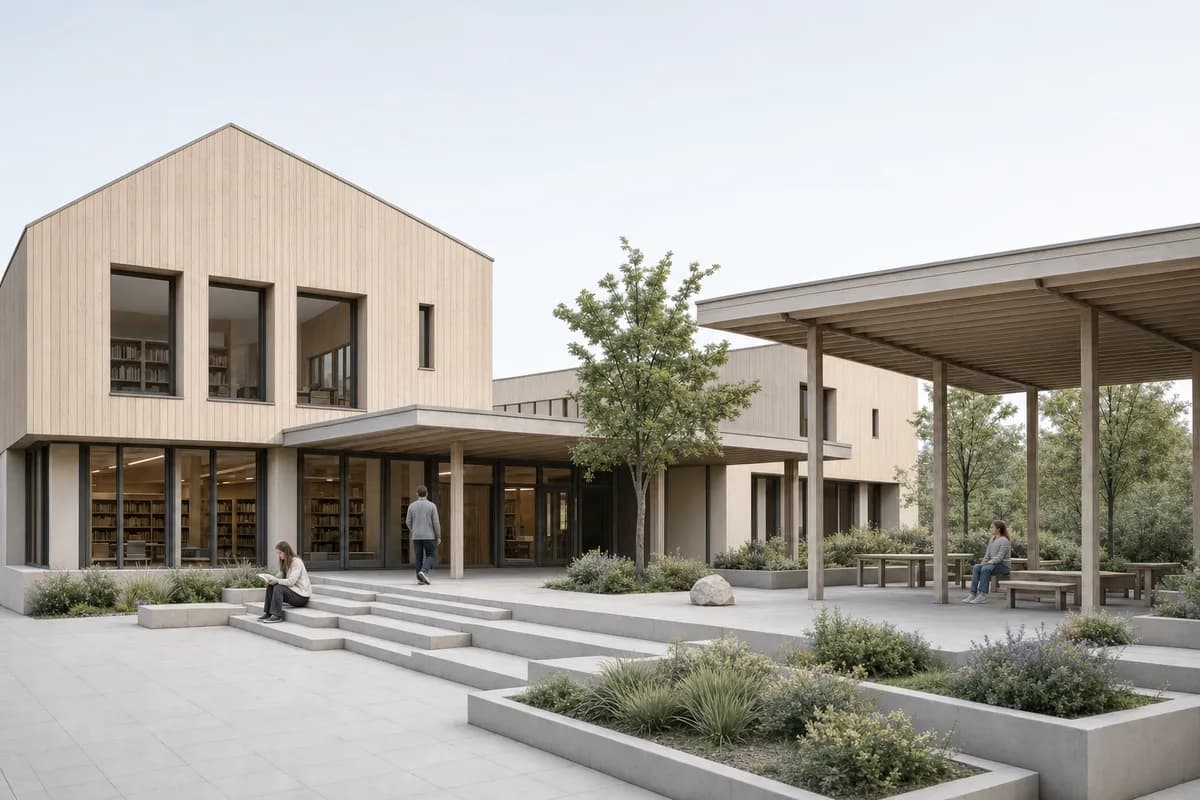 Daylight study
A matched editorial pair that demonstrates a competition-image review method without claiming measured CAD Scene performance. Model view to portfolio study
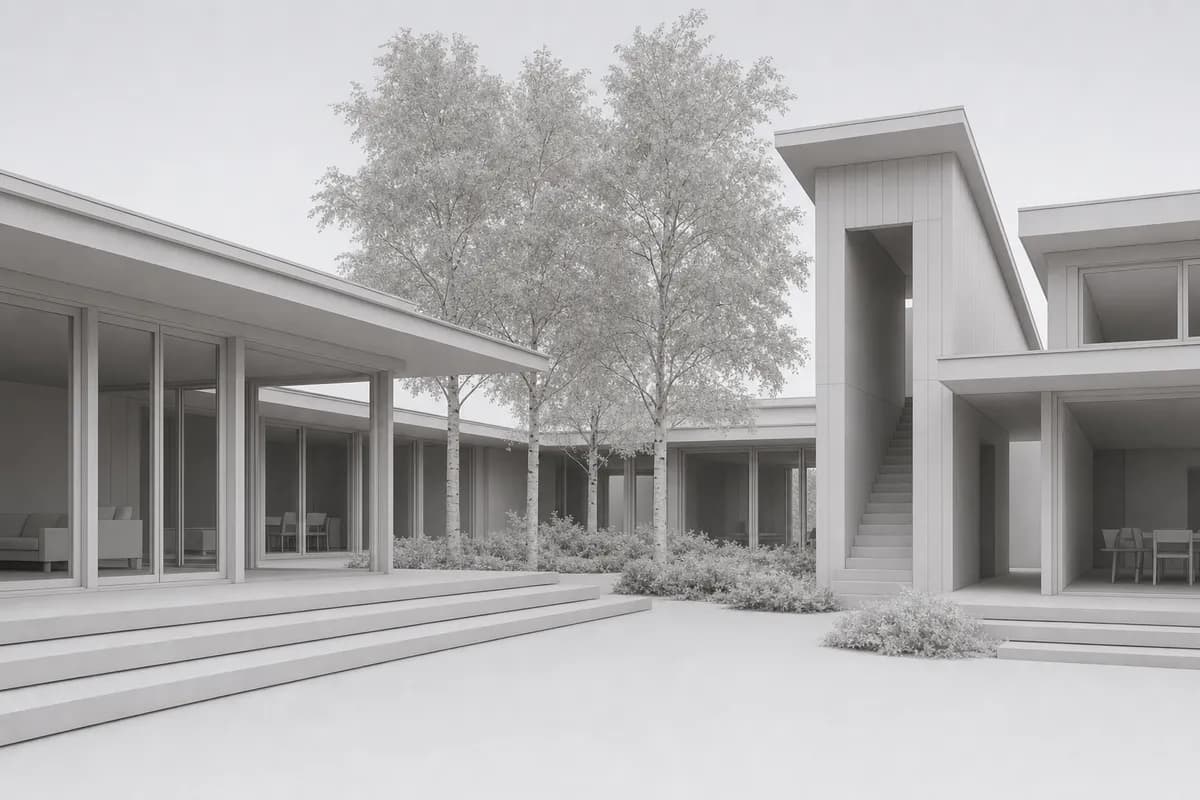 Synthetic source
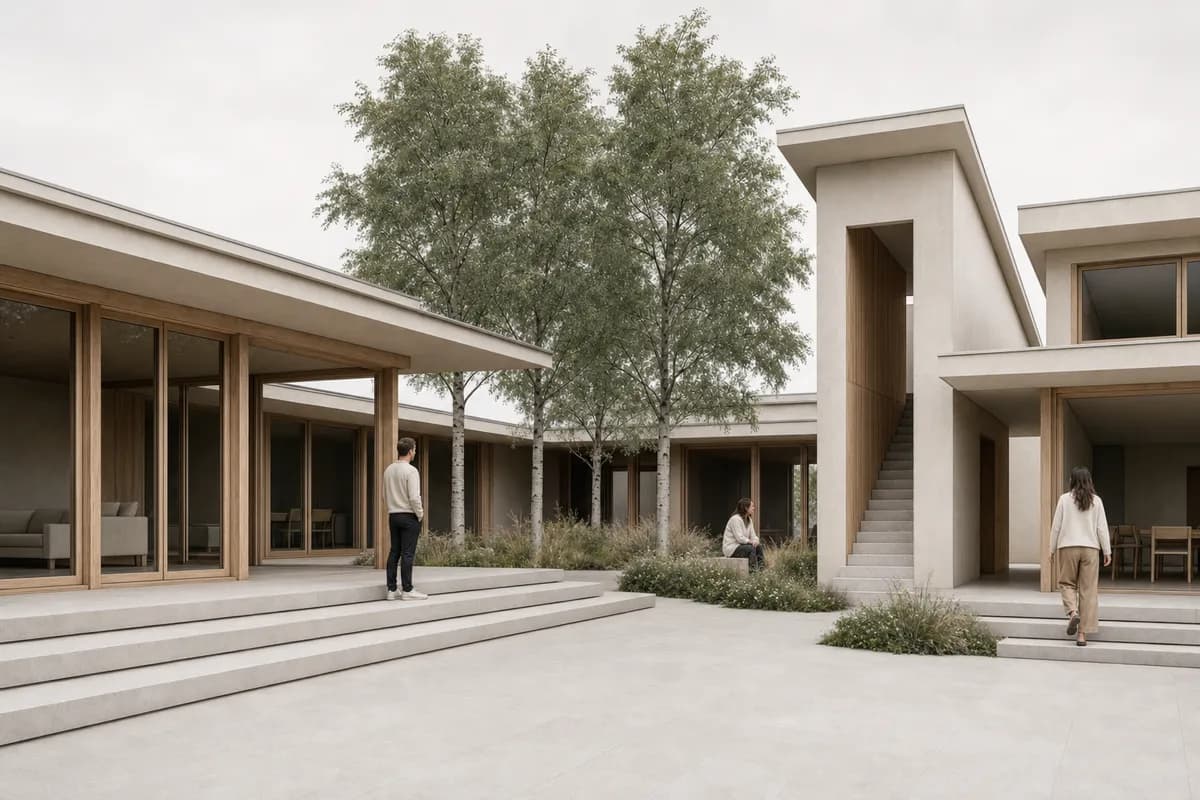 Portfolio study
One matched synthetic lineage illustrates a source-led portfolio study without claiming measured CAD Scene performance. Vectorworks view to render study
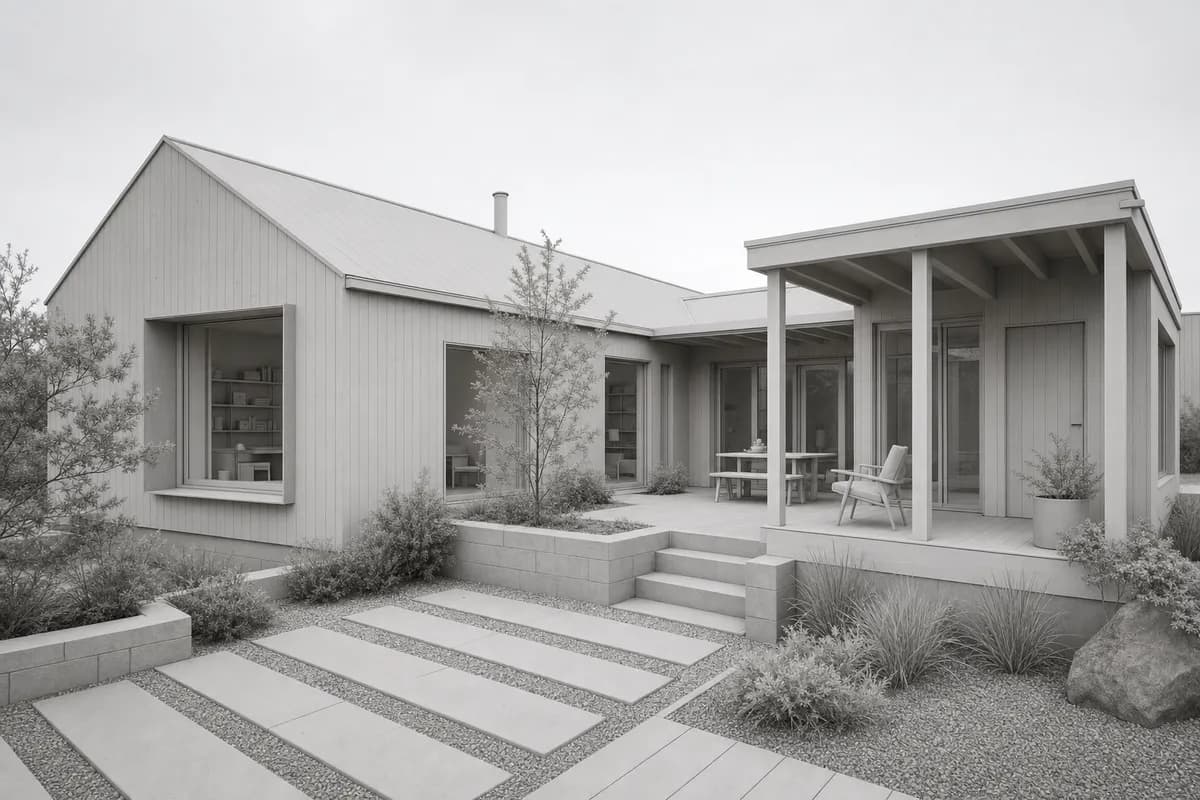 Synthetic saved view
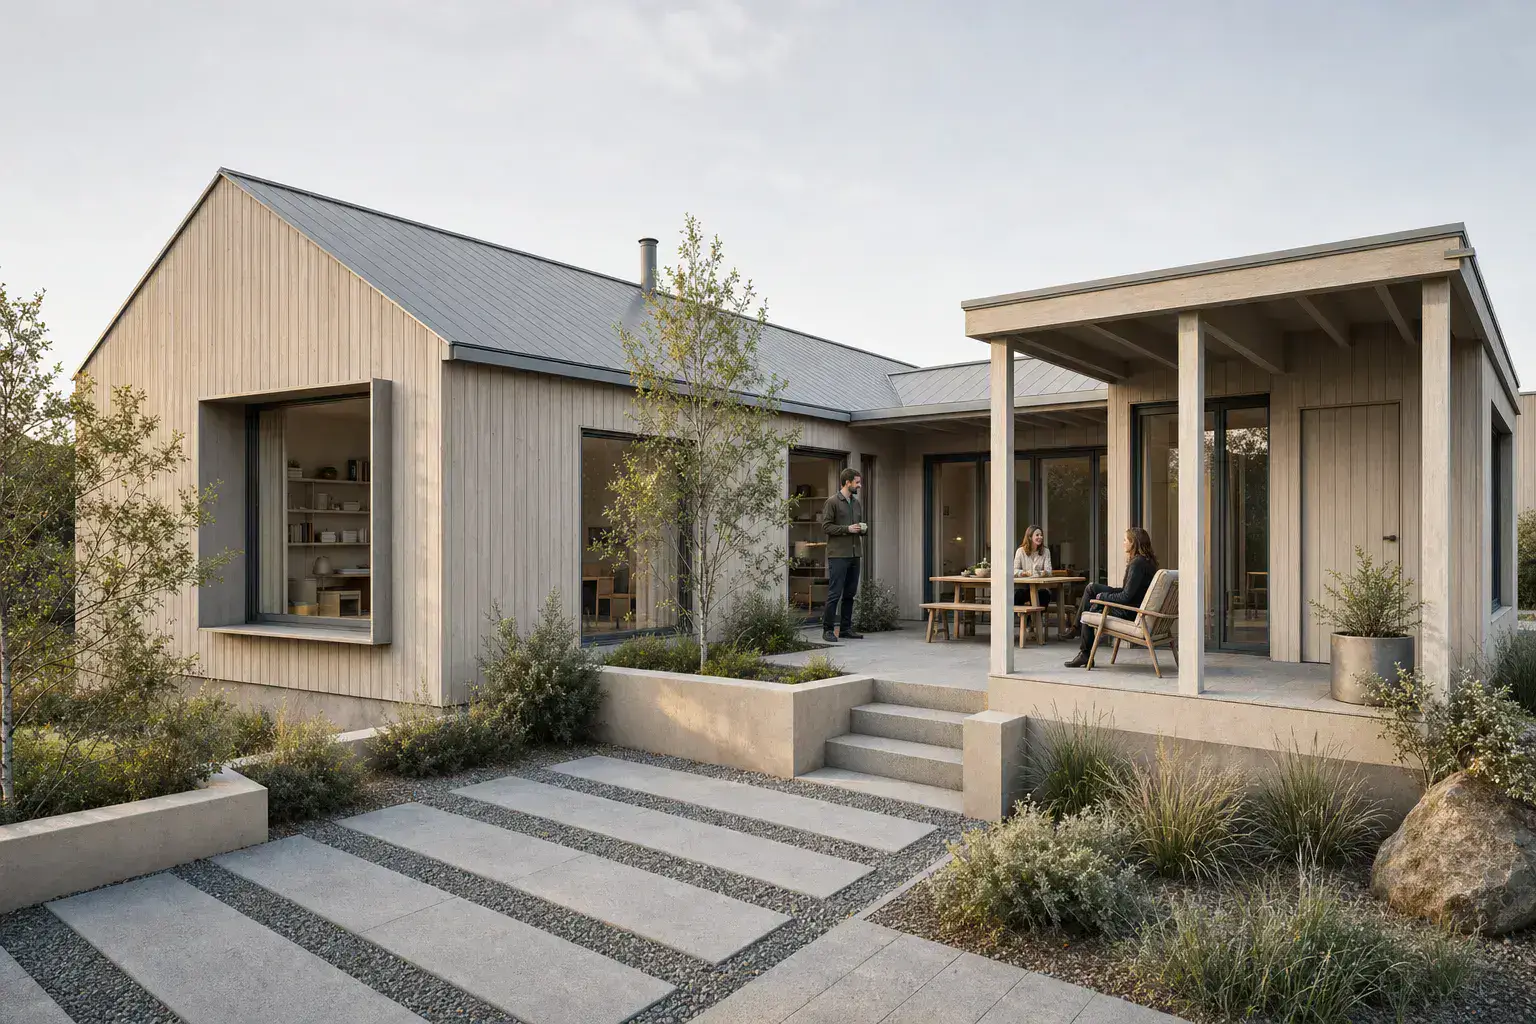 Render study
A matched synthetic pair that illustrates the Vectorworks review method without claiming measured product performance. 3ds Max camera view to render study
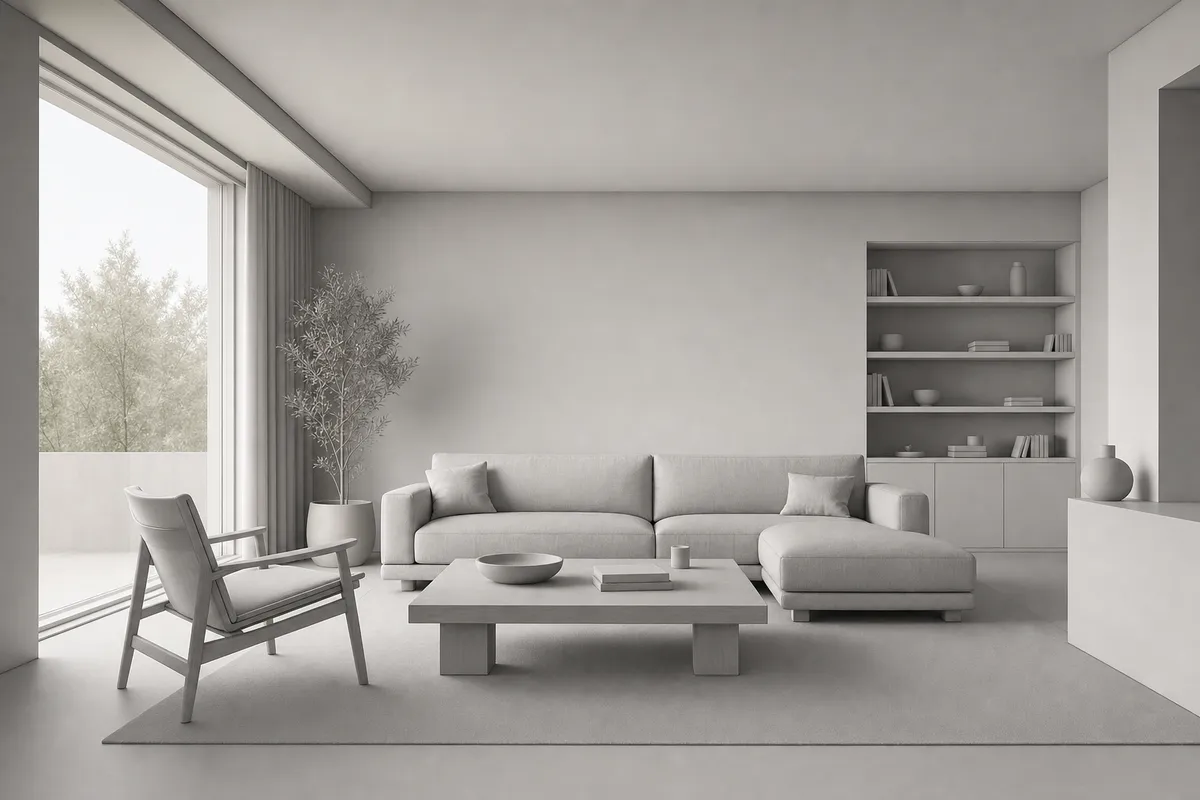 Synthetic viewport
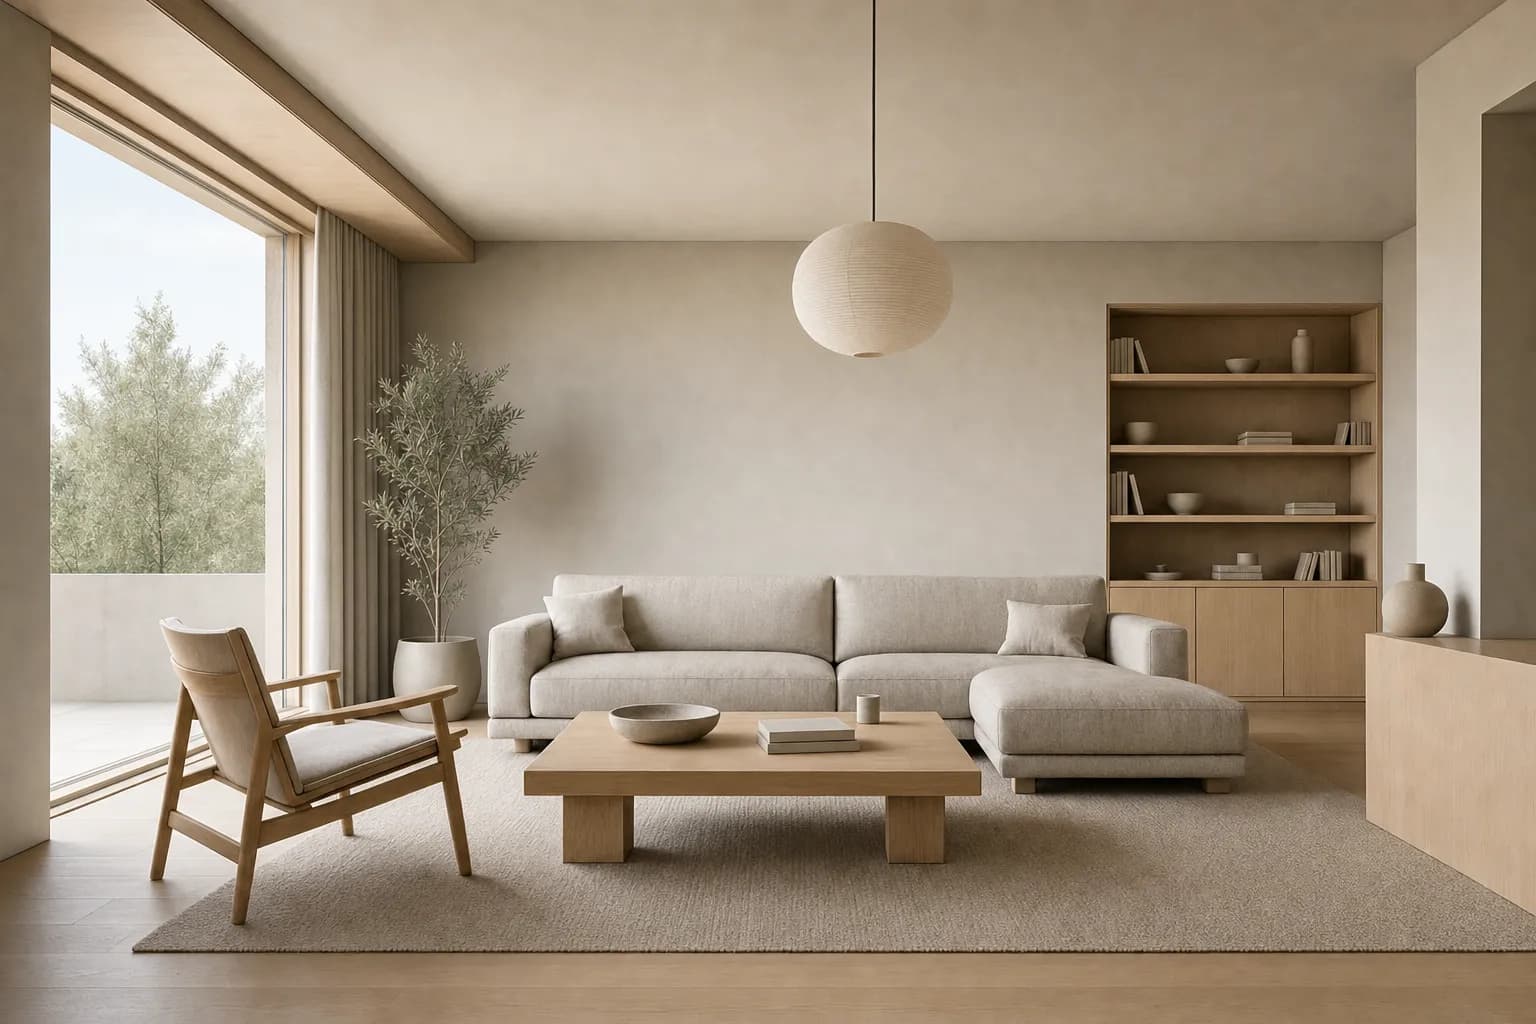 Render study
A matched synthetic pair that illustrates the 3ds Max review method without claiming measured product performance. Neutral model view to concrete material study
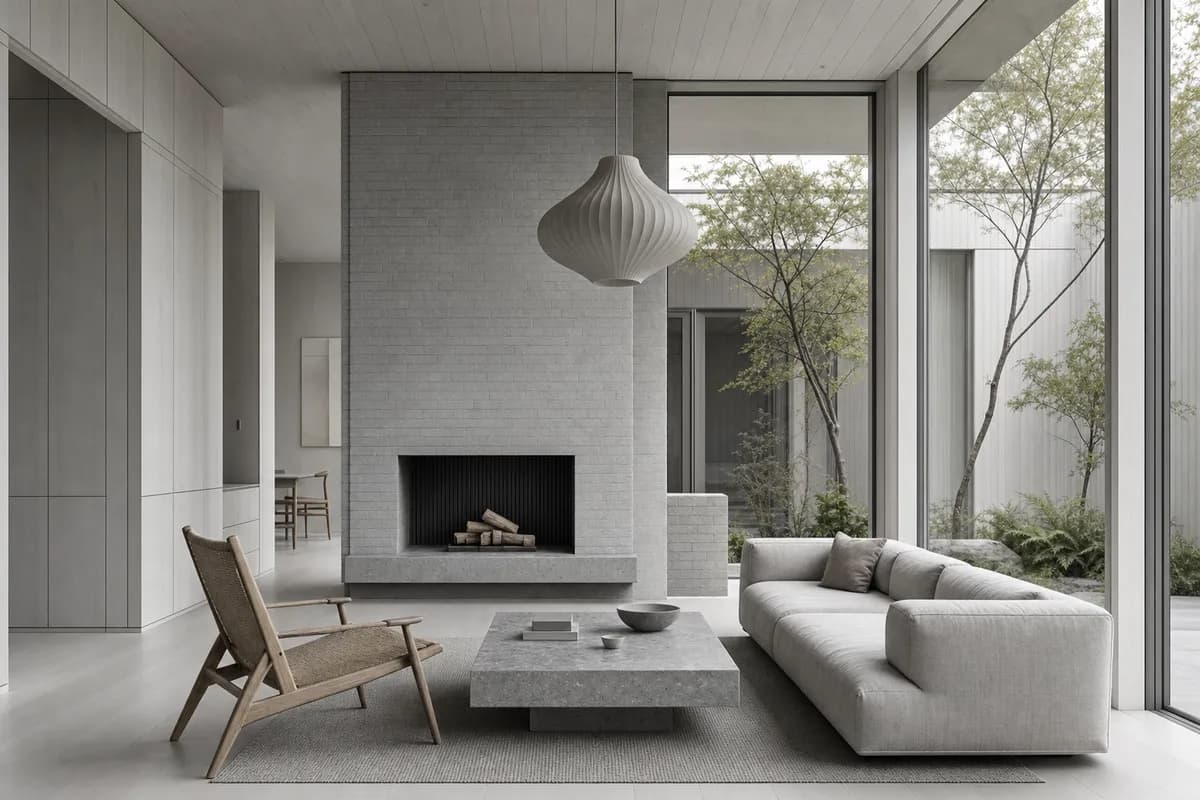 Synthetic source
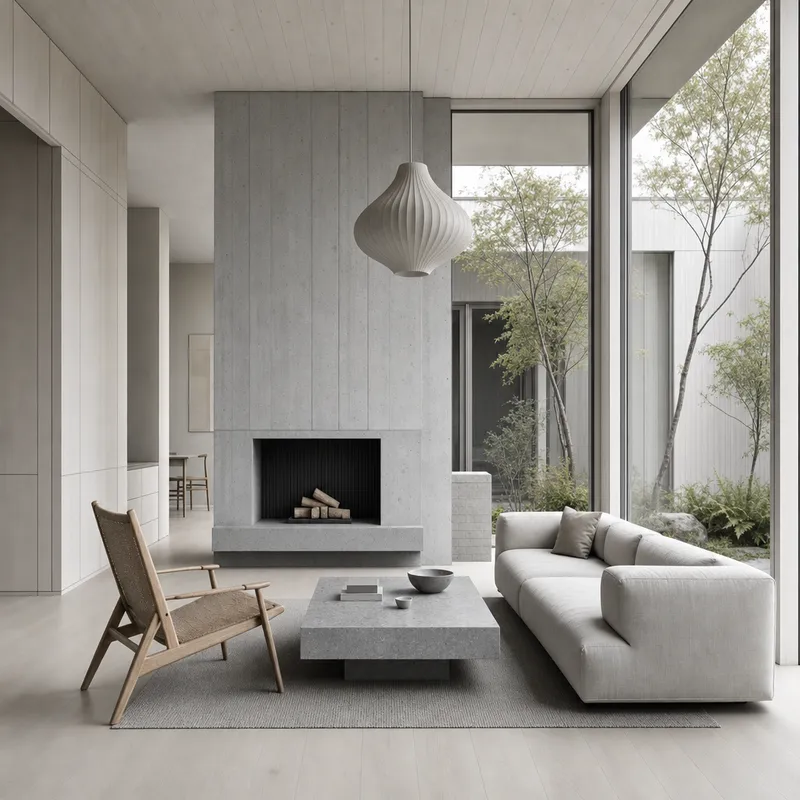 Material study
A matched editorial pair that demonstrates material review without claiming measured CAD Scene performance. Model view to AI concept study
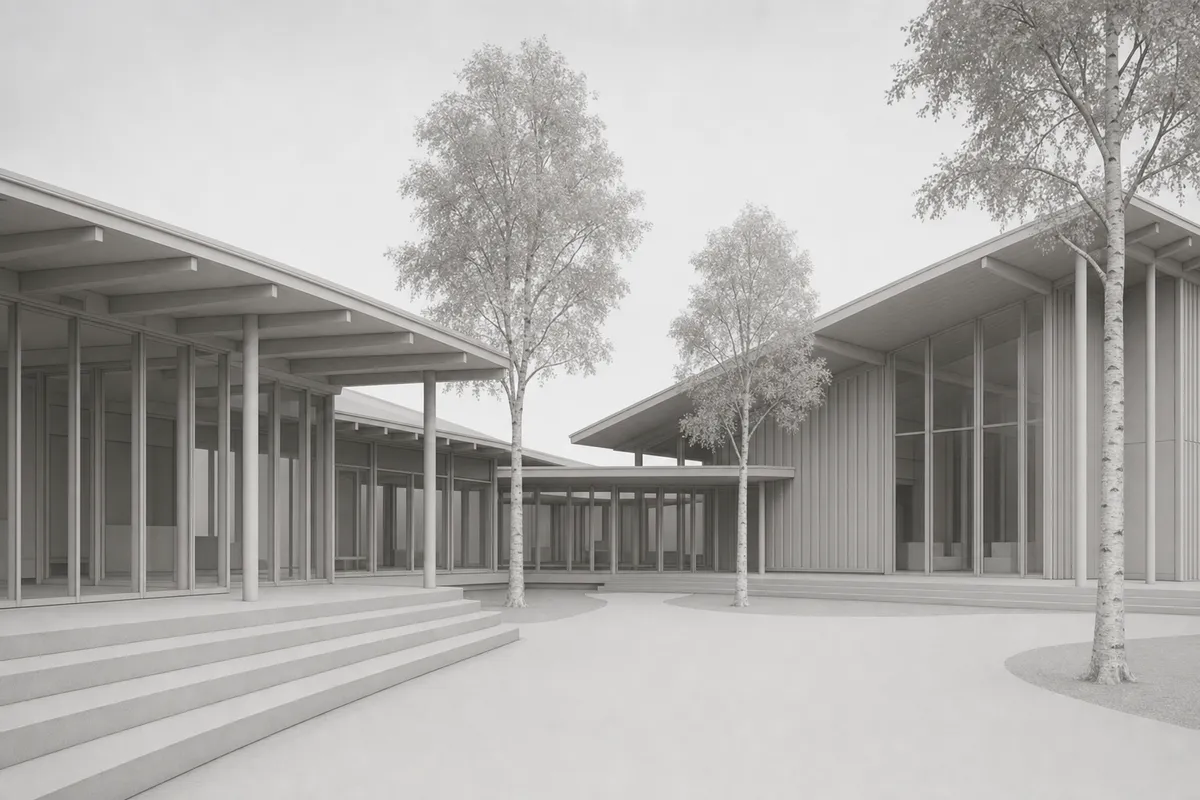 Synthetic model view
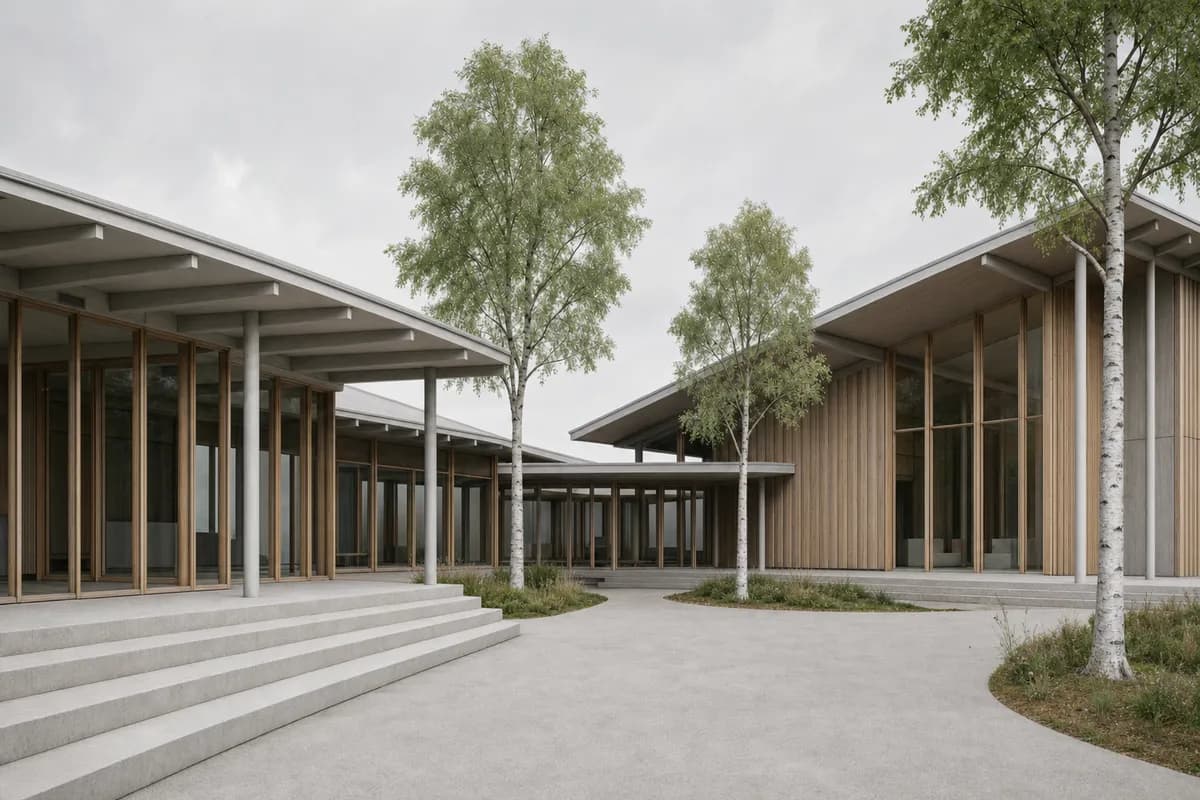 Concept study
One synthetic source lineage illustrates the image-study task without claiming measured CAD Scene or cross-renderer performance. Archicad view to render study
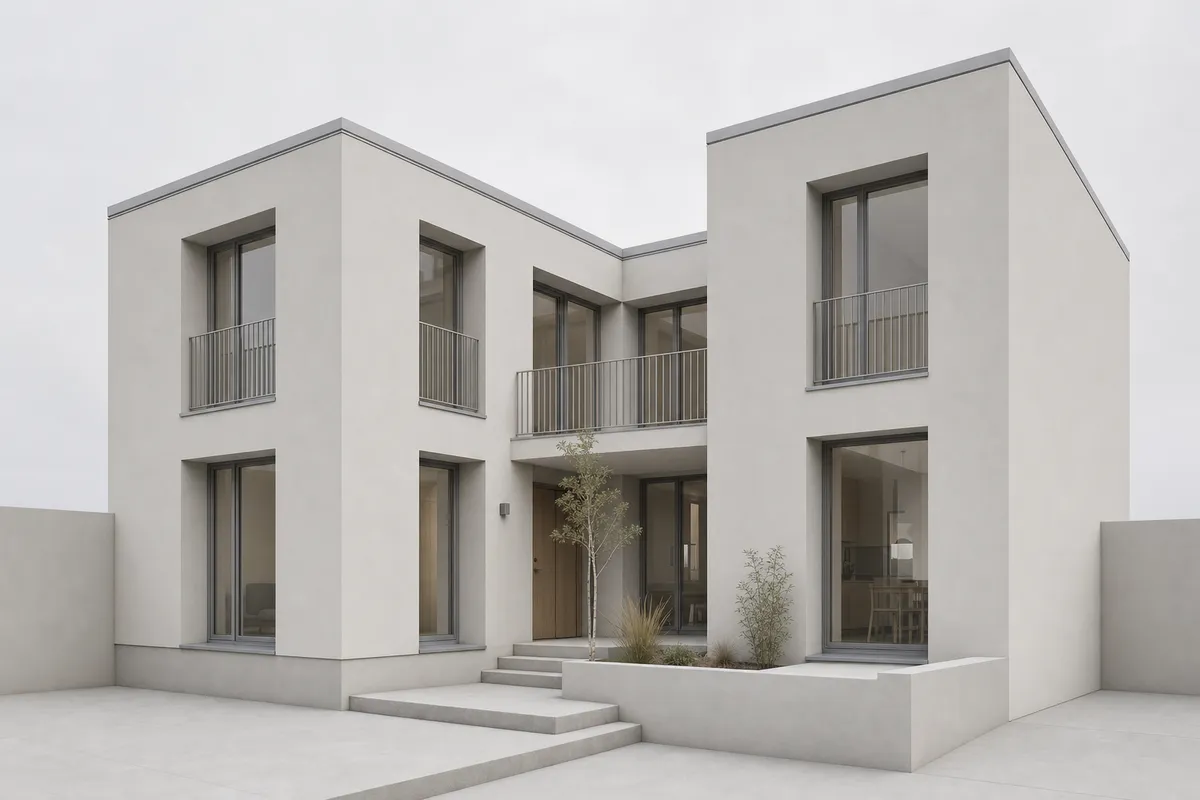 Synthetic BIM view
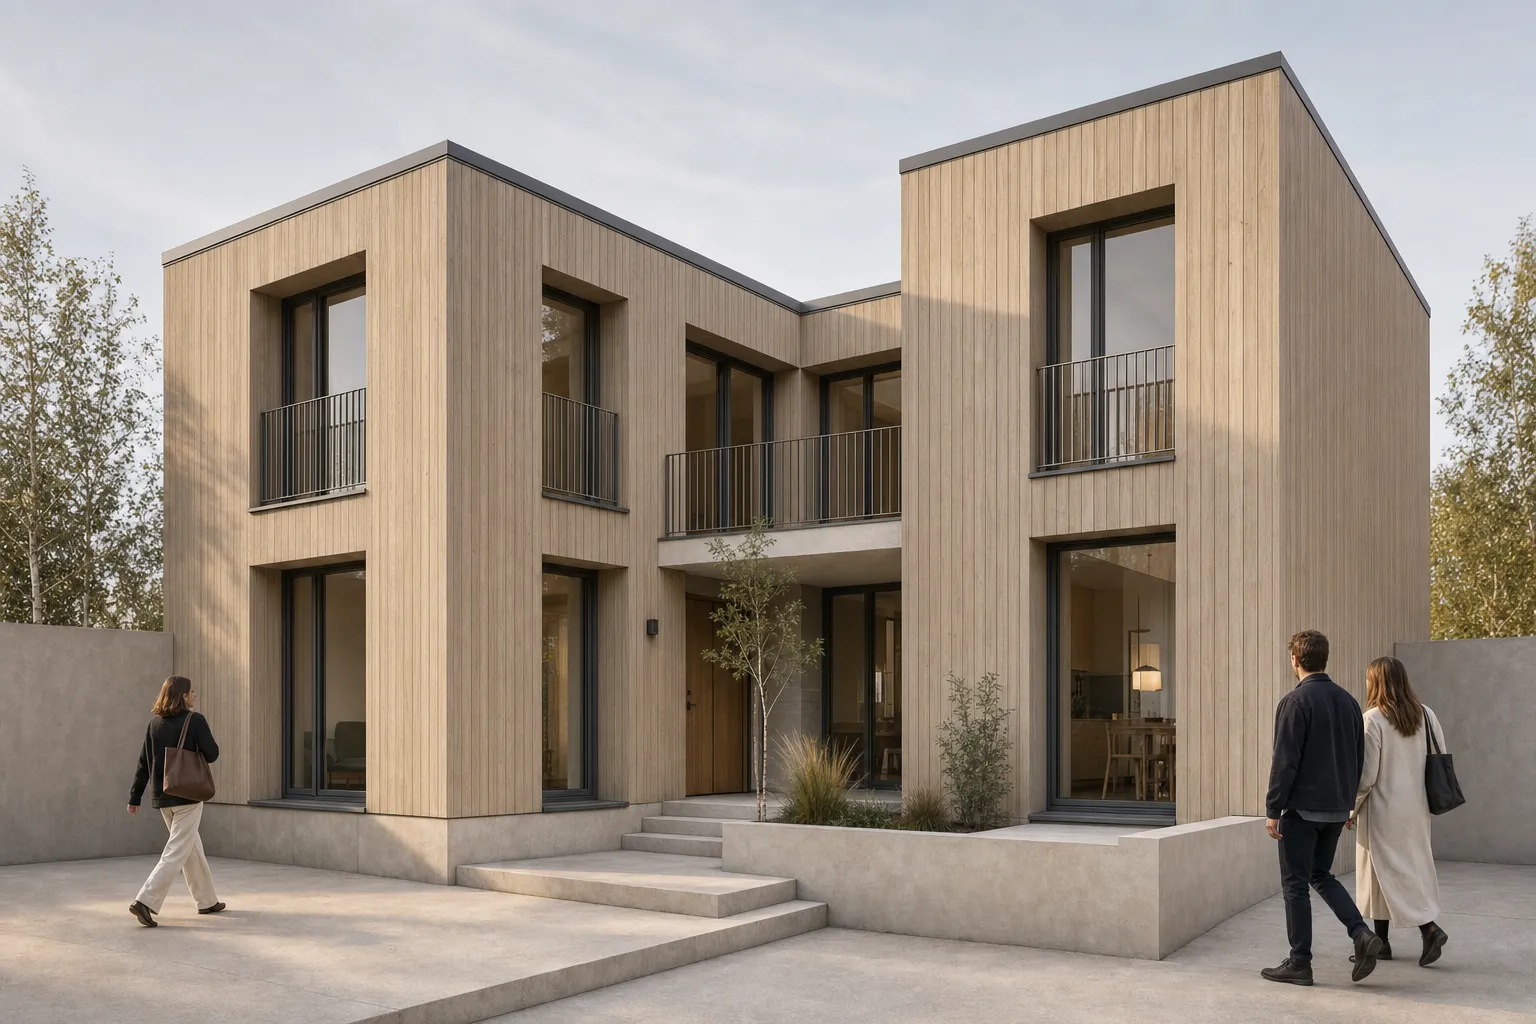 Render study
A matched synthetic pair that illustrates the Archicad review method without claiming measured product performance. Exterior model view to facade study
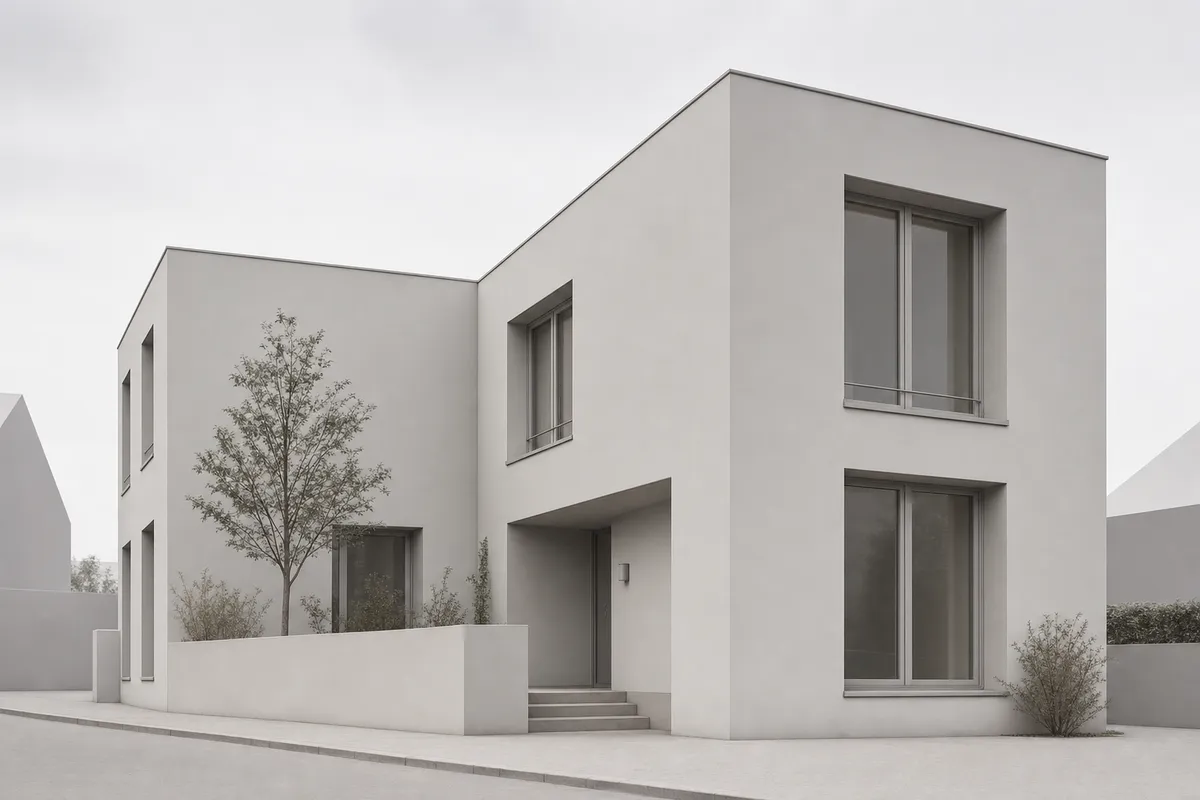 Model view
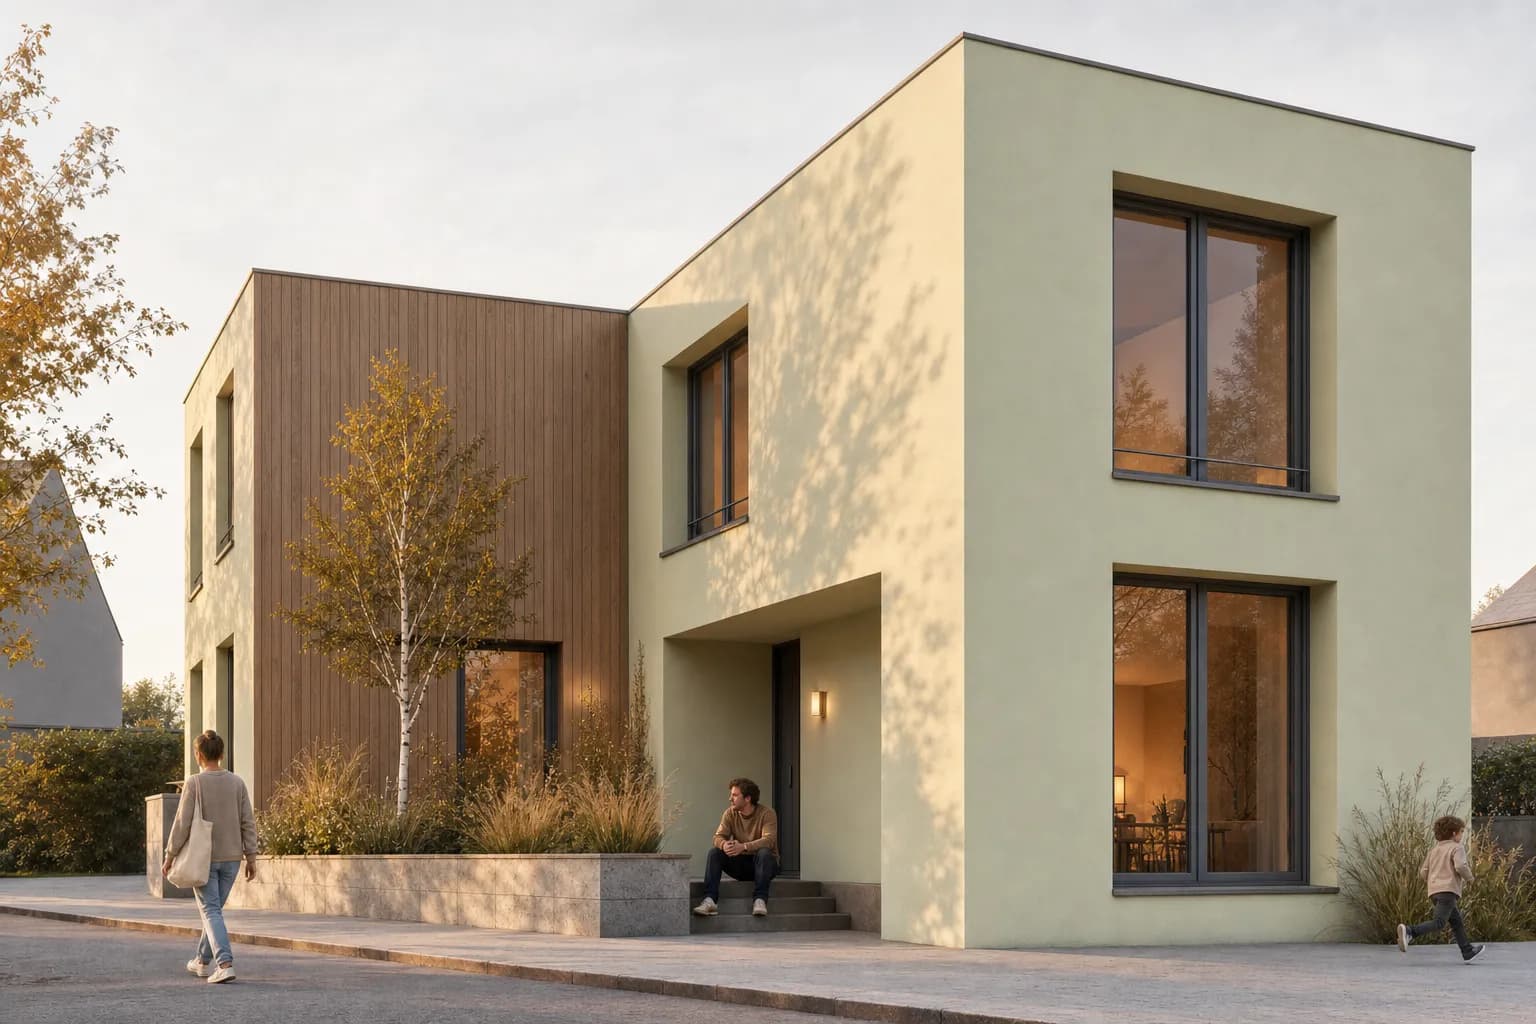 Exterior study
A matched synthetic pair that illustrates exterior review without claiming measured geometry retention. Floor plan to colored presentation plan
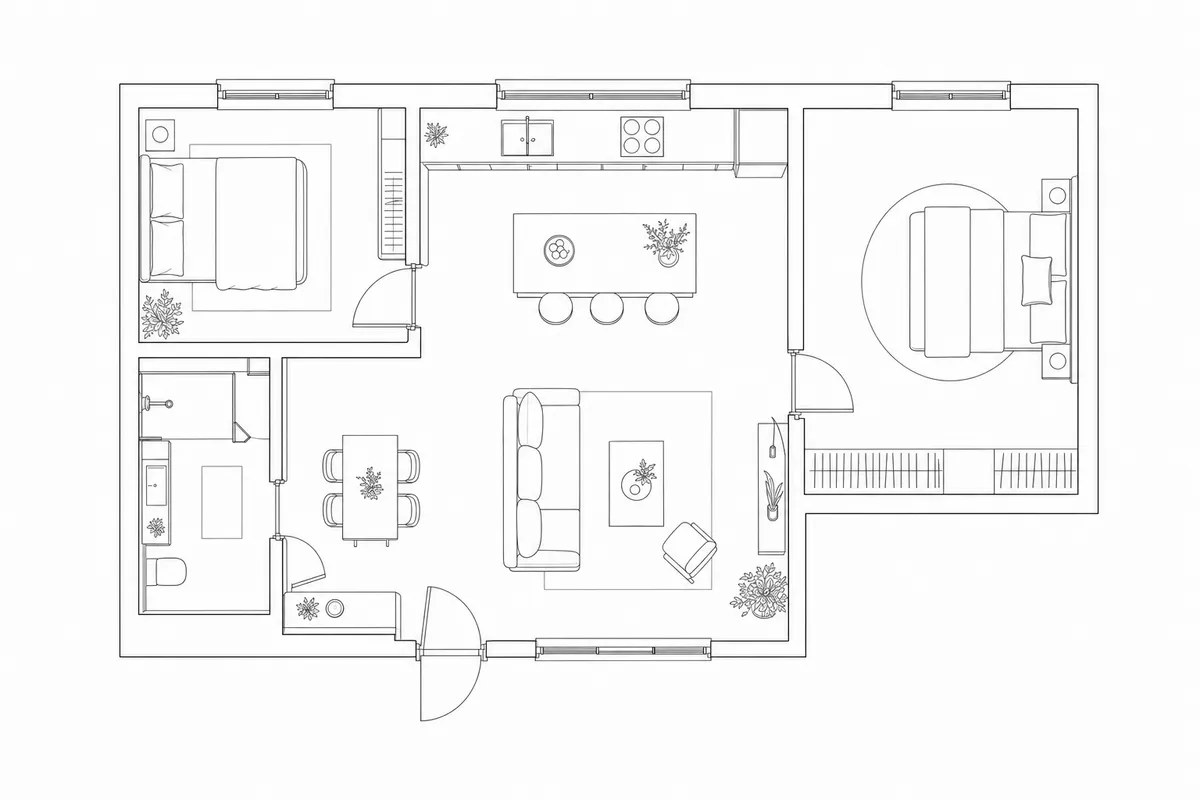 Line plan
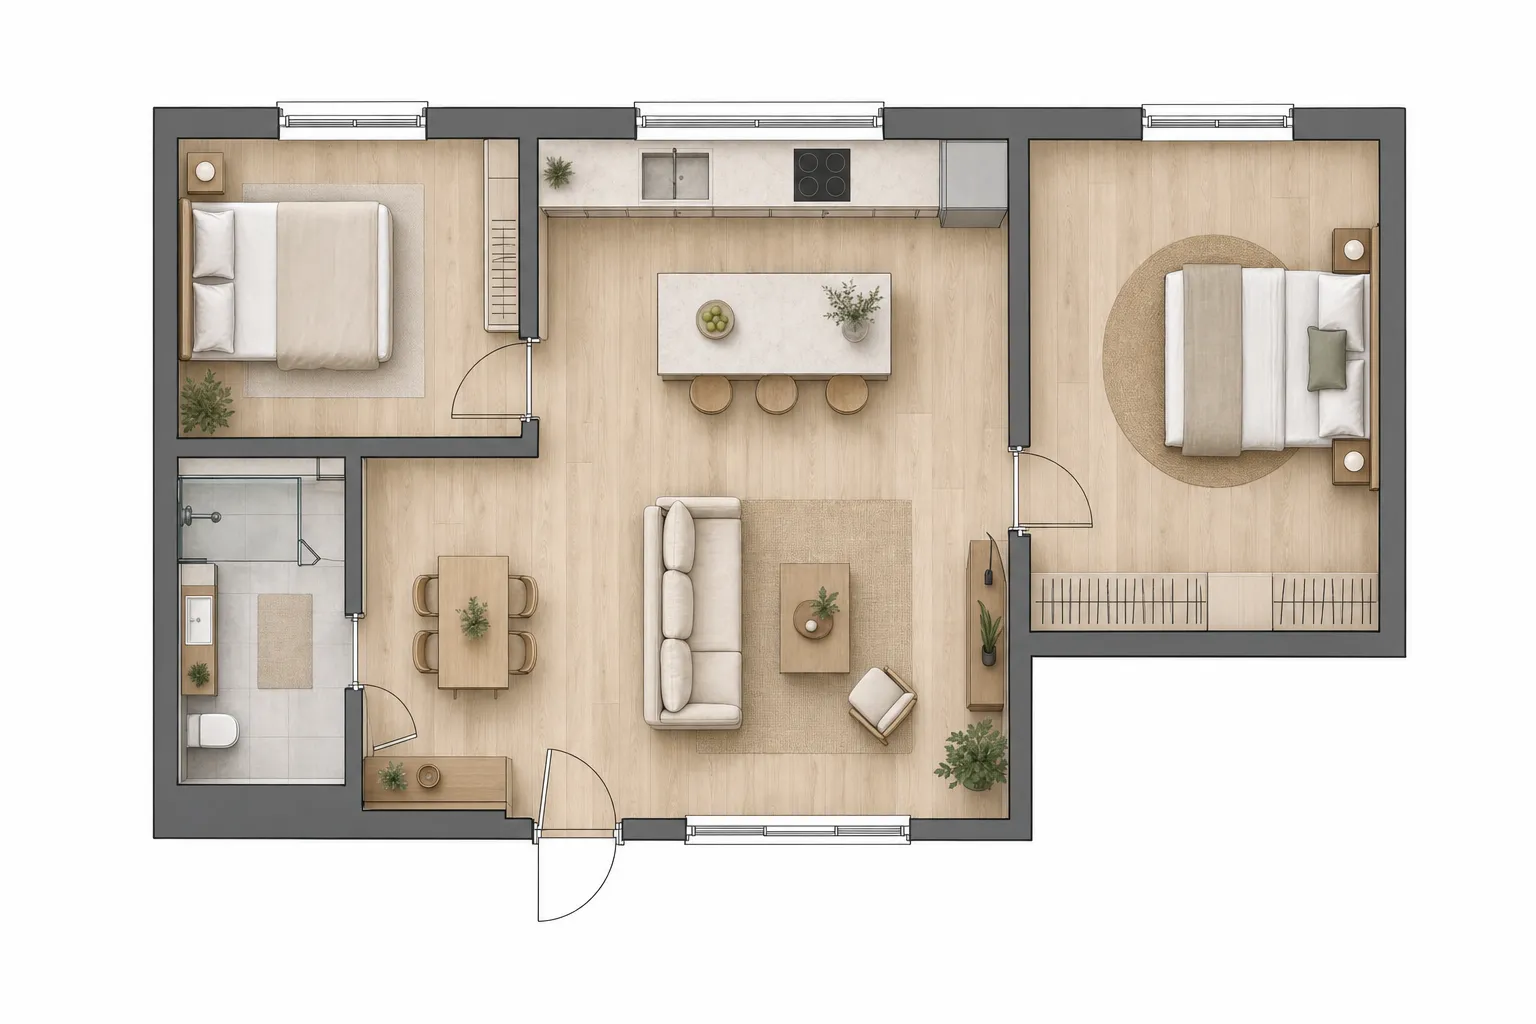 Colored plan
A matched editorial illustration of the colored-plan task. It is not a measured CAD Scene result. Twinmotion still-image workflow
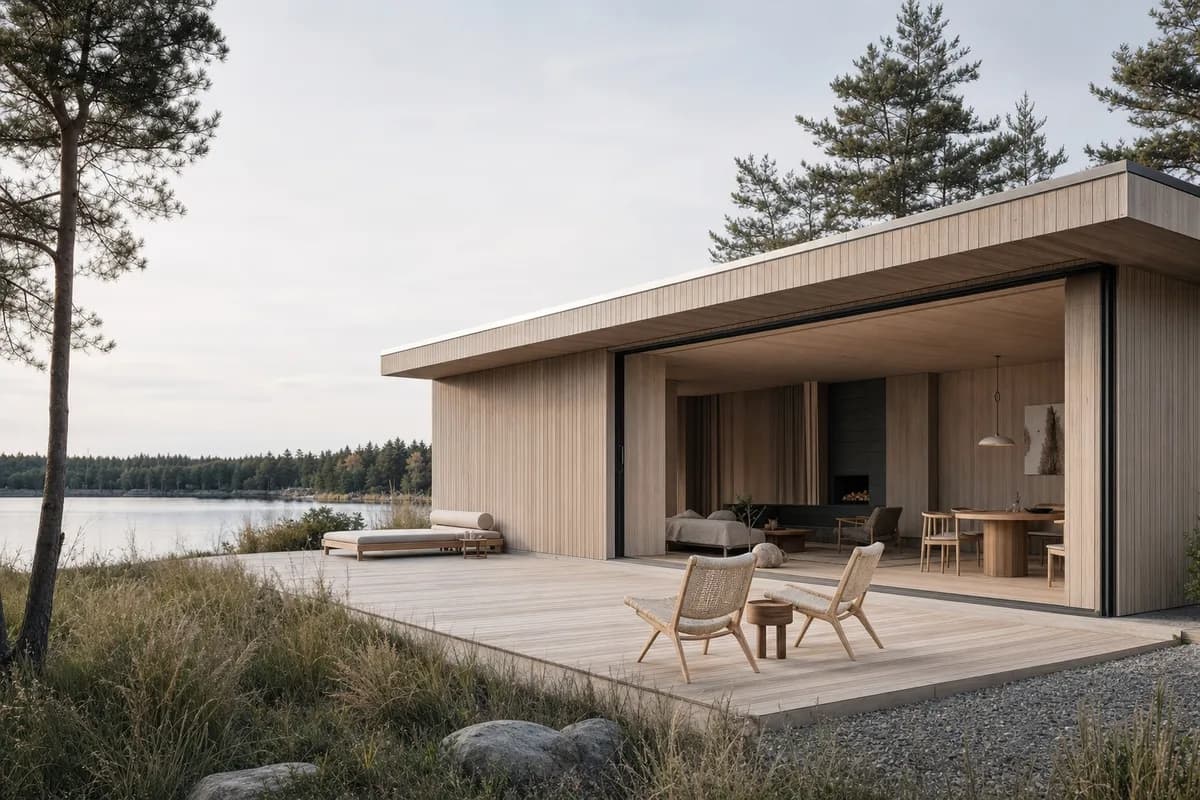 Synthetic source
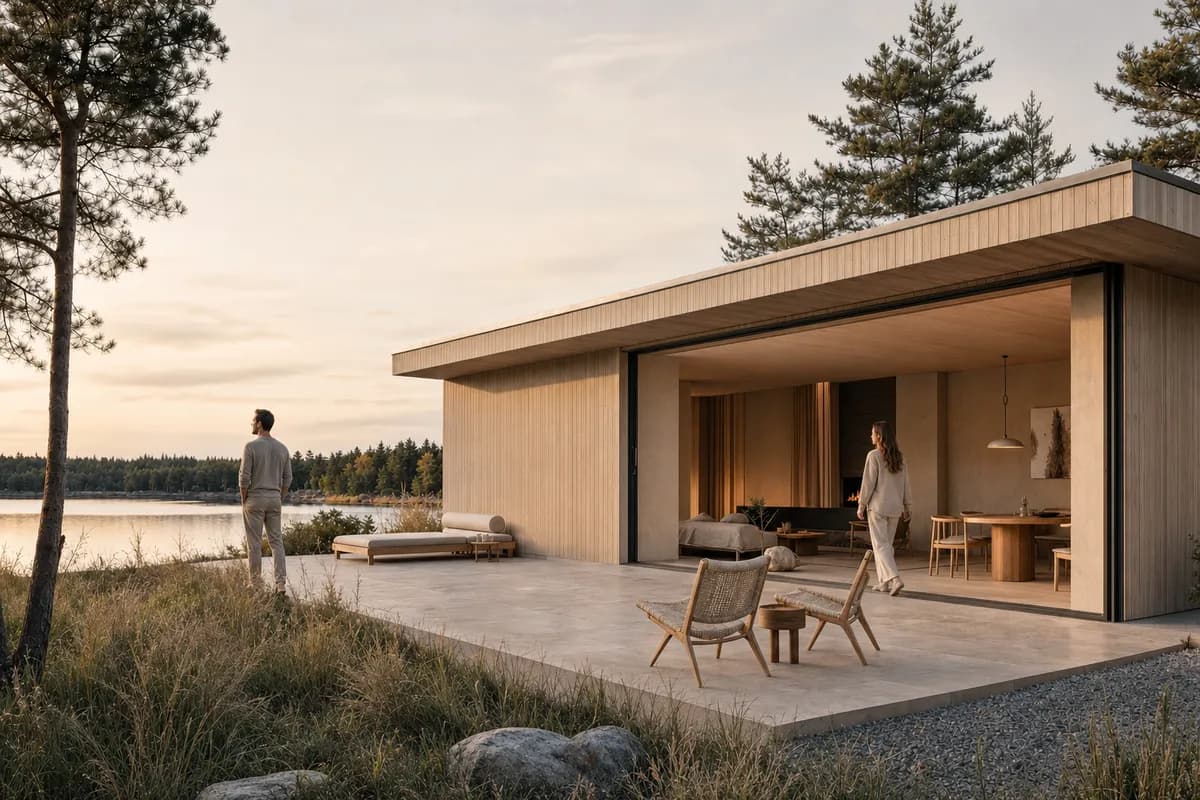 Concept render
A matched synthetic pair that illustrates fixed-view review without claiming measured Twinmotion or CAD Scene performance. Enscape and AI rendering workflow
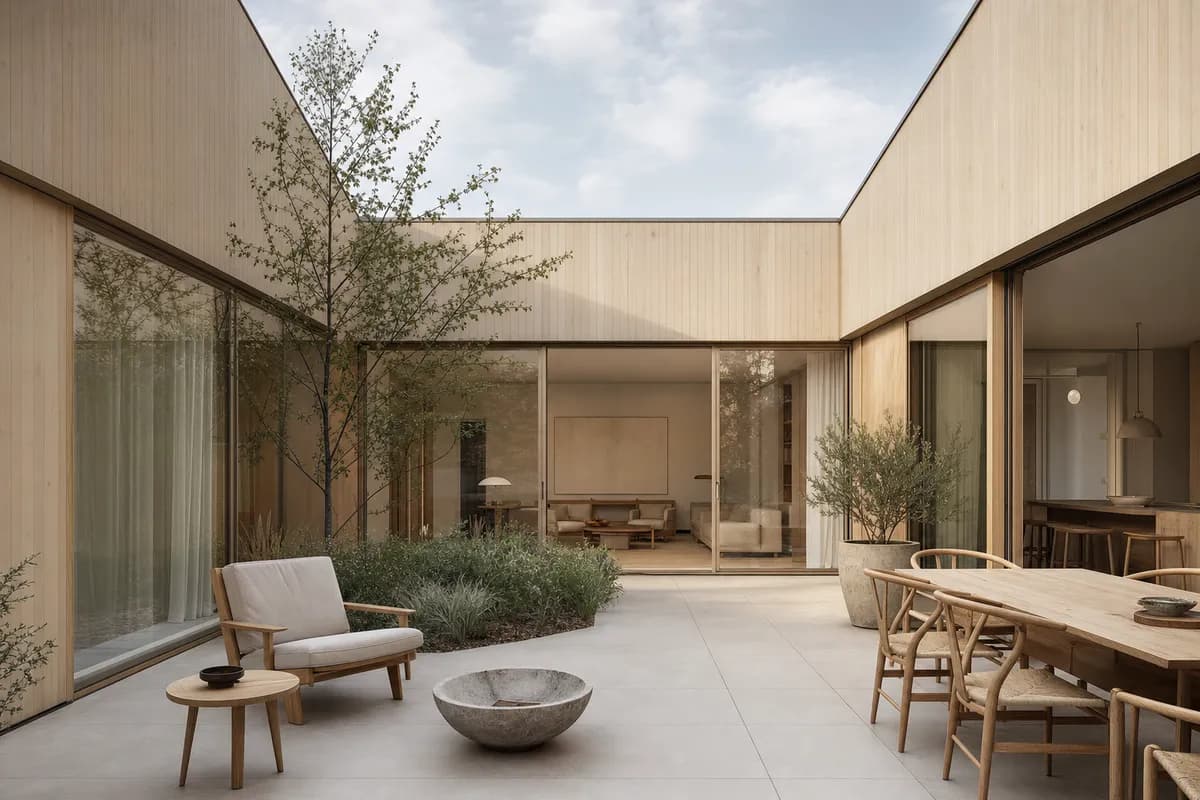 Synthetic source
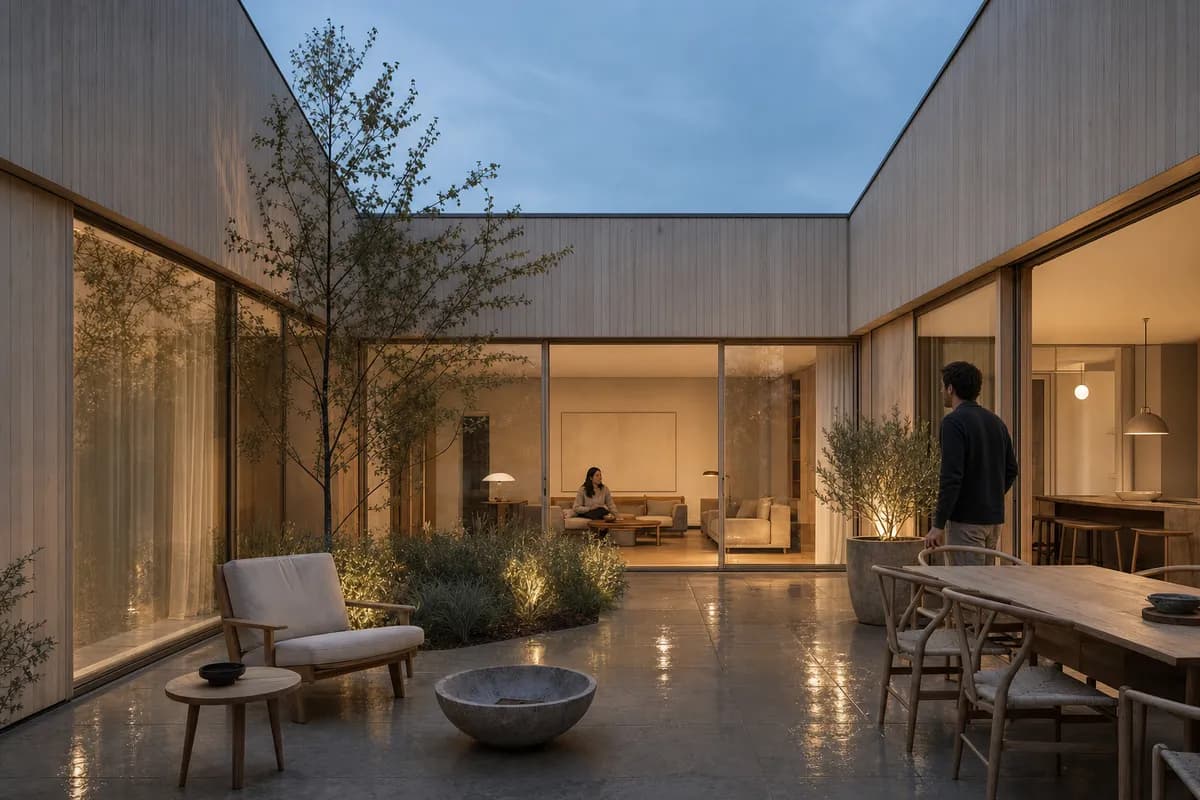 Concept render
A matched synthetic pair that illustrates fixed-view review without claiming measured Enscape or CAD Scene performance. Screenshot capture for AI rendering
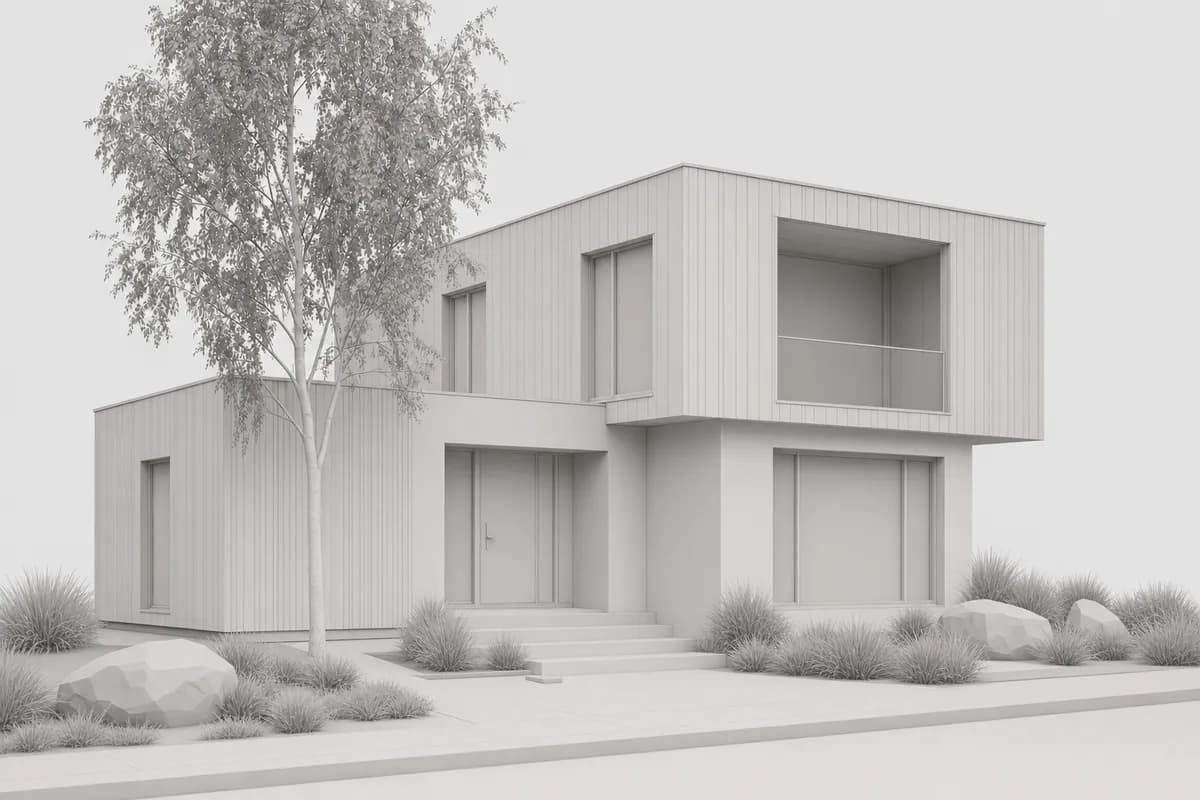 Clean capture
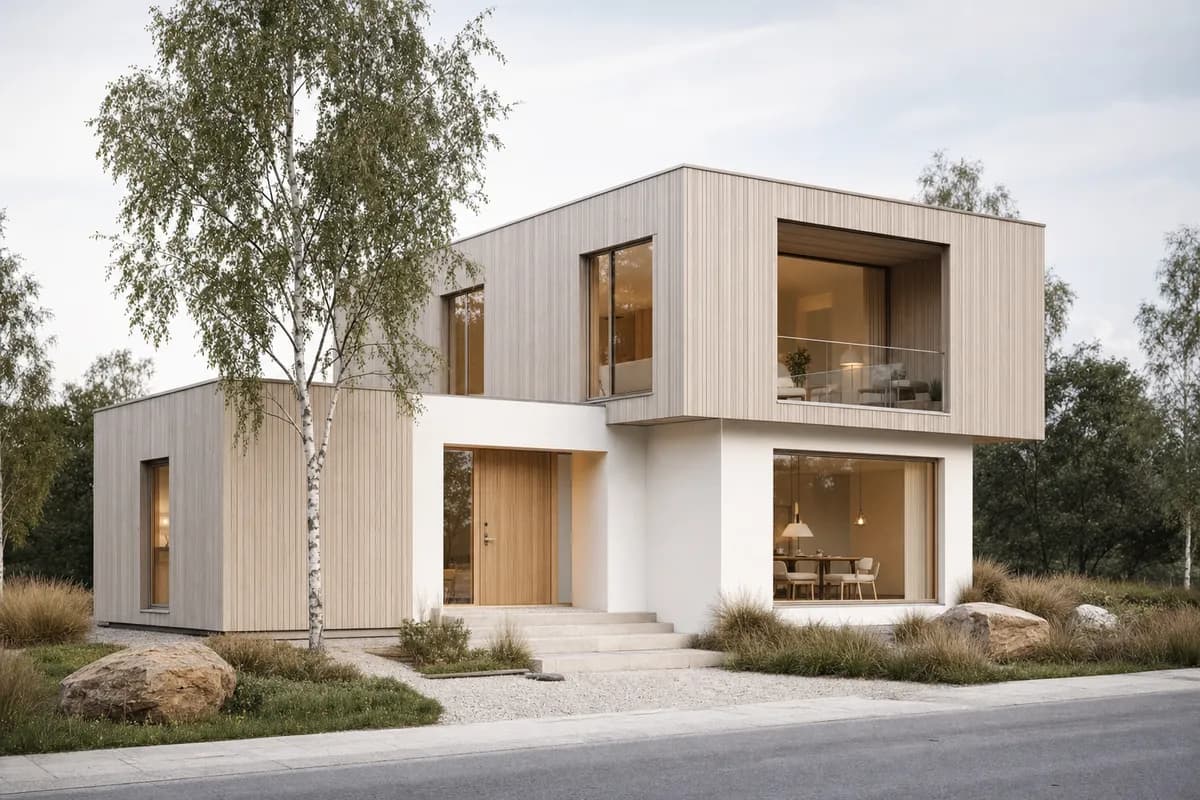 Rendered
An illustrative clean CAD viewport-to-render pair for a Scandinavian house. Screenshot to render
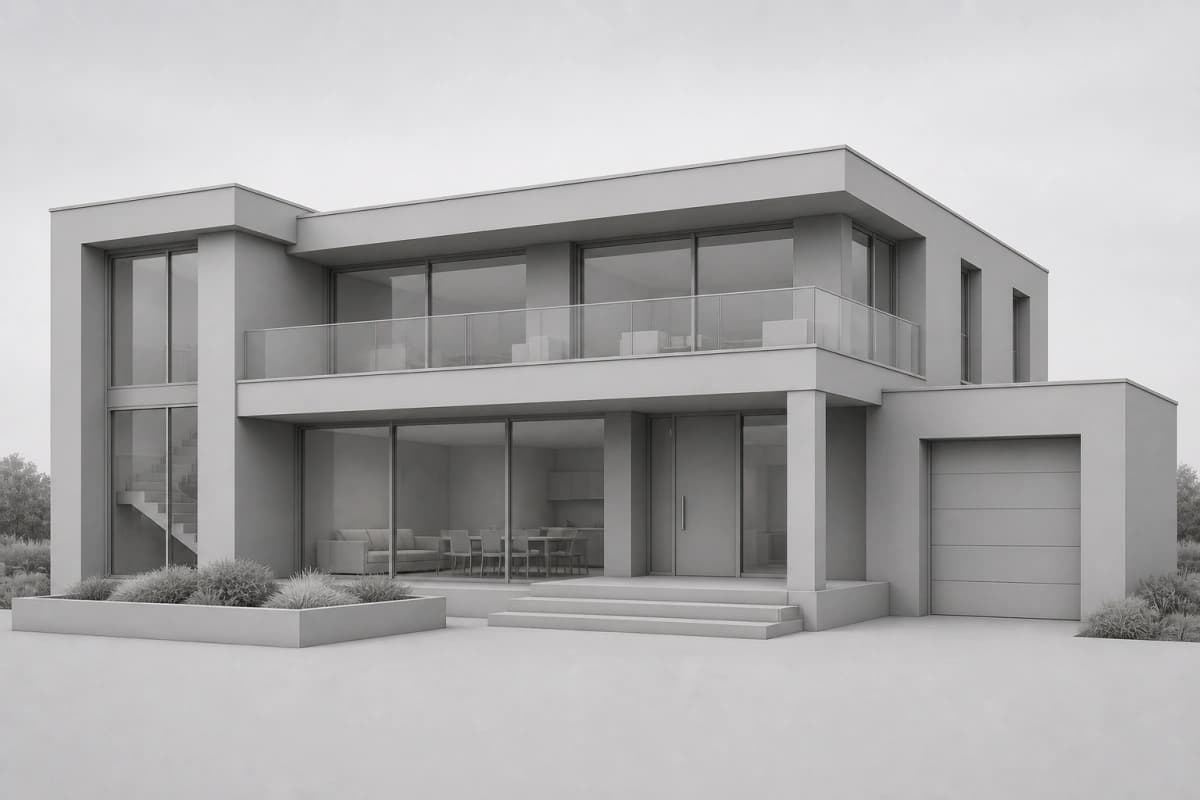 Model view
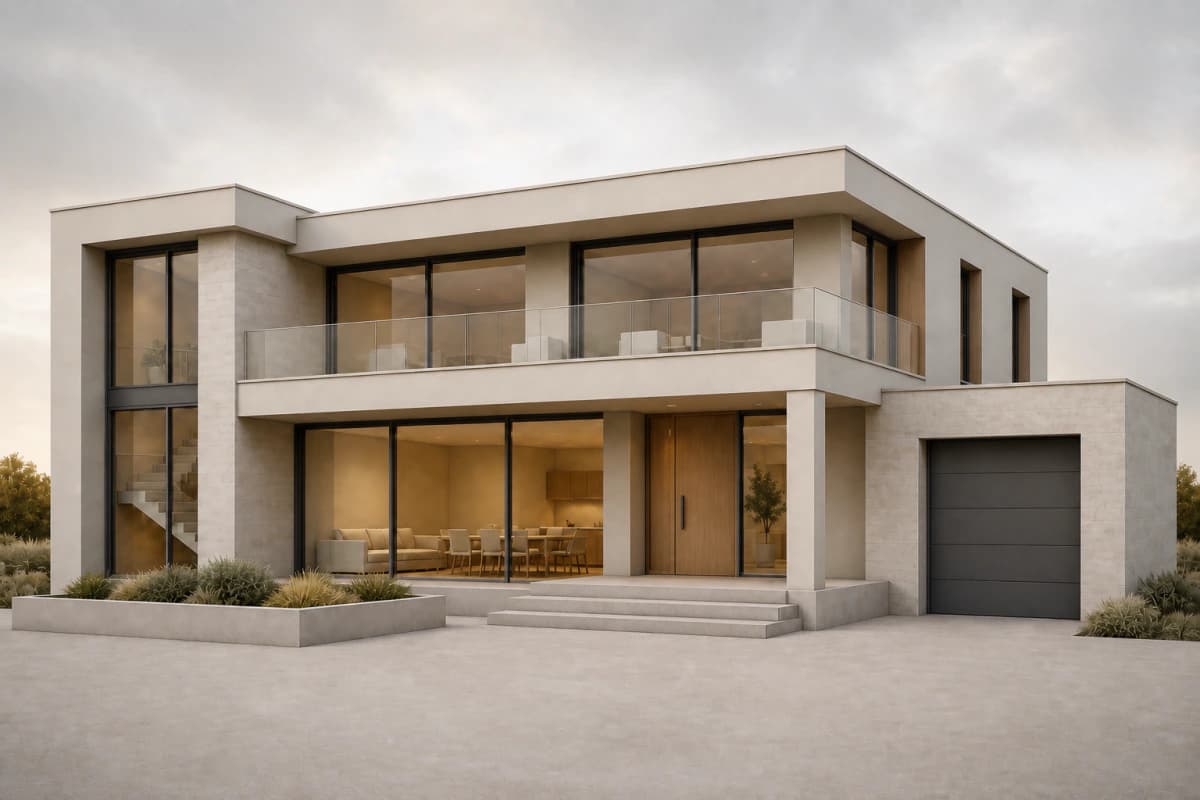 Rendered
An illustrative bare 3D model screenshot-to-render pair for a modern Nordic villa. Sketch to render
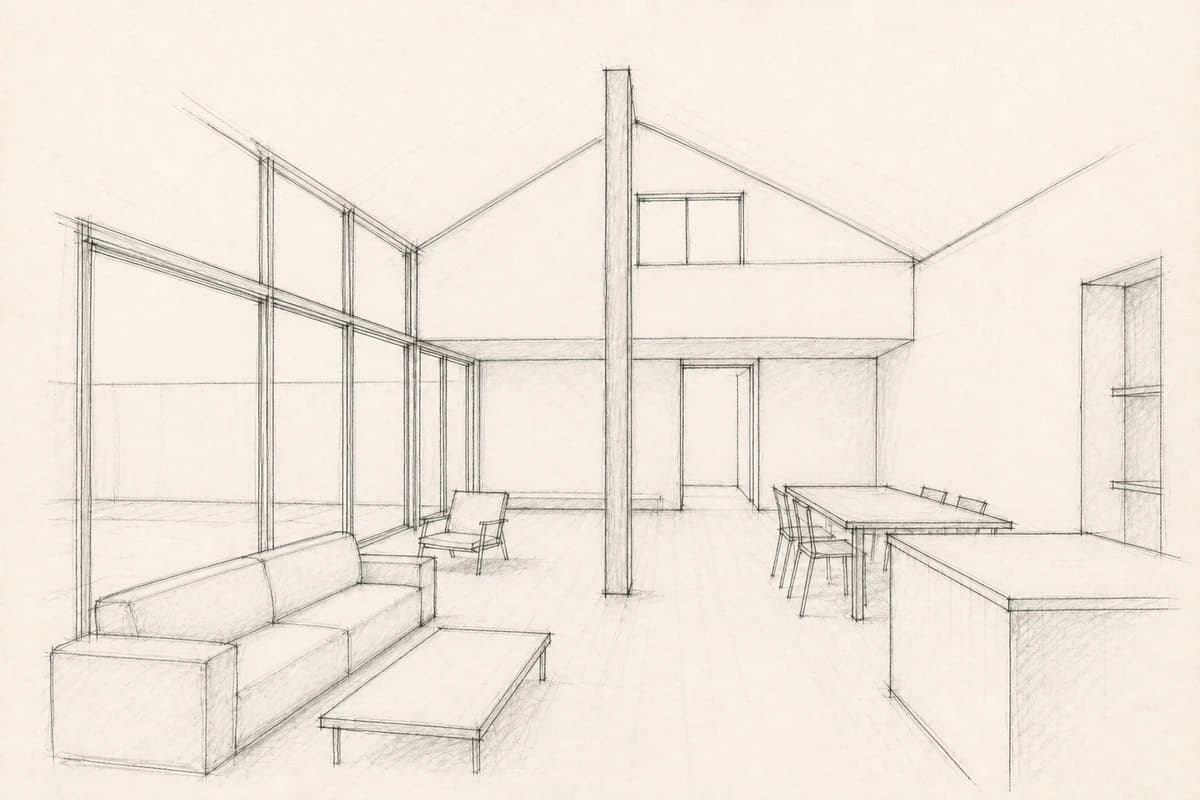 Sketch
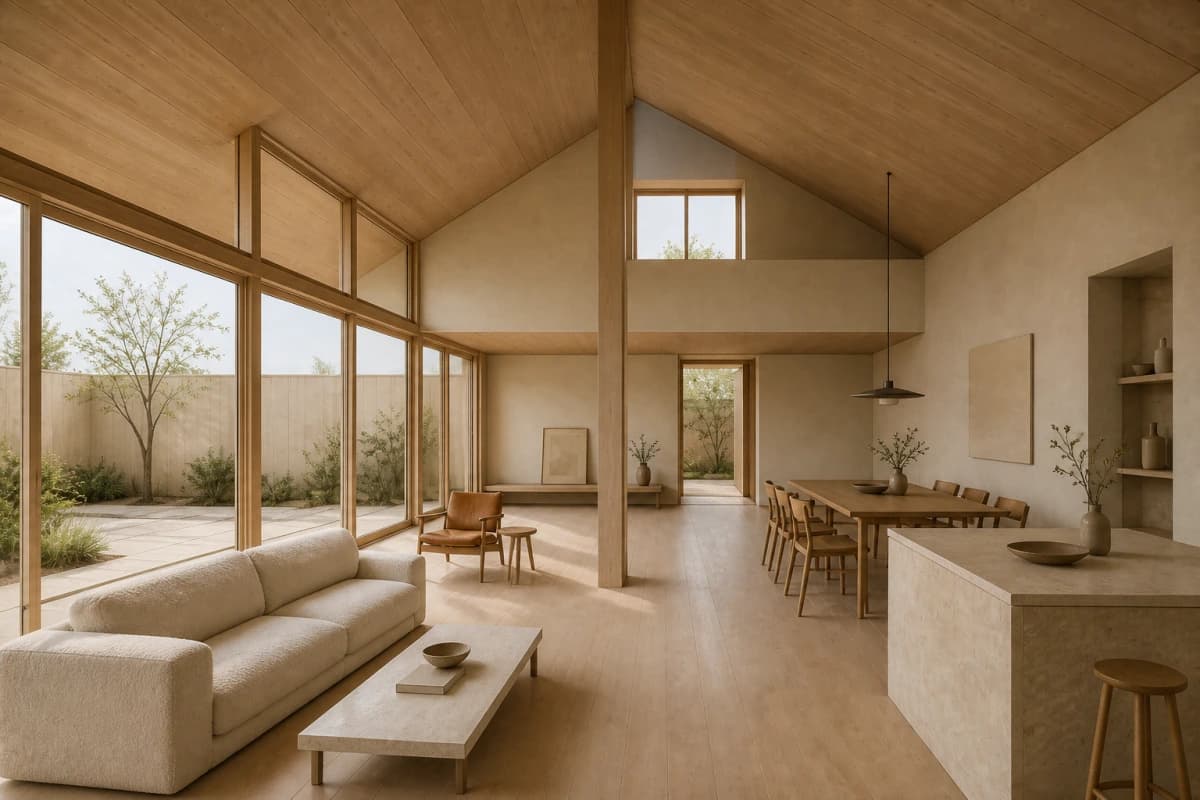 Rendered
An illustrative sketch-to-render pair for an open-plan Nordic interior. SketchUp screenshot to render
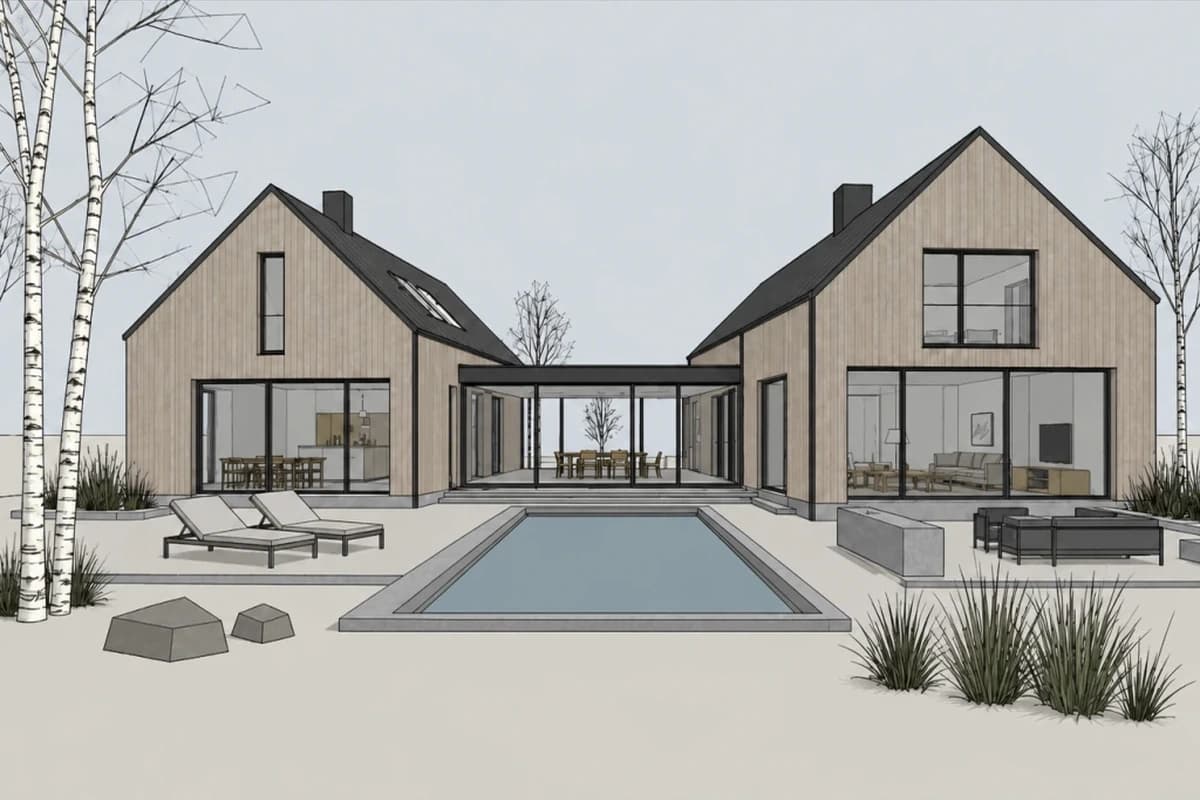 SketchUp
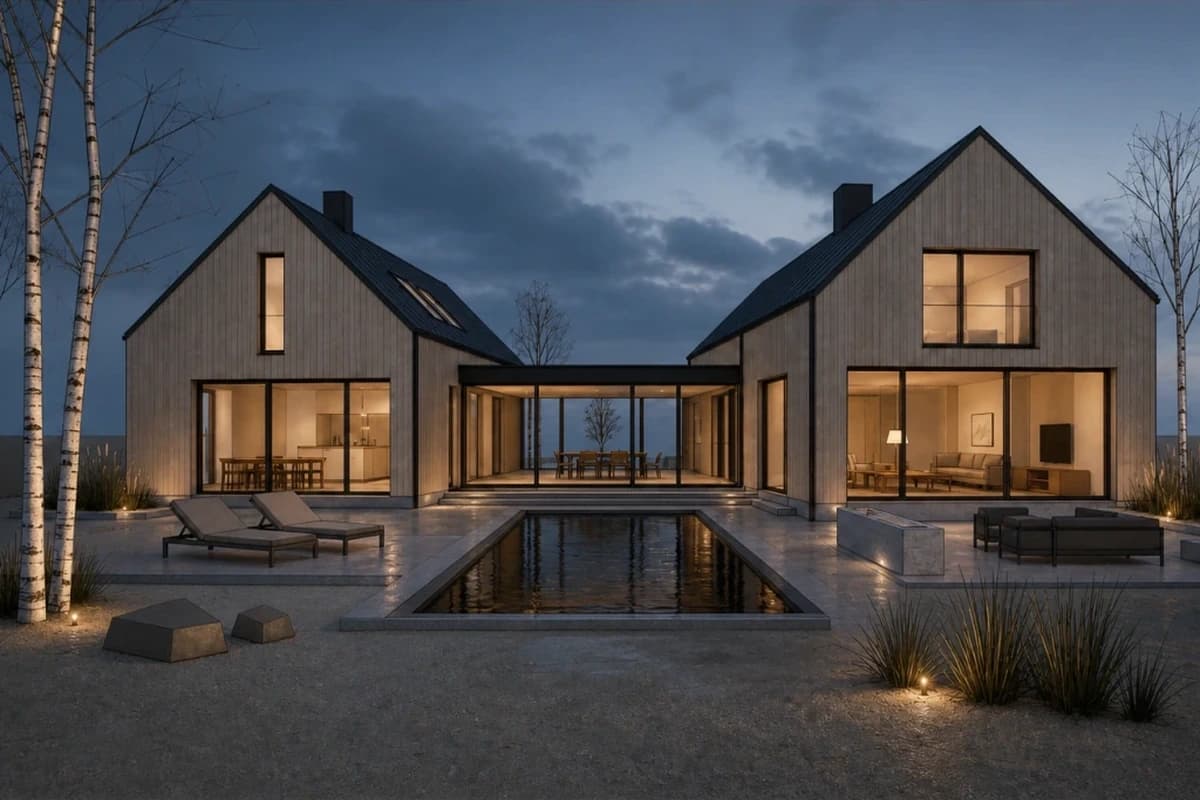 Rendered
An illustrative SketchUp AI rendering pair, from a clean model viewport to a blue-hour direction. Revit view to render
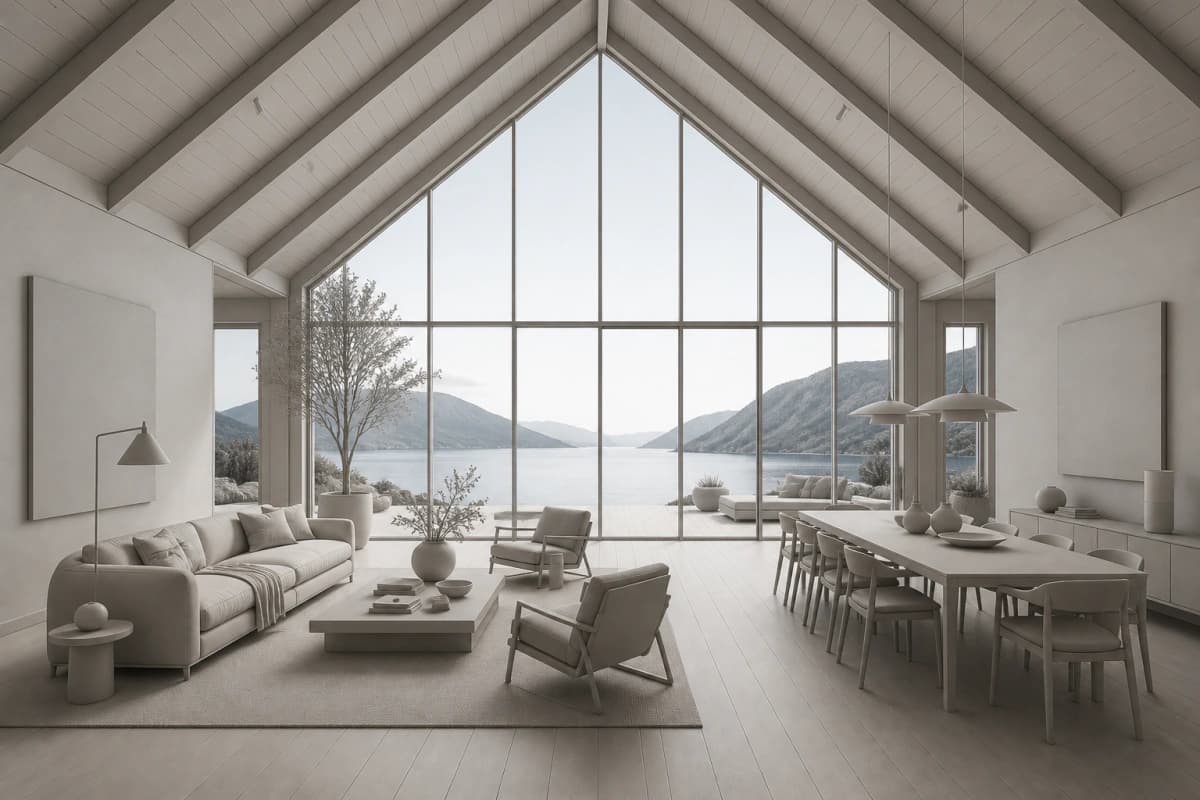 Revit
Revit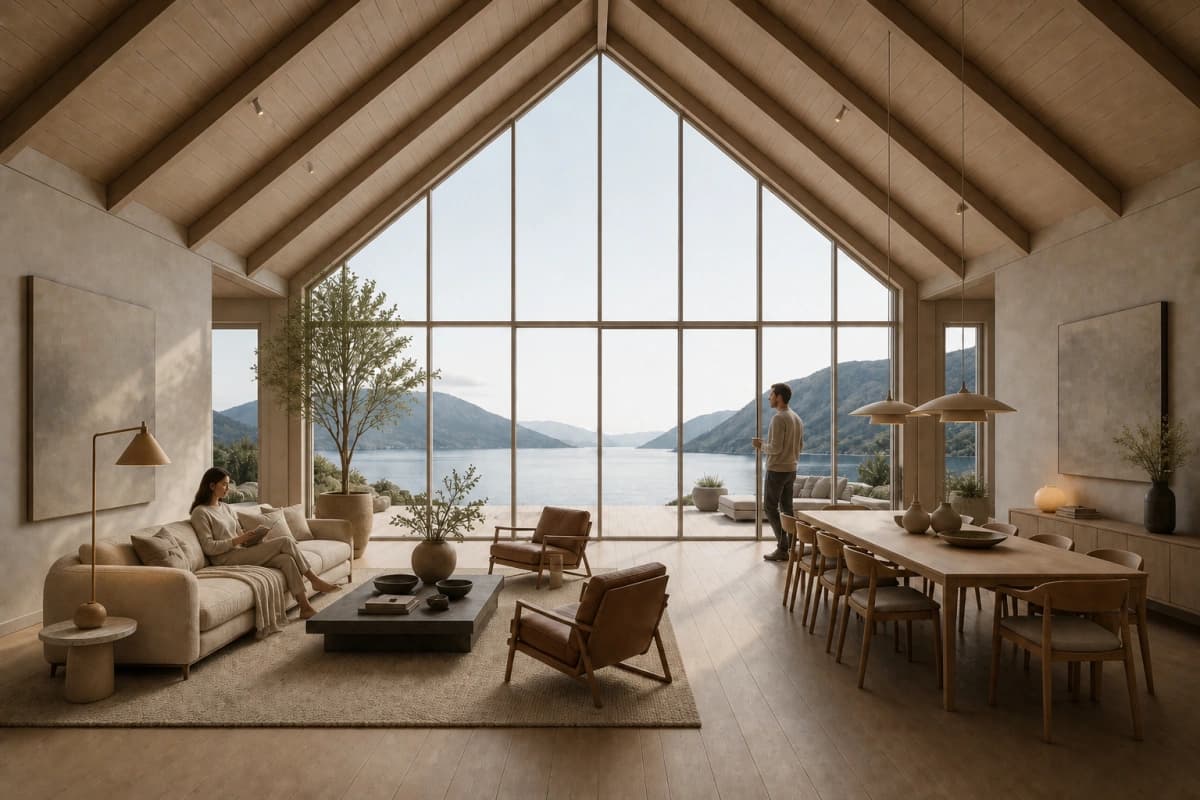 Rendered
An illustrative Revit shaded-view-to-render pair, from placeholder assets to a finished interior direction. Rhino viewport to image study
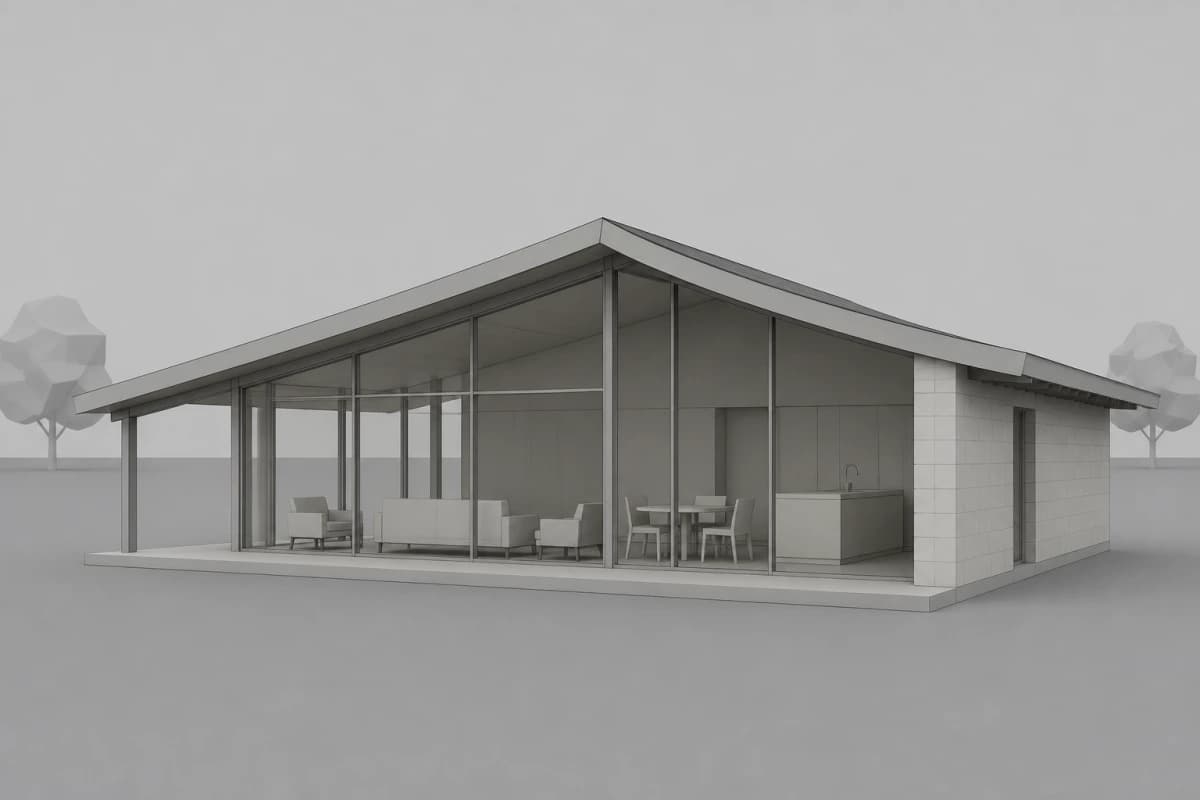 Rhino view
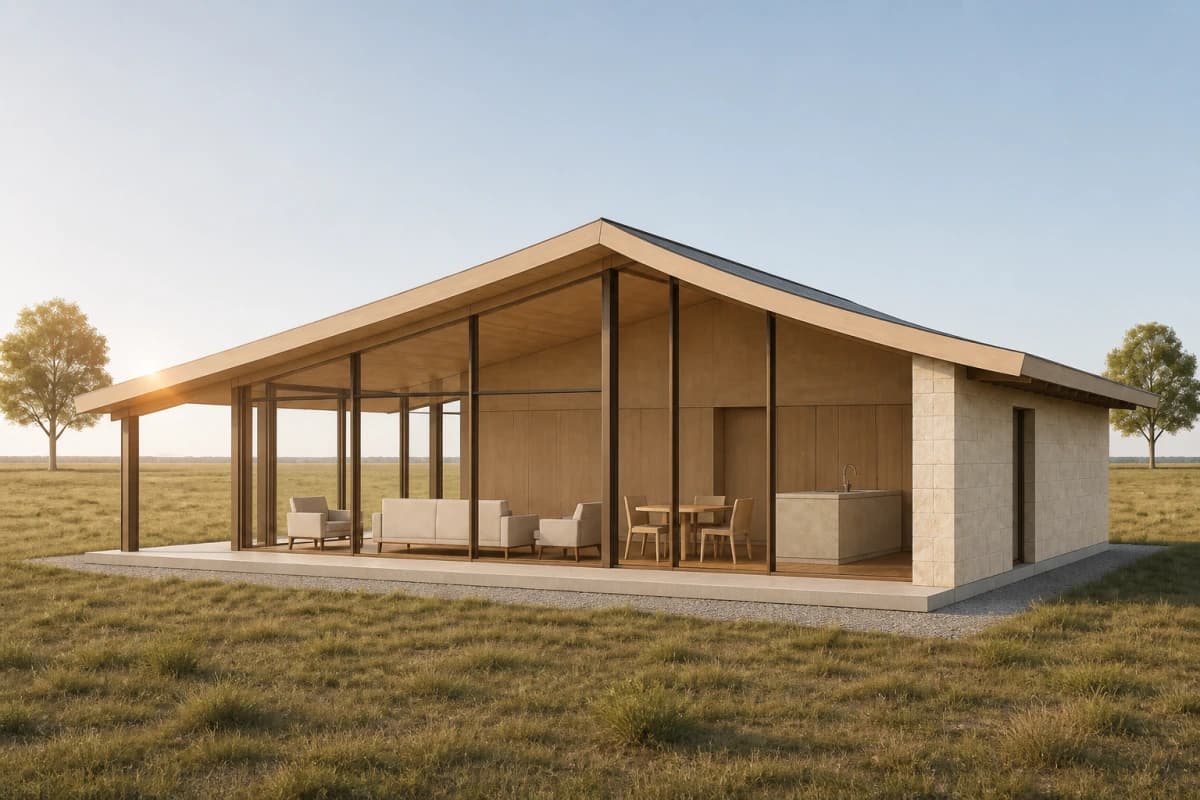 Image study
A source-derived editorial illustration. It shows the review method, not measured CAD Scene retention. Blender screenshot to render
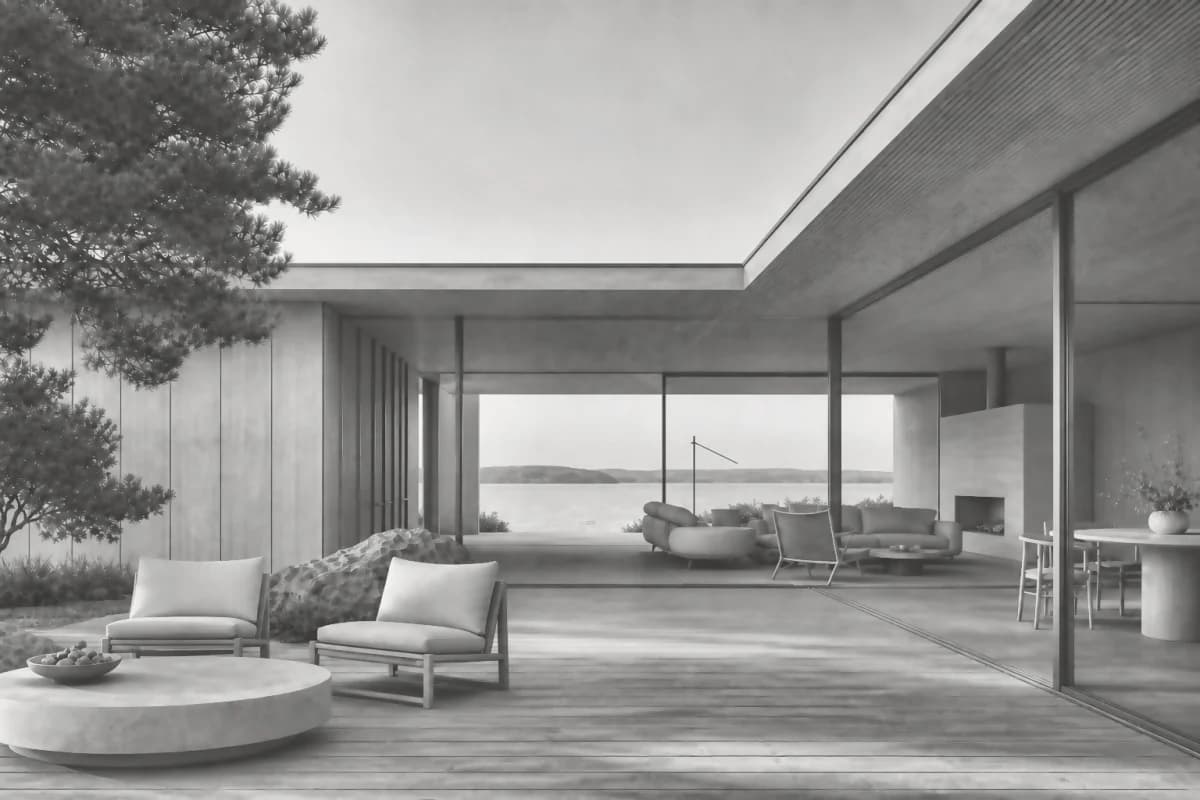 Blender
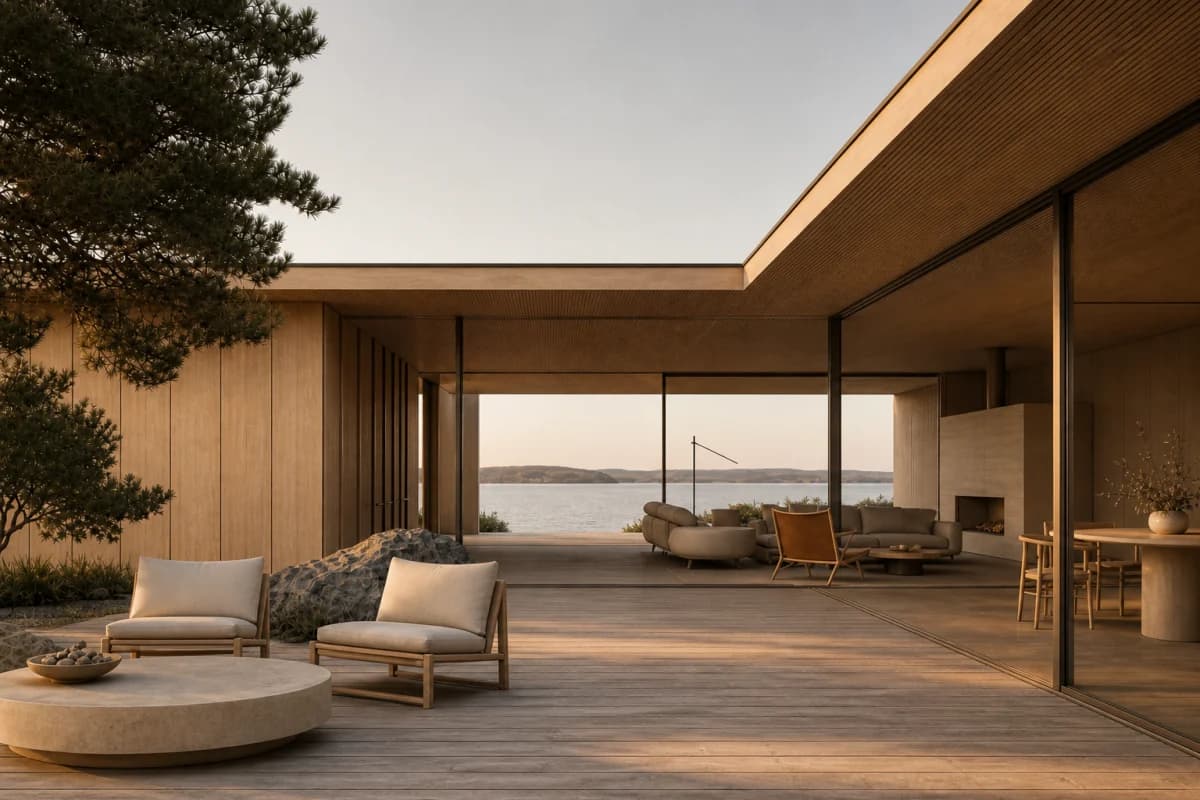 Rendered
An illustrative Blender workflow from clay render to photorealistic AI image. Interior model to render
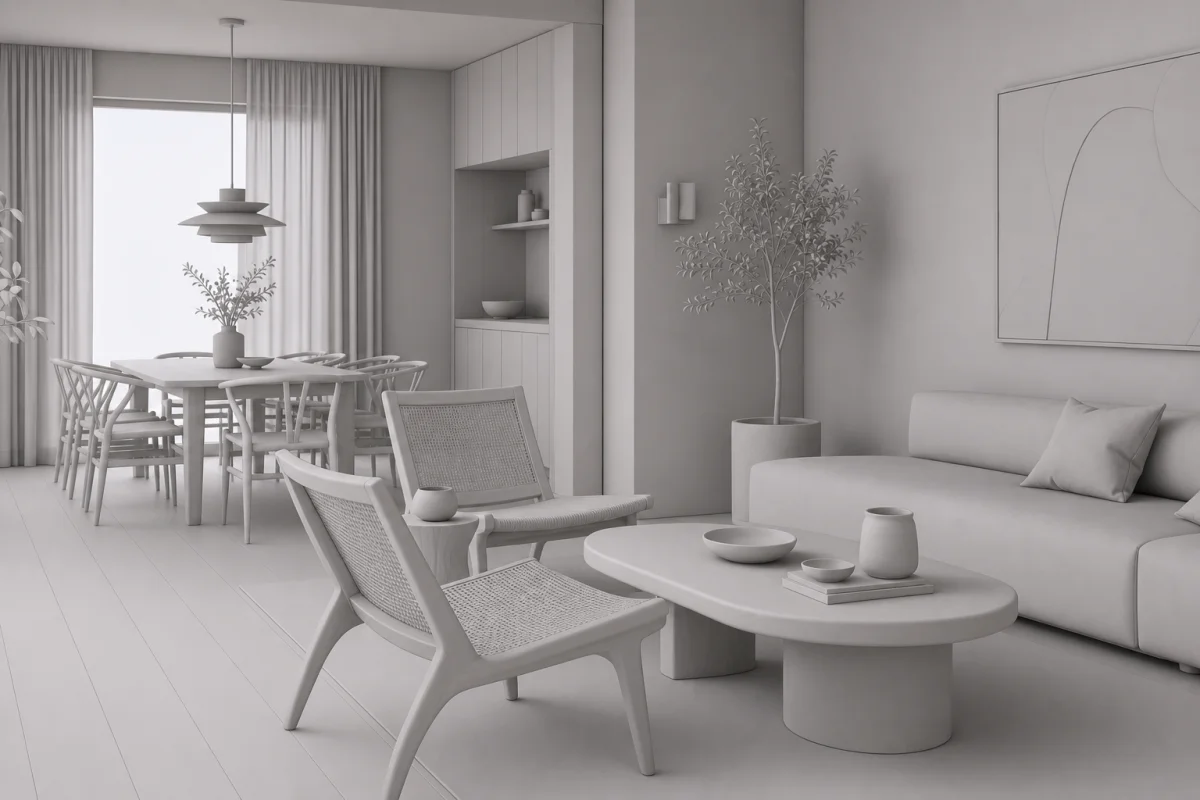 Model view
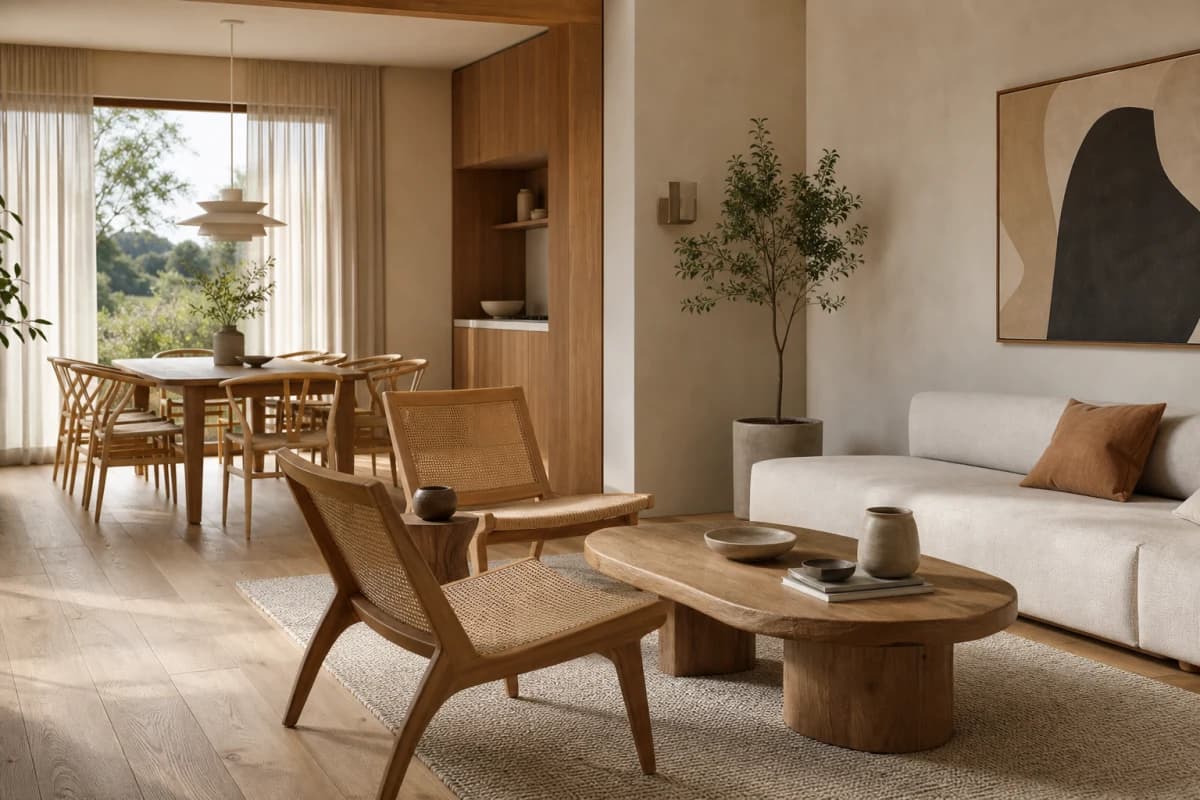 Finished study
An illustrative interior 3D model-to-render pair, from default materials to a finished room direction. Bare scene to render
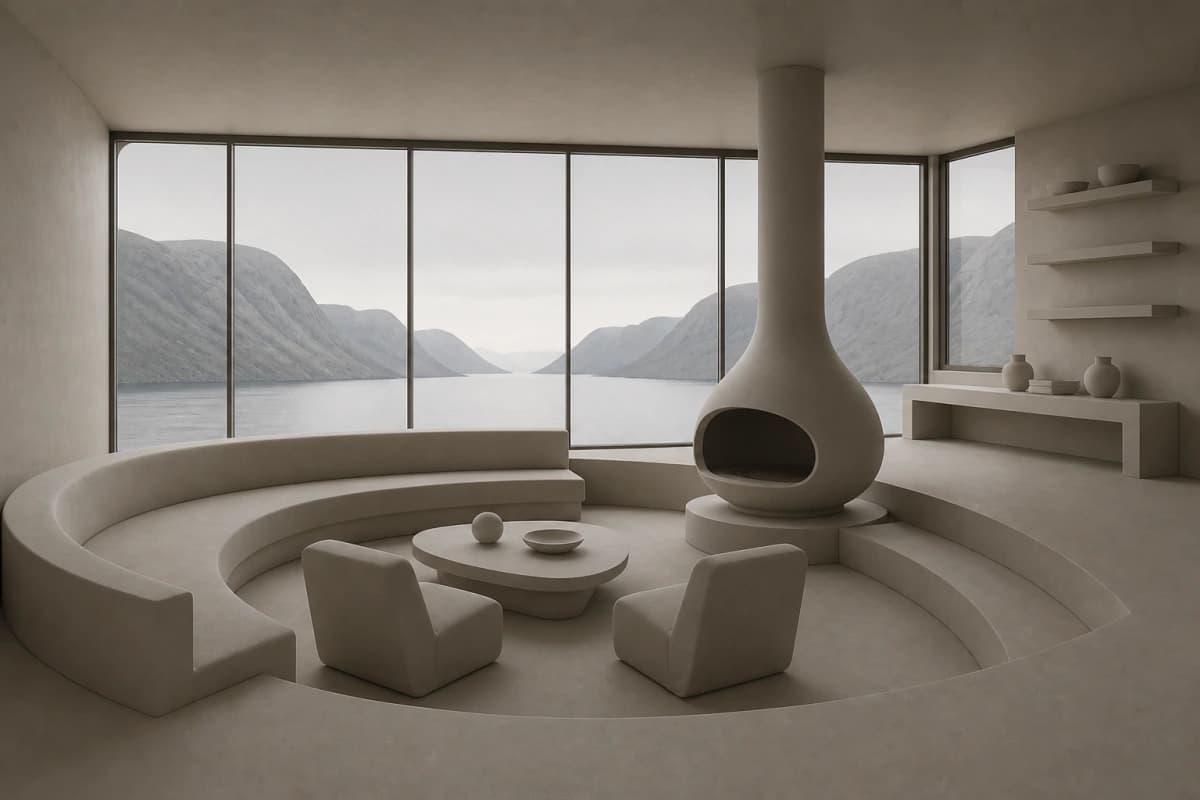 Bare scene
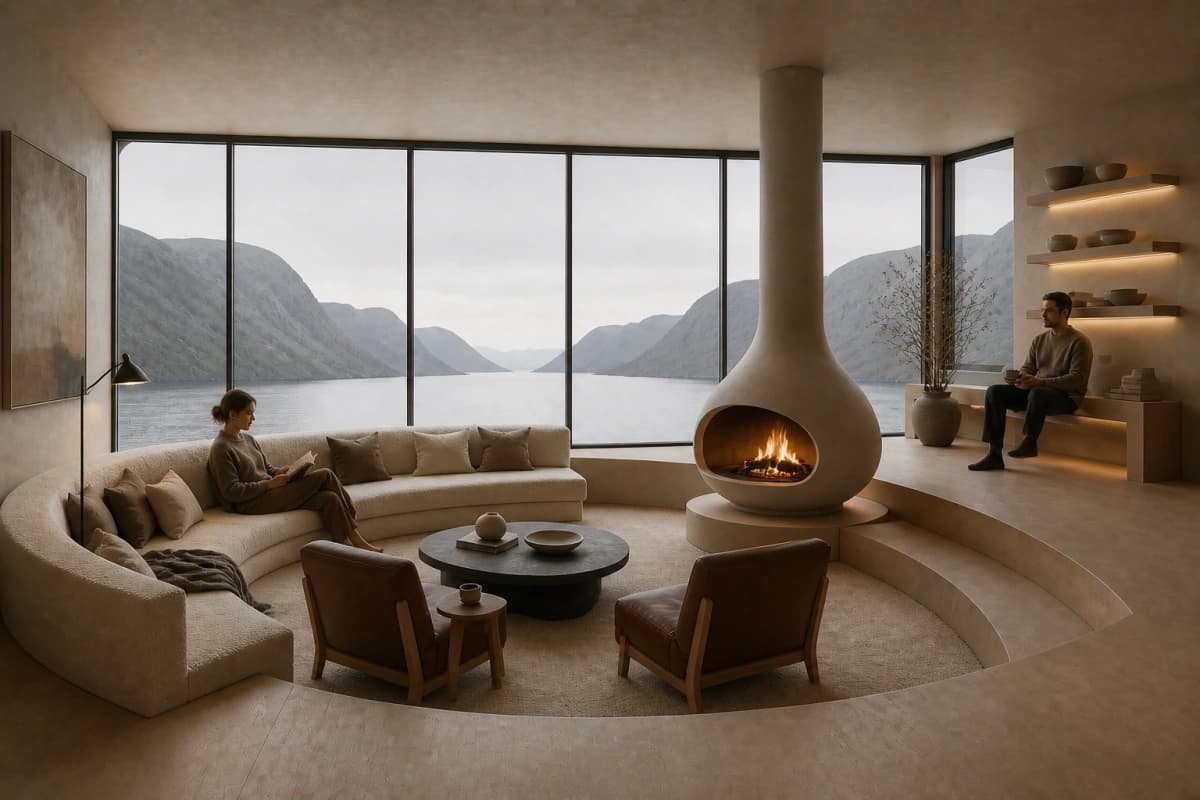 Rendered
An illustrative clay-render-to-photorealistic AI pair for a curved fjord conversation room. People in a fjord living room
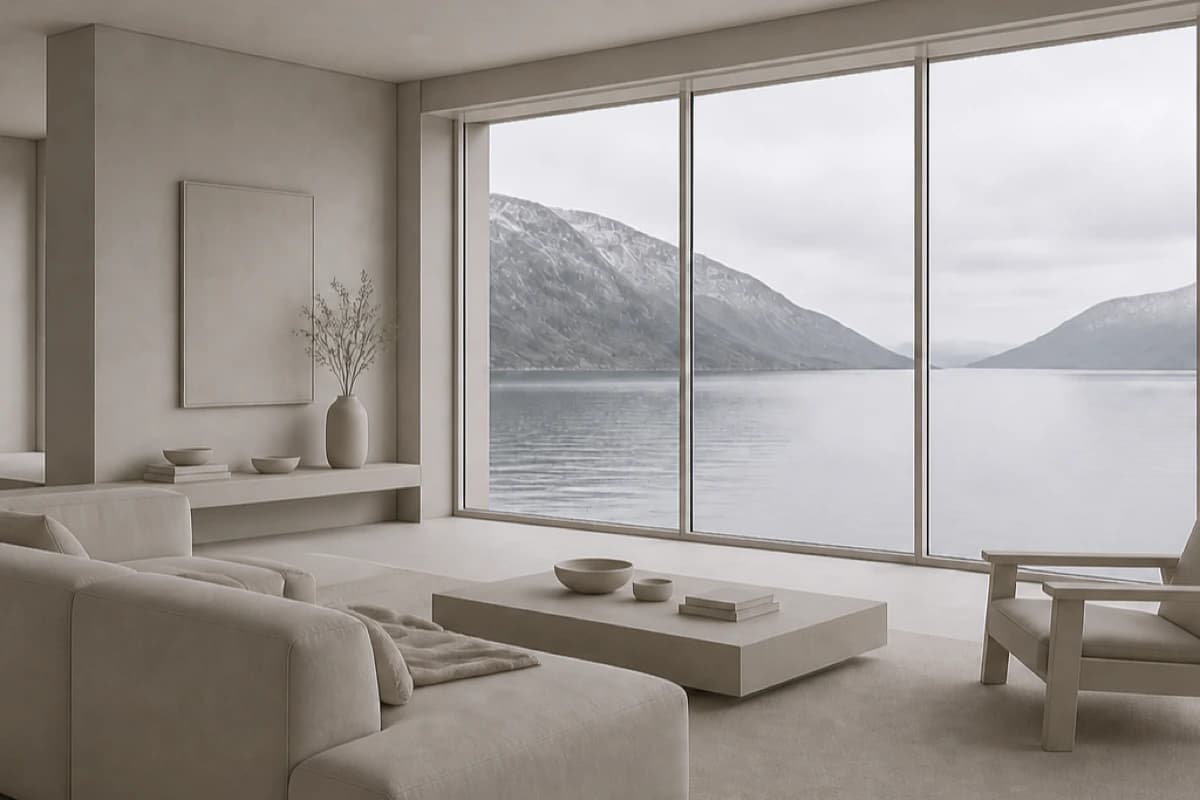 Bare interior
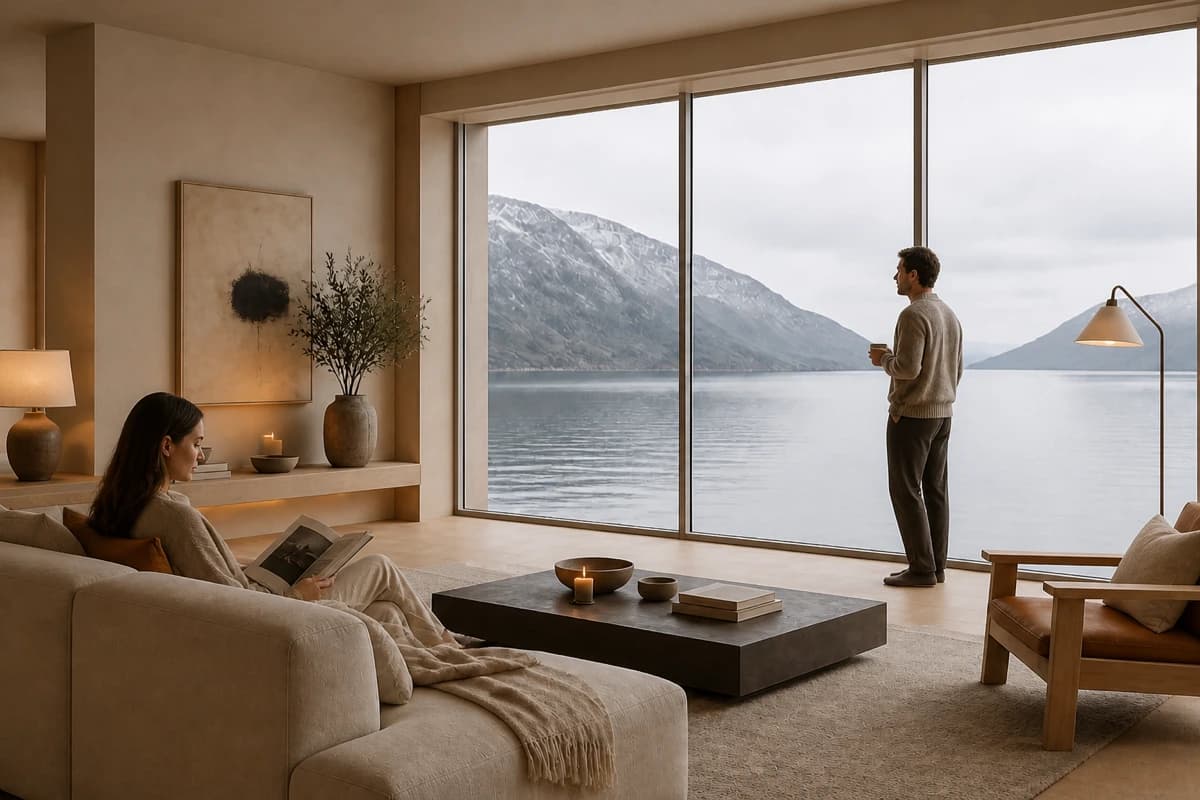 People
An illustrative living-room pair showing people establish scale and quiet occupation. Natural restaurant occupation
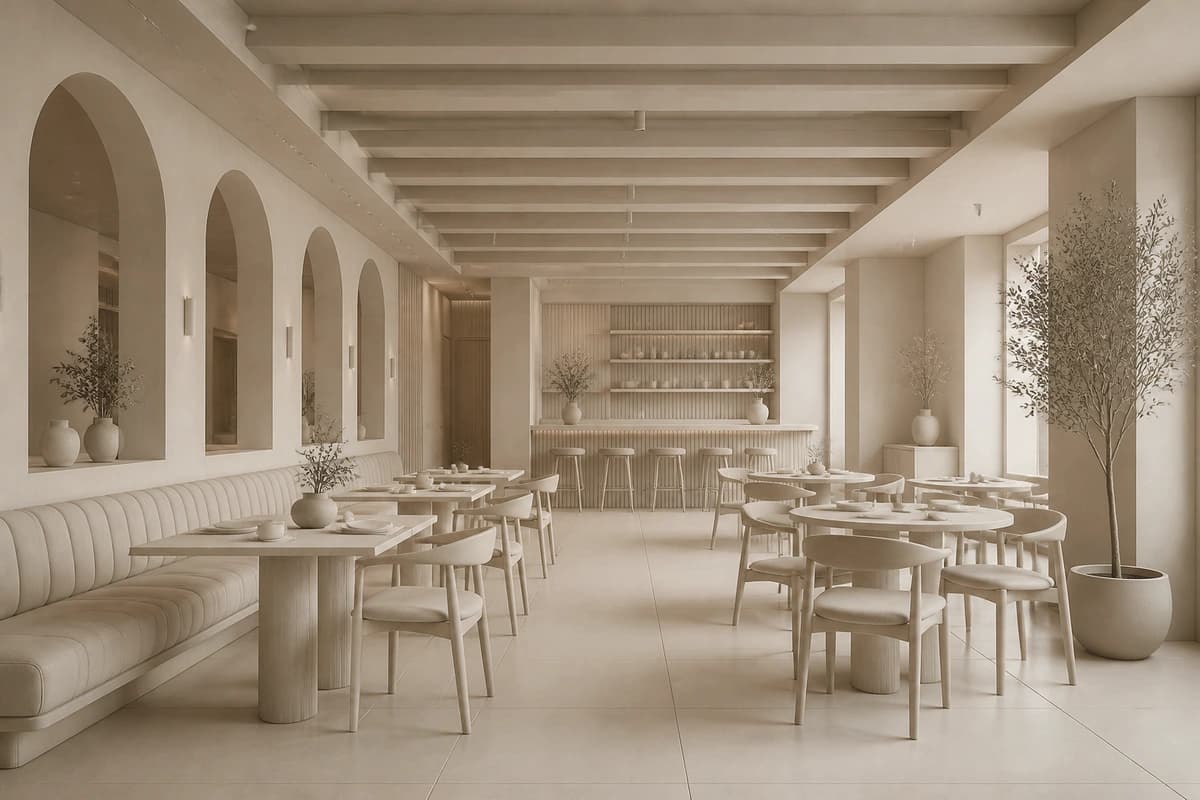 Bare restaurant
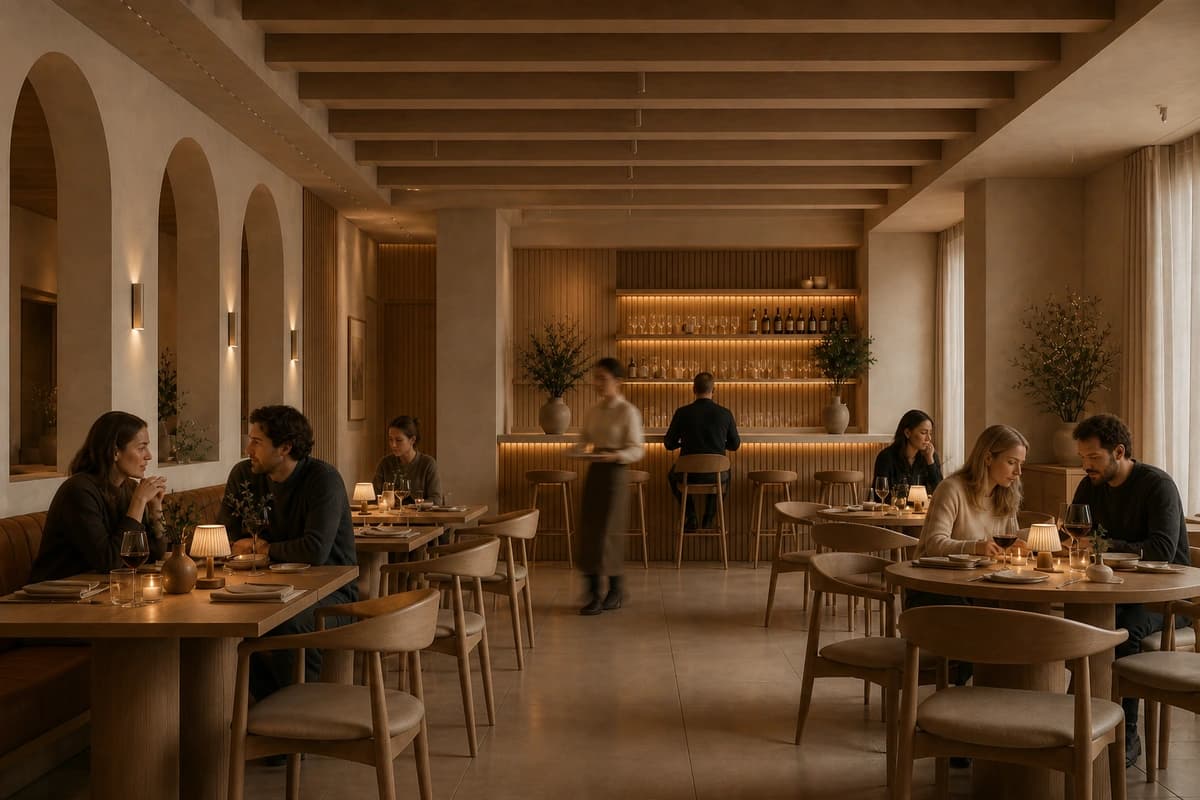 People
An illustrative restaurant pair showing varied dining and service activity. People and movement in a city render
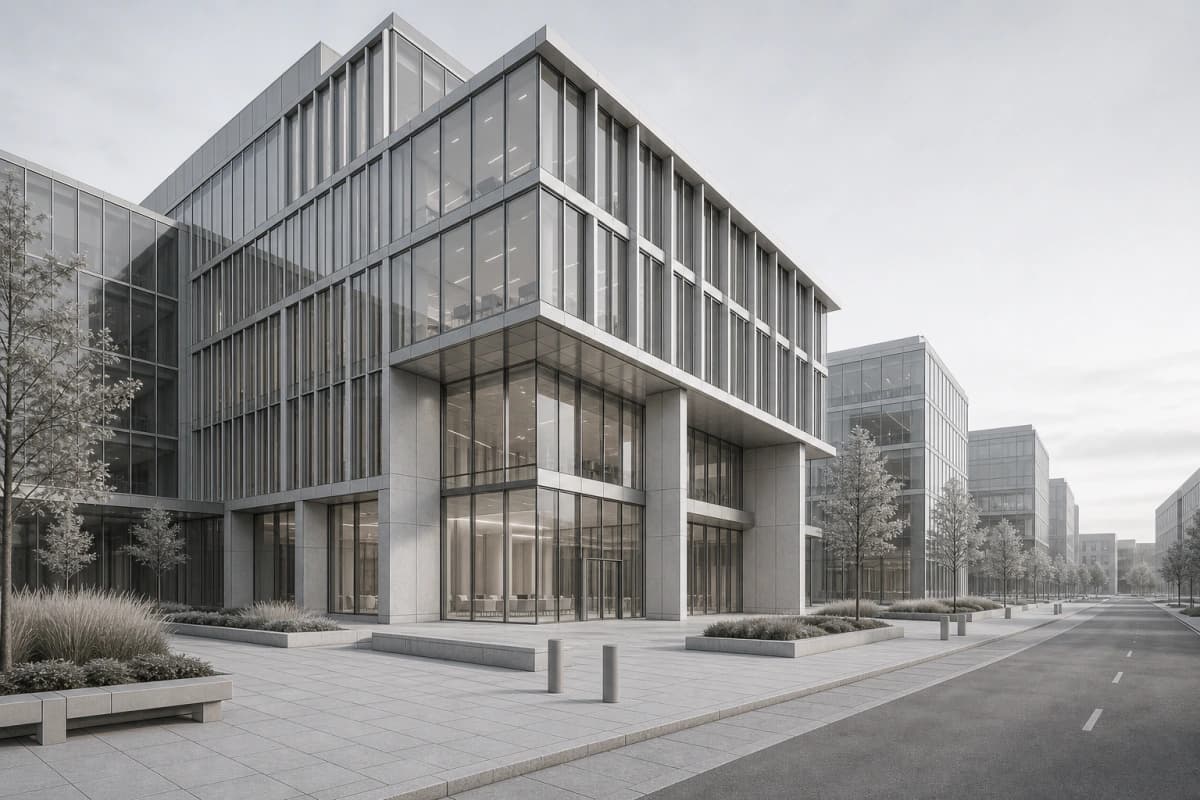 City model
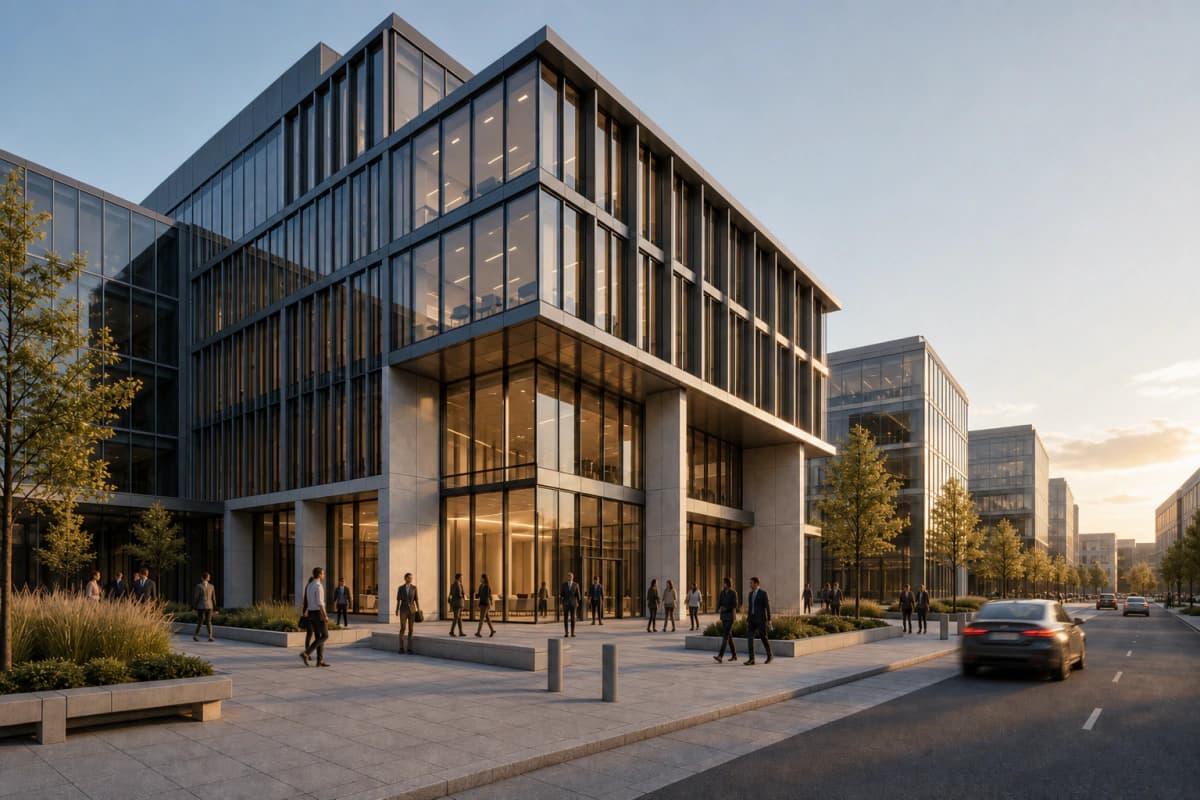 People + movement
An illustrative city pair showing people and local movement around the architecture.
Start free
Create an AI architectural render from your sketch or screenshot in seconds.
Start free
Your first renders are free. No credit card. Cancel anytime.