
How to Render a SketchUp Screenshot with AI (Step by Step)

To render a SketchUp screenshot with AI, save the intended view first. Remove axes, guides, selections, and interface panels. Then export or capture that view at the aspect ratio you need. Use the image as the source in Enhance. Describe materials, light, landscape, and atmosphere without asking for new geometry. Finally, compare the result against the source. Check the camera, roof lines, openings, floor levels, and proportions before client review.
This guide covers the SketchUp-specific decisions. The cross-tool screenshot checklist covers general capture hygiene.
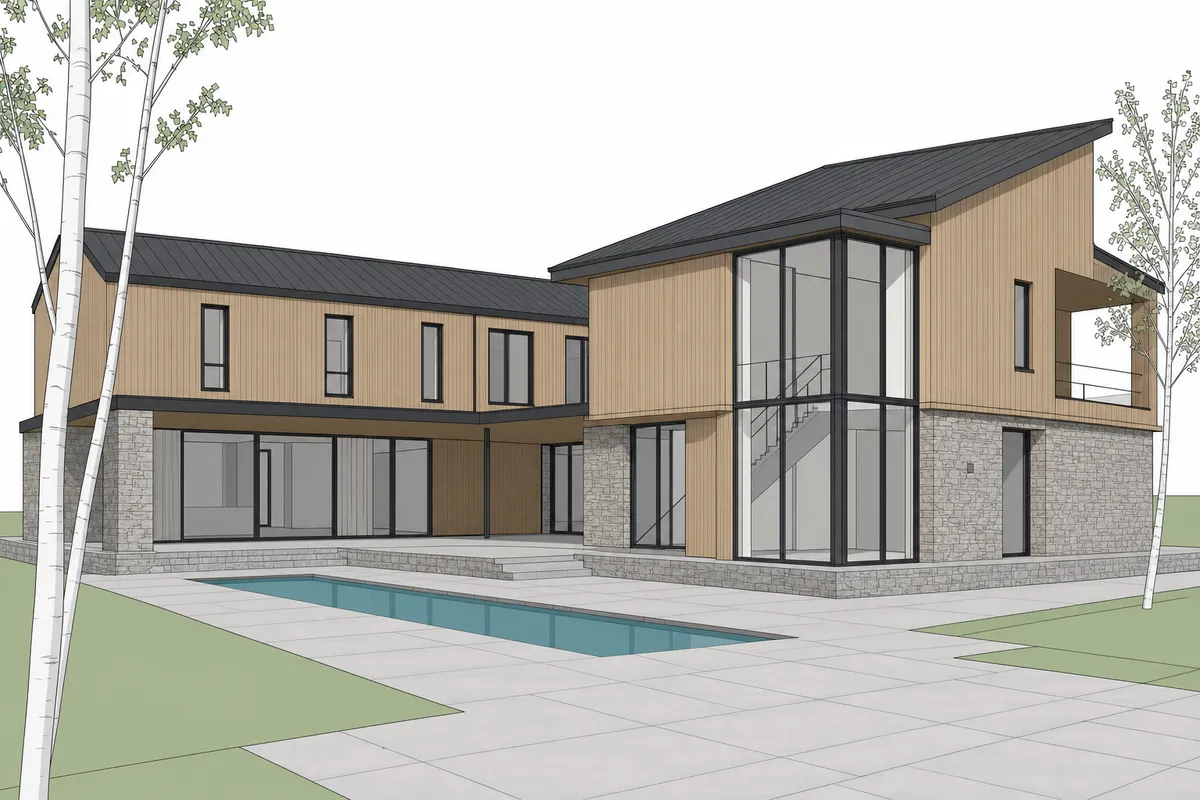 SketchUp
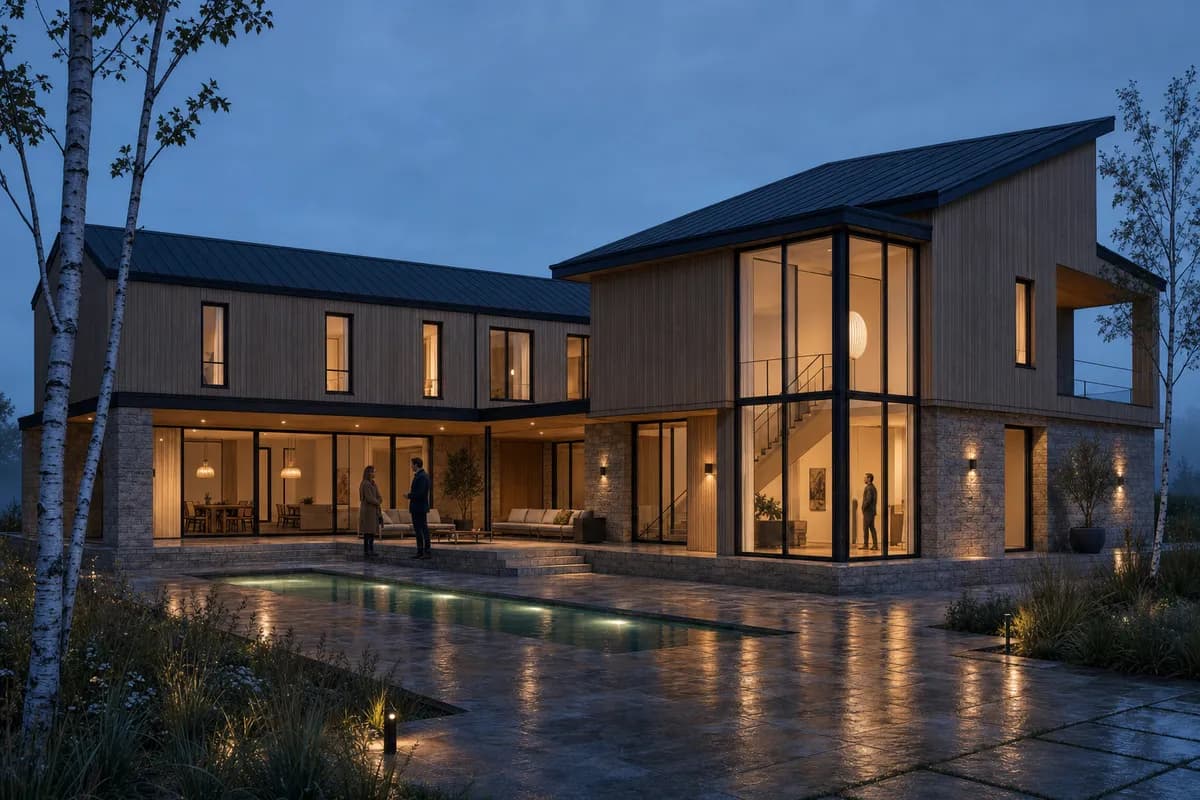 Rendered
What is the shortest SketchUp screenshot-to-render workflow?
The reliable path has four steps. Save the view before changing materials or testing another camera.
Lock and clean the view
Save a Scene. Hide guides, axes, selections, section planes, and temporary objects.Capture or export
Keep the intended crop and aspect ratio. Use PNG or a high-quality JPEG.Use Enhance
Choose the image under Scene to enhance. Add finish guidance through the prompt and Composition.Verify the result
Compare camera, crop, roof lines, openings, floor levels, and major edges against the source.
Adapt a reviewed example from the source-assisted architecture prompt directory after fixing the camera and cleaning the viewport.
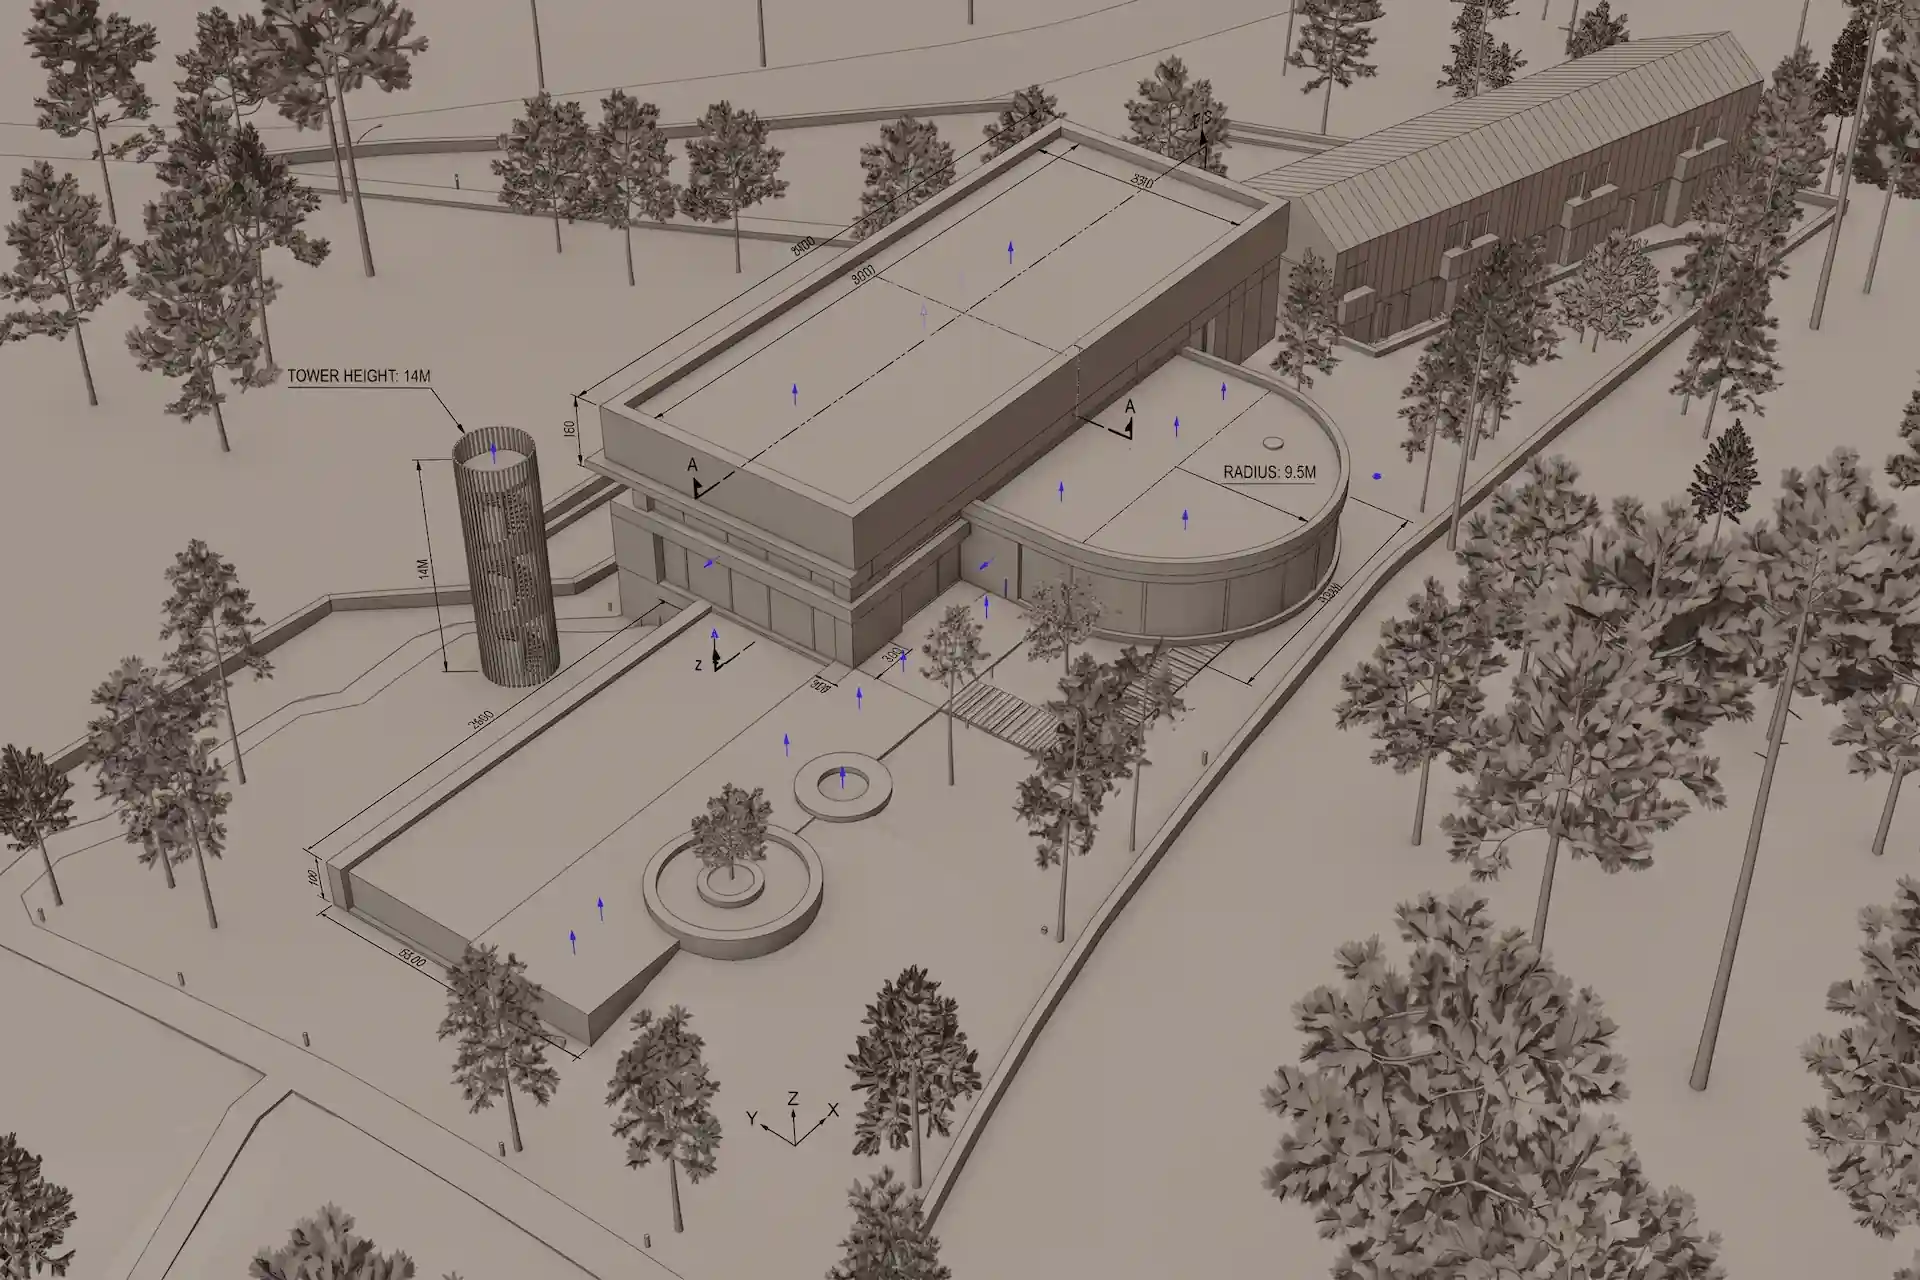
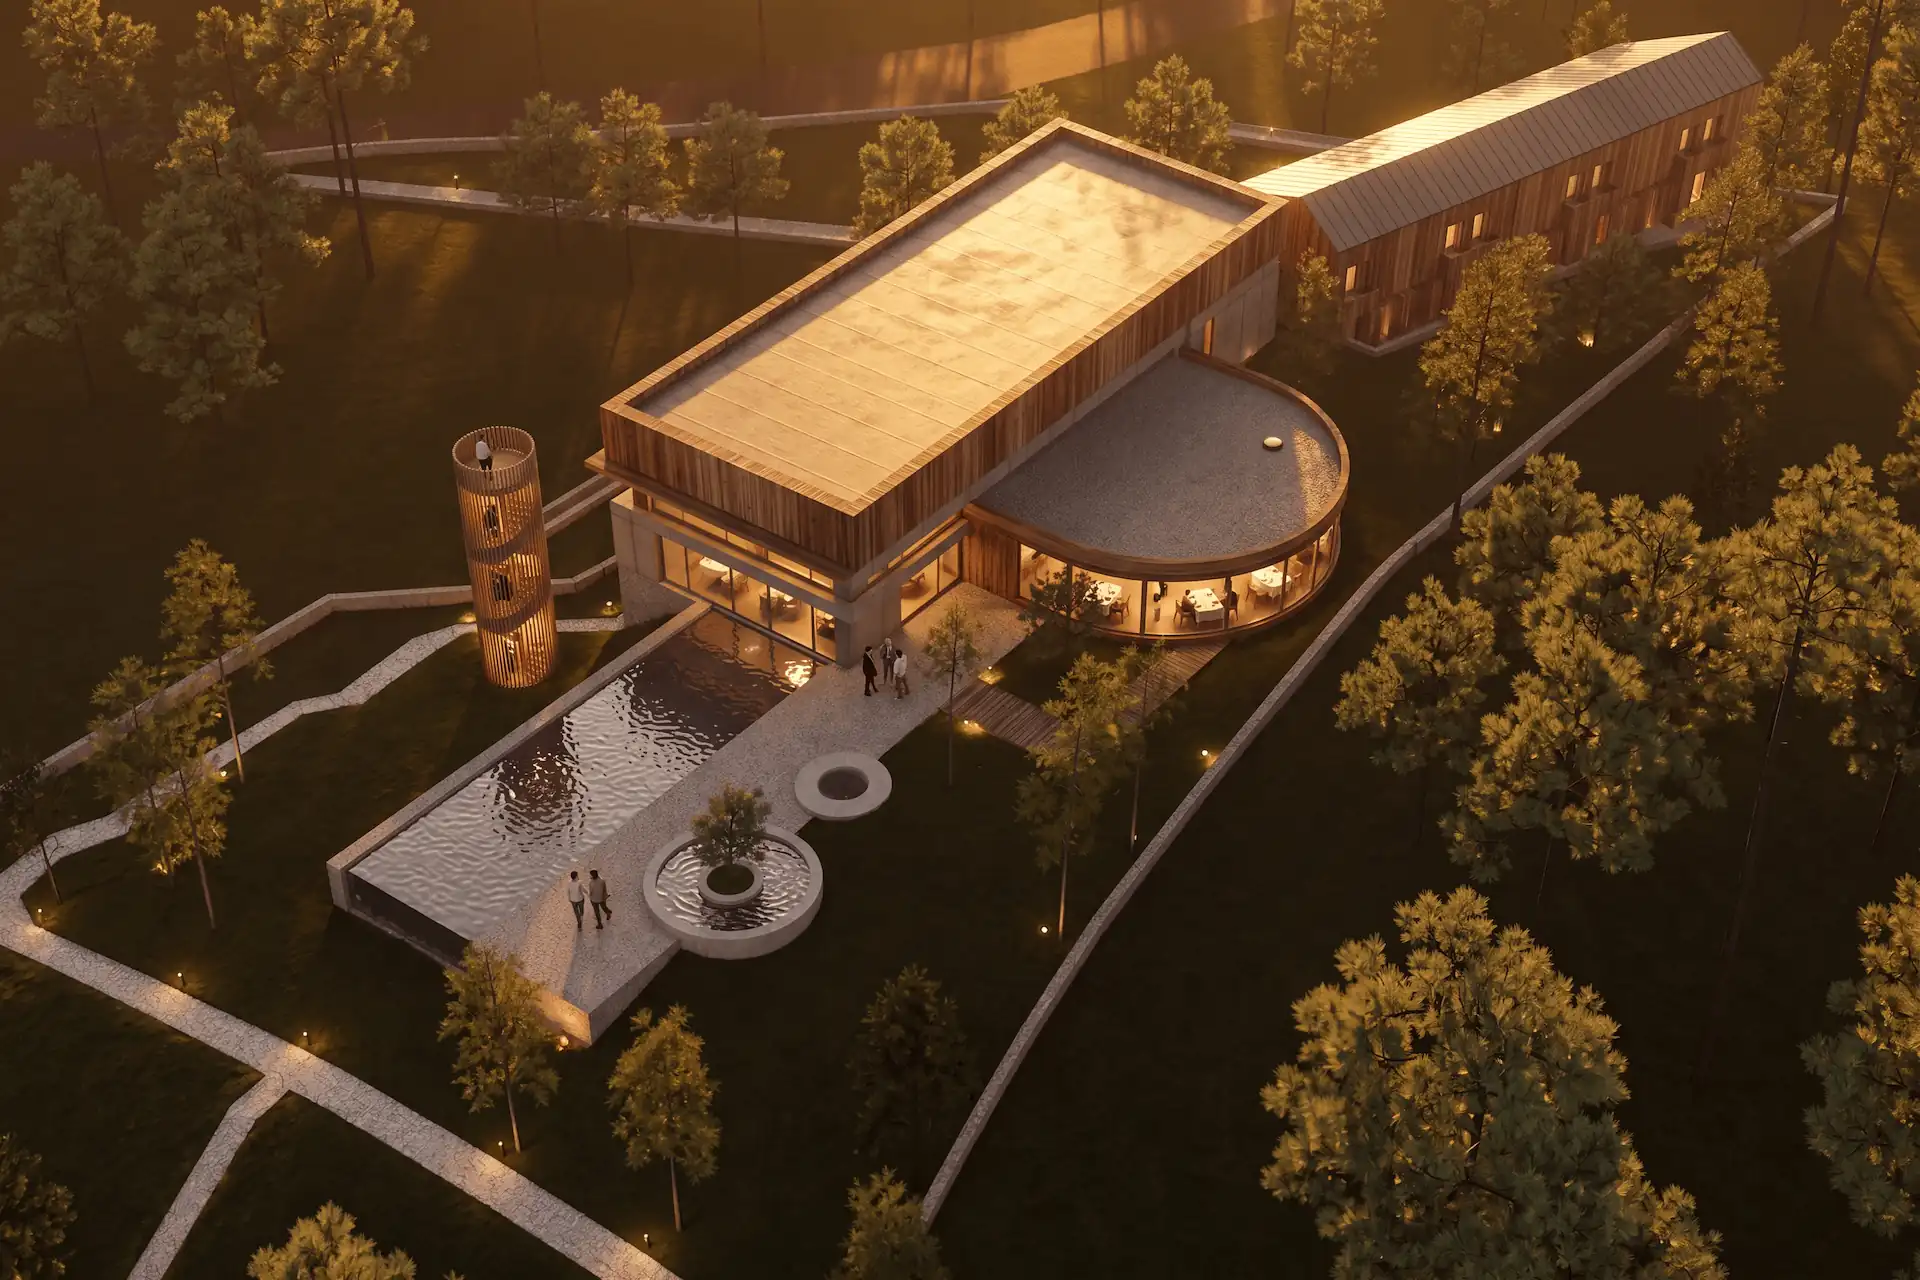
Before / after
Render your SketchUp screenshot free.
How should you prepare the SketchUp view?
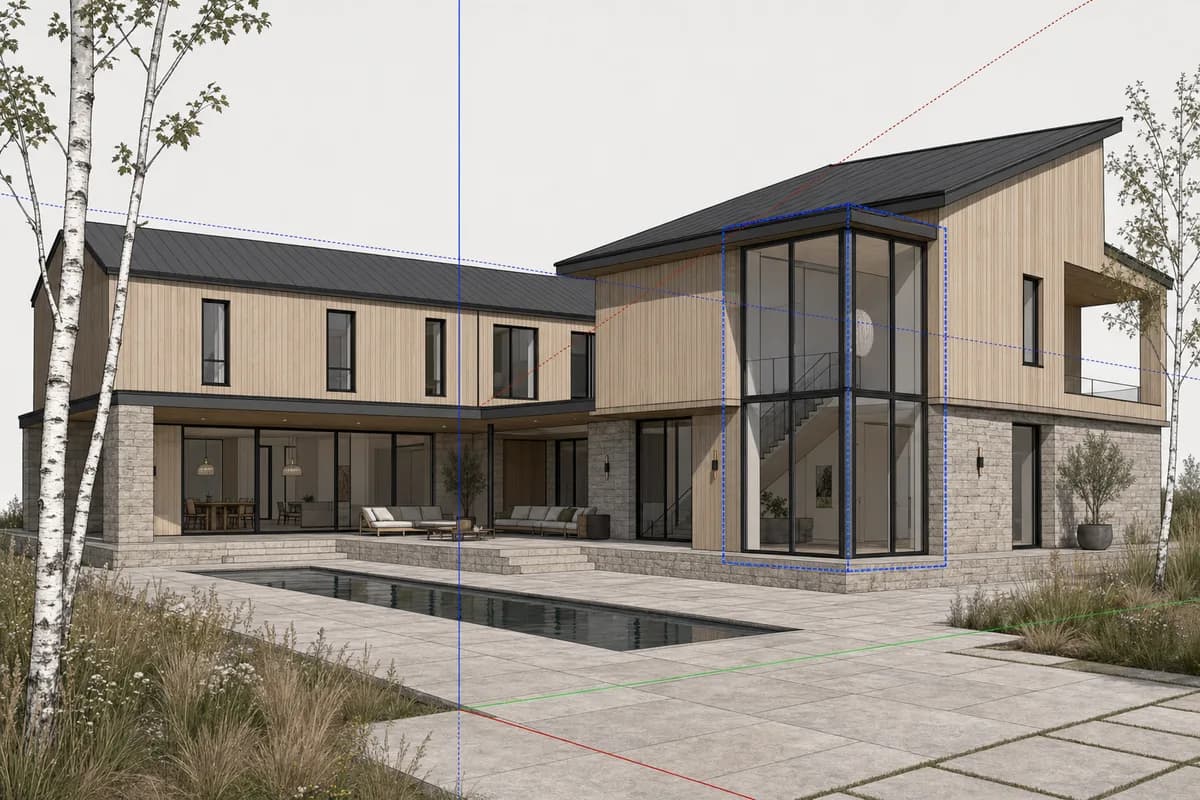
Start from the camera you intend to present. SketchUp Scenes can store the camera location, field of view, visible tags, section planes, style, and shadow settings. Save or update the Scene before export.
Then remove marks that are not part of the design:
- clear active selections and bounding boxes;
- hide axes, guides, grids, section planes, and dimensions;
- close menus, trays, dialogs, and floating toolbars over the model;
- remove placeholder people or cars that give the wrong scale;
- keep openings and major edges visible;
- choose Perspective, Two-Point Perspective, or Parallel Projection on purpose.
SketchUp's camera guide explains how perspective and field of view change the view. Avoid changing the field of view between exports. Return to the saved Scene instead.
Should you take a screenshot or export an image?
Use a screenshot for a quick option. Use a 2D image export for a repeatable source with controlled dimensions. Both can work when the view is clean.
| Screenshot | 2D image export | |
|---|---|---|
| Best for | Fast option study | Repeatable saved Scene |
| Pixel controls | Screen-dependent | Width and height options |
| Interface risk | Crop browser or app chrome | Exports the model view |
| Use when | The viewport is already clean | The source needs controlled dimensions |
SketchUp Desktop can export the current view through File → Export → 2D Graphic. Its raster export options include PNG and JPEG. They also include width, height, line scale, and anti-aliasing controls. See SketchUp's current image export documentation. SketchUp for Web can download the model view as a PNG.
Use the SketchUp Screenshot Export Planner when you need target pixel dimensions, camera reminders, and a copyable cleanup plan.
What resolution and aspect ratio should you use?
Use the aspect ratio required by the final composition. A board image, slide, and portrait cover need different frames. Set that frame in SketchUp first.
Export enough pixels for walls, openings, and surface boundaries to remain clear. CAD Scene reduces uploads above 2048 pixels on the long edge. It does not enlarge smaller uploads. A larger source does not create new model detail after that reduction.
Enhance preserves the source proportions and does not offer a separate Aspect control. Resolution selects an output tier. It does not promise the source's exact pixel dimensions. The Enhance documentation holds the current product rules.
How should you write the Enhance brief?
Keep design geometry separate from finish. The source image carries the camera, crop, and visible massing. The brief should name what can change.
Review the project's Composition before sending:
- Style: the visual language and rendering character;
- Scene: climate, landscape, and broader atmosphere;
- Lighting: time of day, direction, contrast, and mood;
- Materials: named surfaces and finish relationships;
- Entourage: planting, people, furniture, and vehicles.
A useful prompt might read:
Keep the source camera and building design. Use pale timber cladding, mineral render, dark bronze frames, soft overcast daylight, and sparse birch planting.
Avoid asking Enhance to add a new storey, move windows, or redesign the roof. Those requests conflict with the source. Use Edit for a focused change to a finished image.
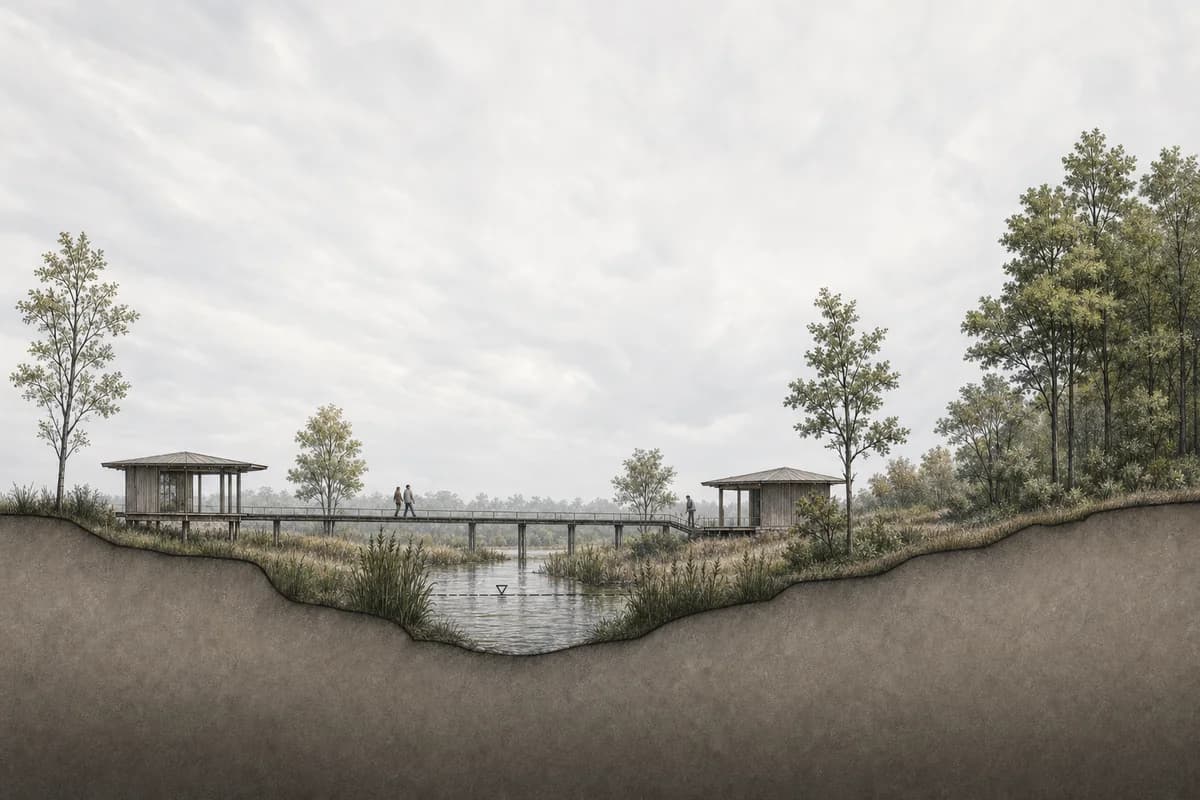
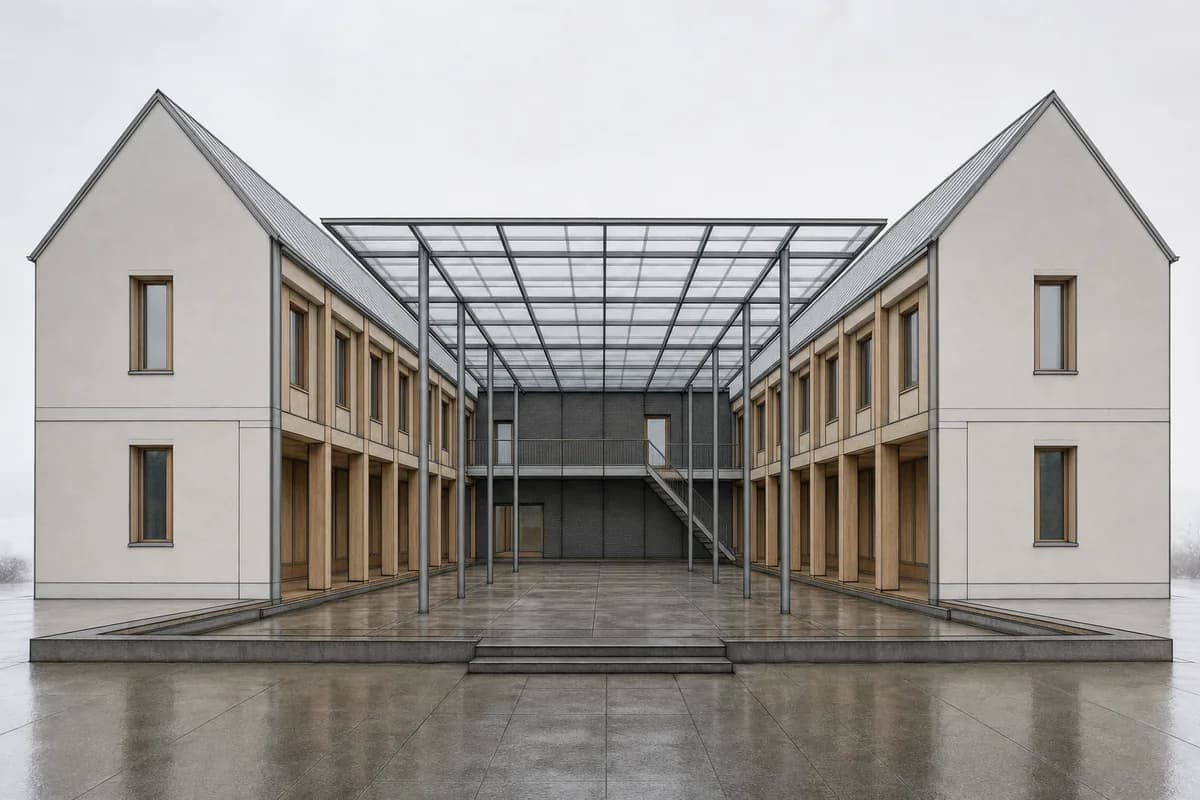
Prompt library · 28 promptsSource-preserving conversionsBrowse prompts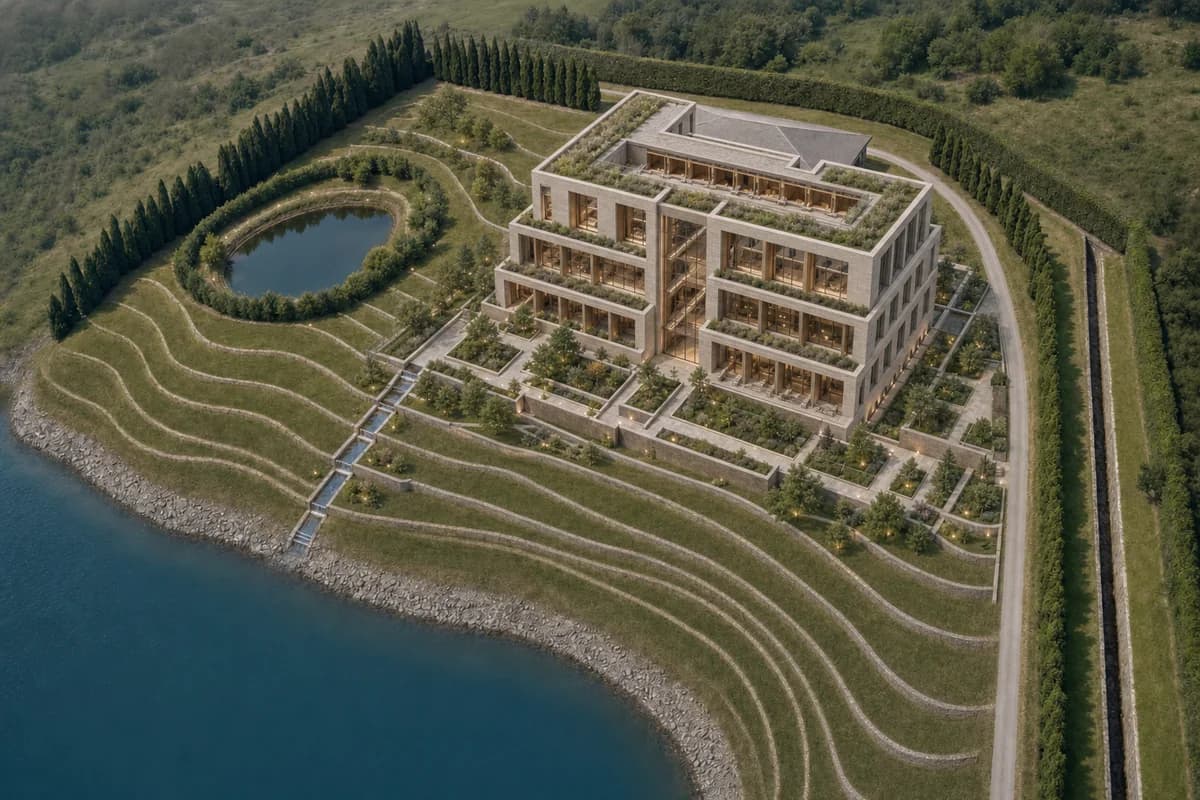
What should you check in the finished render?
Compare structure before judging atmosphere. Place the source and result side by side. Review these points in order:
- camera height, field of view, and horizon;
- crop, aspect ratio, and subject scale;
- roof lines, floor levels, and primary edges;
- window and door count, position, and proportion;
- foreground, horizon, and major site elements;
- material boundaries and repeated details.
Enhance instructs the model to preserve those constraints. Generated output can still drift. Treat the source as the review reference, not a guarantee.
Why do SketchUp AI renders drift?
Most failures start with ambiguous source evidence or a conflicting brief.
| Symptom | Likely cause | Next check |
|---|---|---|
| Openings move | Edges are hidden or low-contrast | Export a cleaner style with readable boundaries |
| Camera feels different | The crop or field of view changed | Return to the saved Scene |
| Materials cross surfaces | Boundaries are unclear | Simplify textures and name each surface |
| Interface marks appear | Guides or selections remained | Hide overlays and export again |
| Scale feels wrong | Placeholder entourage conflicts | Remove temporary people, cars, or furniture |
Change one source condition at a time. Otherwise, you cannot tell what fixed the result.
When should you use a native renderer instead?
Use a native renderer when the deliverable depends on measured lighting, exact material libraries, animation, or model-linked production data. Screenshot rendering fits option studies and client-review stills. It does not replace the model or construction documentation.
For the broader method, read screenshot to render. For other source tools, compare the Revit workflow and Rhino viewport workflow. The guide to AI architectural rendering places Enhance beside Create and Edit. Use the rendering styles guide when choosing a finish.
Can I use SketchUp for Web?
Yes. SketchUp for Web can download the current model view as a PNG. Crop browser chrome from a screenshot, or use the downloaded PNG as the Enhance source.
Should shadows and textures stay visible?
Keep them when they clarify material intent or light direction. Remove them when they hide edges, openings, or surface boundaries. The cleanest source makes the design evidence easy to read.
Will Enhance keep the exact SketchUp camera?
Enhance instructs the model to preserve the source camera, framing, geometry, and proportions. Generated output can still drift. Compare the result with the saved Scene before client review.