
- Updated on
AI Architectural Rendering: A Practical Guide for Architects
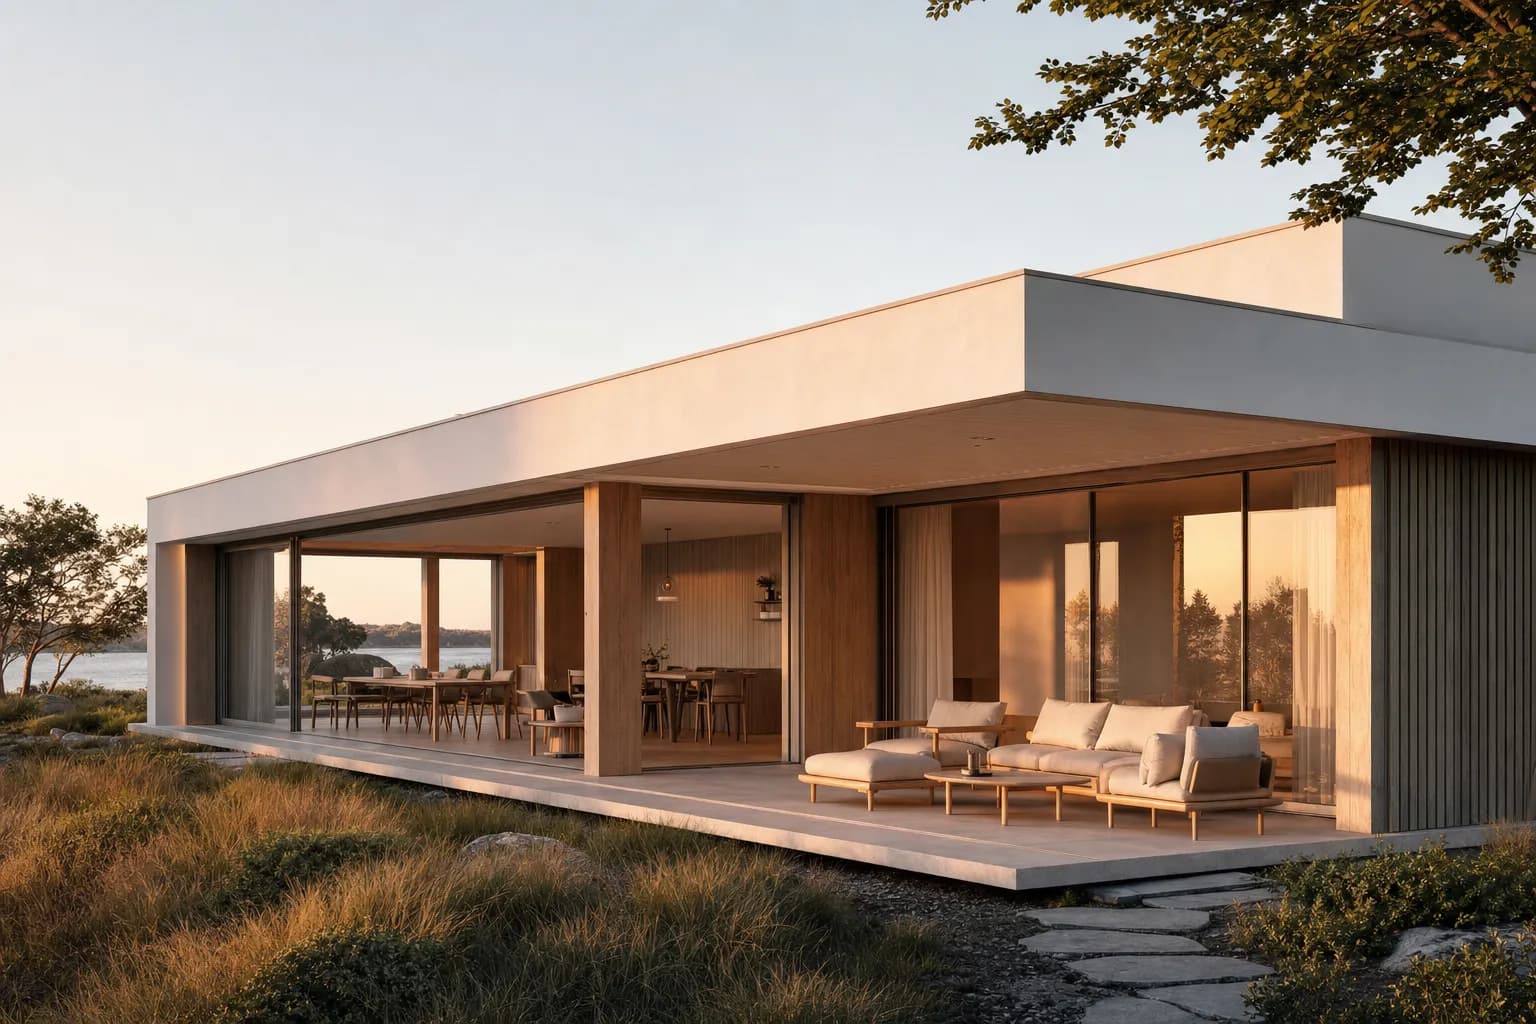
AI architectural rendering turns a brief, sketch, or CAD screenshot into an image for design review and presentation. Create starts from a description. Enhance uses a source screenshot to constrain camera, framing, and dimensions. Edit changes named regions in an existing image. Generated details can still drift, even with a clear source. An architect should check openings, proportions, materials, light, entourage, and artifacts. These modes suit concept options, internal reviews, and client conversations. They do not replace design judgment or construction information. This guide covers the inputs, controls, checks, limits, and source-tool workflows.
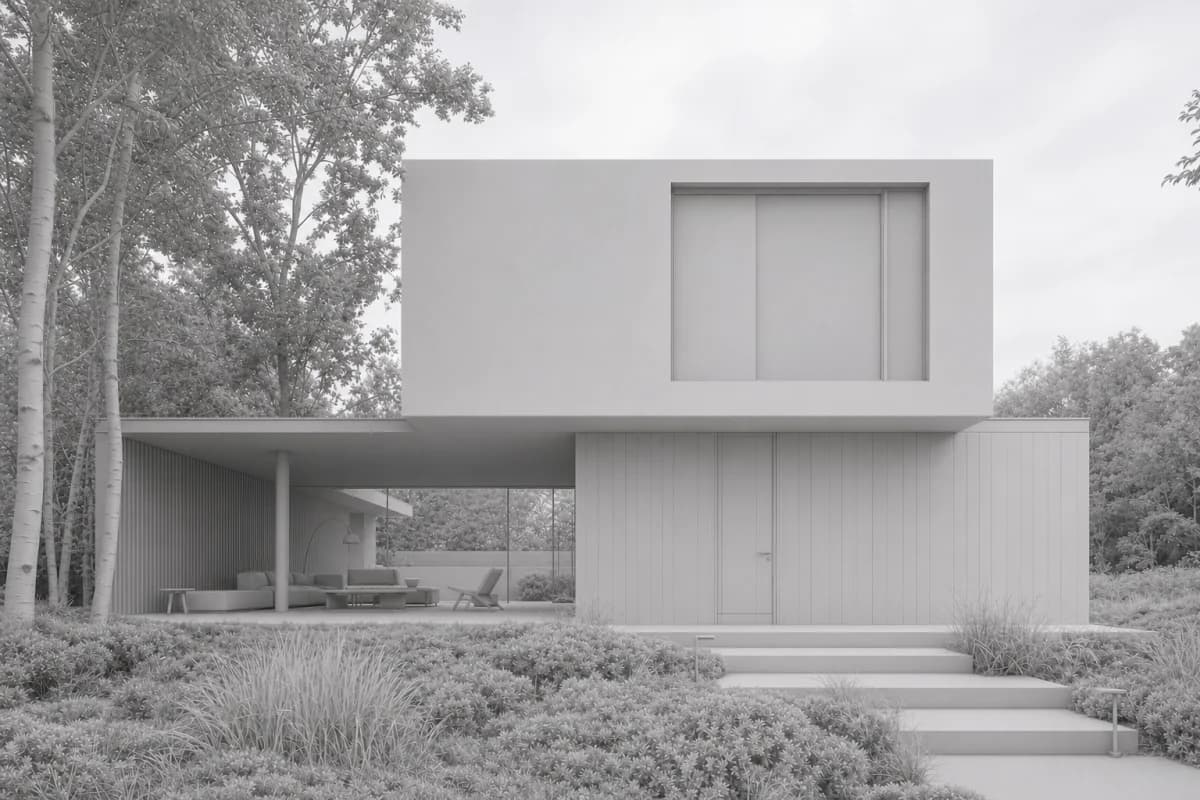 Bare scene
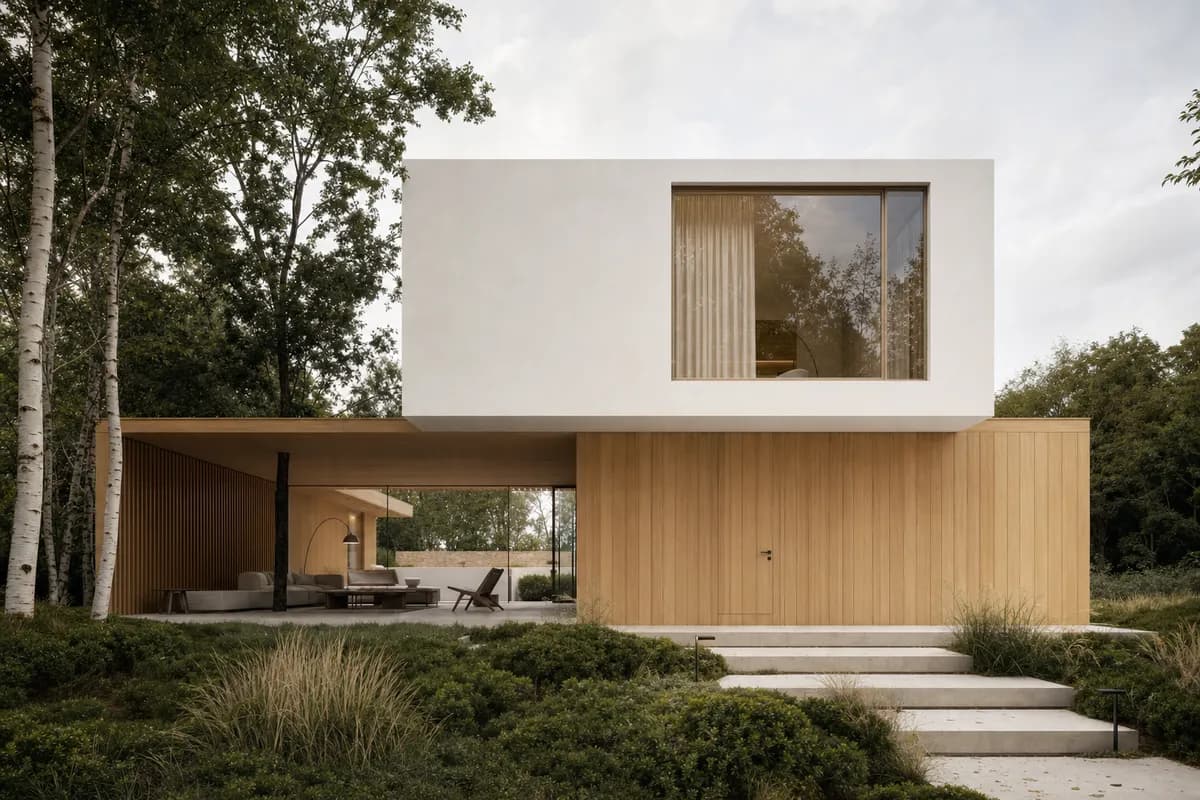 Rendered
What is AI architectural rendering?
AI architectural rendering uses an image model to produce an architectural picture from written or visual input. The output is an image, not a 3D model. Architects use it to study atmosphere, materials, light, and presentation direction.
The input determines how much visual structure the model can reference. A written brief leaves composition open. A sketch gives lines and massing. A CAD or 3D screenshot gives a camera, crop, and visible geometry. For the source-based route, see the full screenshot to render workflow.
How does AI architectural rendering work?
The process combines an input, project context, Render settings, generation, and review. CAD Scene keeps that work inside one project.
Choose the right mode
Start from a description, a source screenshot, or named regions in an image.Set the project context
Describe Style, Scene, Lighting, Materials, and Entourage in the Composition.Choose Render settings
Select the model and its supported Quality, Resolution, or Aspect controls.Generate and review
Compare the output with the source, then revise one clear decision at a time.
Server-side render jobs continue if you close the tab. Generation time varies by model, settings, demand, and image count. Failed renders receive an automatic credit refund.
For OpenAI models, compare GPT Image 2.5 Flare and Sunburst by task. Flare favors faster studies. Sunburst favors precision.
What are the five Composition fields?
Composition combines Style, Scene, Lighting, Materials, and Entourage. Each field is a project setting. It shapes renders across every study in that project.
A Preset saves all five fields as one reusable direction. A field is one part of the Composition. A Preset is the full saved bundle.
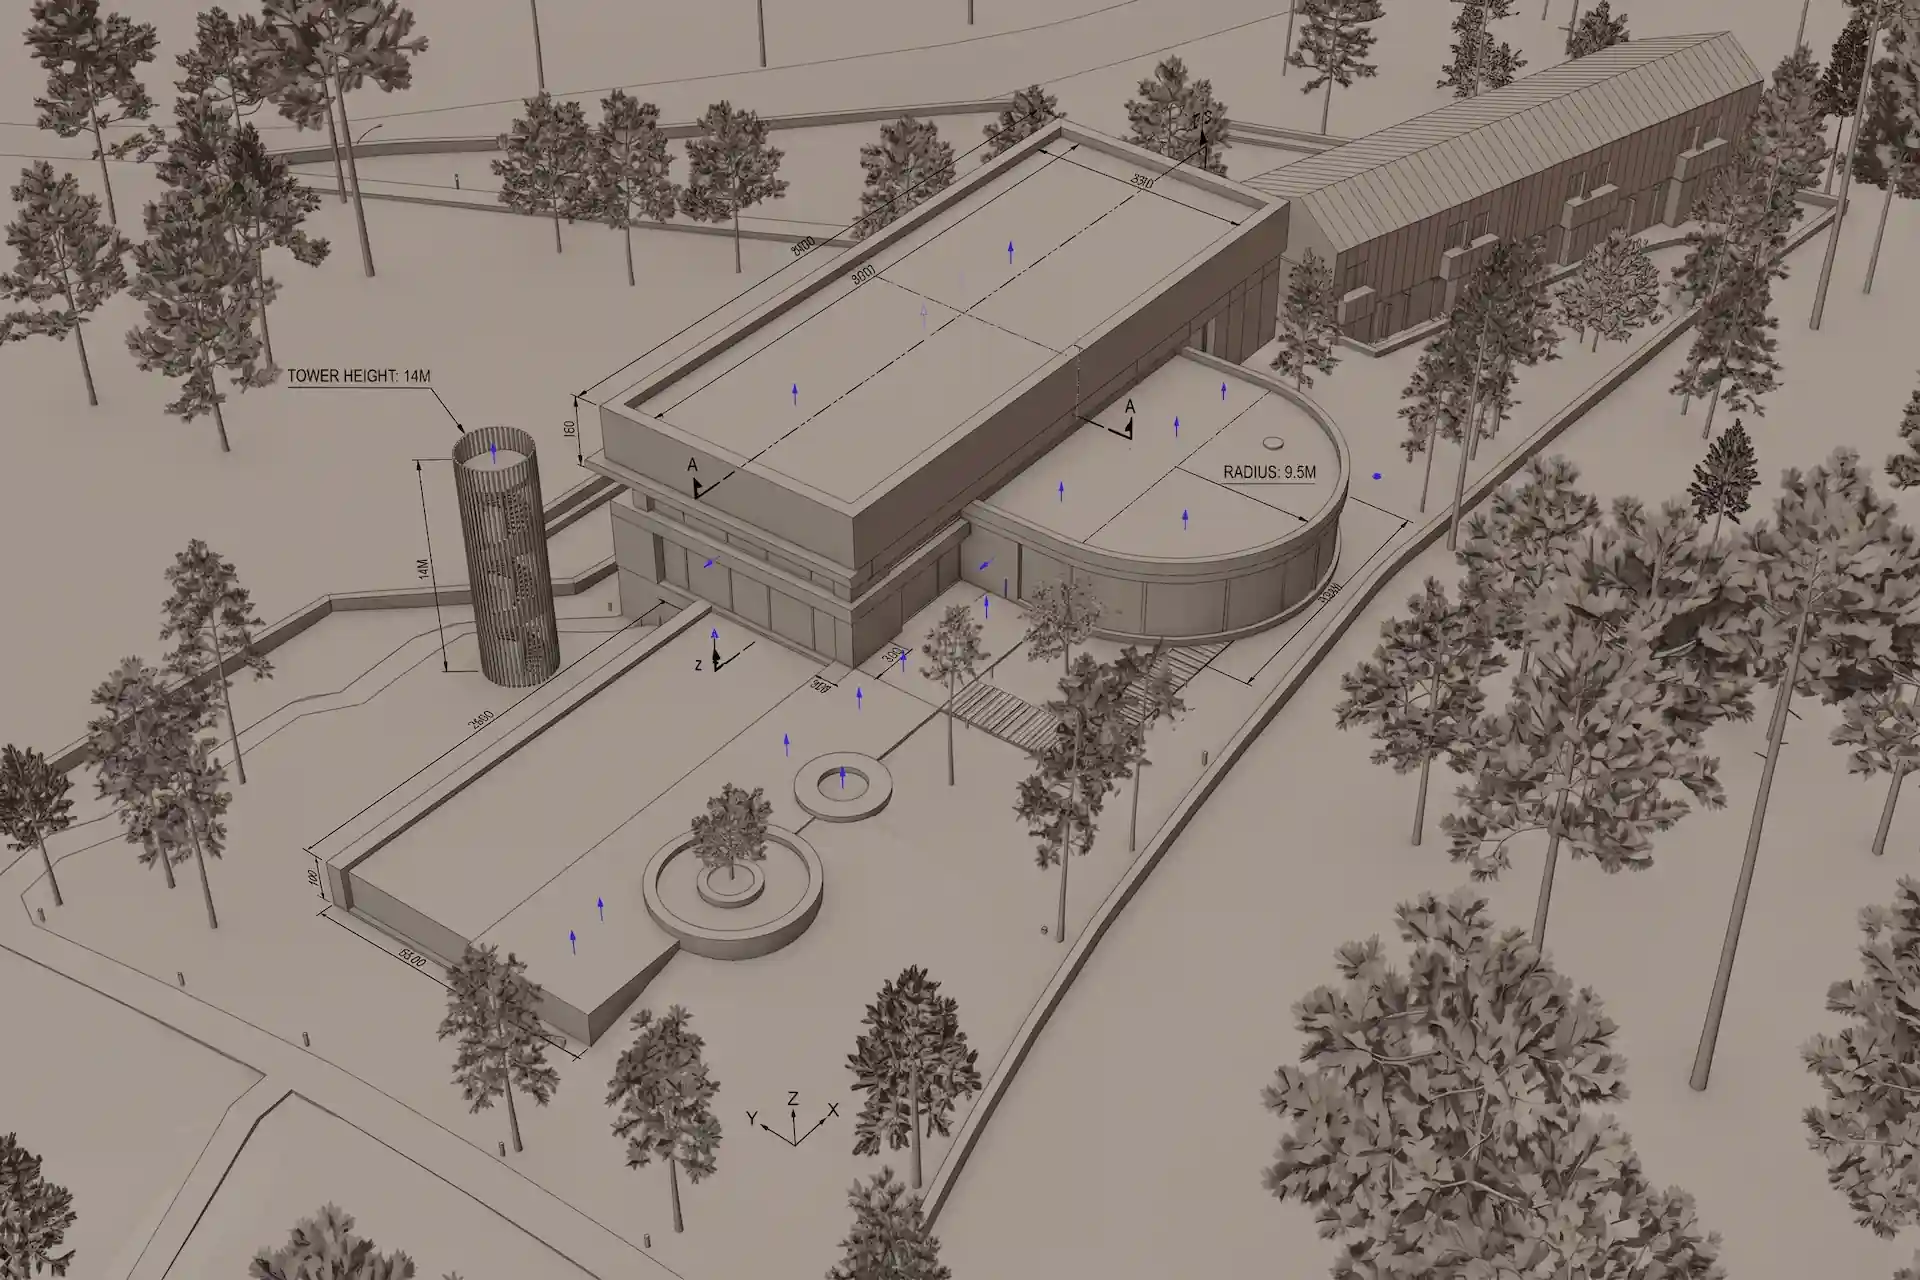
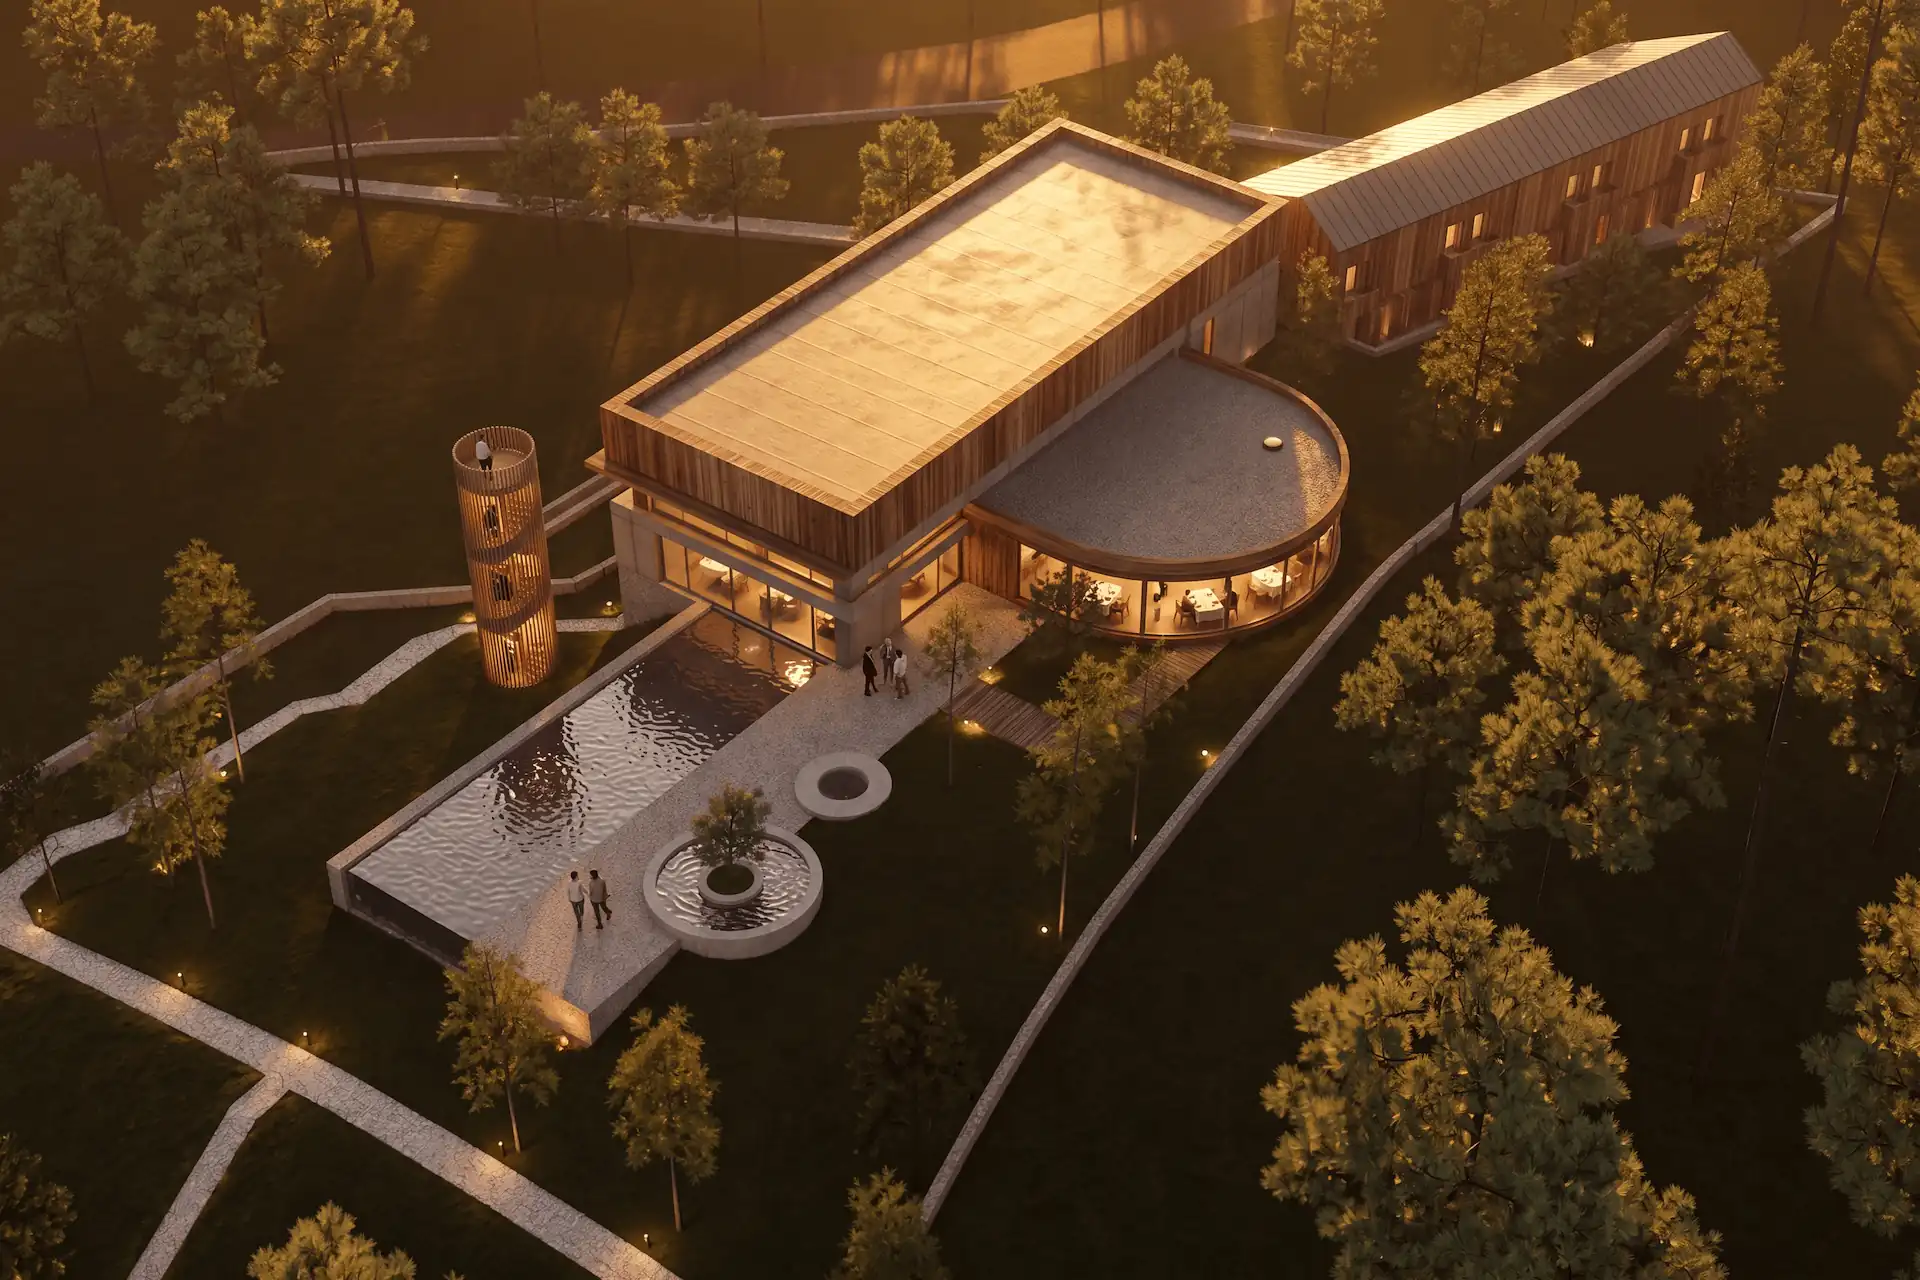
Before / after
See this process on your own scene.
What can you start an AI render from?
A render can start from a written brief, sketch, or 3D screenshot. Each input supports a different design question.
- Written brief: use Create when the composition can remain open.
- Sketch: use sketch to render when lines and massing should guide the image.
- CAD or 3D screenshot: use Enhance when the visible view should constrain the camera and composition.
- Existing render: use Edit when named regions need focused changes.
- Interior model view: follow the interior rendering with AI guide for room-specific checks.
A floor-plan image can guide an early visual study. It cannot supply hidden heights, materials, or spatial decisions. Add those facts in the brief, then check the result against the plan.
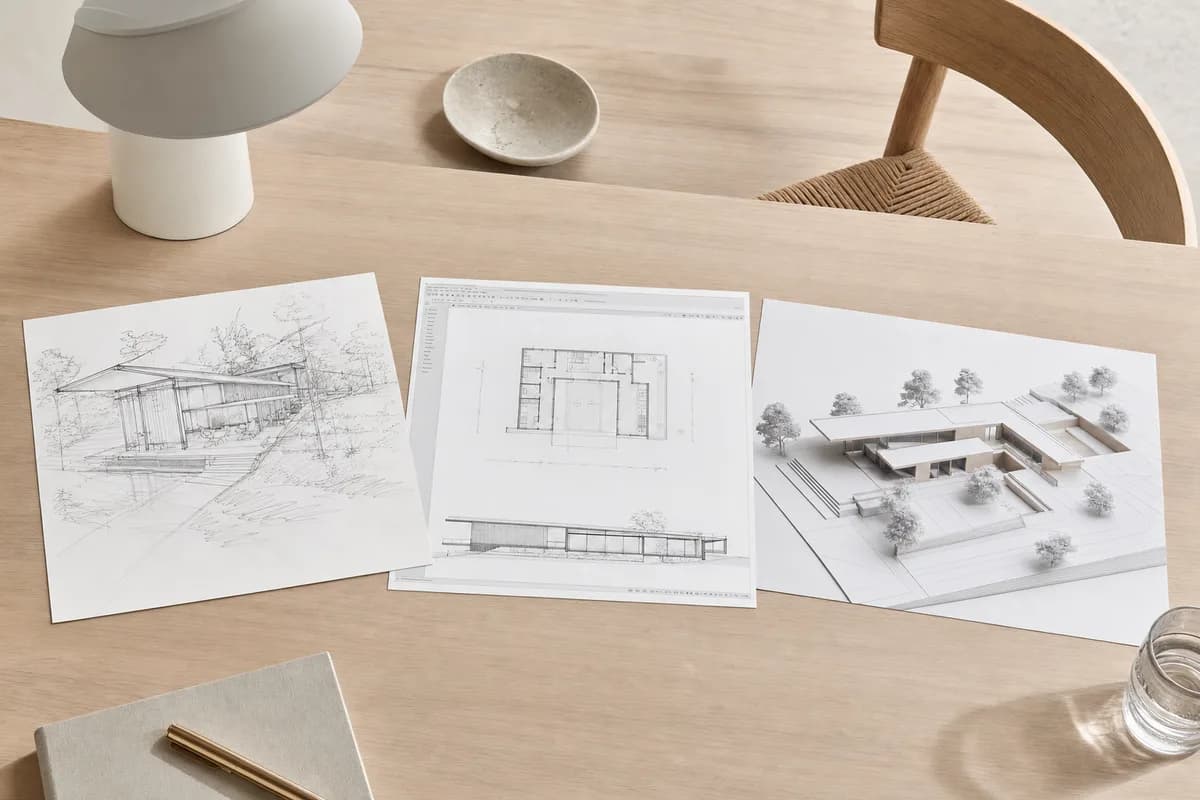
Create, Enhance, or Edit: which mode should you use?
Choose the mode from the input and the intended change. Do not choose from the desired visual style. Style belongs in the Composition.
| Decision | Create | Enhance | Edit |
|---|---|---|---|
| Starting point | Written brief | 3D screenshot | Existing image |
| Main job | Compose a scene | Render a fixed view | Change named regions |
| Source constraint | None | Camera and visible scene | Image outside marked regions |
| Check first | Composition | Proportions and openings | Region boundaries |
What can a source screenshot preserve, and what can still change?
A source screenshot constrains the visible camera, crop, silhouette, and openings. It gives the model more structure than a written brief. It does not make the output deterministic.
The matched example above keeps the source camera and major geometry. That is evidence for this pair, not a guarantee for every scene. Fine mullions, railings, roof edges, material joints, vegetation, and small objects can still drift. Our camera and geometry retention method shows how we separate source fidelity from restyle quality across repeated runs.
Clear source images reduce ambiguity. Remove selections, guides, axes, and interface overlays. Use the screenshot capture checklist before sending a view.
How should an architect check a generated render?
Review the image at full size. Start with design-critical geometry. Finish with presentation details.
- Camera and crop: compare horizon, verticals, framing, and field of view.
- Massing and proportions: compare roof lines, floor heights, and depth.
- Openings: count doors and windows. Check their size and location.
- Materials: check each surface assignment, joint, reflection, and edge.
- Light: check direction, exposure, shadow logic, and interior glow.
- Entourage: check scale, placement, repetition, and blocked circulation.
- Artifacts: inspect hands, furniture legs, glazing, foliage, and text.
Keep the source beside the render during review. A convincing image can still contain a wrong design decision.
How do you control style, light, and materials?
Use the Composition to set a shared visual direction. Write each field as a clear project decision. "Soft overcast daylight" is stronger than "nice light." "Pale oak floor and lime-wash walls" is stronger than "natural materials." Use the realistic materials in AI renders guide to define finish, scale, joints, and light response for concrete, timber, glass, and brick. Compare complete briefs in the professional architecture prompt directory. Use the Architecture Render Prompt Builder when you need to assemble your own brief through view, direction, detail, and review checkpoints.
Browse architectural rendering styles with examples before naming the Style field. The Style Atlas provides 60+ built-in Presets. The types of architectural rendering guide separates format, view, technique, and purpose.
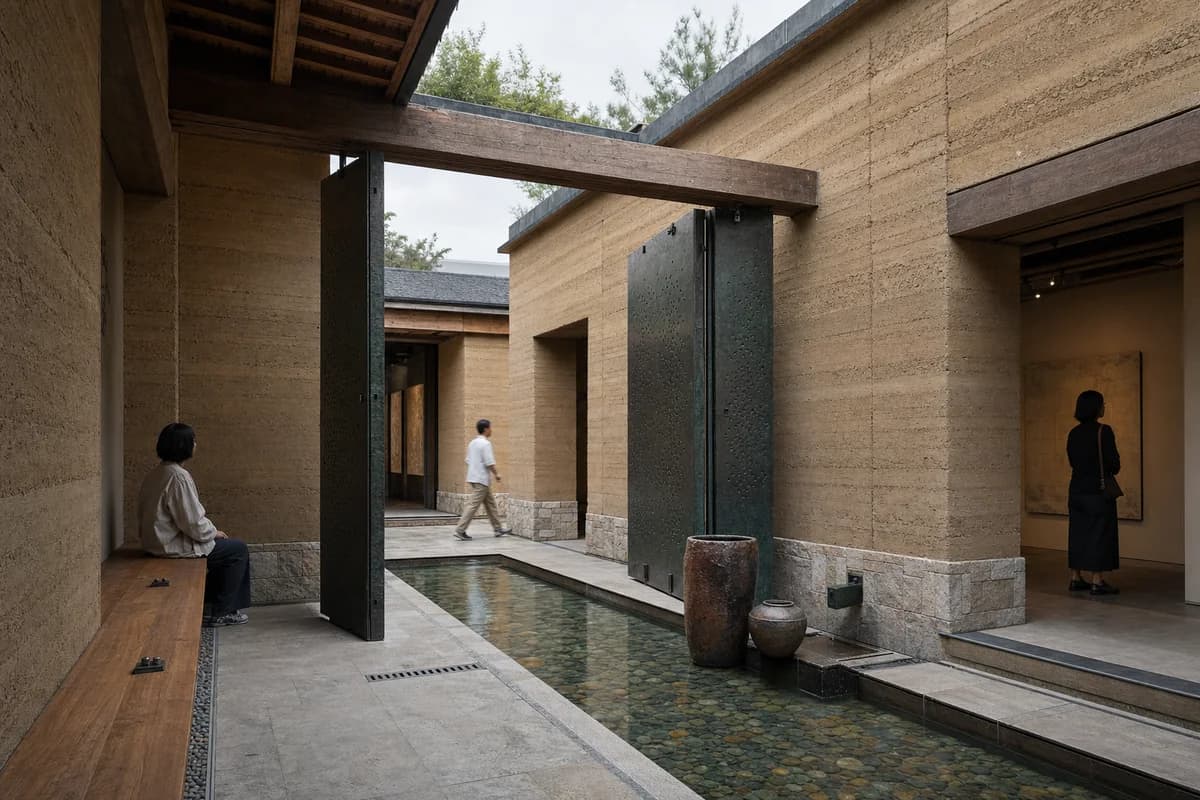
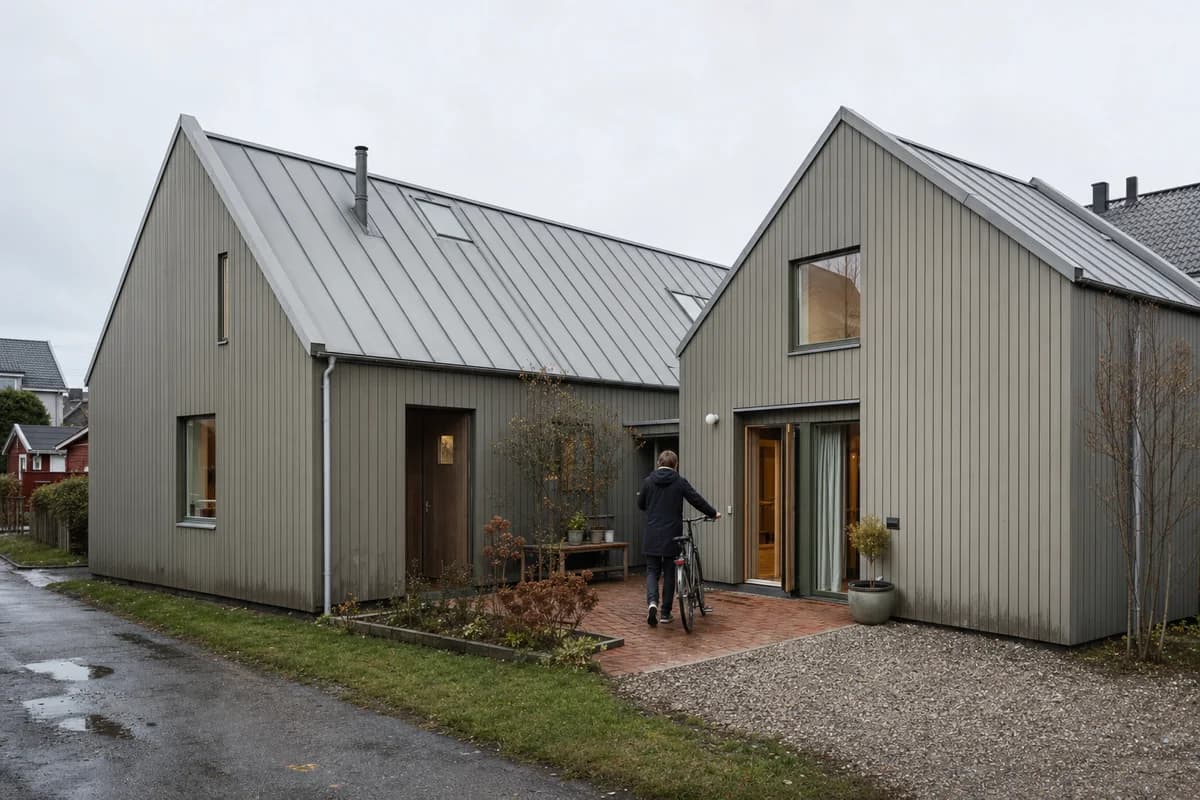
The examples below are different scenes. They show the range of subjects, not one continuous model.
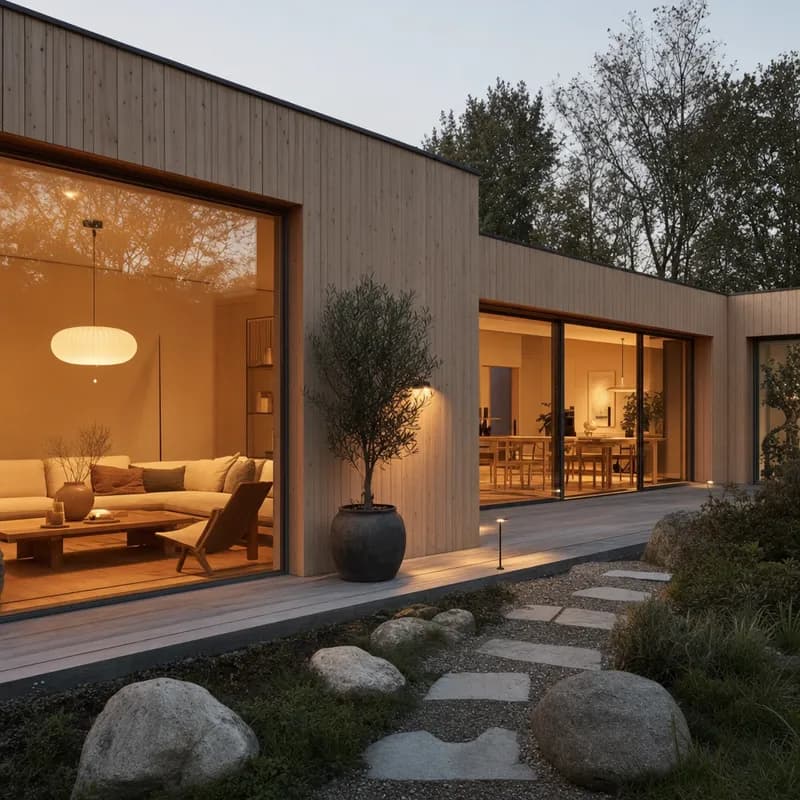
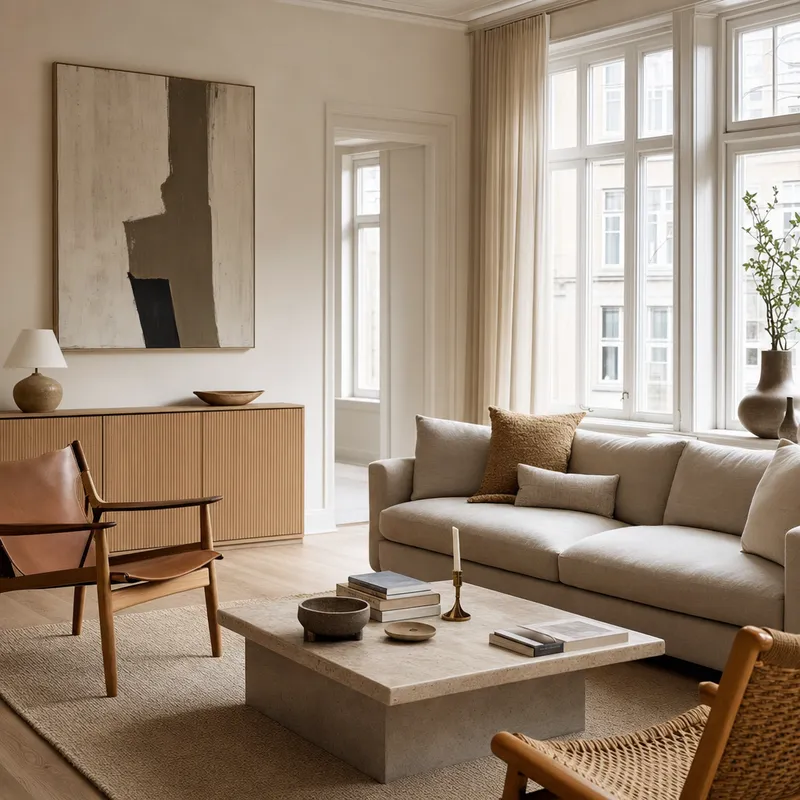
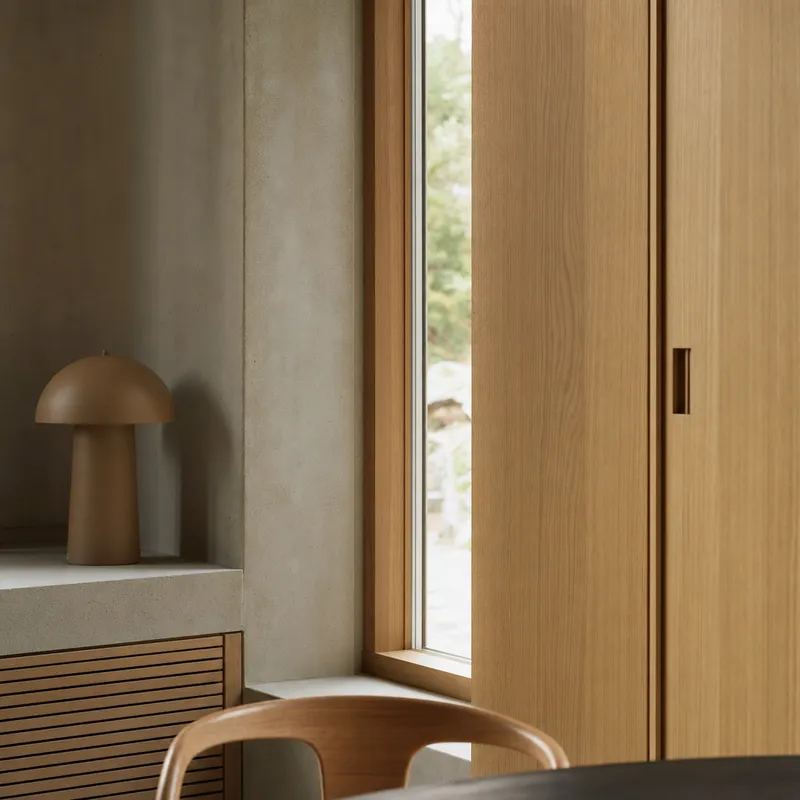
For facade studies, follow the AI exterior rendering method. It covers cladding, glazing, light, site, and model-based review.
For shops and showrooms, use the retail AI rendering workflow to review customer routes, display density, service points, and light.
Use the architectural render lighting guide to compare daylight, golden hour, dusk, and night on one controlled scene.
Prompt library · 626 promptsArchitecture render promptsBrowse prompts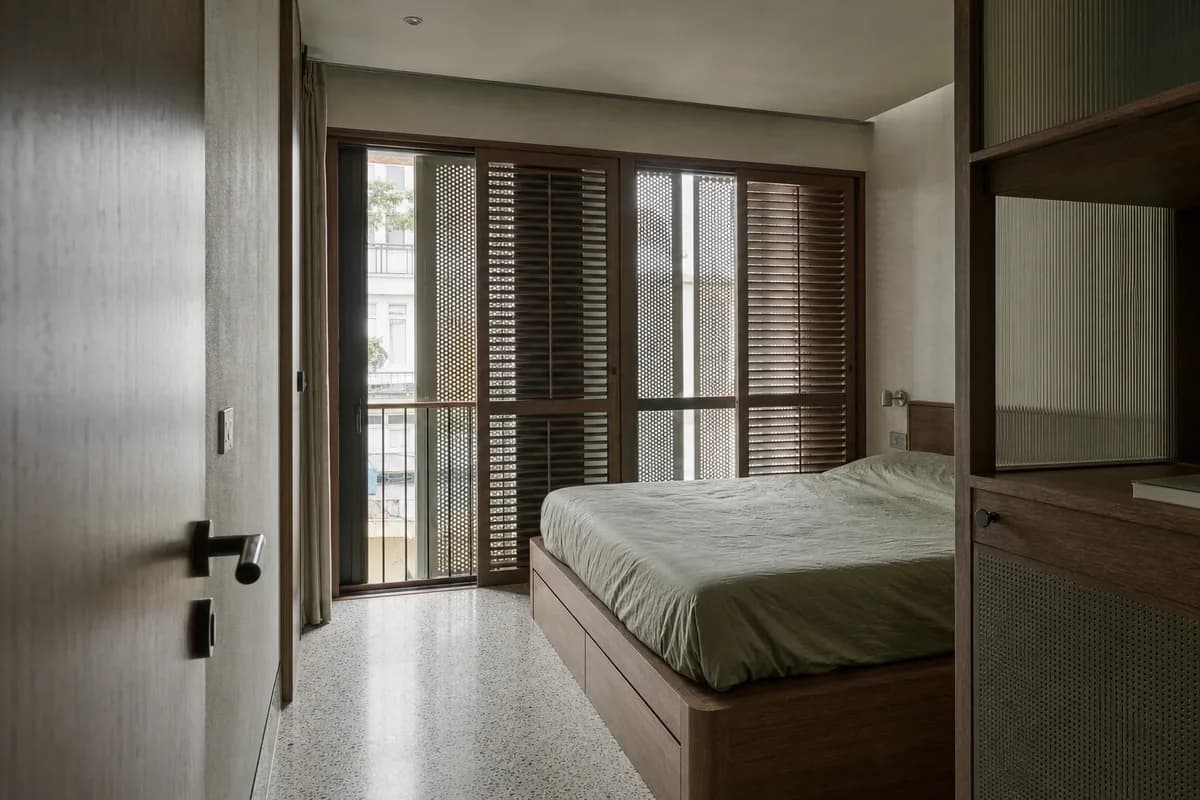
Where does AI rendering fit in an architecture project?
AI rendering works best where the image supports a design conversation. It can test atmosphere during concept work. It can compare material directions during internal review. It can prepare option images for a client meeting.
The architect remains responsible for the judgment. Generated images are not construction verification. They should not prove dimensions, compliance, buildability, or specified products.
For client work, label options clearly and retain the reviewed source. The renders for client review guide covers a practical presentation sequence.
When is a conventional visualization process the better choice?
A conventional rendering process is better when the image needs measured, deterministic control. That includes exact asset libraries, calibrated materials, lighting studies, animation, panorama authoring, and construction evidence.
AI rendering and a render engine can serve different project stages. Use AI for rapid still-image studies. Use the full 3D scene when every object, light, material, and camera path must remain under direct control.
Which workflow fits your CAD or 3D stack?
CAD Scene works from image captures, so the source application can remain part of your normal modeling process.
- Render a SketchUp screenshot after cleaning guides, axes, selections, and overlays.
- Follow the Revit to AI rendering workflow for a browser-based route from a BIM view.
- Use the Archicad to render workflow to save a clean 3D view with repeatable BIM display settings.
- Follow the Vectorworks to AI render workflow to control Saved Views, classes, layers, and viewport annotations.
- Use the Rhino viewport rendering guide for free-form geometry and display-mode choices.
- Prepare a clay or material view with the Blender screenshot to render guide.
- Use the Cinema 4D camera workflow to set the render view, output ratio, display filters, and Picture Viewer export.
- Compare workflow categories in the best AI rendering software for architects.
- Read the Lumion concept-render alternative guide when scene authoring, animation, or host integration affects the decision.
- Compare Enscape with a mixed-stack AI workflow when live model context is the deciding factor.
- Compare Twinmotion with a separate still-image study when motion, phasing, weather, or interactive delivery affects the choice.
How do ownership, credits, and commercial use work?
Usage rights and project contracts need separate review. Read the current guide to ownership and client use of AI renders, then check the applicable terms.
Render cost varies by model and native settings. See how AI render credits work for the current calculation. The pricing page lists current plans and top-ups.
Questions about AI architectural rendering
How long does an AI architectural render take?
Generation time varies by model, settings, demand, and image count. CAD Scene shows progress, and server-side render jobs can continue after the tab closes.
Can I render an existing 3D model with AI?
Yes. Export or capture the intended model view, then use it as the Enhance source. Review the output against the source because generated details can still drift.
Will an AI render keep exact dimensions and geometry?
A clean source screenshot constrains camera, crop, massing, and visible openings. It does not guarantee exact geometry. Check every design-critical dimension and detail against the model.
Can I use AI architectural renders in a client presentation?
They can support concept and option review after an architect checks geometry, materials, light, entourage, and artifacts. They are not construction evidence.
Table of Contents
- What is AI architectural rendering?
- How does AI architectural rendering work?
- What can you start an AI render from?
- Create, Enhance, or Edit: which mode should you use?
- What can a source screenshot preserve, and what can still change?
- How should an architect check a generated render?
- How do you control style, light, and materials?
- Where does AI rendering fit in an architecture project?
- When is a conventional visualization process the better choice?
- Which workflow fits your CAD or 3D stack?
- How do ownership, credits, and commercial use work?
Authors

- Name
- Vladimir Mindru
Table of Contents
- What is AI architectural rendering?
- How does AI architectural rendering work?
- What can you start an AI render from?
- Create, Enhance, or Edit: which mode should you use?
- What can a source screenshot preserve, and what can still change?
- How should an architect check a generated render?
- How do you control style, light, and materials?
- Where does AI rendering fit in an architecture project?
- When is a conventional visualization process the better choice?
- Which workflow fits your CAD or 3D stack?
- How do ownership, credits, and commercial use work?
Authors
- Name
- Vladimir Mindru