
- Published on
AI Rendering for Architecture Students: Studio to Final Review
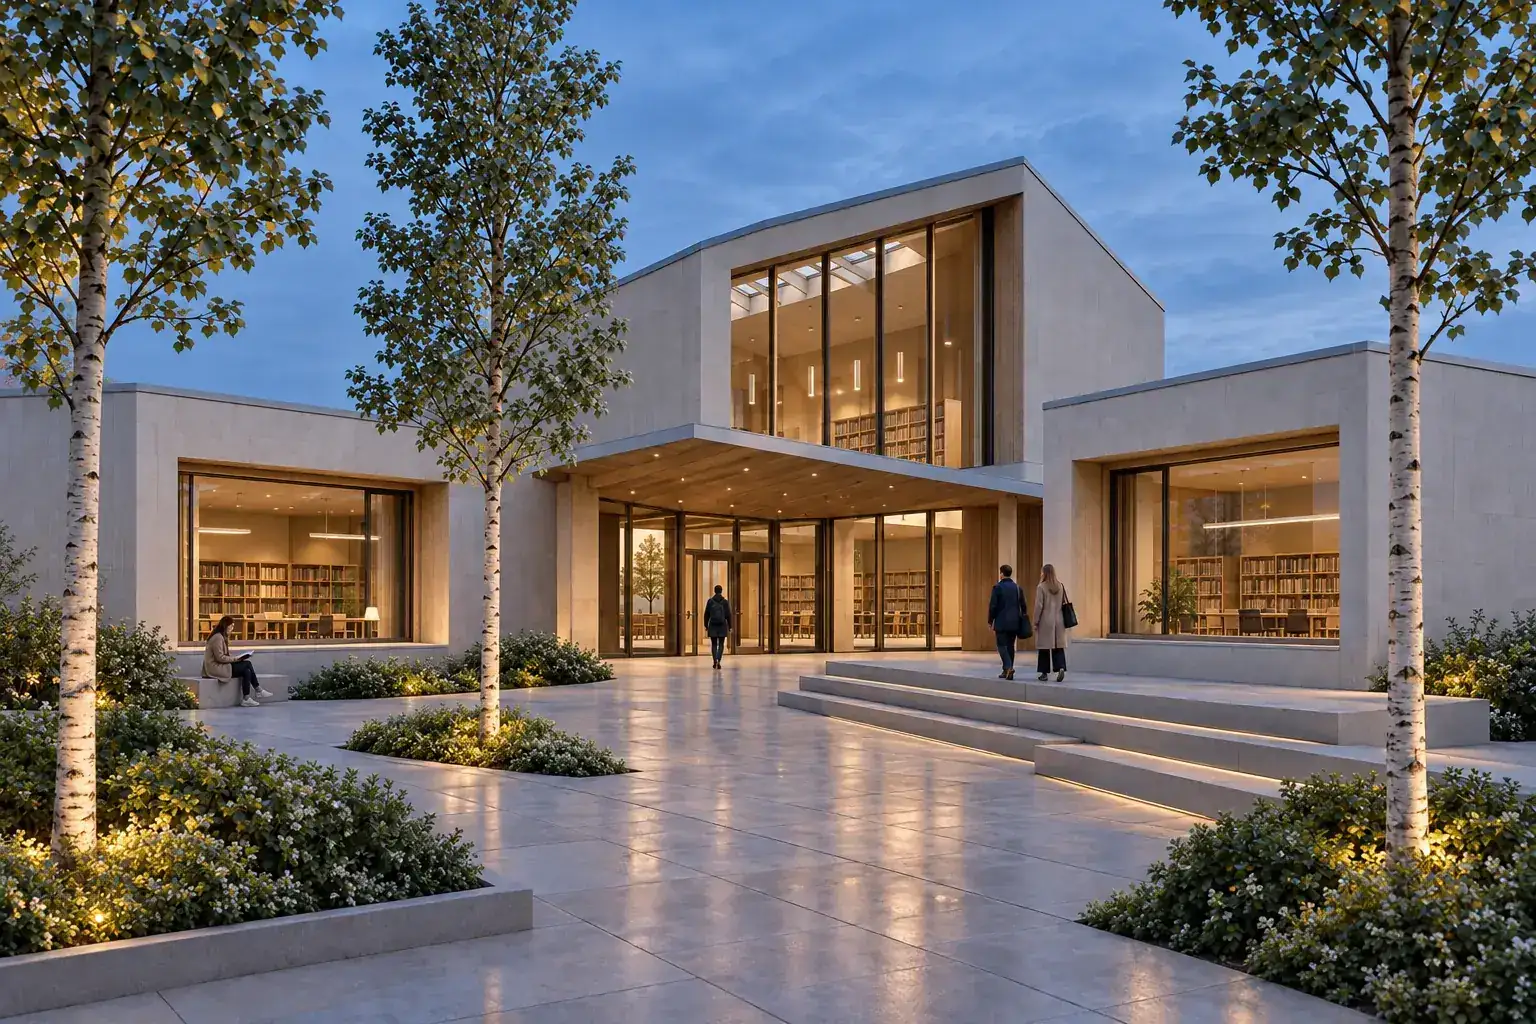
AI rendering can help architecture students test material, light, atmosphere, and occupation without rebuilding every image from scratch. Start from the design stage and the review question. Use a prompt or sketch for broad early ideas. Use a clean model view when the camera and visible geometry matter. Keep the source beside every result. Then check massing, openings, circulation, materials, scale, and artifacts before placing an image on a board. The render can explain a studio project. It cannot replace drawings, measured analysis, or your design argument. Check your course rules and disclose generated work when required.
Where does AI rendering fit in architecture school?
AI rendering fits between design exploration and visual communication. It can help test how a modeled proposal reads with material, light, landscape, and occupation. It can also help a student compare several presentation directions before committing time to one.
The right use depends on the stage:
| Studio stage | Useful image task | Keep authoritative |
|---|---|---|
| Early concept | Test atmosphere, broad material character, and possible occupation | Brief, site reading, sketches, and stated design intent |
| Design development | Review a fixed model view with clearer materials and light | Model geometry, plans, sections, dimensions, and analysis |
| Critique | Compare one visible decision across a controlled image set | The source view and the question being reviewed |
| Final review | Build a coherent set of lead and supporting images | Submission brief, drawings, evidence, and disclosure rules |
The wider AI architectural rendering guide explains prompt, sketch, and screenshot inputs. Use it when choosing the starting path.
Should a student start from a prompt, sketch, or model?
Start from the most reliable source available at that stage. A prompt offers range but little design constraint. A sketch can hold an idea and composition. A model view provides the clearest visual anchor for a resolved proposal.
Use Create for a broad scene study before the project has a fixed camera. Use Enhance when a SketchUp, Revit, Rhino, Blender, or other model view should guide the image. Use Edit when one named area needs a focused revision.
A source-led path does not guarantee exact retention. Generated detail can still drift. The camera, crop, silhouette, openings, levels, and main objects need review against the source.
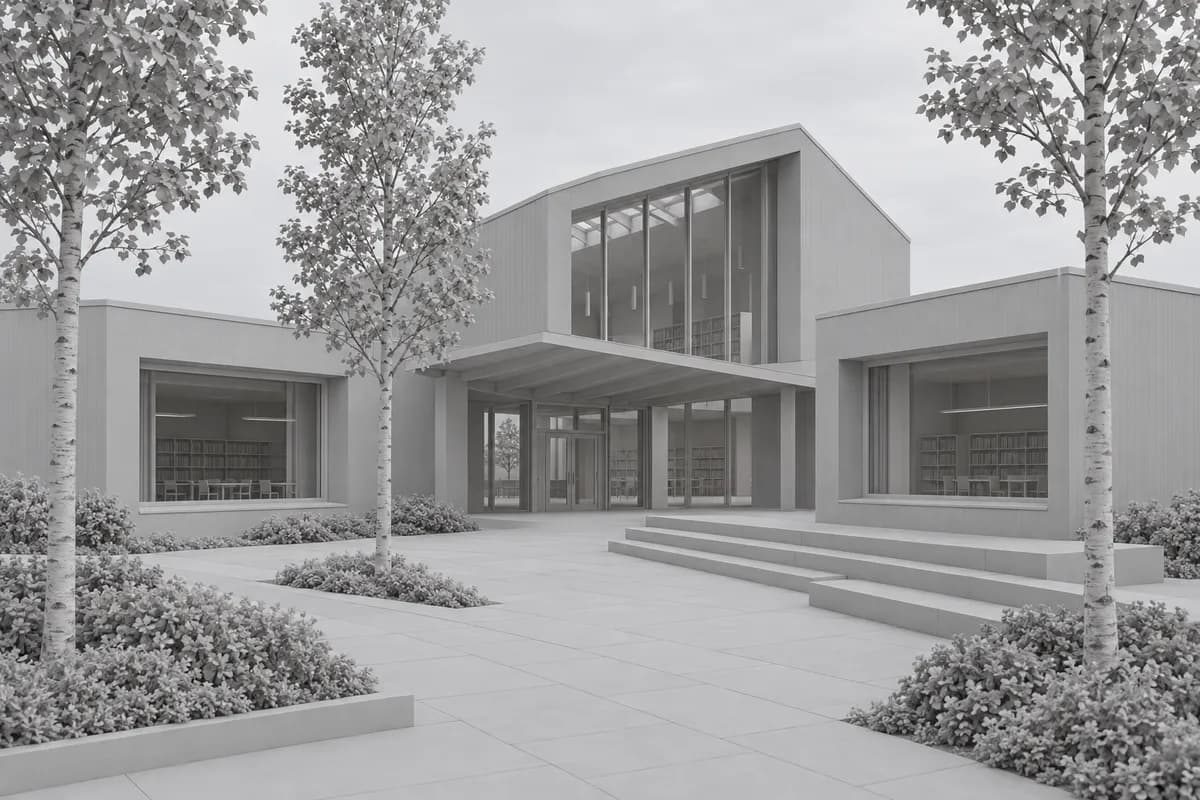 Synthetic source
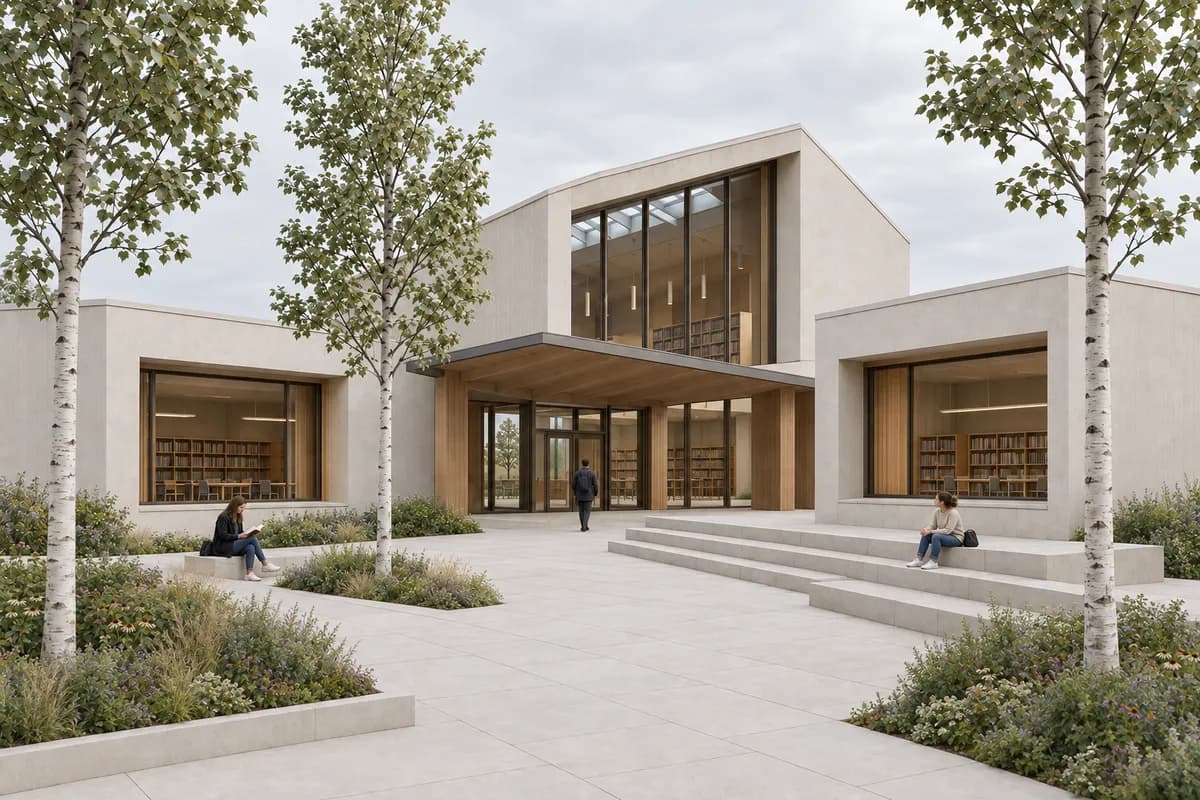 Daylight study
The pair keeps one camera, crop, massing, opening pattern, and courtyard. It demonstrates how to review a fixed view. It does not prove that every generated result will preserve every edge.
Prepare model views with the cross-tool screenshot checklist. Remove selections, guides, axes, and interface chrome. Keep enough context to judge the building.
What is a dependable student rendering workflow?
A dependable workflow starts with a question, not a visual style. Decide what the image needs to test before opening the rendering tool.
Name the studio question
Choose one decision such as facade material, interior light, landscape character, occupation, or presentation mood.Save the source view
Fix the model state, camera, crop, horizon, visible context, and output shape. Keep the source file beside the result.Write the fixed and changeable parts
Protect massing, openings, circulation, and resolved objects. Describe only the material, light, entourage, or atmosphere under review.Generate a small comparison set
Change one main variable between studies. Independent changes make critique less useful.Review from source to board
Check design fidelity, image artifacts, sequence, captions, and disclosure before export.
The architecture render prompt guide provides a concise brief structure. Name the subject, camera, materials, light, context, entourage, and protected design elements.
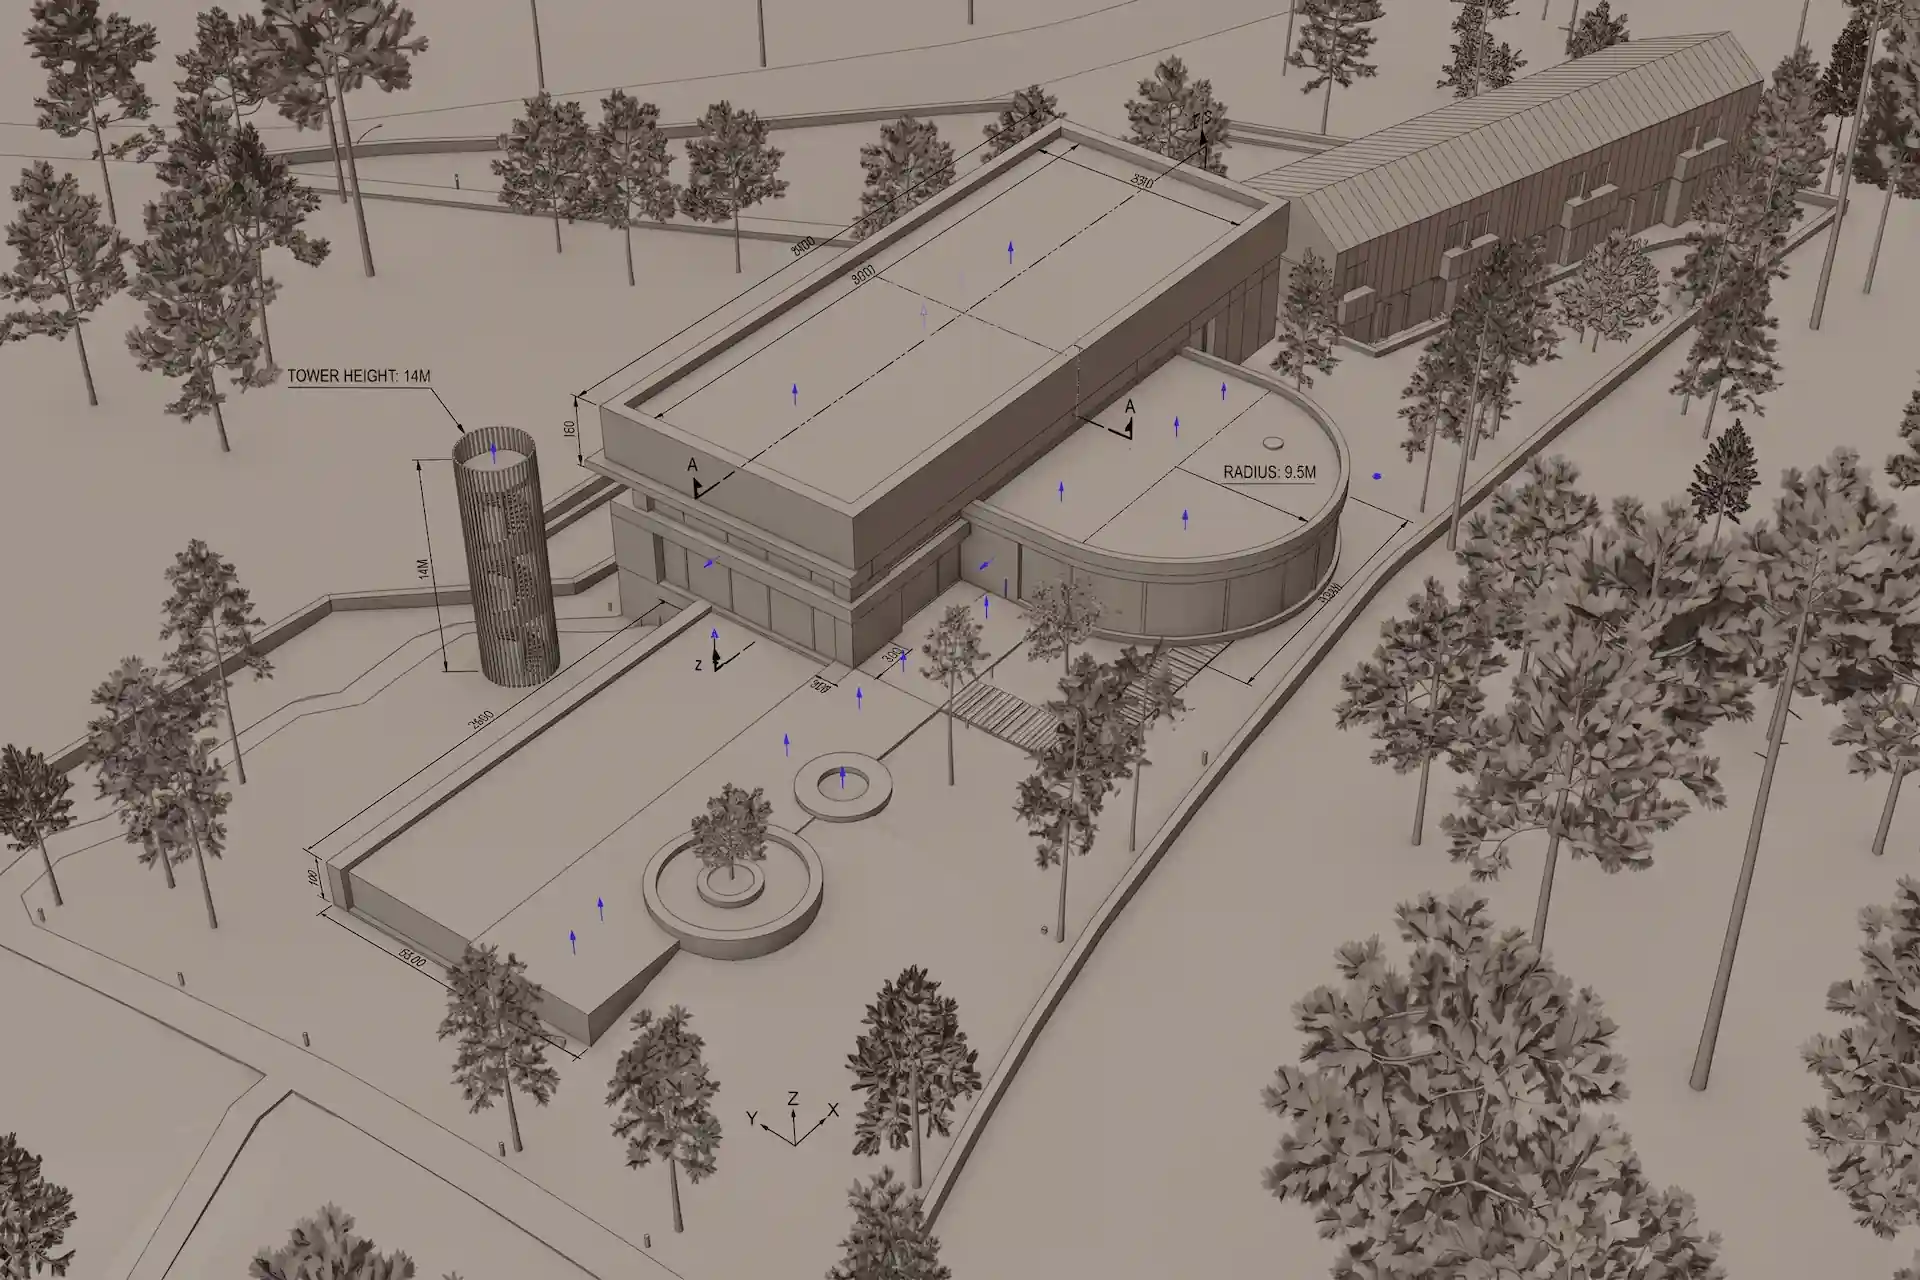
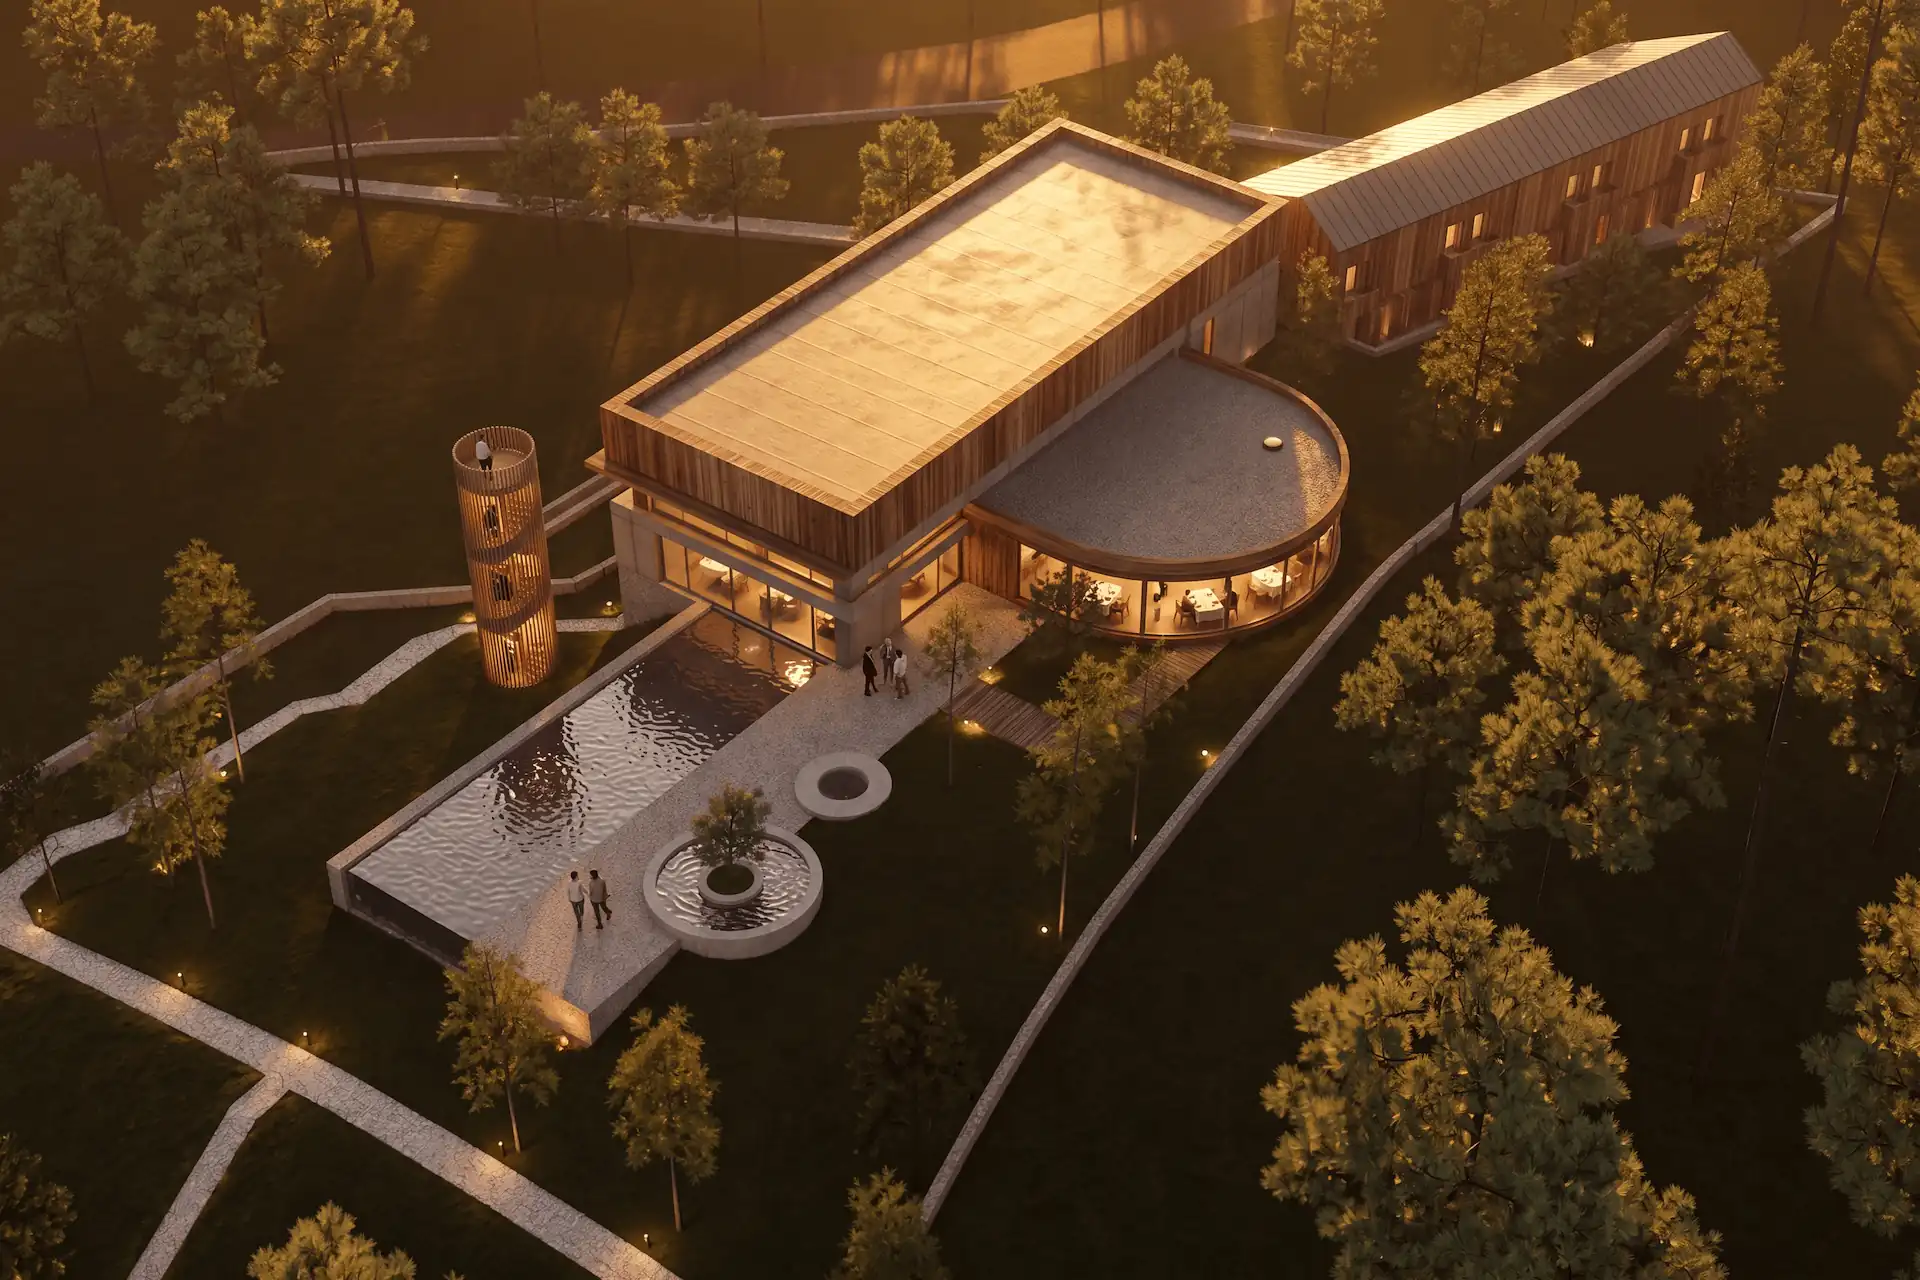
Before / after
Test one studio direction on a fixed model view.
How should students compare rendering options?
Hold the source and camera still. Change one main variable. This makes the comparison useful during tutorial or desk critique.
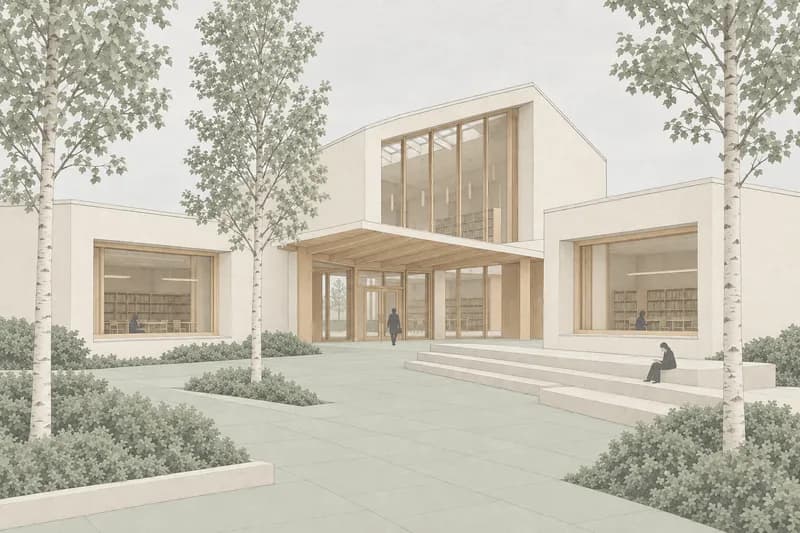
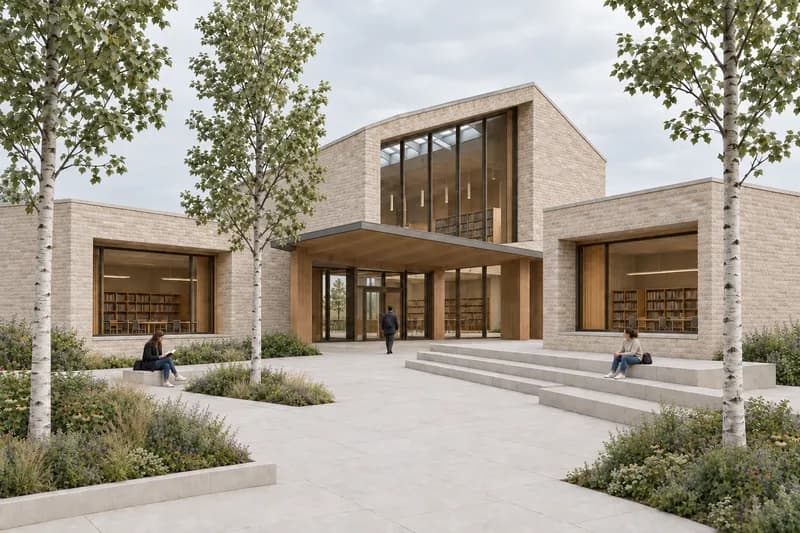
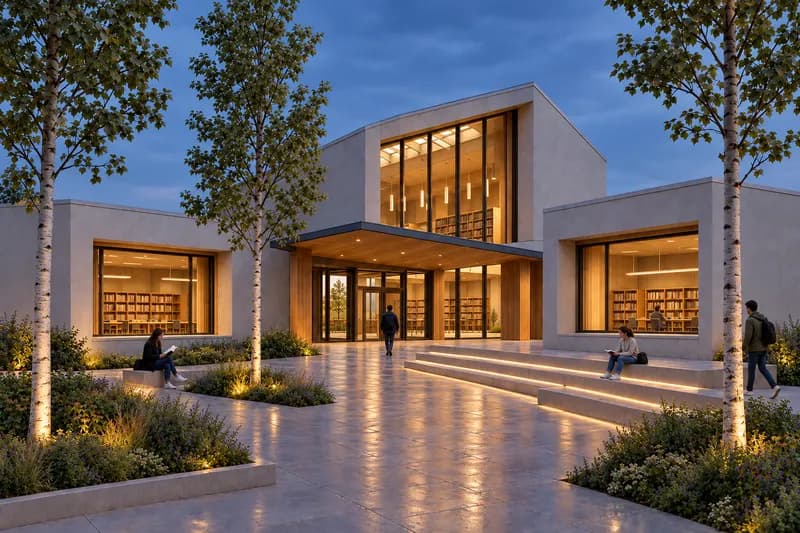
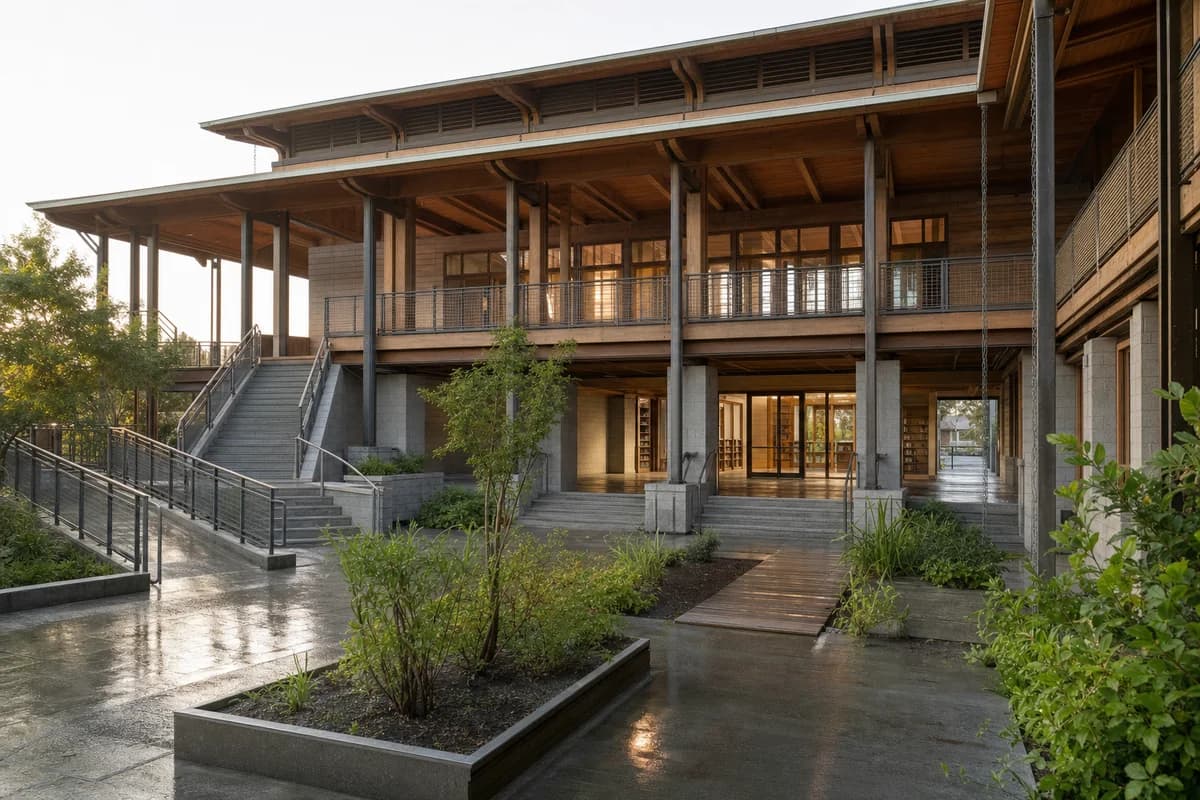
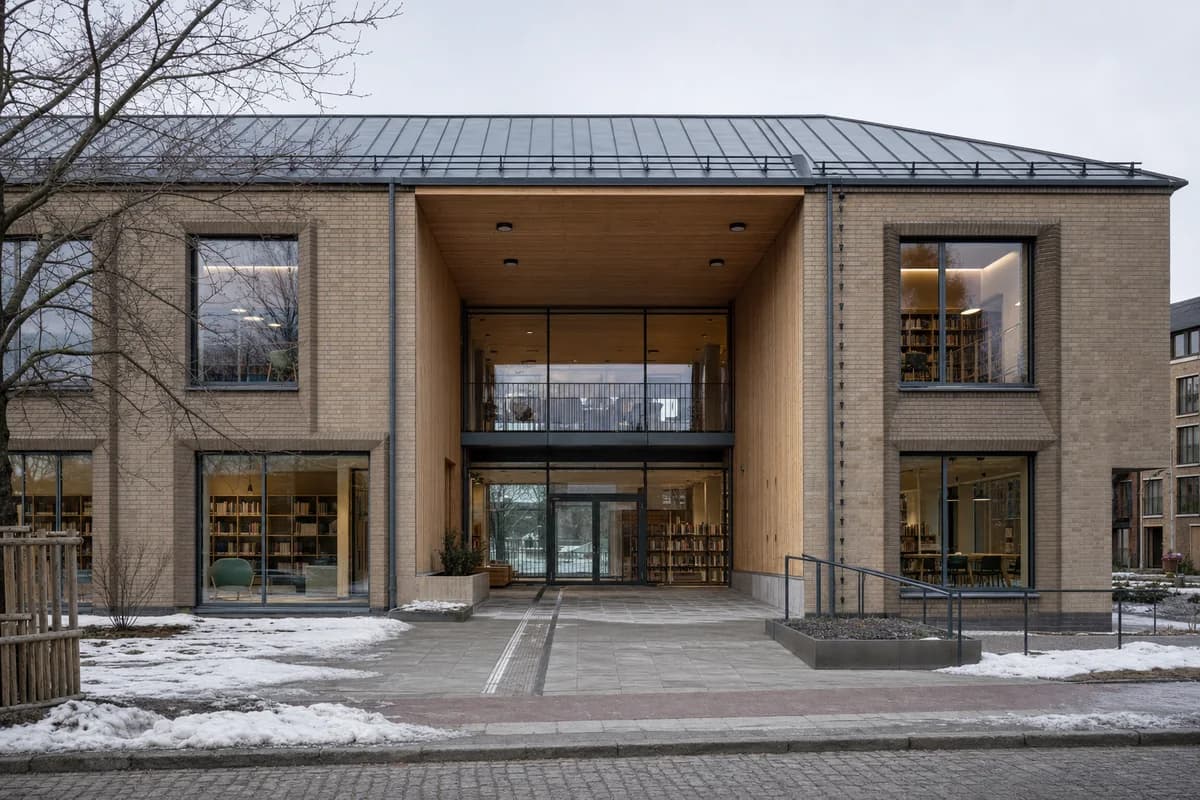
These images share one synthetic project, camera, and crop. The concept image tests visual resolution. The material image tests one facade direction. The evening image tests light and occupation.
Do not compare unrelated generations as if they were project options. A changed roof, opening, stair, or landscape edge changes the design question.
Prompt library · 84 promptsCivic and cultural project promptsBrowse prompts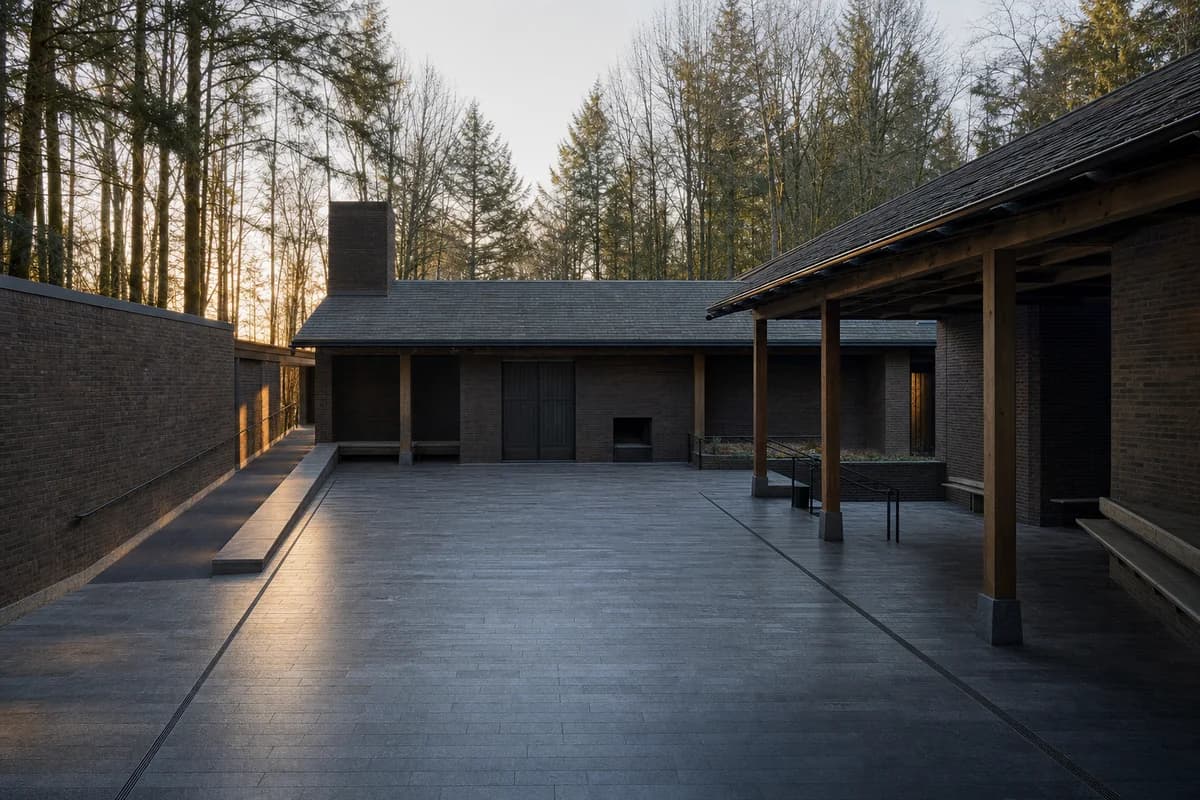
How do you build a coherent final-review image set?
Give each image one role. A lead view should state the project idea. A context view should explain the site. A workhorse view should show the main space. A detail should clarify one material or threshold.
Use the smallest set that explains the project. Repeated hero views compete with each other. A section, axonometric, or diagram may explain more than another atmospheric image.
Keep these qualities consistent:
- exposure, contrast, and neutral balance;
- camera height and lens character;
- material names and color direction;
- entourage density and figure treatment;
- sky, weather, and landscape season;
- crop, caption, and graphic weight.
The architecture portfolio render guide covers image roles and sequence. The presentation board layout guide covers sheet size, grids, hierarchy, type, resolution, and preflight. Use the board size calculator before final export.
What should students check before a critique?
Review the source first. Then review the render at full size and at its final board size.
- Camera and crop: compare horizon, eye height, perspective, and key edges.
- Geometry: check rooflines, openings, levels, stairs, and fixed furniture.
- Circulation: keep entrances, paths, doors, and accessible routes legible.
- Materials: check scale, joints, reflection, thickness, and transitions.
- Light: check shadow direction, window exposure, and interior sources.
- Entourage: check scale, posture, access, and repeated faces or objects.
- Artifacts: inspect hands, glazing, rails, planting, signs, and edge warping.
- Status: label concept images when the design remains unresolved.
Use the client-review render checklist as a final acceptance pass. A tutor may accept an unresolved question for critique. A final board should not hide it behind atmosphere.
What can AI rendering not replace in a student project?
AI rendering cannot replace the design process, model, drawings, dimensions, environmental analysis, structural logic, code checks, or material research. It also cannot confirm that an invented detail is buildable.
Use plans and sections to verify space. Use measured tools for daylight, energy, structure, access, and environmental performance. Use current course guidance for disclosure and assessment.
A conventional renderer may fit better when every camera must update with the model. It also fits animation, measured sun, precise product libraries, and repeatable technical views. AI rendering fits focused image studies and presentation options when each result receives architectural review.
How should students use AI renders in a portfolio?
Keep the project legible as your work. Show drawings and process beside the finished image. Avoid a portfolio where every project inherits the same mood, materials, and blue-hour treatment.
Preserve original sources. Record material changes and rejected outputs. Label student, concept, unbuilt, generated, or edited work as required. Review the whole portfolio for consistency without making different projects look identical.
For a deadline-led set, the architecture competition render method helps separate hero, context, human-scale, and explanatory views.
Questions about AI rendering for architecture students
Can architecture students use AI rendering for studio projects?
Yes, when course rules allow it. Use it for visual studies and communication, keep the source work available, and disclose generated or edited images when required.
Should a student render from a prompt or a 3D model?
Use a prompt for broad early ideas. Use a clean model view when the camera, massing, openings, and visible design need to guide the image.
How many renders should a final architecture board include?
Use the smallest set that explains the project. Give each image a distinct role, then use drawings, diagrams, sections, and text for evidence the renders cannot carry.
Can an AI render replace plans and sections?
No. A render communicates appearance and atmosphere. Plans, sections, dimensions, analysis, and validated project sources remain authoritative.
Review basis
- CAD Scene Product, Glossary, and current Help, reviewed 21 September 2026
- Render-retention methodology, reviewed 21 September 2026
- One matched synthetic editorial image lineage created for this guide
Table of Contents
- Where does AI rendering fit in architecture school?
- Should a student start from a prompt, sketch, or model?
- What is a dependable student rendering workflow?
- How should students compare rendering options?
- How do you build a coherent final-review image set?
- What should students check before a critique?
- What can AI rendering not replace in a student project?
- How should students use AI renders in a portfolio?
- Review basis
Authors

- Name
- Vladimir Mindru
Previous Article
Table of Contents
- Where does AI rendering fit in architecture school?
- Should a student start from a prompt, sketch, or model?
- What is a dependable student rendering workflow?
- How should students compare rendering options?
- How do you build a coherent final-review image set?
- What should students check before a critique?
- What can AI rendering not replace in a student project?
- How should students use AI renders in a portfolio?
- Review basis
Authors
- Name
- Vladimir Mindru