
Screenshot for AI Rendering: Capture a Clean View

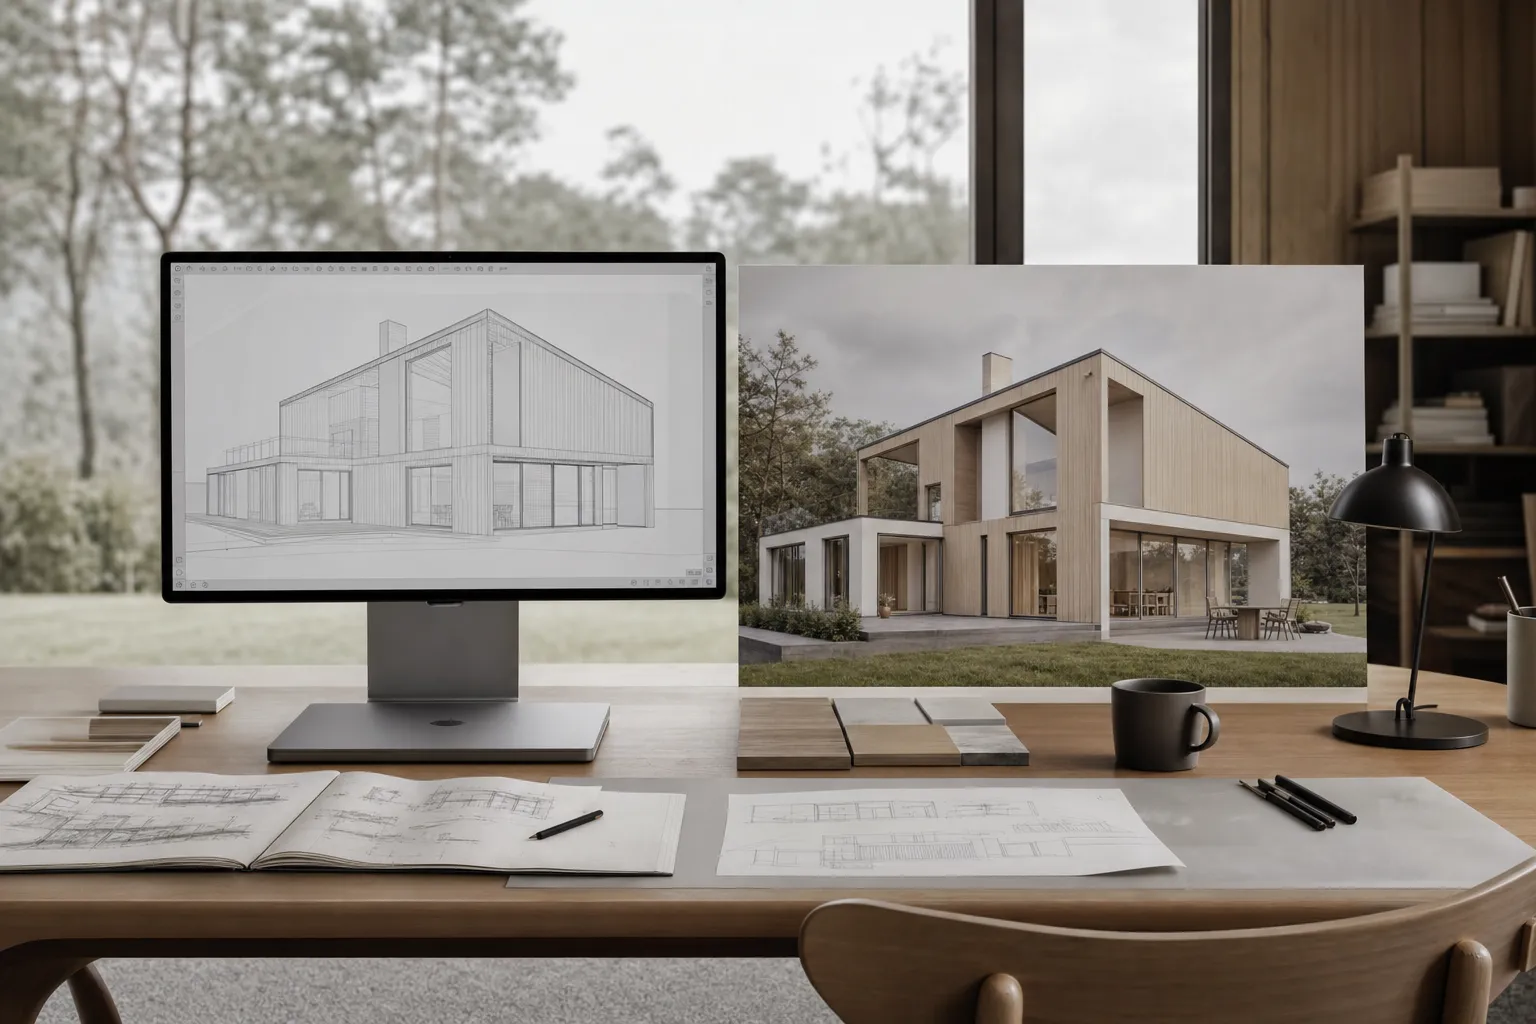
A good screenshot for AI rendering is a clean viewport capture with the final camera already framed. The screenshot sets the composition, crop, horizon, and visible geometry. The prompt sets materials, light, style, and entourage. The result can still drift, so compare it with the source.
One screenshot guides one camera. It cannot define unseen sides or hold a design across other angles. For a multi-view set, save each approved camera in the model. Capture every view separately. Reuse one project Composition, then check each render against its own source.
Treat each capture like a quick presentation view. Hide guides, grids, axes, temporary dimensions, selection outlines, and UI panels. Export enough detail for clear edges. Keep the subject easy to read.
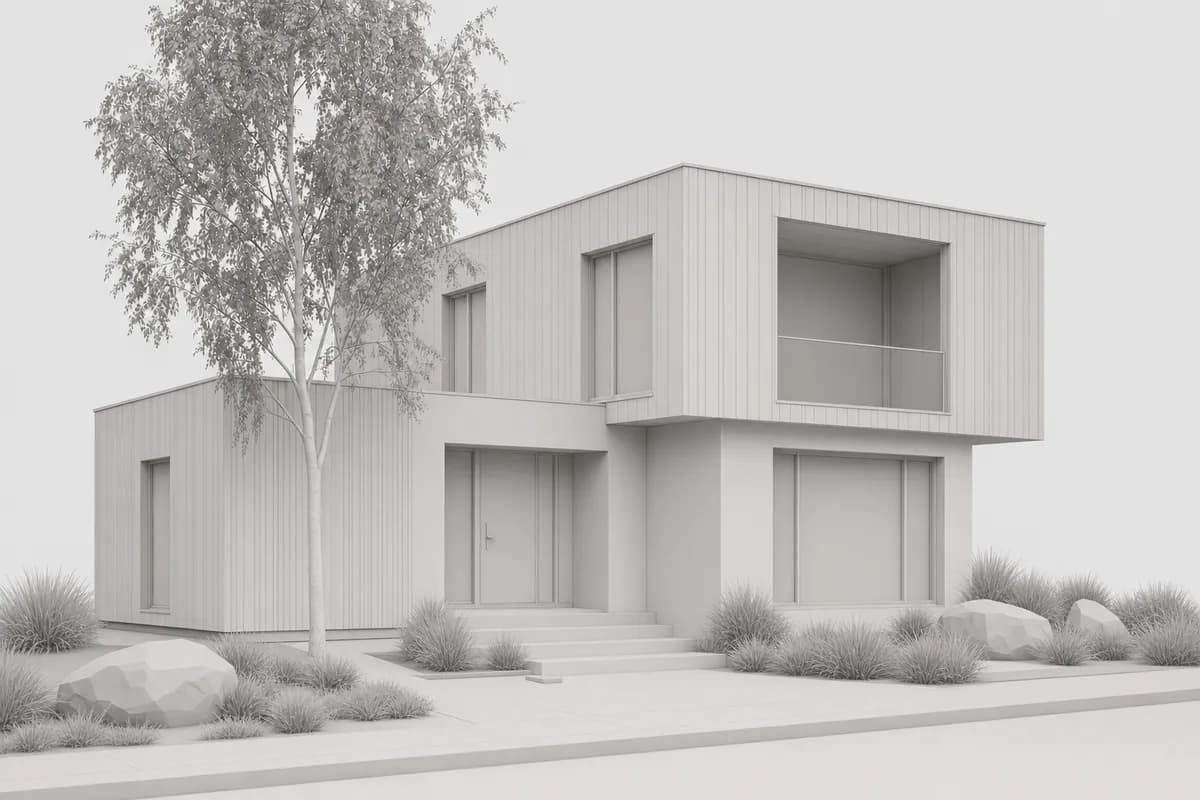 Clean capture
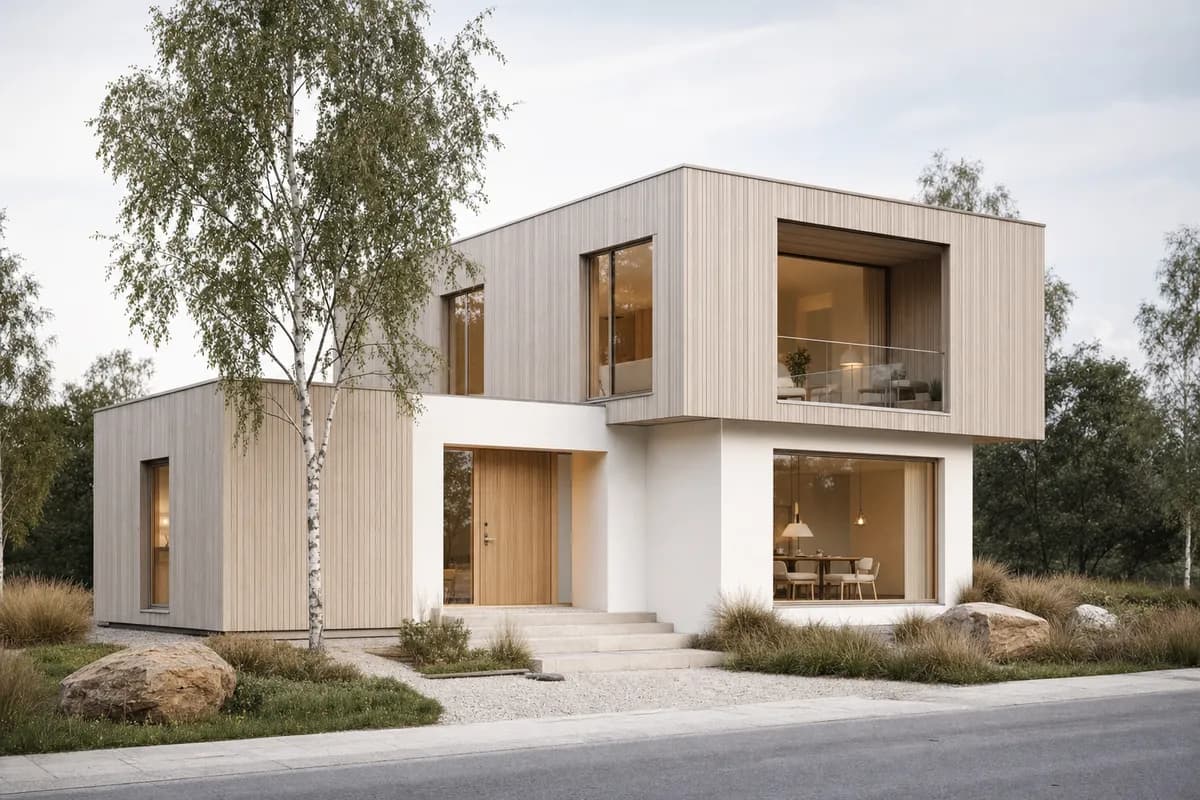 Rendered
What makes a screenshot good for AI rendering?
A good AI rendering screenshot has a fixed camera, clear geometry, simple viewport graphics, and the final composition already framed. It should look like a clean presentation view, not like the middle of a modeling session.
The screenshot is a visible reference for geometry and composition. Your prompt is the design dressing instruction. Camera, crop, horizon, foreground, and silhouette matter more than UI polish.
Do not ask the prompt to fix a bad crop. If the roof is cut off, the render may invent a new roof edge. If furniture blocks the room, the render may treat that mess as design intent.
The source is a constraint, not a lock. Generated openings, joints, and proportions can move. Use the render-retention review method to compare the source and output.
This guide builds on the broader screenshot to render workflow. For the full category, start with the AI architectural rendering guide.
What should you hide before capturing the viewport?
Hide anything useful while modeling but not part of the desired render. Axes, grids, construction guides, temporary dimensions, handles, clipping controls, section box outlines, object names, and selected edges can all confuse the image.
Keep meaningful model edges when they help the geometry read. Remove overlays that only explain the software state. If a line would not belong on a client board, it probably should not be in the screenshot.
| Working viewport | Render input | |
|---|---|---|
| Axes and grids | Useful while modeling | Hidden |
| Selection outlines | Shows active objects | Hidden |
| Dimensions and levels | Drafting reference | Hidden unless essential |
| Materials | Whatever is assigned | Neutral or intentional |
| Camera | Often temporary | Final composition |
Clay, hidden-line, shaded, and consistent-material views can all work. A neutral shaded view with readable edges is often safest. It gives the render form without asking it to remove texture noise.
What view angle works best?
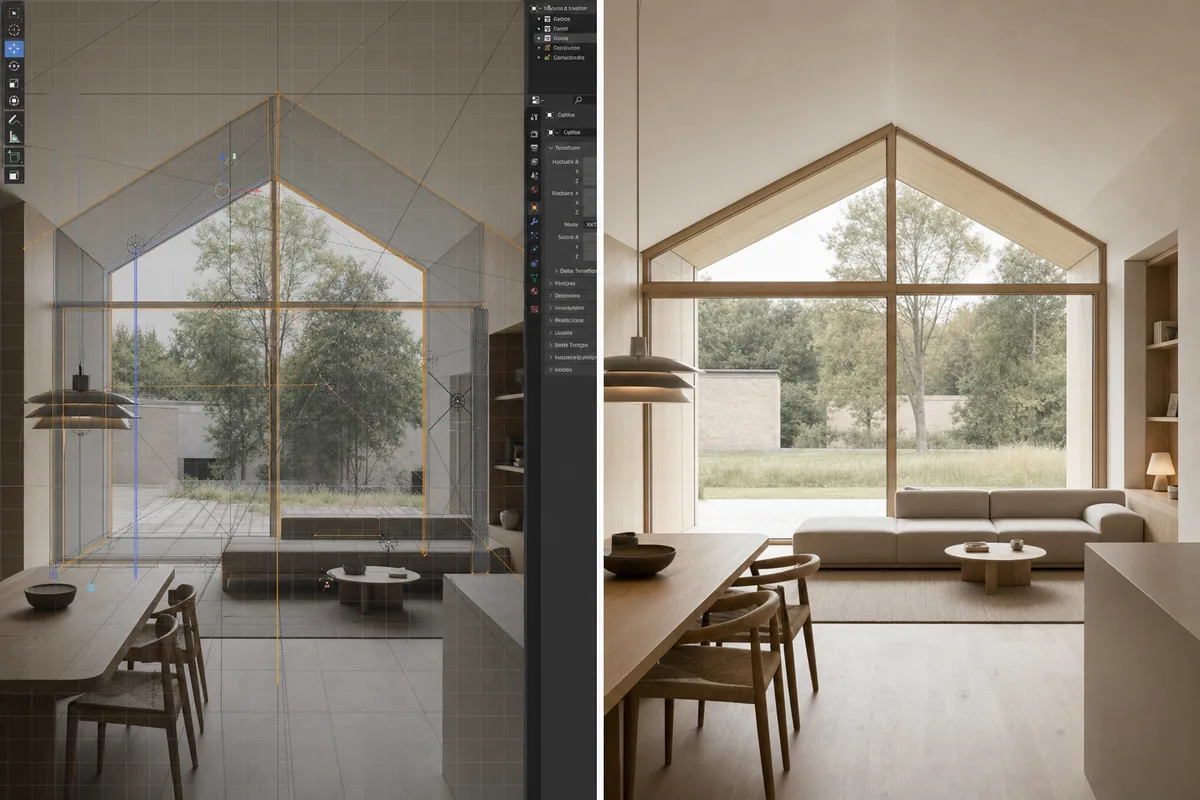
The best angle is usually a stable three-quarter view with a level horizon and enough depth cues. For exteriors, show two faces and a readable ground plane. For interiors, use a one-point or two-point view near normal eye height.
Straight elevations can work for facade studies, but they have less depth. Extreme wide-angle views can distort the room and invite geometry drift. Detail views can be tight, but keep enough context for scale.
Set the camera
Choose the view you would defend in a review. Keep the horizon calm and the subject complete.Clean the viewport
Turn off overlays, panels, selection states, grids, and temporary construction marks.Check the crop
Keep roofs, floors, stairs, furniture, and important openings inside the frame.Export the image
Use PNG when possible. High-quality JPG is fine when the edges stay readable.Prompt the finish
Ask to keep camera and geometry, then name style, materials, light, and entourage.
How do you keep the design consistent across several camera angles?
Use one saved source capture for each final camera. A single screenshot only shows one view. It cannot define the opposite facade, another room, or details hidden behind the camera.
Return to the model before rendering the set. Save each approved camera with the same visible design state. Keep layer, option, renovation, and material visibility consistent. Give every capture a clear name before upload.
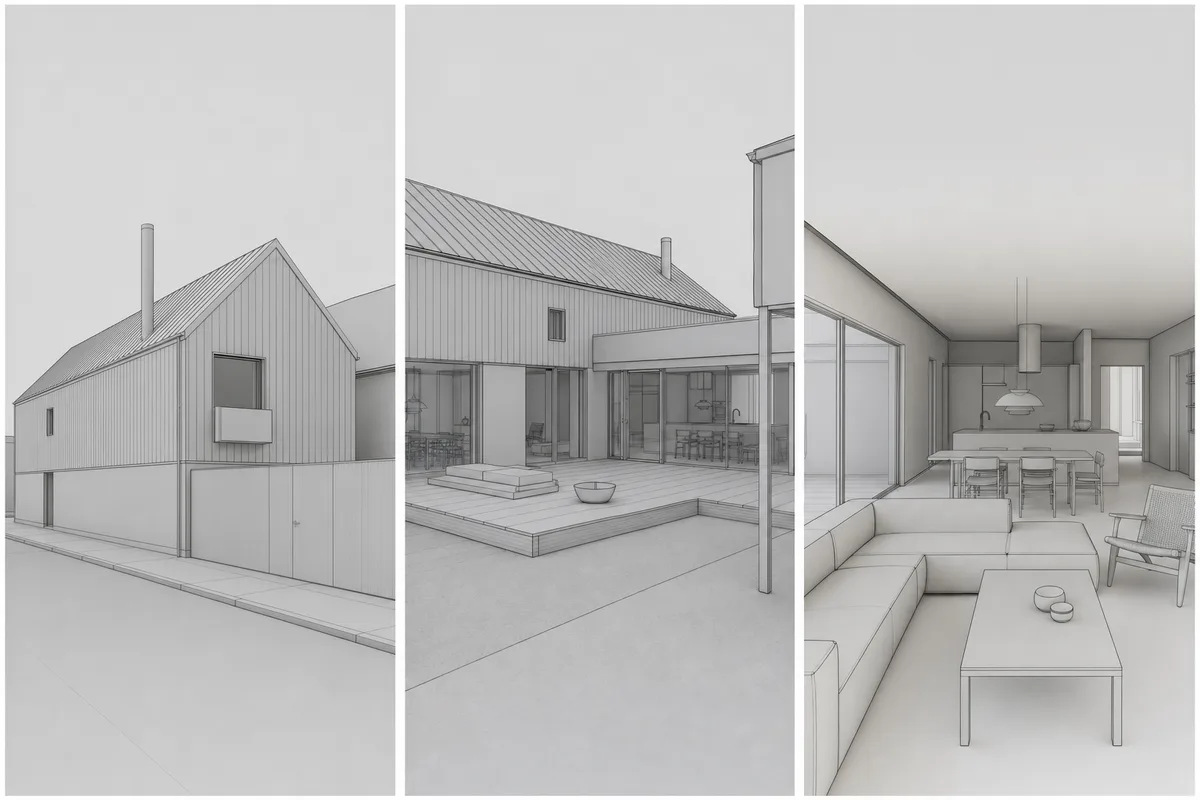
Freeze the model state
Confirm the same design option, layers, materials, and visible objects across the set.Save every camera
Store the street, courtyard, interior, and detail views inside the source model.Capture each view
Export one clean image per camera with matching aspect and useful edge detail.Reuse the Composition
Keep Style, Scene, Lighting, Materials, and Entourage aligned across the project.Review source by source
Compare every render with its matching capture before placing the set on a board.
The shared Composition helps the set speak one visual language. It does not create a hidden 3D model. Review window rhythm, roof edges, material boundaries, and entourage in every image. For a client set, use the review-ready render checklist before presentation.
What resolution and aspect ratio should you capture?
Capture large enough for clean edges, and capture in the final aspect ratio when possible. Landscape works for decks and web pages. Portrait works for boards and vertical studies. Square works when the final placement is square.
Exact pixel counts matter less than legibility. A tiny screenshot with jagged edges gives the render less structure. A clean, moderately large capture gives the image model clearer geometry to follow. CAD Scene also includes free Lanczos 4K upscale after rendering, so you can take a good concept image further.
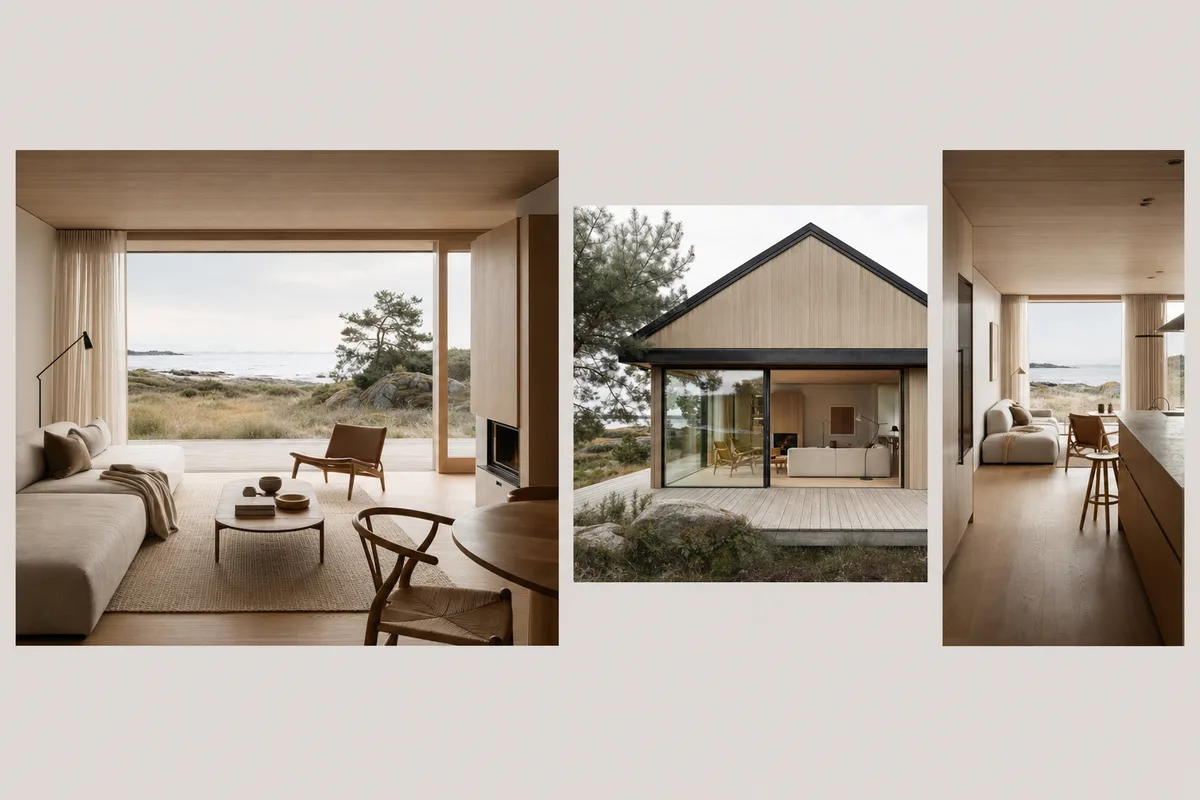
How do you capture from each CAD or 3D tool?
Each tool has a different clean-view path, but the same rule holds. Export the view, not the workspace. Save the camera when the software supports it, then hide every overlay that is not part of the design.
| Clean capture path | Watch for | |
|---|---|---|
| SketchUp | Export 2D Graphic, or capture the browser viewport | Axes, guides, selected edges, heavy style effects |
| Revit | Export Image from a 3D view, camera, section, or elevation | Levels, grids, crop boxes, section boxes, BIM annotations |
| Rhino | ViewCaptureToFile from a NamedView | Construction planes, clipping planes, selected objects |
| Blender | Viewport Render Image or a clean camera preview | Gizmos, overlays, active object outlines |
| Lumion | Export a still from the composed view | Overbaked weather, people, cars, and trees |
For exact SketchUp PNG dimensions and version-specific export steps, use the SketchUp Screenshot Export Planner. For complete workflows, see how to render a SketchUp screenshot with AI, keep a Revit view to AI render workflow, set Rhino viewport settings for AI rendering, or turn a Blender screenshot into a render. The 3ds Max camera-view workflow covers safe frames, viewport styles, and working overlays. The Cinema 4D camera workflow covers render views, display filters, and Picture Viewer export.
Archicad, Vectorworks, Enscape, Twinmotion, and AutoCAD follow the same capture logic. Use a saved view, clean visual style, and a composition you want the render to keep.
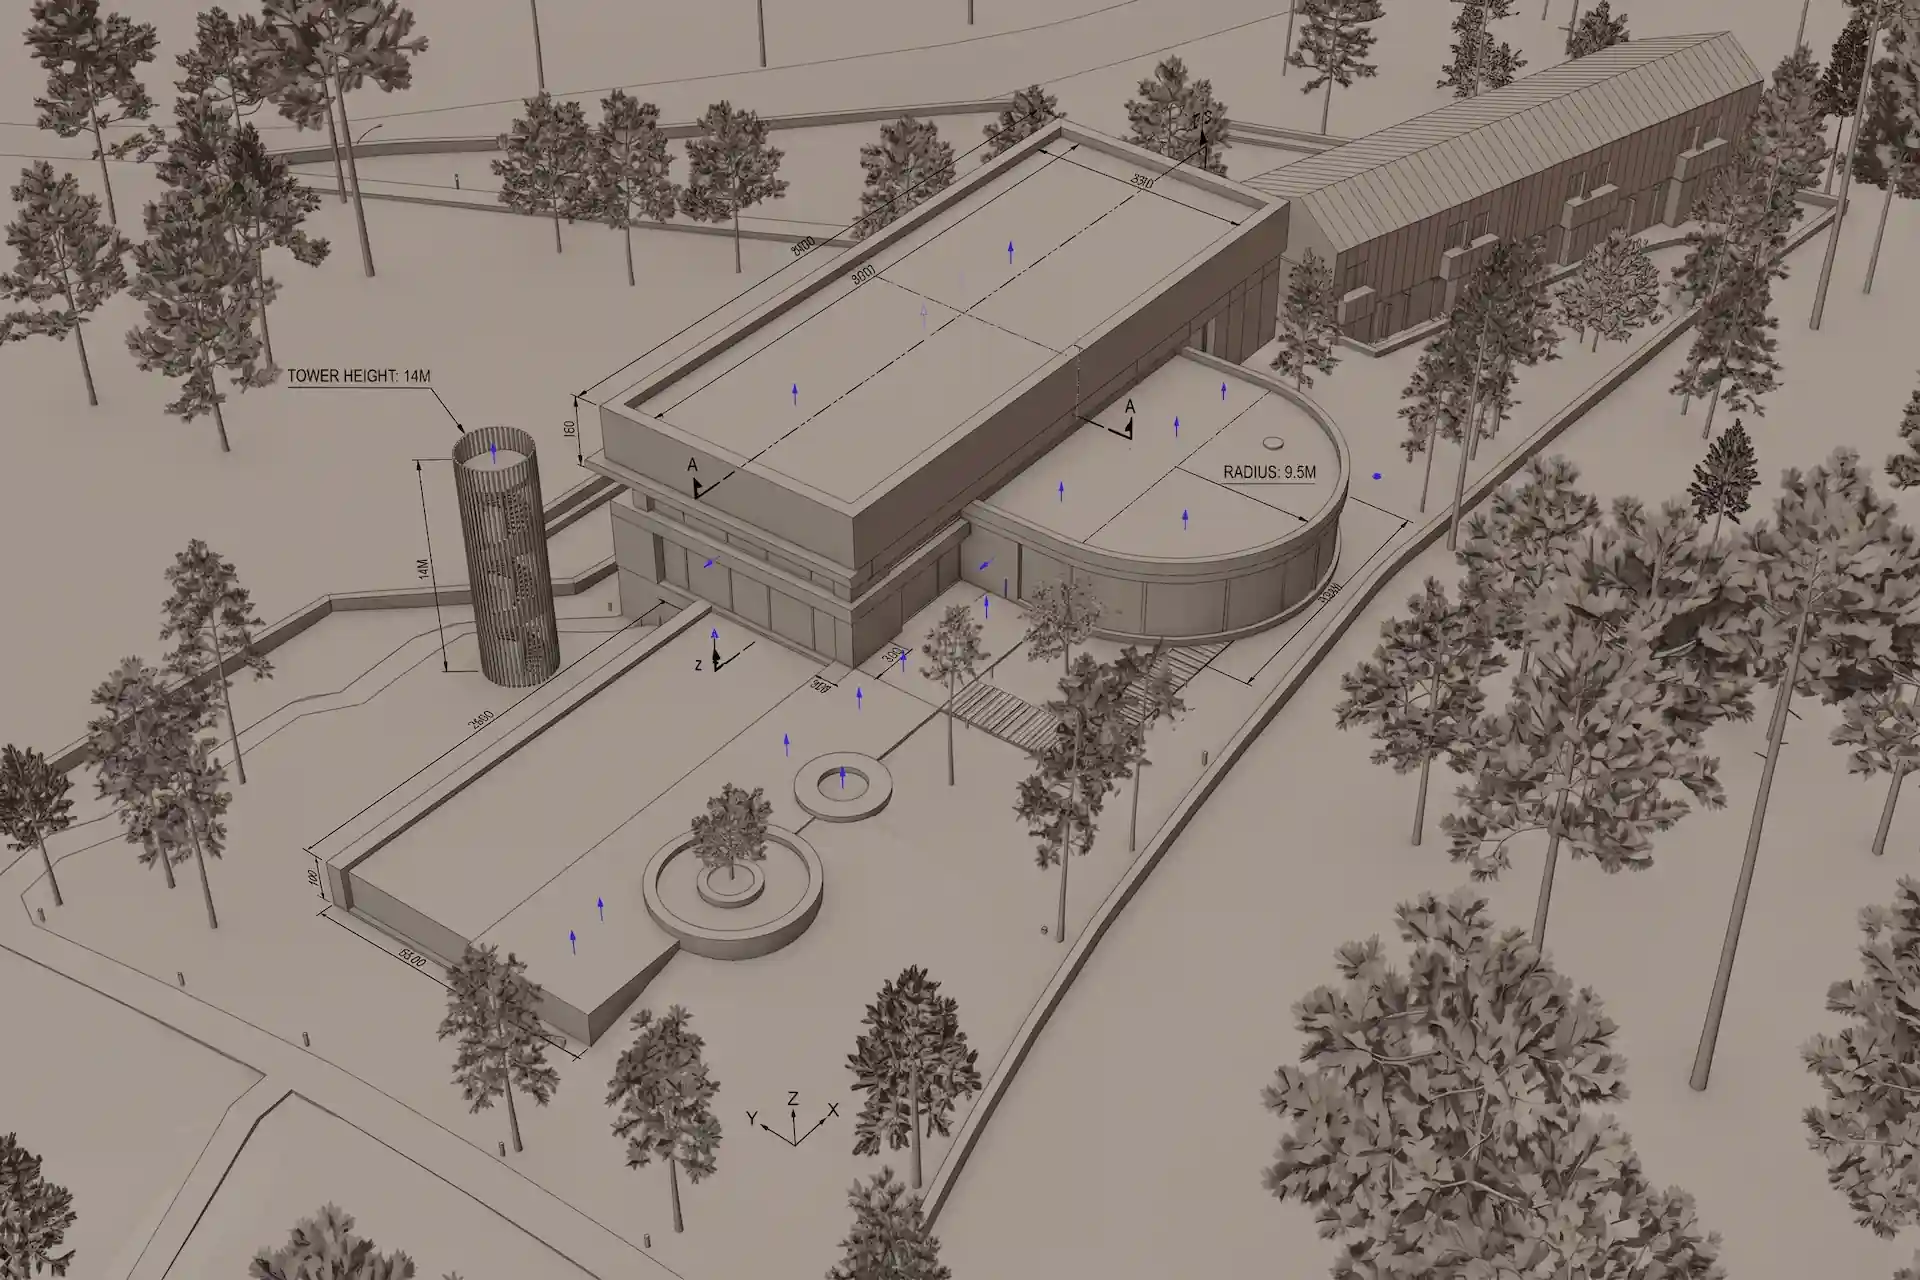
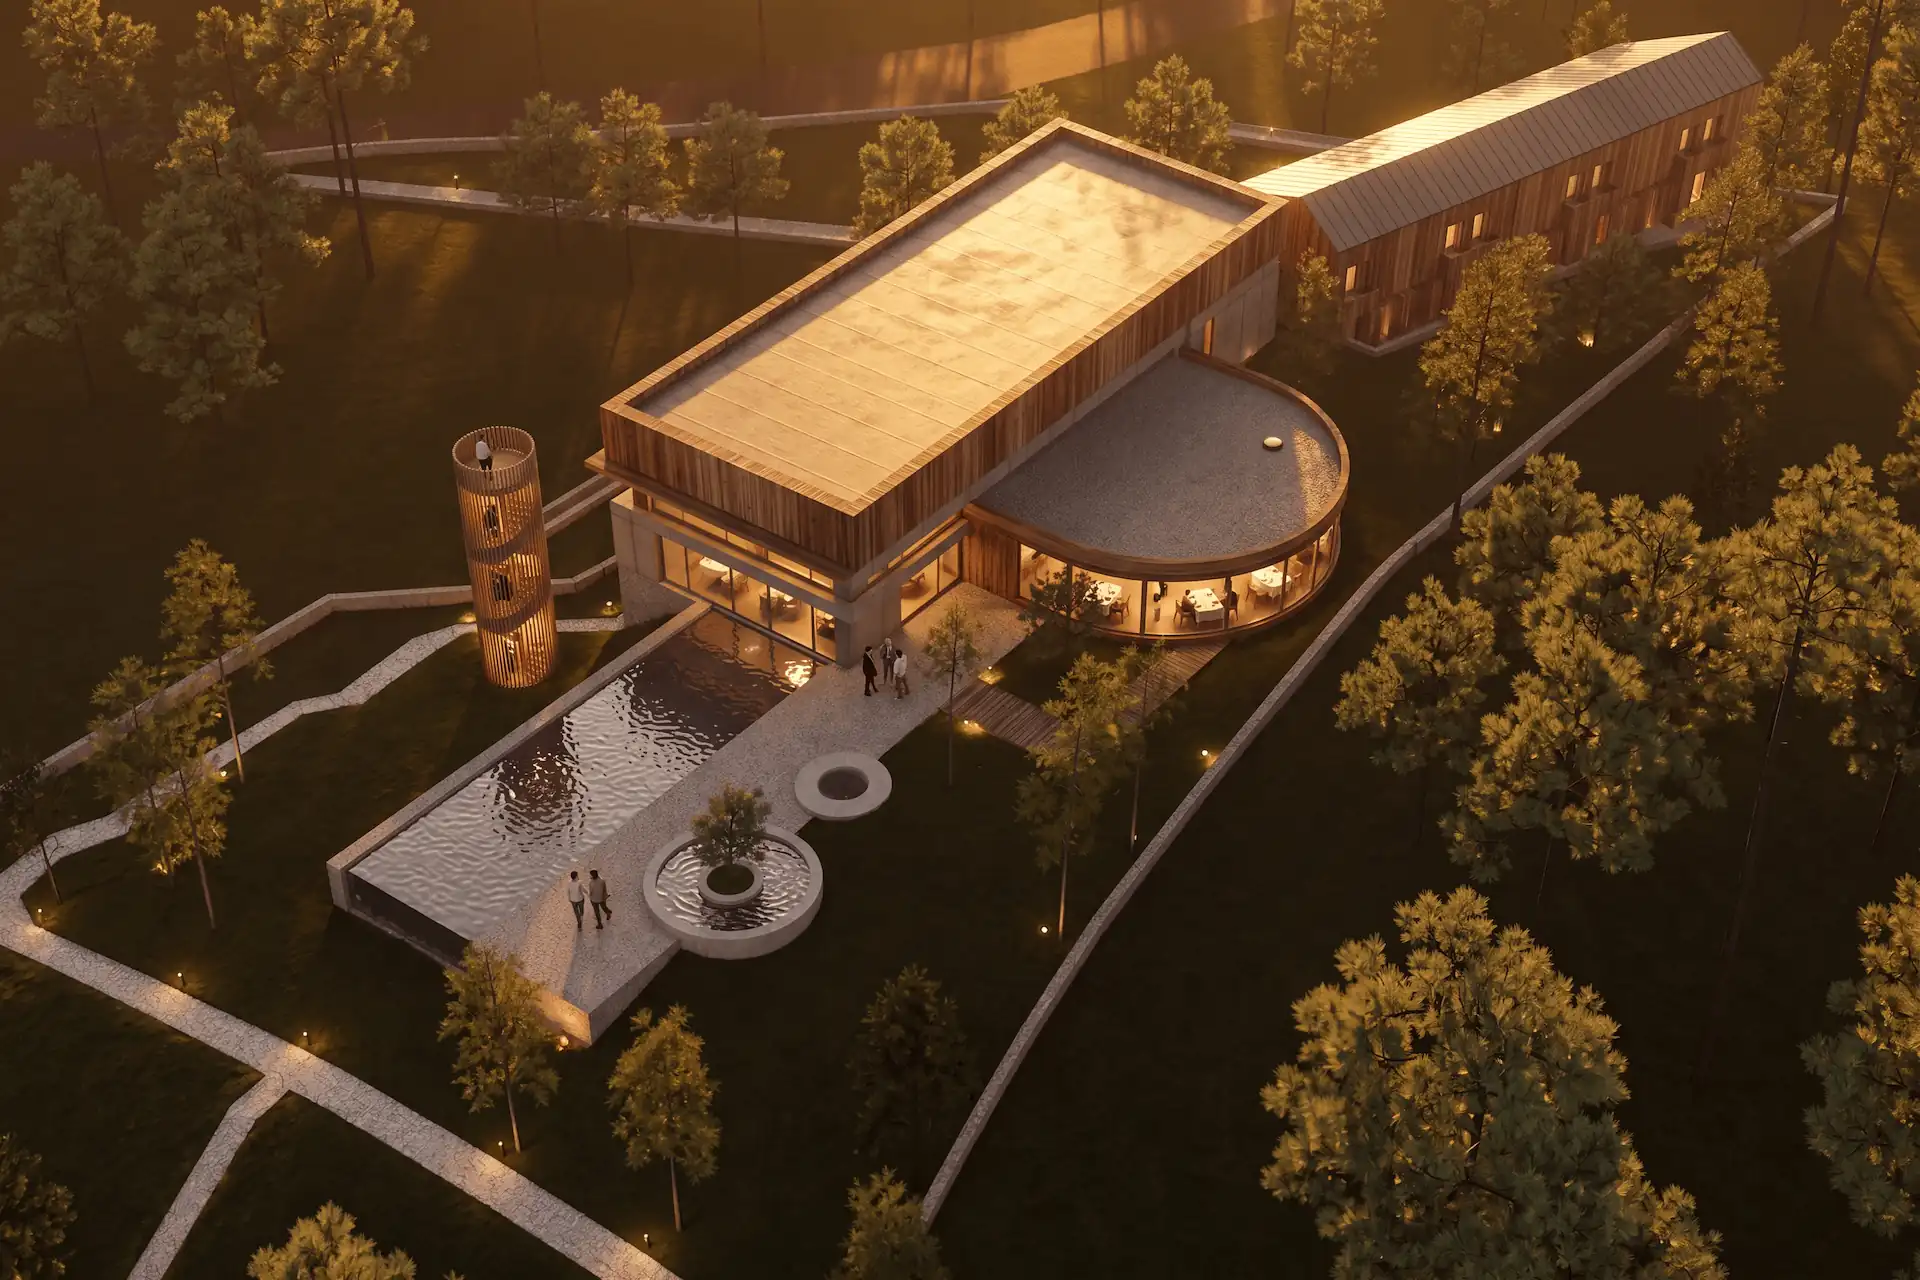
Before / after
Render your clean screenshot free.
Should the screenshot include materials, colors, and entourage?
Include only what you want the AI to respect. Use a clay view when the material palette should come from the prompt. Use a material view when existing colors and surfaces matter.
Keep real furniture if it should stay in the image. Remove placeholder trees, cars, furniture, or people when they are only scale notes. Otherwise the render may make them look permanent.
The same rule applies to landscape. A rough terrain plane is useful. A row of temporary trees can become a design decision.
| Keep | Hide | Prompt | |
|---|---|---|---|
| Building massing | Yes | No | No |
| Final furniture | Yes | No | Optional |
| Placeholder cars | No | Yes | If needed |
| Rough material tests | If intentional | If noisy | Yes |
| Lighting mood | Rarely | Often | Yes |
How do you prompt after uploading the screenshot?
The prompt should describe the finished image and name the visible constraints. Start with the source, then add the design brief. Treat preservation wording as an aim, not a guarantee.
Use this formula:
Keep the camera and geometry from this screenshot. Render it as [building type], with [materials], [light], [style], and [entourage].
Compare the source-assisted architecture prompts for complete preservation clauses and finish briefs.
Examples:
- Keep the camera and geometry from this screenshot. Render a Nordic timber house with pale render cladding, soft overcast daylight, planted birch trees, and a clean gravel path.
- Keep the room layout from this screenshot. Render a Scandinavian apartment interior with pale oak floors, lime-wash walls, linen furniture, and soft morning light.
- Keep the massing and street view. Test a dusk exterior with warm interior light, black window frames, timber soffits, and restrained planting.
For style vocabulary, use architectural rendering styles explained and the Style Atlas. For tool choice, see the best AI rendering software for architects.
Prompt library · 28 promptsSource-preserving conversionsBrowse prompts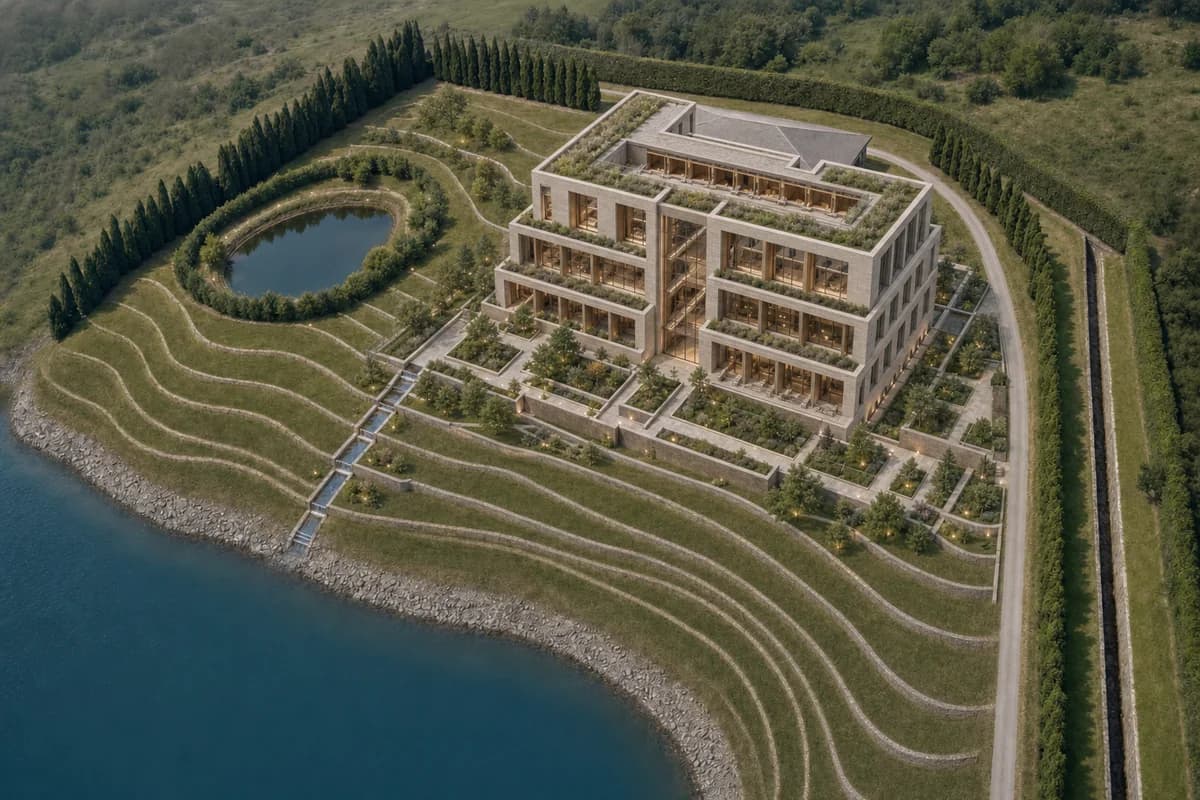
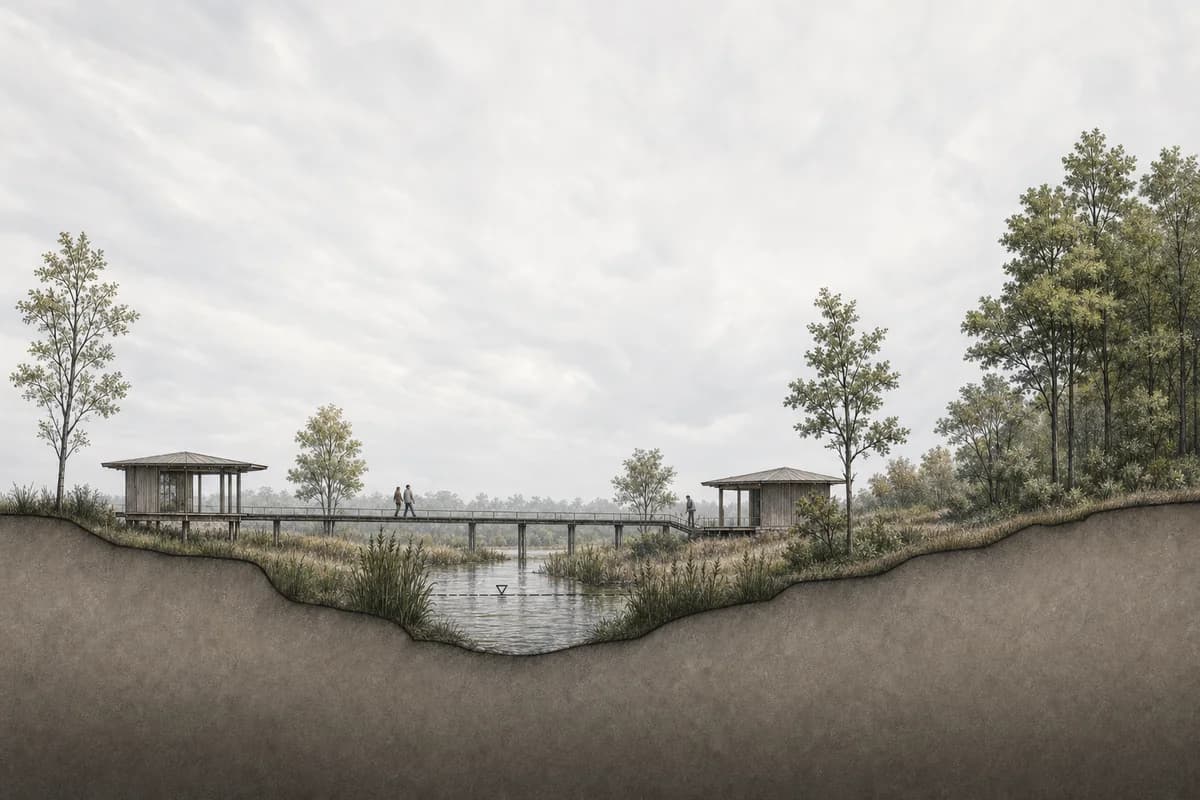
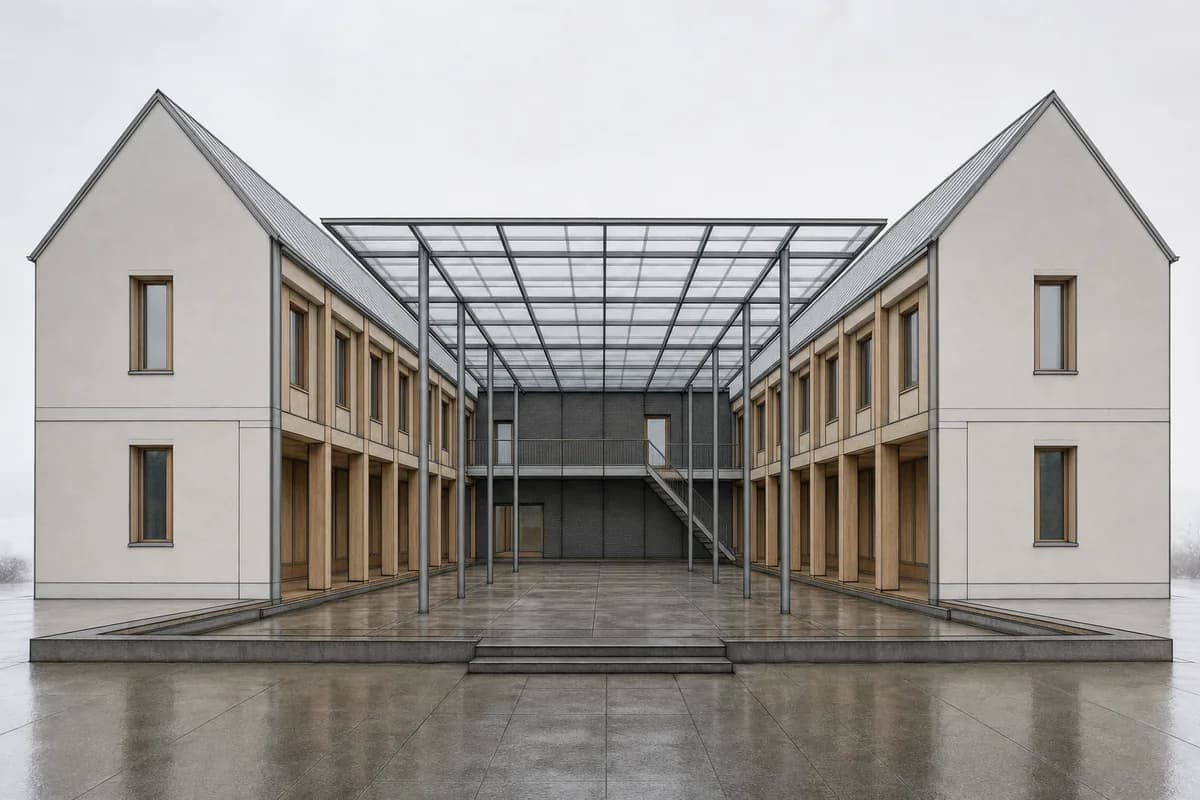
Screenshot-in or native engine render, when should you use each?
Screenshot-in is best for fast concept images from an existing view. A native engine is better when you need measured lighting, exact material libraries, animation, or final production control.
| Screenshot-in AI render | Native engine render | |
|---|---|---|
| Setup | Capture and prompt | Build scene, materials, lights |
| Geometry control | Good for broad form | Full model control |
| Material precision | Prompt-led | Library and shader-led |
| Lighting control | Mood-led | Measured and repeatable |
| Best stage | Concept and client review | Final stills, animation, delivery |
| Works across tools |
This split is why AI can be an alternative to Lumion for concept renders without replacing real-time engines outright. It removes setup from early still images. It does not edit your model.
What common screenshot mistakes reduce render quality?
Most weak outputs come from cluttered overlays, poor framing, unclear geometry, or prompts that ask for too many changes. Fix the input before you blame the model.
Common mistakes:
- Cropped roof, floor, furniture, or entry path.
- Extreme wide-angle view.
- Active selection outlines.
- Multiple ghosted design options visible.
- Unhidden levels, grids, or dimensions.
- Temporary entourage left in the view.
- One screenshot reused to imply a different camera or unseen facade.
- A prompt that changes material, style, weather, season, and building type at once.
Where this fits in the CAD Scene workflow
Capture is the handoff into Enhance. The screenshot anchors the intended view, then CAD Scene restyles the image. After the first good render, use Edit for local changes. Mark a named region, describe the fix, and review the surrounding image.
If the building mass changes, go back to the model and capture again. If the finish changes, stay in CAD Scene and iterate the image.
What is the best screenshot for AI rendering?
The best screenshot is a clean viewport capture with the final camera angle already framed. Hide grids, guides, axes, selected objects, dimensions, and UI panels.
Should I use a clay view or a material view?
Use a clay view when you want the material palette to come from the prompt. Use a material view when existing colors and surfaces are important.
Does the screenshot need to be high resolution?
It should be large enough for clear edges and readable geometry. Exact resolution matters less than clean framing, a stable camera, and no distracting overlays.
Can AI rendering keep the camera from my screenshot?
A clean screenshot can guide the camera, crop, and visible geometry. Generated results can still drift. Compare the output with its source before use.
How do I prepare several camera angles for one project?
Save each camera in the source model and export one clean capture per view. Keep the model state and CAD Scene Composition aligned, then review every render against its matching source.
Should I use a screenshot or a native render engine?
Use a screenshot when you need fast concept images from an existing view. Use a native engine when you need exact materials, measured lighting, animation, or final production control.