
Kitchen Render AI: Cabinets, Worktops, and Light

Kitchen render AI turns a model view, sketch, plan image, or written brief into a kitchen image study. Use a clean 3D screenshot when the layout, camera, cabinet rhythm, island, and circulation should guide the result. Name each cabinet finish, worktop, backsplash, fixture, and light source. Then compare the image with the model.
A useful kitchen render makes use and construction intent readable. It does not verify appliance sizes, clearances, joinery, ventilation, lighting performance, or services. Keep drawings, schedules, and specifications authoritative. Use the image to review spatial character, materials, light, and client-facing presentation.
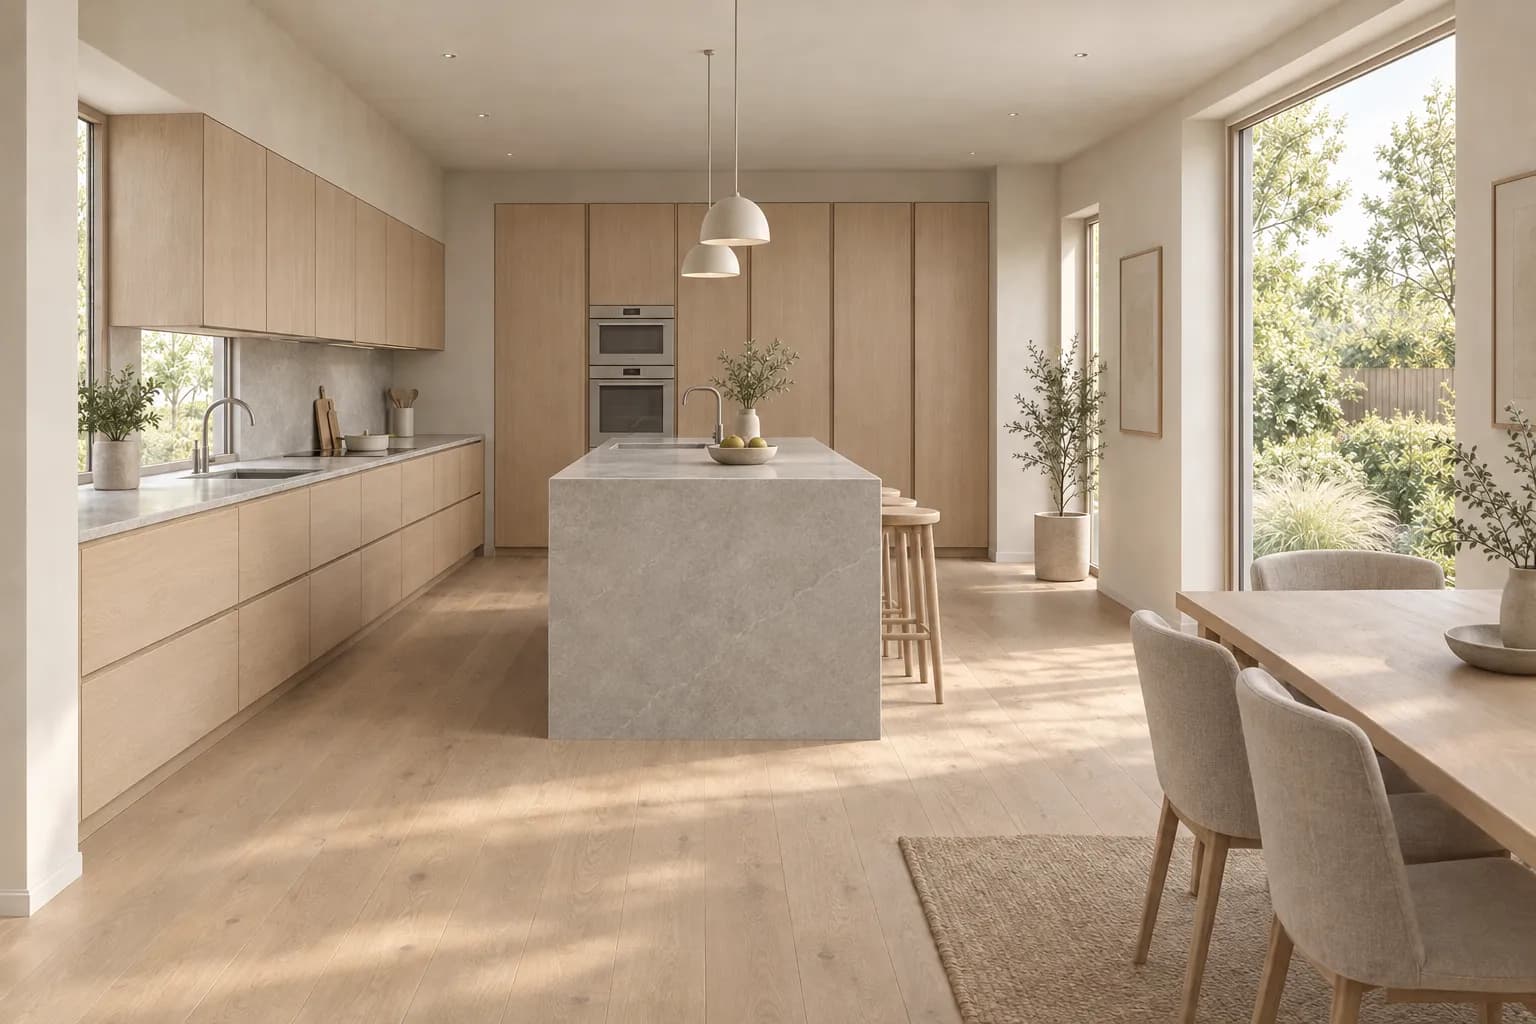
What is kitchen render AI?
Kitchen render AI creates a kitchen image from text or visual input. The source may be a sketch, plan image, clay model view, or finished viewport capture.
Text leaves most spatial decisions open. A plan can show arrangement but not eye-level depth. A model screenshot provides the clearest visible reference for camera, cabinets, island, openings, and dining edge.
This is one room-specific use of interior rendering with AI. It also belongs to the wider AI architectural rendering process. The render supports visual review. It does not become a coordinated kitchen model.
Which source should you use for a kitchen render?
Choose the source that contains the decision you need to protect. More visual information can narrow the study, but it does not guarantee accuracy.
| Source | Useful for | Main limitation |
|---|---|---|
| Written brief | Early atmosphere, broad material direction, and kitchen character | Layout, camera, cabinets, and appliance positions remain open |
| Plan or sketch | Work zones, island position, circulation, and design intent | Depth, joinery, eye-level relationships, and light need interpretation |
| 3D model view | A fixed camera, visible cabinets, openings, island, and dining relationship | Small dimensions, junctions, products, and clearances can still drift |
For a fixed room, export the final crop from SketchUp, Revit, Rhino, Blender, or another modeling tool. Hide selections, guides, grids, dimensions, and interface panels. The cross-tool screenshot guide covers framing and source cleanup.
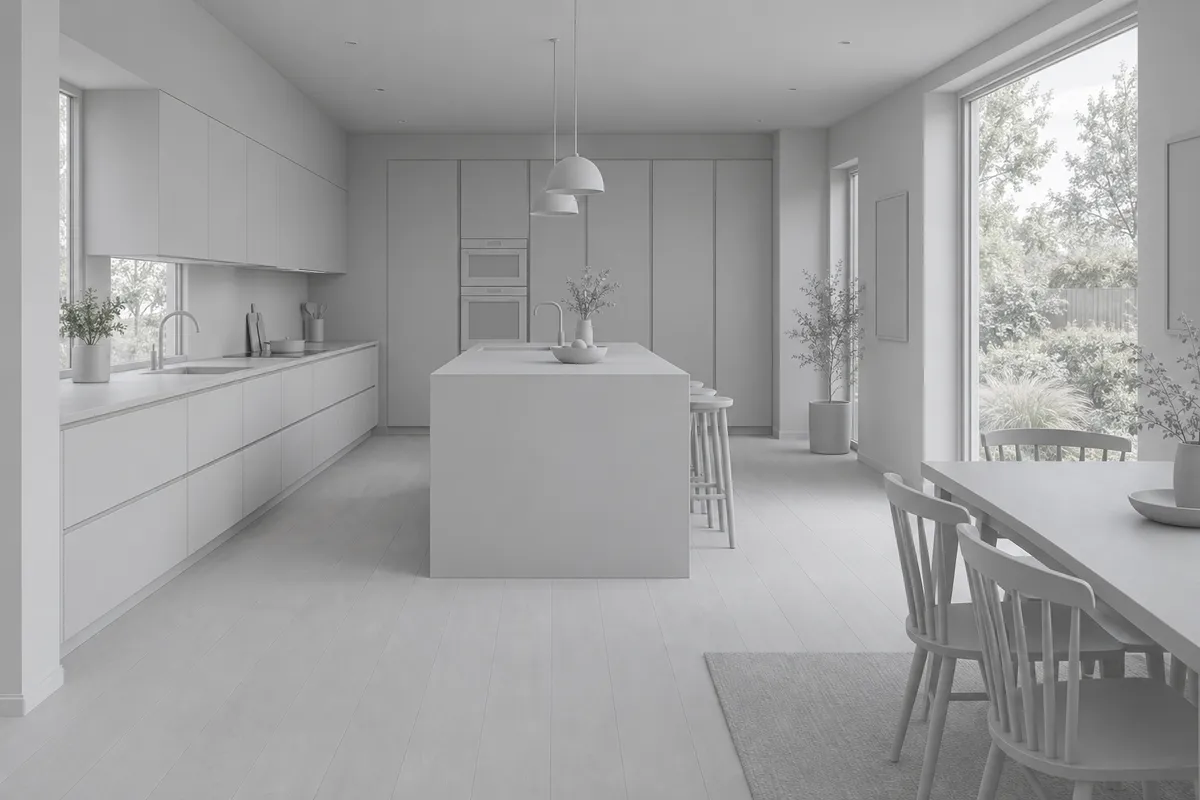 Synthetic modelKitchen study
Which kitchen view should you render first?
Start with the view that explains layout and the main material decision. A camera from the dining edge often gives a useful overview. It can show the working wall, island, tall units, window, and circulation together.
Other cameras answer different questions:
- Island view: checks scale, seating, worktop, pendants, and circulation.
- Working-wall view: checks cabinet rhythm, appliances, sink, and backsplash.
- Dining view: checks the relationship between cooking and social space.
- Joinery detail: checks one reveal, edge, handle, or material return.
- Evening view: checks task light and the hierarchy of practical fittings.
Do not ask one wide camera to prove every detail. Small junctions disappear. Foreground furniture can also conceal clearances. Use a second image when the review question changes.
How do you prepare a kitchen model view?
A clean source makes the room easier to review. Keep design-critical elements. Remove temporary modeling noise.
Set the camera
Choose eye level, lens character, crop, and corrected verticals before changing materials.Keep fixed kitchen elements
Show walls, openings, cabinetry, island, appliances, sink, and the dining edge.Keep circulation visible
Leave the main routes around the island and between work zones readable.Remove viewport noise
Hide grids, axes, guides, selections, dimensions, helper objects, and interface panels.Inspect the export
Check crop, edge clarity, cabinet rhythm, appliance visibility, and image size before use.
The SketchUp screenshot workflow and Revit rendering workflow give tool-specific capture guidance. Keep the kitchen model open during image review.
What should a kitchen rendering brief contain?
Write the brief from fixed elements to visual choices. Name what must hold. Then assign each material to a clear location.
Kitchen material study
Copy the full brief, then adjust one variable at a time.
Prompt
Preserve the source camera, crop, walls, garden window, cabinet layout, tall units, island, appliance openings, sink, dining table, and clear circulation. Render a calm Nordic kitchen with pale oak cabinetry, a honed light-grey stone worktop and backsplash, warm off-white lime plaster, natural oak flooring, brushed stainless-steel fixtures, soft morning daylight, and three restrained pendant lights. Keep cabinet reveals, worktop thickness, material returns, and circulation edges readable. Do not move the island, change the openings, add decorative clutter, or alter the room layout.
Avoid broad requests such as "make this a luxury kitchen." They leave the material system and room use unresolved. They can also encourage extra lights, objects, and oversized appliances.
Specify the following:
- cabinet material and finish by bank or island;
- worktop thickness, edge, and overhang;
- backsplash material, height, and returns;
- appliance openings without generated brand marks;
- sink, tap, handles, and metal finish;
- pendant, task, ambient, and daylight direction;
- furniture and restrained occupation;
- elements that must remain unchanged.
The realistic render materials guide explains scale, joints, roughness, and material assignment in more detail.
Kitchen model / image study
Test one kitchen material direction on your own scene.
How should cabinetry and appliances read?
Cabinetry needs rhythm, depth, and a plausible relationship with the room. Check tall-unit widths, drawer lines, door breaks, plinths, end panels, and handles against the model. Repeated modules reveal drift quickly.
Integrated appliances should remain secondary to the architecture. Generated logos, control panels, and displays are unreliable. Keep openings and overall sizes visible, then use approved product assets when exact equipment matters.
Check the island as a separate object. Its worktop, base, seating, sink, and clearances should agree with the plan. A visually convincing island can still be too deep, too long, or too close to the working wall.
How should worktops and backsplashes read?
Worktops need believable thickness, edges, openings, and supports. Stone pattern should not bend around a sink or continue through a joint. Thin surfaces should not gain a heavy false edge.
Backsplashes need a clear start and stop. Check returns at corners, windows, socket zones, and tall units. A full-height stone panel and a tiled strip are different construction ideas. Name the intended one.
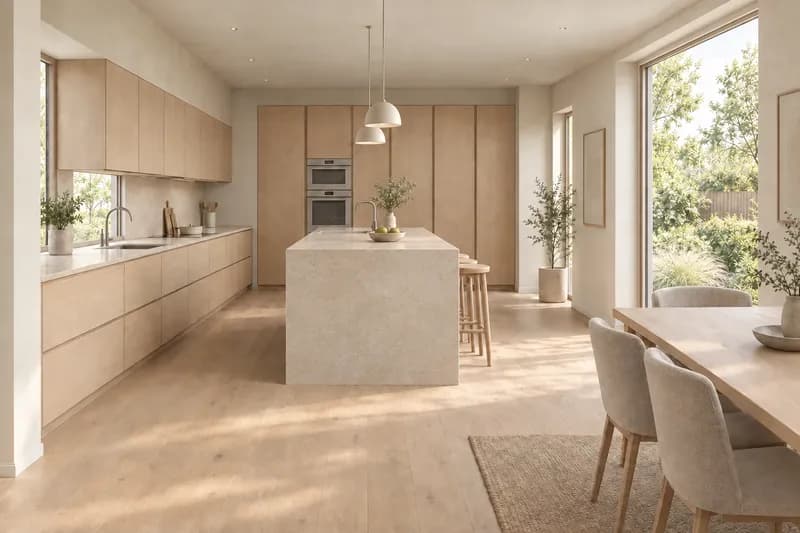
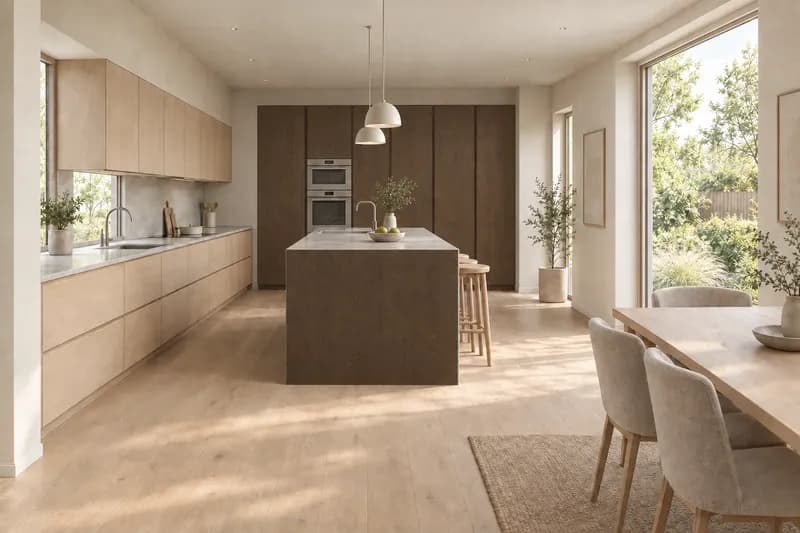
These images derive from one synthetic source and keep one camera. The material changes remain illustrative. Inspect every cabinet line and junction before using a study for client review.
Which lighting makes a kitchen image useful?
Kitchen light needs a clear hierarchy. Daylight can explain material tone. Under-cabinet light can explain the working wall. Pendants can mark an island without becoming the main subject.
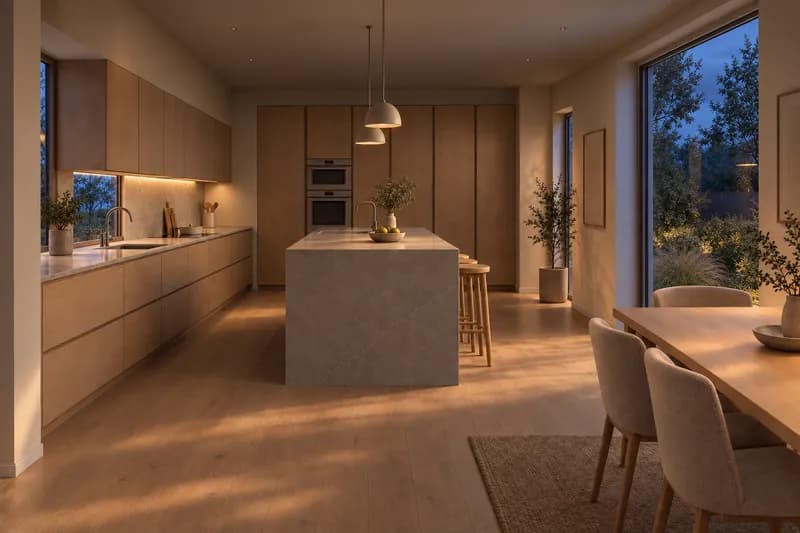
Avoid a ceiling full of identical downlights. It flattens the room and says little about use. Separate ambient, task, and accent light in the brief.
A generated render cannot verify illuminance, colour rendering, glare, switching, or emergency requirements. Keep those checks in the lighting design. The architectural render lighting guide covers daylight, dusk, and night presentation choices.
What should you edit after the first kitchen render?
Edit the smallest decision that blocks the image. A worktop, cabinet bank, backsplash, pendant, or metal finish is a useful target. Rebuilding the whole image for one material choice creates more review work.
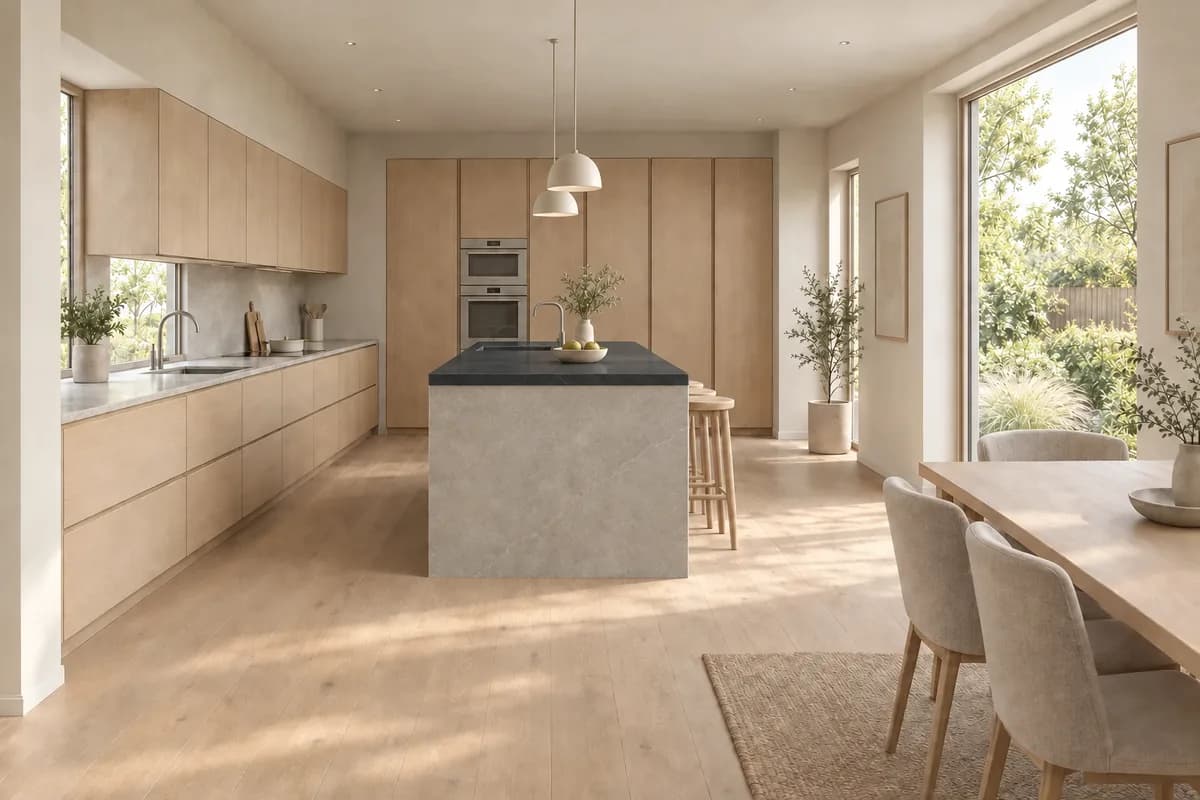
After a focused Edit, inspect both the selected area and everything outside it. Check island dimensions, cabinets, sink, floor, fixtures, furniture, and light. A bounded instruction can still affect nearby pixels.
What should you verify before client review?
Review the image against the source in a fixed order. Start with spatial facts. Finish with atmosphere.
- Compare camera, crop, walls, doors, and windows.
- Compare cabinet runs, island, dining edge, and circulation.
- Inspect appliance openings, sink, worktop, and backsplash.
- Check material scale, assignment, joints, and edge thickness.
- Inspect furniture, reflections, lighting, people, and small artifacts.
- Record every unresolved technical or product decision.
The architect render review checklist separates pass, correction, rejection, and deferral. Use that language when preparing a client-facing set.
What are the limits of kitchen AI rendering?
Kitchen renders can support concept, material, light, and presentation decisions. They are weak evidence for measured or regulated work.
Do not use a generated image to verify:
- appliance dimensions, installation, ventilation, or service access;
- cabinet fabrication, hardware, tolerances, and fixing;
- worktop support, joints, cut-outs, and edge details;
- fire, access, circulation, or electrical requirements;
- lighting calculations, controls, glare, or task performance;
- product colours, samples, model numbers, or guarantees;
- plumbing routes, drainage, extraction, heating, and other services.
Keep those decisions in the model, drawings, schedules, calculations, and specifications. The render can still expose issues worth resolving.
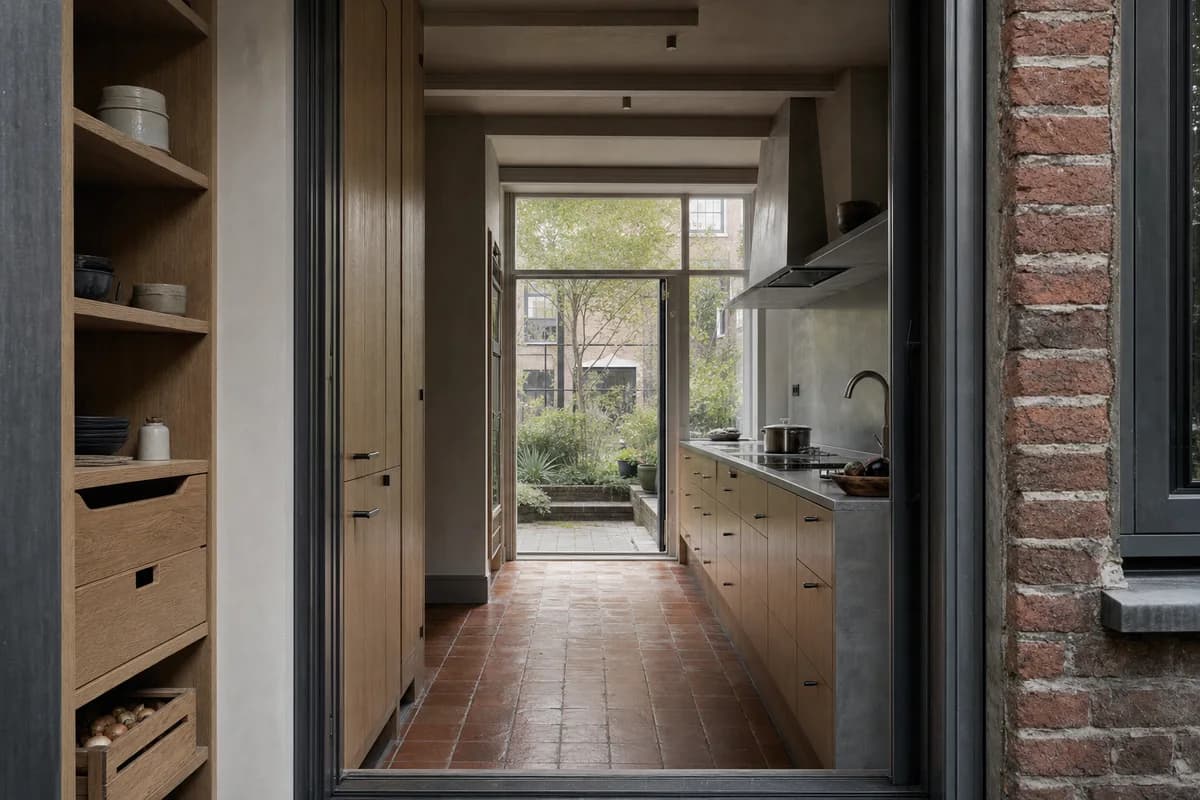
Prompt library · 20 promptsKitchen render promptsBrowse prompts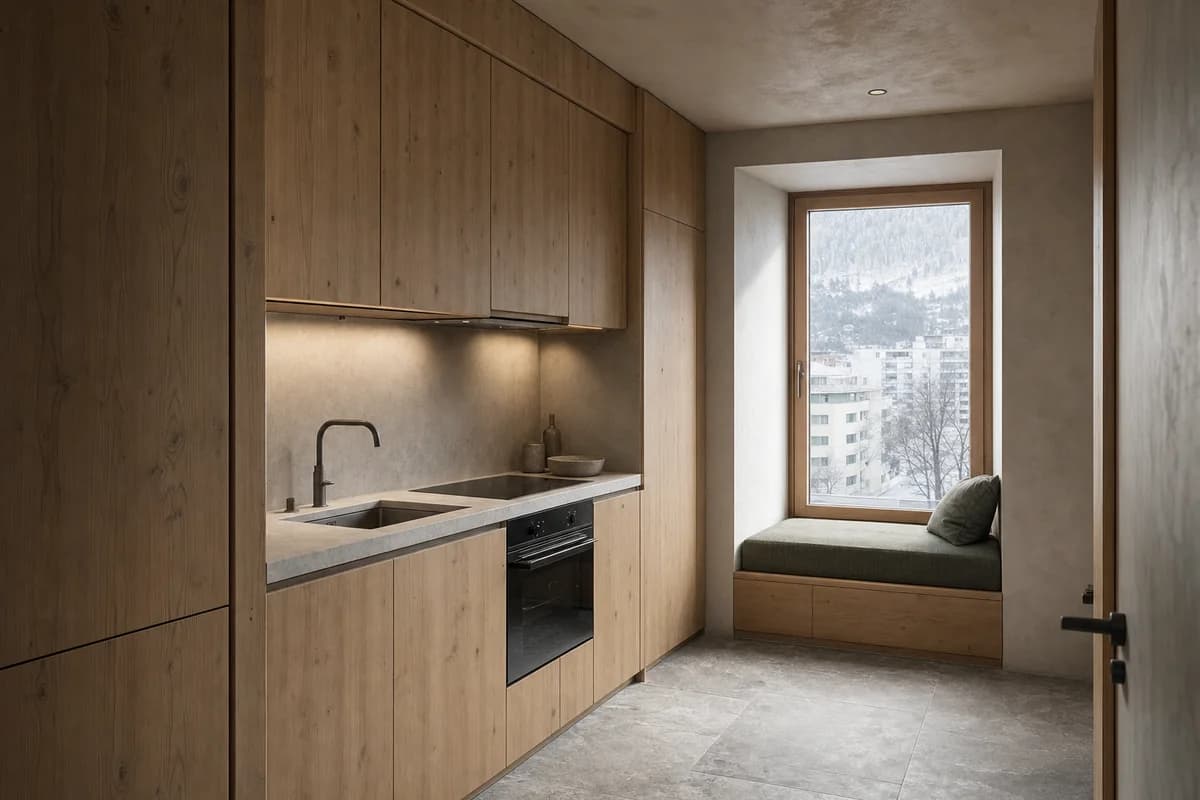
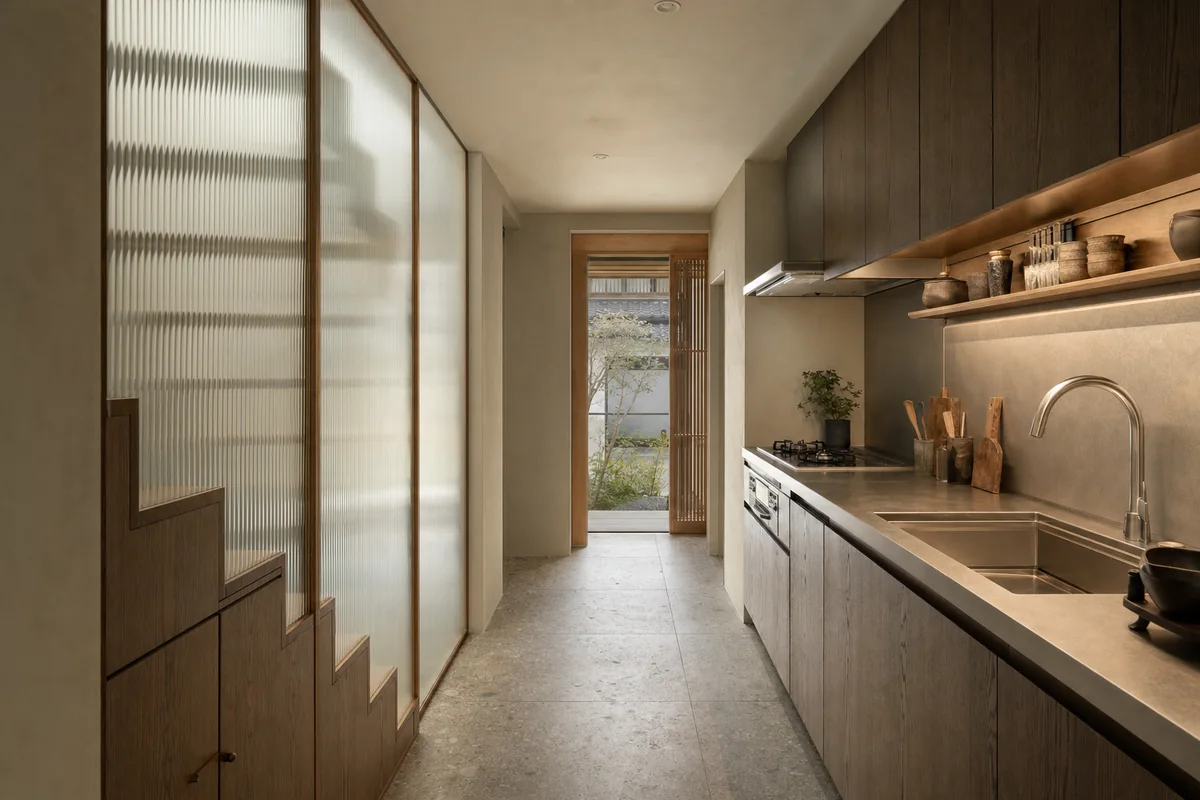
Questions about kitchen render AI
Can AI render a kitchen from a SketchUp or Revit screenshot?
Yes. Export a clean fixed view and use it as the source in Enhance. Keep the model authoritative and compare cabinets, island, openings, appliances, and circulation with the source.
What should a kitchen render prompt include?
Name the fixed layout, cabinet finish by location, worktop, backsplash, fixtures, appliances, daylight, and practical lighting. State what must not move.
Can I change only the worktop or cabinet finish after rendering?
Use Edit to mark the smallest relevant area and describe the replacement. Review the selected area and the full image after generation.
Is a kitchen AI render ready for fabrication or installation decisions?
No. Use coordinated drawings, schedules, calculations, product data, samples, and specifications for dimensions, fabrication, services, lighting, and safety.