
- Updated on
Architecture Presentation Board Layout: Size, Framing, and Flow
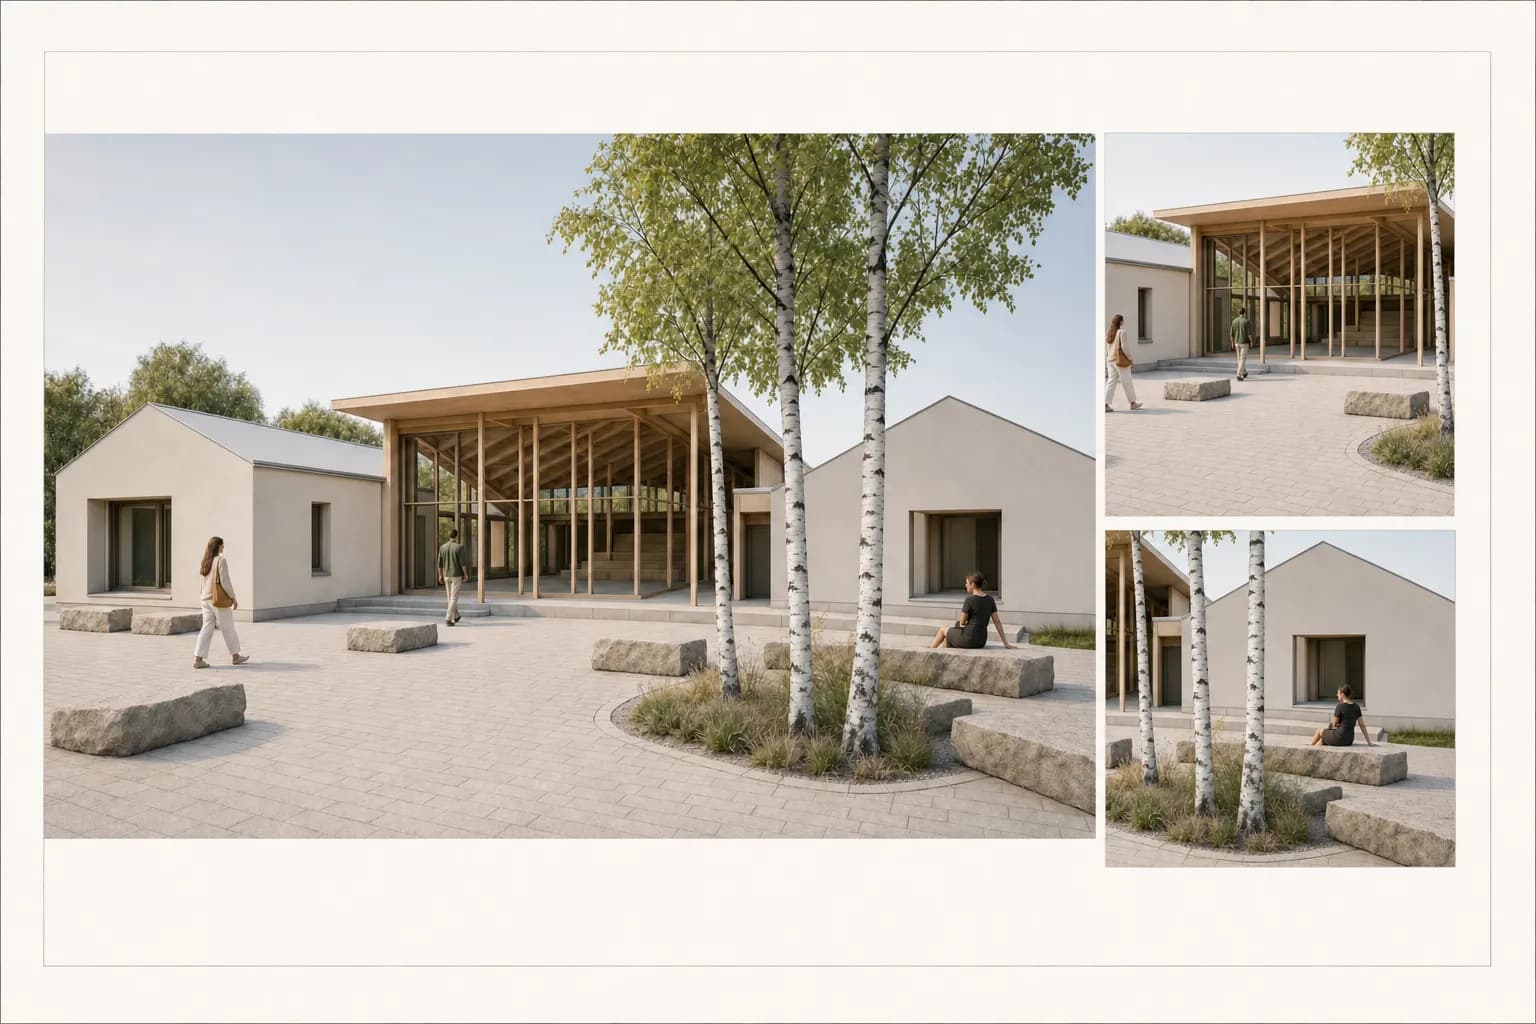
An architecture presentation board is a layout problem before it is a render problem. Set the sheet size and reading order first. Give one image the lead role. Use smaller views to explain context, space, materials, or use. Match each render frame to its final slot before generation. This protects important edges from a late crop. Check resolution against the printer, sheet size, and viewing distance. Then review the board from across the room and at reading distance. CAD Scene can help develop the image set. Its free Lanczos 4K upscale can prepare the lead Render for a larger slot. The drawings and submission requirements still control the board.
1. Define the board
What size and aspect ratio should a board render use?
A board render should match the shape of its final slot. Start with the sheet, margin, and grid. Then define the image frame inside that structure.
A1 and A2 often suit reviews and competitions. A3 can suit a compact handout. A 16:9 frame fits a screen presentation. These are starting points, not rules. The brief and printer specification decide the actual format.
| Format | Useful role | Frame decision |
|---|---|---|
| A1 | Large review or competition sheet | Give the lead image enough area to read from a distance |
| A2 | Focused project board or smaller review set | Limit the number of competing images |
| A3 | Handout, desk review, or compact project summary | Use fewer views with larger labels |
| 16:9 | Screen review or projected sequence | Keep content inside the visible presentation area |
The board size and aspect-ratio calculator converts A-series sheets into exact pixels. It also accounts for margin, DPI, and a starting grid. Use it before exporting the source views.
ISO 216 defines A1 as 594 × 841 mm. A2 is 420 × 594 mm. A3 is 297 × 420 mm. Each size keeps the same proportions when the sheet is halved. The current ISO 216 standard governs trimmed A-series sizes. It does not set your printer bleed, image resolution, or submission format.
Which presentation board type are you making?
Choose the board type before choosing a template. Different reviews reward different evidence. A client decision board should make options comparable. A competition board should make one project argument legible. A portfolio board should establish a sequence. A studio pin-up should leave room for uncertainty and annotation.
| Board purpose | Lead element | Supporting evidence | Avoid |
|---|---|---|---|
| Client review | The decision or preferred option | Matched alternatives, source view, and unresolved items | Atmosphere that hides the difference under review |
| Competition | One project thesis or spatial idea | Verified plans, sections, site logic, and focused renders | A hero image unsupported by design evidence |
| Portfolio | The image that explains the project fastest | Context, spatial sequence, process, and one useful detail | Several polished views repeating the same role |
| Studio review | The open design question | Current options, tests, references, and decision notes | A finished treatment that makes open work look fixed |
For client review: name the decision in the title block. Use matched frames for options. State the source revision and differences. Mark unresolved items. Keep the preferred option distinct without hiding alternatives.
For a competition: map every board item to the current brief. Confirm anonymity, file naming, sheet count, orientation, and required identifiers. Give the project thesis one visual entry point. Keep drawings authoritative.
For a portfolio: choose a project sequence before polishing pages. Move from premise to context, spatial evidence, and detail. Remove images that repeat a role. Keep dates and project status accurate.
For a studio pin-up: title the open question. Show current options and source revisions. Leave room for notes. Date each decision and carry the result into the next board rather than preserving every discarded branch.
Reflow one inventory for four review contexts
Every view keeps the same six content items. Only hierarchy and placement change.
Courtyard arts pavilion
Editorial specimen · review 02
Competition
Project thesis
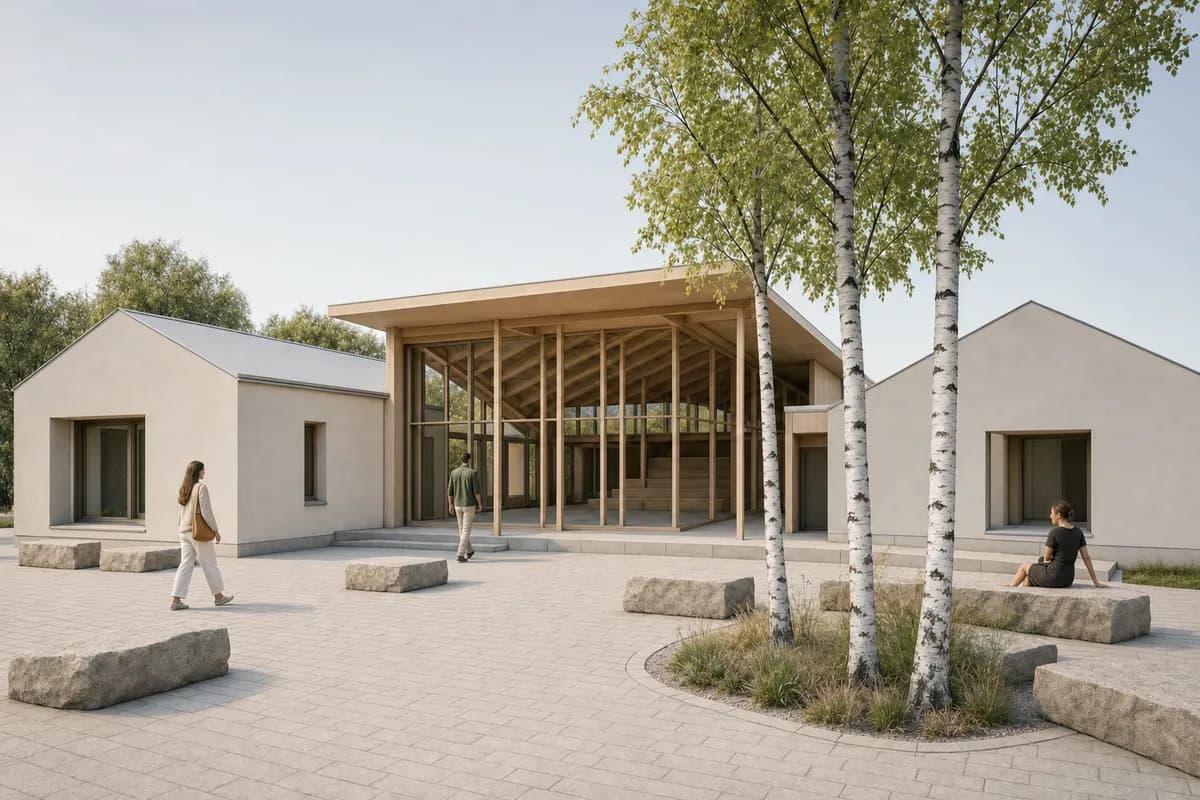 Lead render
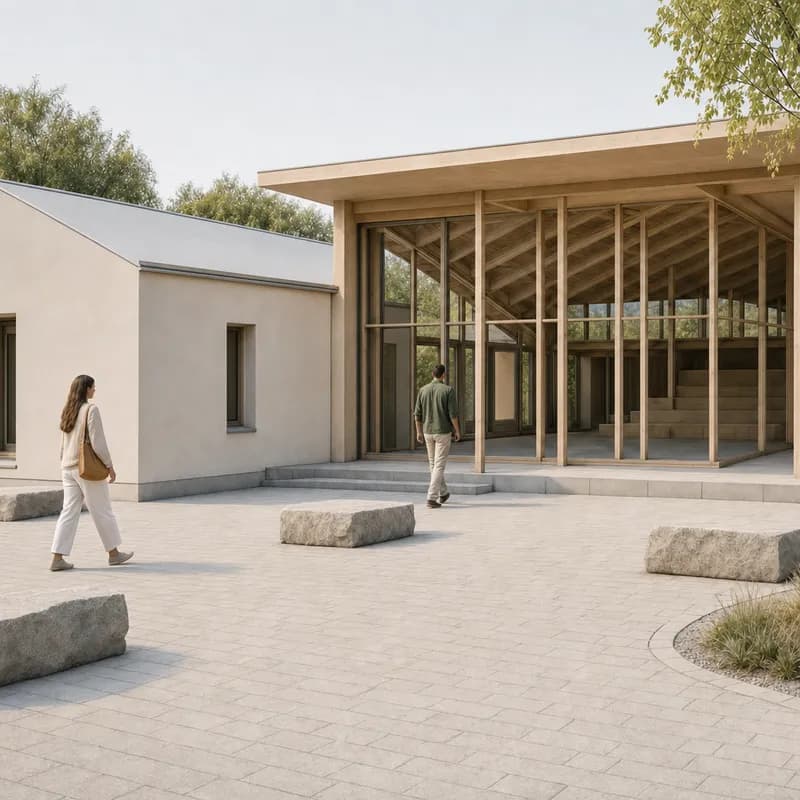 Threshold detail
Project thesis
One image carries the thesis. Plan, section, diagram, and status stay adjacent as evidence.
Specimen type: title 24 pt · section label 10 pt · caption 8.5 pt
Specimen lines: cut 0.60 mm · beyond 0.25 mm · guide 0.13 mm
The atlas fixes one inventory across all four contexts: lead render, detail, plan, section, access diagram, and status notes. Its plan, section, and diagram are editorial symbols. They demonstrate hierarchy, type roles, scales, and line weights. They do not describe the pavilion or replace project drawings.
The planner's semantic catalog goes deeper than the six-item specimen:
| Purpose | Lead role | Support roles | Evidence roles |
|---|---|---|---|
| Client review | Lead decision view | Matched comparison, secondary space | Key plan, key section, decision diagram |
| Competition | Primary proposal | Key public space, arrival sequence | Site and context, primary plan and section, core concept |
| Portfolio | Project hero | Context view, key space, threshold view | Plan, section, concept diagram, process image |
| Studio review | Current proposal | Model view, spatial study, alternative study | Working plan and section, design question, next test |
Choose the template from the decision structure:
| Purpose | Useful template | Choose it when |
|---|---|---|
| Client review | Matched comparison | Two fixed-camera options need equal, neutral treatment |
| Competition | Competition centerpiece or drawing spine | One proposal leads while site, plan, section, and concept remain visible |
| Portfolio | Portfolio mosaic or narrative sequence | Image scale and order should carry a project story |
| Studio review | Studio pin-up or process timeline | The board must expose an open question and recent iterations |
The live planner already carries purpose-specific view briefs and fifteen layout templates. It includes matched comparisons, drawing spines, evidence matrices, narrative sequences, and studio pin-ups. Start there when the board needs more than a simple image grid.
How do you lay out an architecture presentation board?
Build the layout from the decision the board must support. A client board may lead with a dependable workhorse view. A competition board may lead with one clear spatial idea. A portfolio spread may lead with the project's strongest argument.
Review
Choose client review, portfolio, competition, or studio review. State the objective and assign each item one semantic role.Format
Confirm A1, A2, or A3, orientation, printer requirements, margins, image density, and any submission template.Compose
Choose a purpose-led template or Custom grid. Place the lead, merge cells, add evidence, and set the reading order.Deliver
Resolve readiness checks, review structured text when useful, then export the files and editable source required by the brief.
Build the grid from content, not decoration. Inventory every render, drawing, diagram, caption, and requirement first. Remove duplicates. Rank what remains as lead, support, or reference material.
Set the outer margin before dividing the usable area. Choose a small number of columns that can hold the widest drawing and narrowest text block. Keep gutters consistent. Align image edges, drawing datums, captions, and text baselines where they share a relationship.
This is a modular grid, not a decoration layer. Josef Müller-Brockmann's Grid Systems in Graphic Design remains a useful step-by-step reference for constructing and applying such systems.
Do not fill every cell. Empty grid cells can protect hierarchy. They can also separate unlike evidence. A board with no quiet area asks every element to lead.
The Client Presentation Board Planner turns this sequence into a local workspace. Use it to test image roles, frame sizes, missing views, and layout.
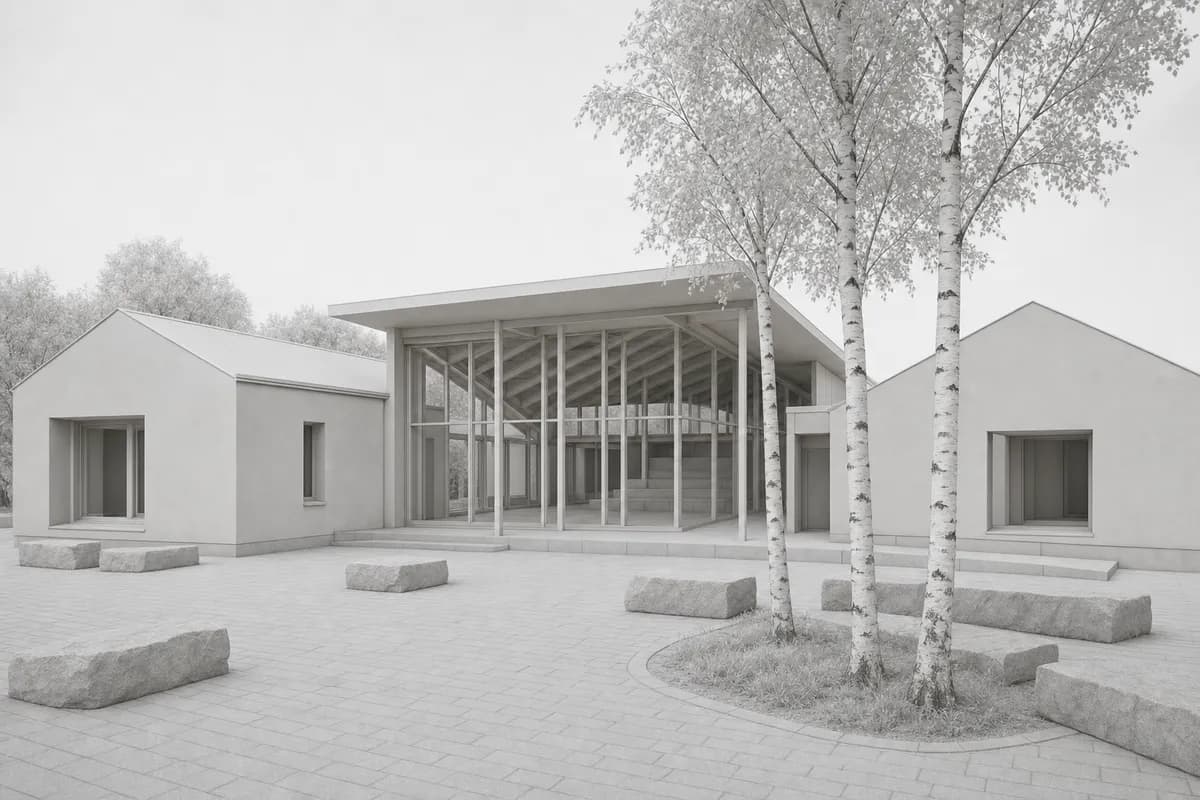
Fixed source / lead render
Test the lead image at its planned frame.
What belongs on an architecture presentation board?
Every item should answer a named question. Renders explain appearance, occupation, and atmosphere. Plans and sections explain measured relationships. Diagrams isolate one operation. Text names the argument, status, and limits.
| Content | Best question | Authority | Board role |
|---|---|---|---|
| Lead render | What is the project and how should it feel? | Reviewed image study | Visual entry point |
| Plan | How are spaces, access, and circulation arranged? | Current verified model or drawing | Measured spatial evidence |
| Section | How do levels, height, light, and structure relate? | Current verified model or drawing | Vertical spatial evidence |
| Diagram | Which single design operation matters? | Named source and stated simplification | Focused explanation |
| Caption | What am I seeing and what is its status? | Project record and reviewer | Context and qualification |
Place plans and sections as vector artwork when the workflow allows it. Vector lines remain sharp at different print sizes. Keep labels and scales attached to their source drawing. Do not rebuild technical evidence inside an image model. Francis D. K. Ching's Architectural Graphics is the deeper reference for architectural drawing conventions and presentation layouts.
How do the tools connect from source view to final board?
Use each tool for one bounded decision:
| Stage | Use | Output |
|---|---|---|
| Capture | SketchUp Screenshot Export Planner | Clean source view at the intended aspect and long edge |
| Calculate | Board Size and Aspect Ratio Calculator | Full sheet, printable area, equal cells, and starting ratios |
| Compose | Presentation Board Planner | Merged cells plus exact pixel dimensions and aspects for each slot |
| Create | Per-view CAD Scene handoff | One Create brief carrying the view role and recommended aspect |
| Prepare | Image Optimizer or free Lanczos 4K upscale | Role-sized WebPs or a deterministic 3840-pixel long edge |
| Deliver | Planner readiness and export | PNG, PDF, HTML, plain text, or editable JSON source |
The SketchUp Screenshot Export Planner uses 3200 pixels as its presentation-board starting long edge. Replace that starting value when the actual slot requires more or fewer pixels.
The Image Optimizer uses product roles, not print standards. Its maximum edges are 3200 pixels for a lead, 2400 for supporting views, and 1600 for details. Compare those values with the planner's slot before accepting them.
The free Lanczos 4K download resamples a finished Render to a 3840-pixel long edge when the source is smaller. It preserves aspect, never crops, and does not generate new detail. Re-render at the correct frame when the source crop is wrong.
Prompt library · 22 promptsAerials, sites and masterplansBrowse prompts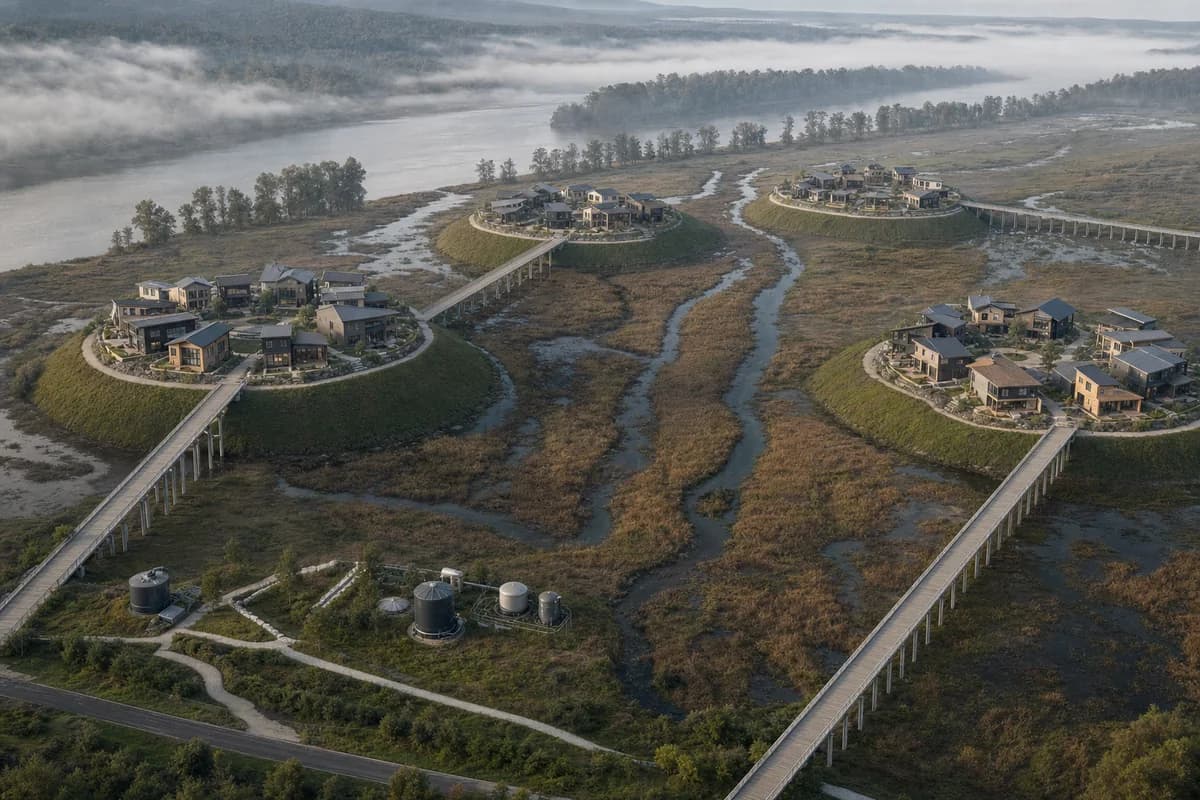

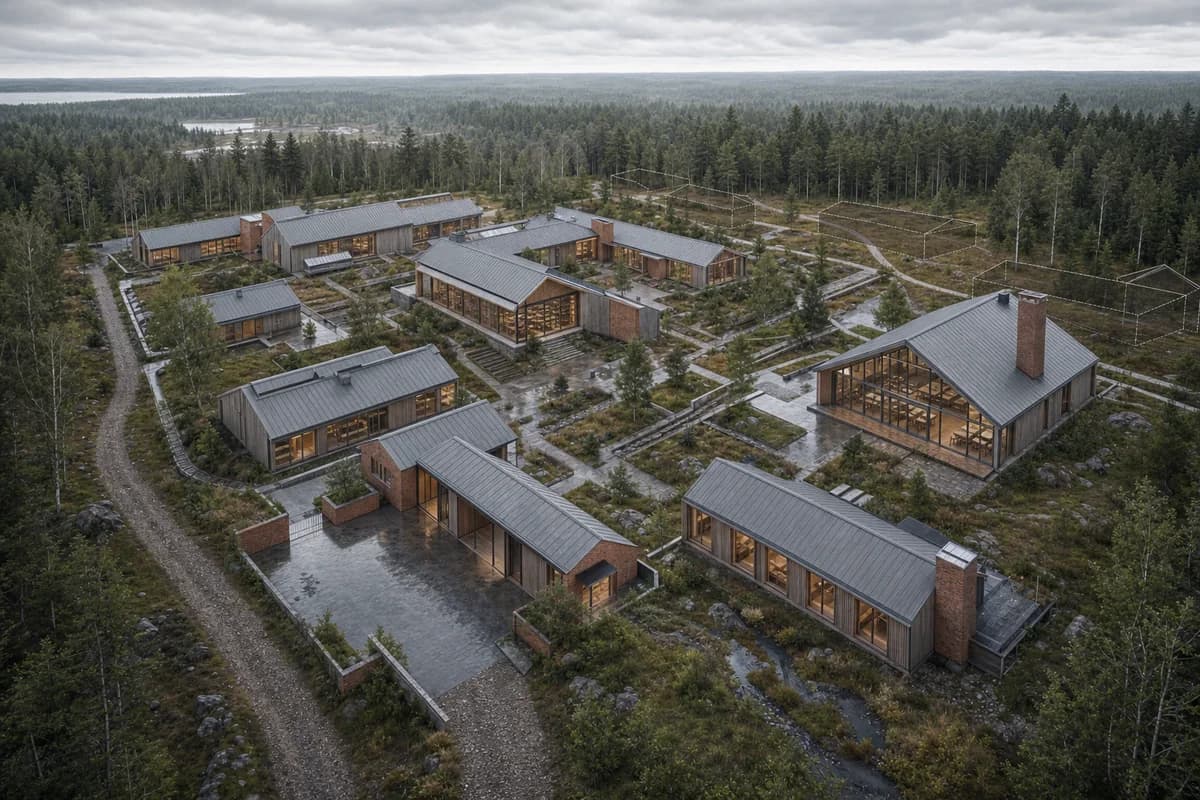
2. Prepare the images and output
What resolution does a printed presentation board need?
The printer requirement comes first. PPI describes image pixels at final placed size. DPI describes the printer's output dots. The terms are often mixed, but they are not the same measure.
The needed image pixels depend on sheet size, image slot, viewing distance, and the printer's process. Check effective PPI after scaling and cropping the image inside the layout. The source file's original dimensions alone do not answer that question.
Do not prepare every image at the full sheet size. Size each image for its own slot. Give the lead image more pixels because it occupies more area. A small detail or diagram may need a different source than a wide exterior.
The board calculator provides document and panel dimensions. Use its result as a production target. Then confirm bleed, color profile, file format, and maximum file size with the printer or submission brief.
CAD Scene includes a free Lanczos 4K upscale for a finished Render. It can prepare a reviewed image for a larger slot. It does not restore missing design information or correct an unsuitable crop.
Test one render at its final board slot
The A-series views use a six-cell grid, 20 mm planning margins, and 8 mm gutters. Change the sheet, slot, and PPI together.
Frame role
Image density
A1 landscape · Lead 2×2 · 531.3 × 554.0 mm · 3,138 × 3,272 px at 150 PPI
The 150, 200, and 300 PPI choices are planning checks. They are not universal quality grades. A distant wall board can tolerate different image detail than a handout. Fine linework and small text need their own proof.
How should you prepare color, bleed, and the final PDF?
Ask the printer for the output specification before changing the document. Confirm sheet size, bleed, color profile, PDF preset, crop marks, and file-size limits. Do not assume that every printer wants CMYK, every edge needs bleed, or every PDF should use the same PDF/X standard.
Bleed applies when color or imagery reaches the trimmed edge. Its amount belongs to the printer specification. Crop and registration marks also belong outside the final page. Adobe advises confirming which marks the provider expects. Its bleed and slug guidance explains their separate roles.
Use the printer's ICC profile when one is supplied. Keep embedded source profiles intact until the agreed conversion step. Avoid converting files repeatedly between RGB and CMYK. Adobe's color-management guidance recommends matching the profile to the actual output device and paper.
Before export:
- Update every placed image and drawing link.
- Resolve missing fonts and overset text.
- Check effective PPI at final placed size.
- Inspect transparency, overprint, rich black, and fine linework.
- Set bleed and printer marks only from the delivery specification.
- Choose PDF/X only when the printer or brief requests it.
- Export the intended page range, not the working document by accident.
Adobe's print-ready PDF workflow covers links, fonts, color, bleed, preflight, and output presets. Its Preflight panel guidance also checks modified links, overset text, missing fonts, and low-resolution images while the document is open.
3. Compose and inspect the hierarchy
How should the lead and supporting renders be framed?
The lead render needs a clear subject and quiet space around it. Supporting views should add evidence. They should not repeat the same camera at a smaller size.
Synthetic sourceLead renderSave the final camera in the model. Keep the horizon, crop, and visible geometry available for comparison. The screenshot preparation guide covers overlays, edge clarity, and clean capture.
A supporting crop can focus on a threshold, material junction, or occupied space. It still needs to add information that the lead image cannot carry.
Avoid stretching an image to fit a slot. Avoid cutting through entrances, people, roof edges, or key lines. Return to the source camera when a crop removes the design idea.
What changes when a crowded board gets a clear hierarchy?
The content may stay the same while the reading order changes completely. The weak version below gives three images similar weight. Repeated views compete, caption blocks fragment, and no project argument leads.
The controlled study fixes the sheet at 1200 × 800 pixels. Both versions use the same three raster placements, title bars, information quantity, off-white palette, and source pixels. No image or text surrogate is added or removed.
Only image-frame geometry, hierarchy, alignment, information grouping, and negative space change. The resolved version gives one render the lead role. Two crops support it. One information zone closes the sequence. The change demonstrates layout judgment, not a measured attention result.
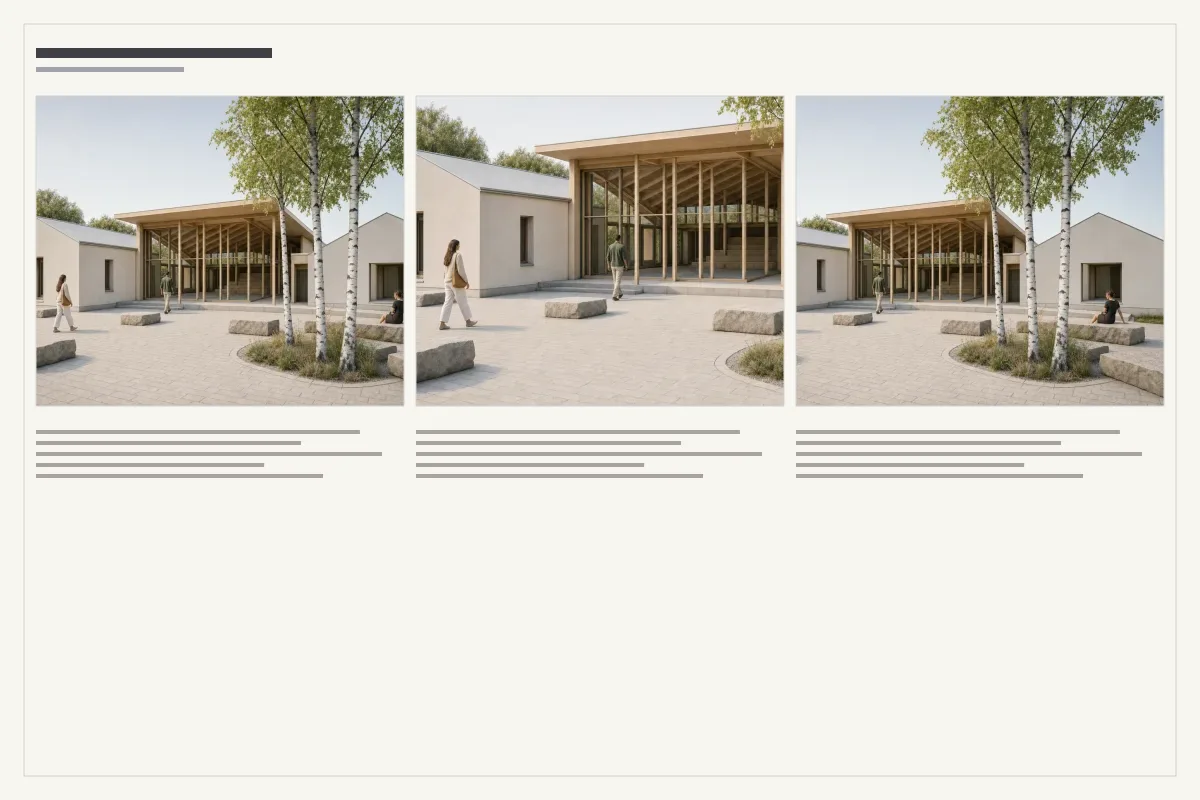 Competing hierarchy
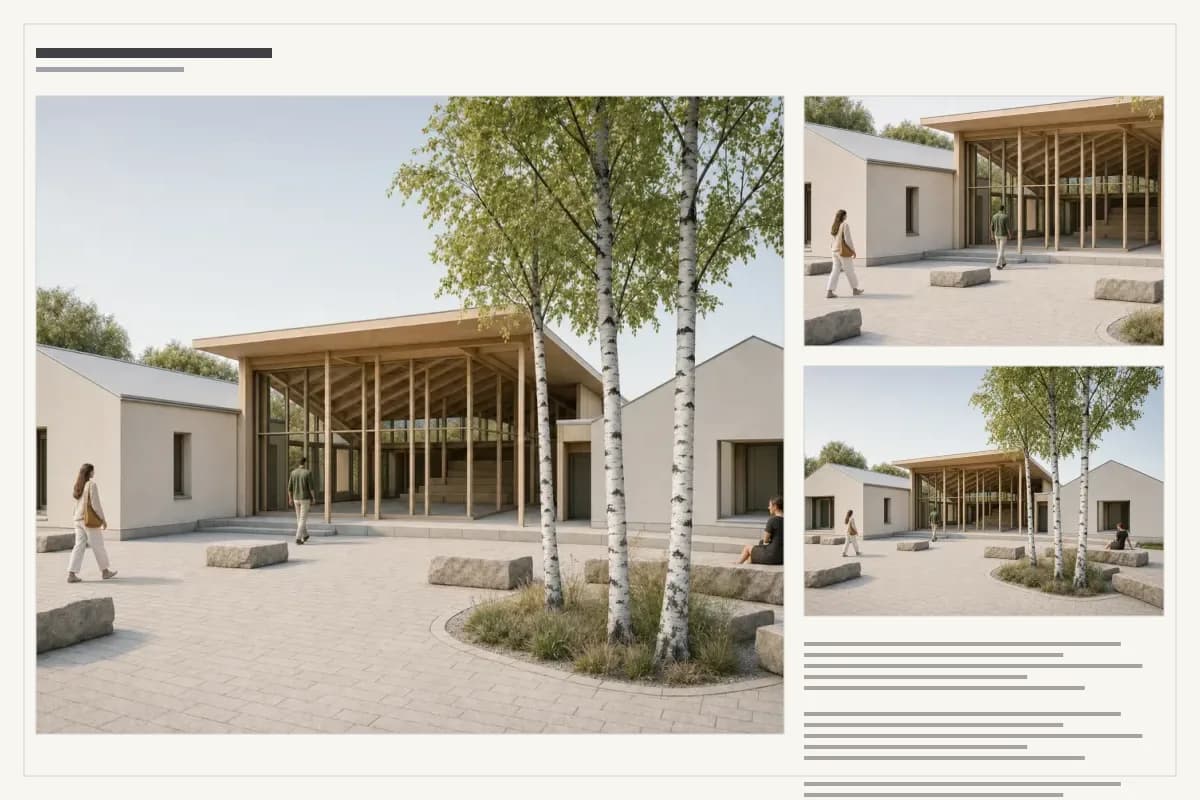 Resolved hierarchy
1. Lead image
The largest frame carries the project identity, approach, scale, and primary atmosphere.
At thumbnail size, check whether the lead remains obvious. At full size, check whether each supporting item earns its area. If the board only works when every caption is read, the visual hierarchy is not finished.
How do you keep the board reading as one story?
Use one hierarchy and one visual direction. Repeat margin logic, caption style, line weight, neutral balance, and image treatment. Variation should come from the information, not from accidental formatting.
The renders also need a shared material and lighting language. CAD Scene Project settings carry one Composition across studies. The five fields cover Style, Scene, Lighting, Materials, and Entourage. A saved Preset can preserve that Composition as a reusable starting point.
Review each image separately before reviewing the set. A shared Composition does not verify geometry or guarantee identical results. Keep one source image for every camera.
The architectural rendering styles guide helps choose a treatment. The portfolio renders guide covers coherence across several projects. For a jury set, use the competition render workflow to assign each image one role.
How should type, captions, and drawing labels work?
Typography should explain hierarchy without becoming a second composition. Use a small set of text roles. A project title identifies the work. A short statement names the argument. Drawing titles identify evidence. Captions explain status, source, or consequence.
One family with a controlled range of weights is often enough. A second family should earn a specific role. Avoid changing typeface, alignment, case, and color at the same time. Too many signals weaken all of them.
Ellen Lupton's Thinking with Type provides a deeper treatment of hierarchy, alignment, spacing, and typographic systems.
Set type at final board size. Do not judge it while zoomed in. Print a representative crop containing the smallest drawing label, longest caption, and finest line. Read it at the intended distance.
Captions should answer useful questions:
- What is this view or drawing?
- Which source revision and camera produced it?
- What changed from the source?
- Which information is illustrative?
- Which decision or unresolved issue does it support?
Keep long project prose out of the image field. Edit it into one argument and a small number of supporting statements. A board is not a report compressed onto one sheet.
Drawing labels need consistent placement and terminology. Keep north arrows, scales, keys, and legends attached to the drawing they govern. Never let a render caption imply that generated detail is measured.
Which presentation board layout mistakes matter most?
The main failure is unclear hierarchy. If every image has equal size and contrast, the reader has no entry point.
Other mistakes come from separating layout from source preparation:
- rendering before the image slots exist;
- using one wide image inside a narrow portrait frame;
- hiding unresolved design behind atmosphere or planting;
- letting captions float without a clear image relationship;
- changing palette or exposure between adjacent views;
- exporting the complete board without checking image resolution;
- treating a generated image as technical or compliance evidence.
Use the client render review checklist before an image reaches a decision meeting. The model, drawings, specifications, and measured sources remain authoritative.
4. Preflight and deliver
What can the Presentation Board Planner export?
The planner keeps its anonymous and signed-in boundaries explicit:
| Access | Files and actions | Boundary |
|---|---|---|
| Without an account | Standard PNG, plain-text plan, and editable JSON package | Plans and optimized images remain in this browser |
| Signed in | High-resolution PNG, PDF, standalone HTML, Project images, and CAD Scene handoff | Production exports and Project access use the signed-in capability |
| Optional AI review | Suggestions for purpose, objective, and ordered text briefs | No images, filenames, Project IDs, dimensions, or account metadata are sent |
The standard PNG is bounded to a 1600-pixel edge. High PNG uses a 4096-pixel edge tier. PDF can use the print tier, bounded by the browser's available memory. The export reports effective DPI so the result can be checked against the selected sheet.
Each per-view handoff creates one CAD Scene Create brief. It includes the view title, purpose, notes, and the planner's preferred aspect. If the browser cannot open the destination, the planner copies the brief instead.
How should you review the board before export?
Review the board in three passes. Start with hierarchy. Then check source accuracy. Finish with production.
- View the complete board at thumbnail size.
- Confirm the lead image and reading order appear immediately.
- Check every render against its saved source view.
- Inspect openings, levels, materials, entourage, shadows, and false text.
- Read captions, scales, keys, and drawing references at final size.
- Confirm margins, bleed, colour settings, and printer requirements.
- Open the exported file on another device.
- Print a reduced proof when the delivery allows it.
The batch image optimizer can prepare reviewed WebP files and a named manifest. Keep a separate print master when the board requires another format or colour workflow.
Download the planning starter kit
The starter kit packages the planning decisions before a production file is built. It contains four editable files:
- A1 landscape SVG grid. A vector starting layout with named layers, 20 mm planning margins, 8 mm major gutters, one lead frame, supporting views, drawing evidence, and notes.
- 16:9 screen SVG. A 1920 × 1080 frame with safe-area guides, one lead image, an evidence rail, and notes.
- Content inventory CSV. A source register for role, question, revision, camera, status, final slot, required pixels, caption, and owner.
- Print and screen preflight. A plain-text checklist for hierarchy, sources, type, links, effective resolution, output, and archive.
Download the complete presentation board starter kit. The files contain no project data and work without an account.
You can also open the SVG grid template, 16:9 screen template, content inventory CSV, or preflight checklist separately.
Questions about architecture presentation boards
What aspect ratio should a presentation board render use?
Match the render to its final slot. Set the sheet, margins, and grid first, then save a camera with the same frame.
Which board sizes suit architecture presentations?
A1 and A2 often suit reviews and competitions. A3 can suit a compact handout. The brief and printer specification decide the final format.
What resolution should a printed board use?
Use the printer requirement, sheet size, image slot, and viewing distance. Check effective PPI for each placed image instead of applying one number to every item.
How do you make several renders look coherent on one board?
Use one hierarchy, palette, lighting direction, margin system, and caption style. Keep a verified source image for every camera.
What is the difference between PPI and DPI?
PPI describes the image pixels available at final placed size. DPI describes printer output dots. Confirm both image requirements and output settings with the printer.
Should an architecture presentation board be CMYK?
Use the color space and ICC profile requested by the printer. Do not convert every file to CMYK by habit, and avoid repeated conversions between profiles.
Does every presentation board need bleed and crop marks?
No. Bleed matters when content reaches the trimmed edge. Add bleed and printer marks only when the printer or submission brief requires them.
How many images should an architecture board include?
Use the smallest set that explains the project argument and required evidence. Remove views that repeat the same role before shrinking the complete layout.
Which layout template should I use?
Choose from the decision structure. Use matched comparison for client options, a centerpiece or drawing spine for competitions, a sequence for portfolios, and a pin-up for studio critique.
Can I move an editable board plan to another browser?
Yes. Download the planner JSON package and import it in the other browser. The package carries the editable plan and its local WebP assets.
What does the optional AI board review send?
It sends the confirmed purpose, objective, and ordered text briefs. It sends no images, filenames, Project IDs, dimensions, or account metadata.
Method and sources
How was the board hierarchy study controlled?
The study asks one narrow question: can hierarchy improve while the content stays fixed? It does not test attention, comprehension, client approval, or competition outcomes.
The input is one synthetic pavilion render and two fixed crops. A deterministic script places the same three raster assets on both 1200 × 800 pixel sheets. Both versions keep the same title bars, fifteen information bars, palette, and source pixels.
The comparison changes five variables: frame geometry, visual hierarchy, alignment, information grouping, and negative space. Review checks are limited to content parity, one legible entry point, consistent alignment, distinct supporting roles, and readable information grouping.
The script is scripts/build-presentation-board-study.ts. The provenance record is blog-assets/architecture-presentation-board/case-study.json. No additional image generation or post-production occurs during board assembly.
The result can demonstrate a repeatable layout method. It cannot prove that the resolved version performs better with a real jury or client. A future measured study would need representative readers, controlled tasks, fixed viewing conditions, declared outcomes, and architectural review.
References reviewed
- ISO 216:2007, current A-series trimmed paper standard, reviewed 9 September 2026
- Adobe InDesign guidance for print-ready PDF, bleed and slug, color management, and live preflight, reviewed 9 September 2026
- CAD Scene Product, Glossary, board-size calculator, and Presentation Board Planner, reviewed 9 September 2026
- CAD Scene purpose catalog, template registry, per-slot document builder, board raster tiers, per-view handoff, and Lanczos upscaler source, reviewed 9 September 2026
- Francis D. K. Ching, Architectural Graphics, seventh edition, Wiley, reviewed 9 September 2026
- Josef Müller-Brockmann, Grid Systems in Graphic Design, Niggli, reviewed 9 September 2026
- Ellen Lupton, Thinking with Type, reviewed 9 September 2026
- Existing portfolio, competition, and client-review guidance, plus one matched synthetic editorial image lineage


