
Blender Screenshot to Render with AI

To turn a Blender screenshot into a render, start from the camera you intend to present. Hide overlays and active selections. Then save a clean Solid or Material Preview image from that view. Use the image as the source in Enhance. Describe materials, light, landscape, and atmosphere without asking for a new building. Finally, compare the output with Blender. Check the camera, crop, silhouette, openings, floor levels, and repeated elements before client review.
This route suits still-image option studies. It does not read the .blend file or replace Blender's scene data. Use Cycles or EEVEE when the deliverable needs controlled lights, exact material nodes, animation, or model-linked revisions.

What is the Blender screenshot-to-render workflow?
The useful path has four steps. Lock the camera before testing materials or lighting directions.
Lock the camera view
Choose the final camera, lens, crop, and output aspect ratio in Blender.Prepare a clean source
Use Solid or Material Preview. Hide overlays, selections, gizmos, and temporary objects.Use Enhance
Choose the image under Scene to enhance. Name finish changes without requesting new geometry.Compare with Blender
Check the camera, crop, silhouette, openings, levels, and repeated elements against the model.
The cross-tool screenshot checklist covers capture hygiene beyond Blender. Use the source-assisted architecture prompt directory after the camera and source view are fixed.
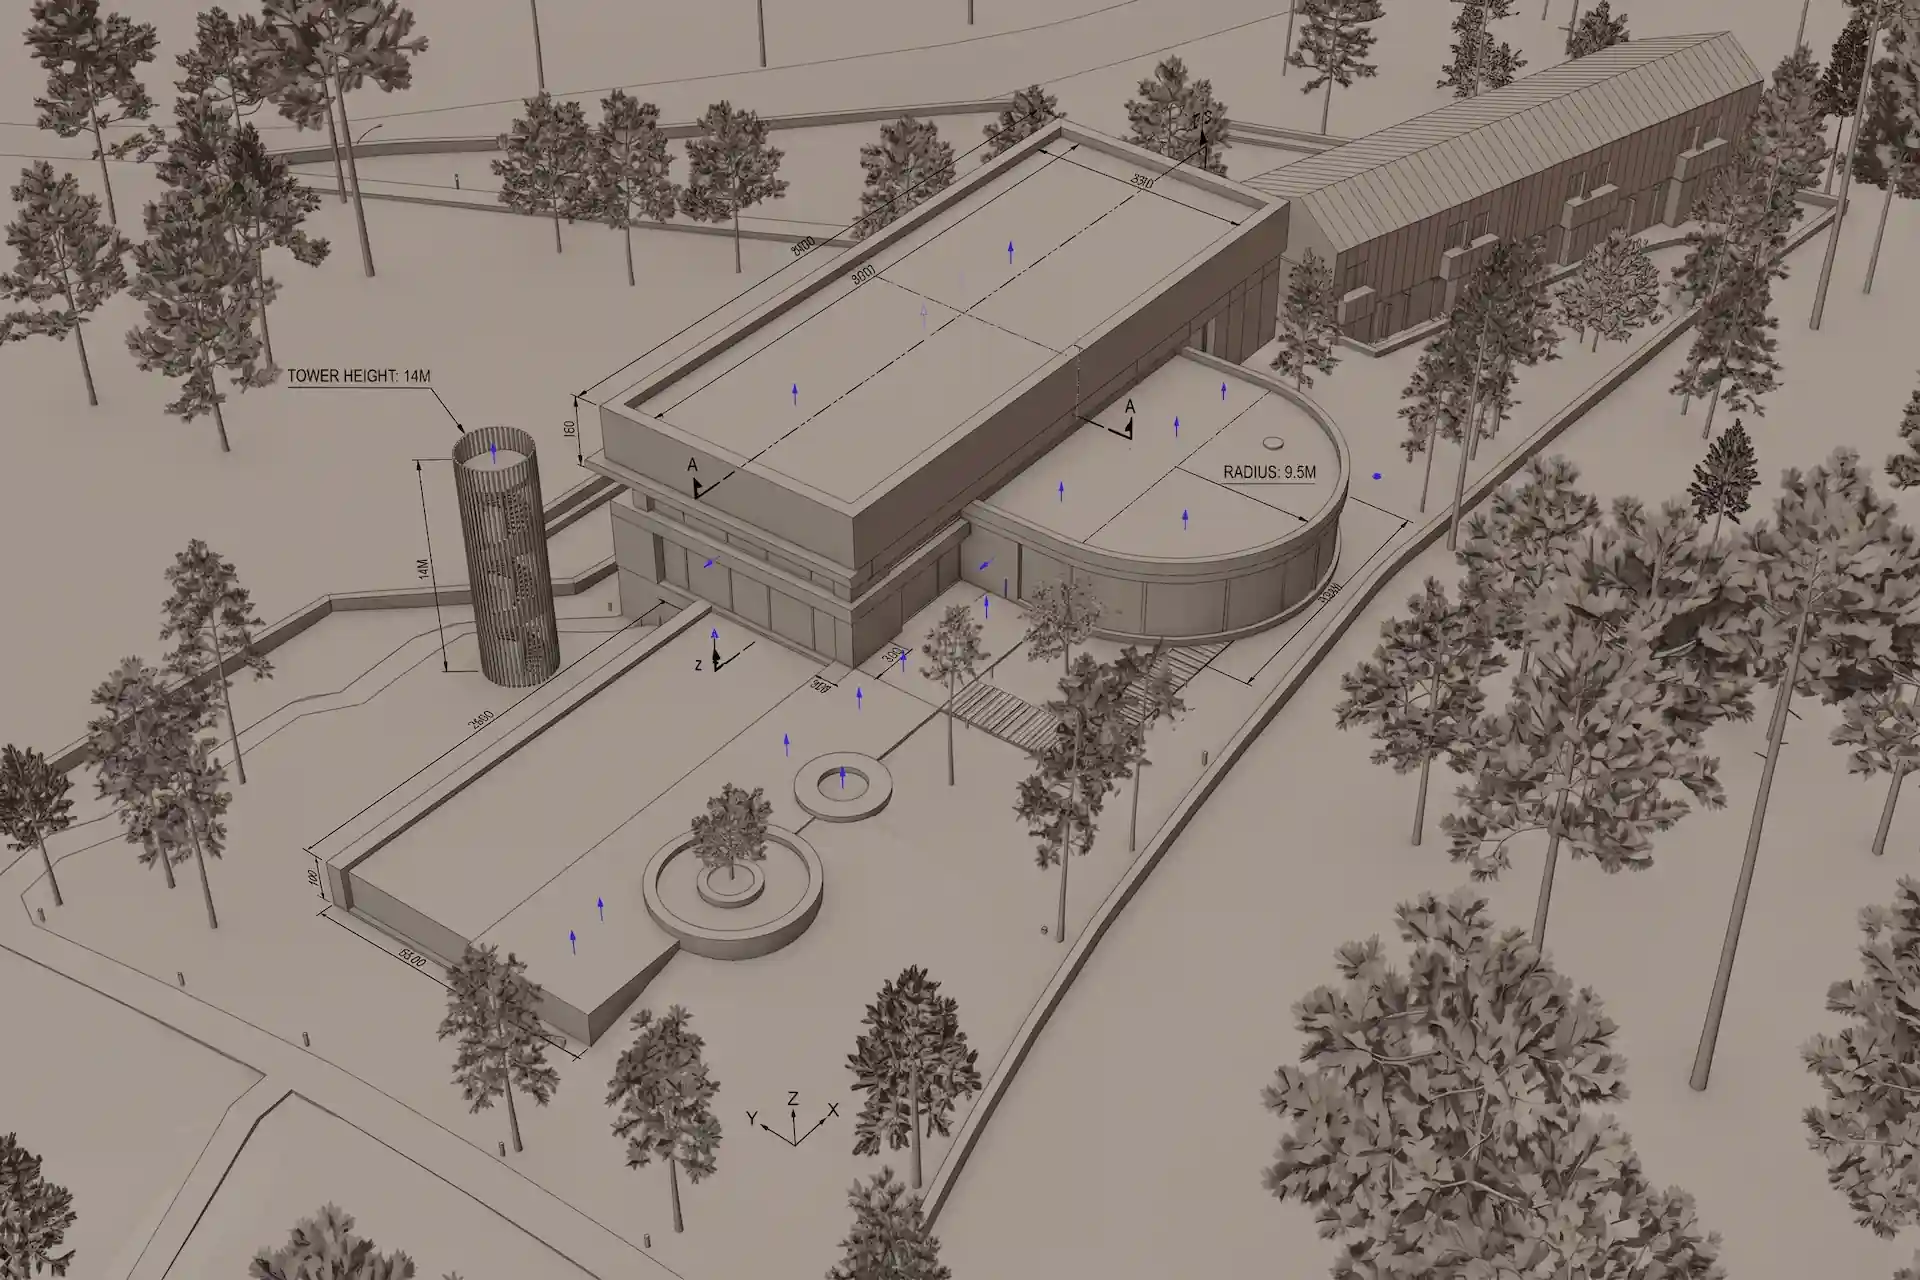
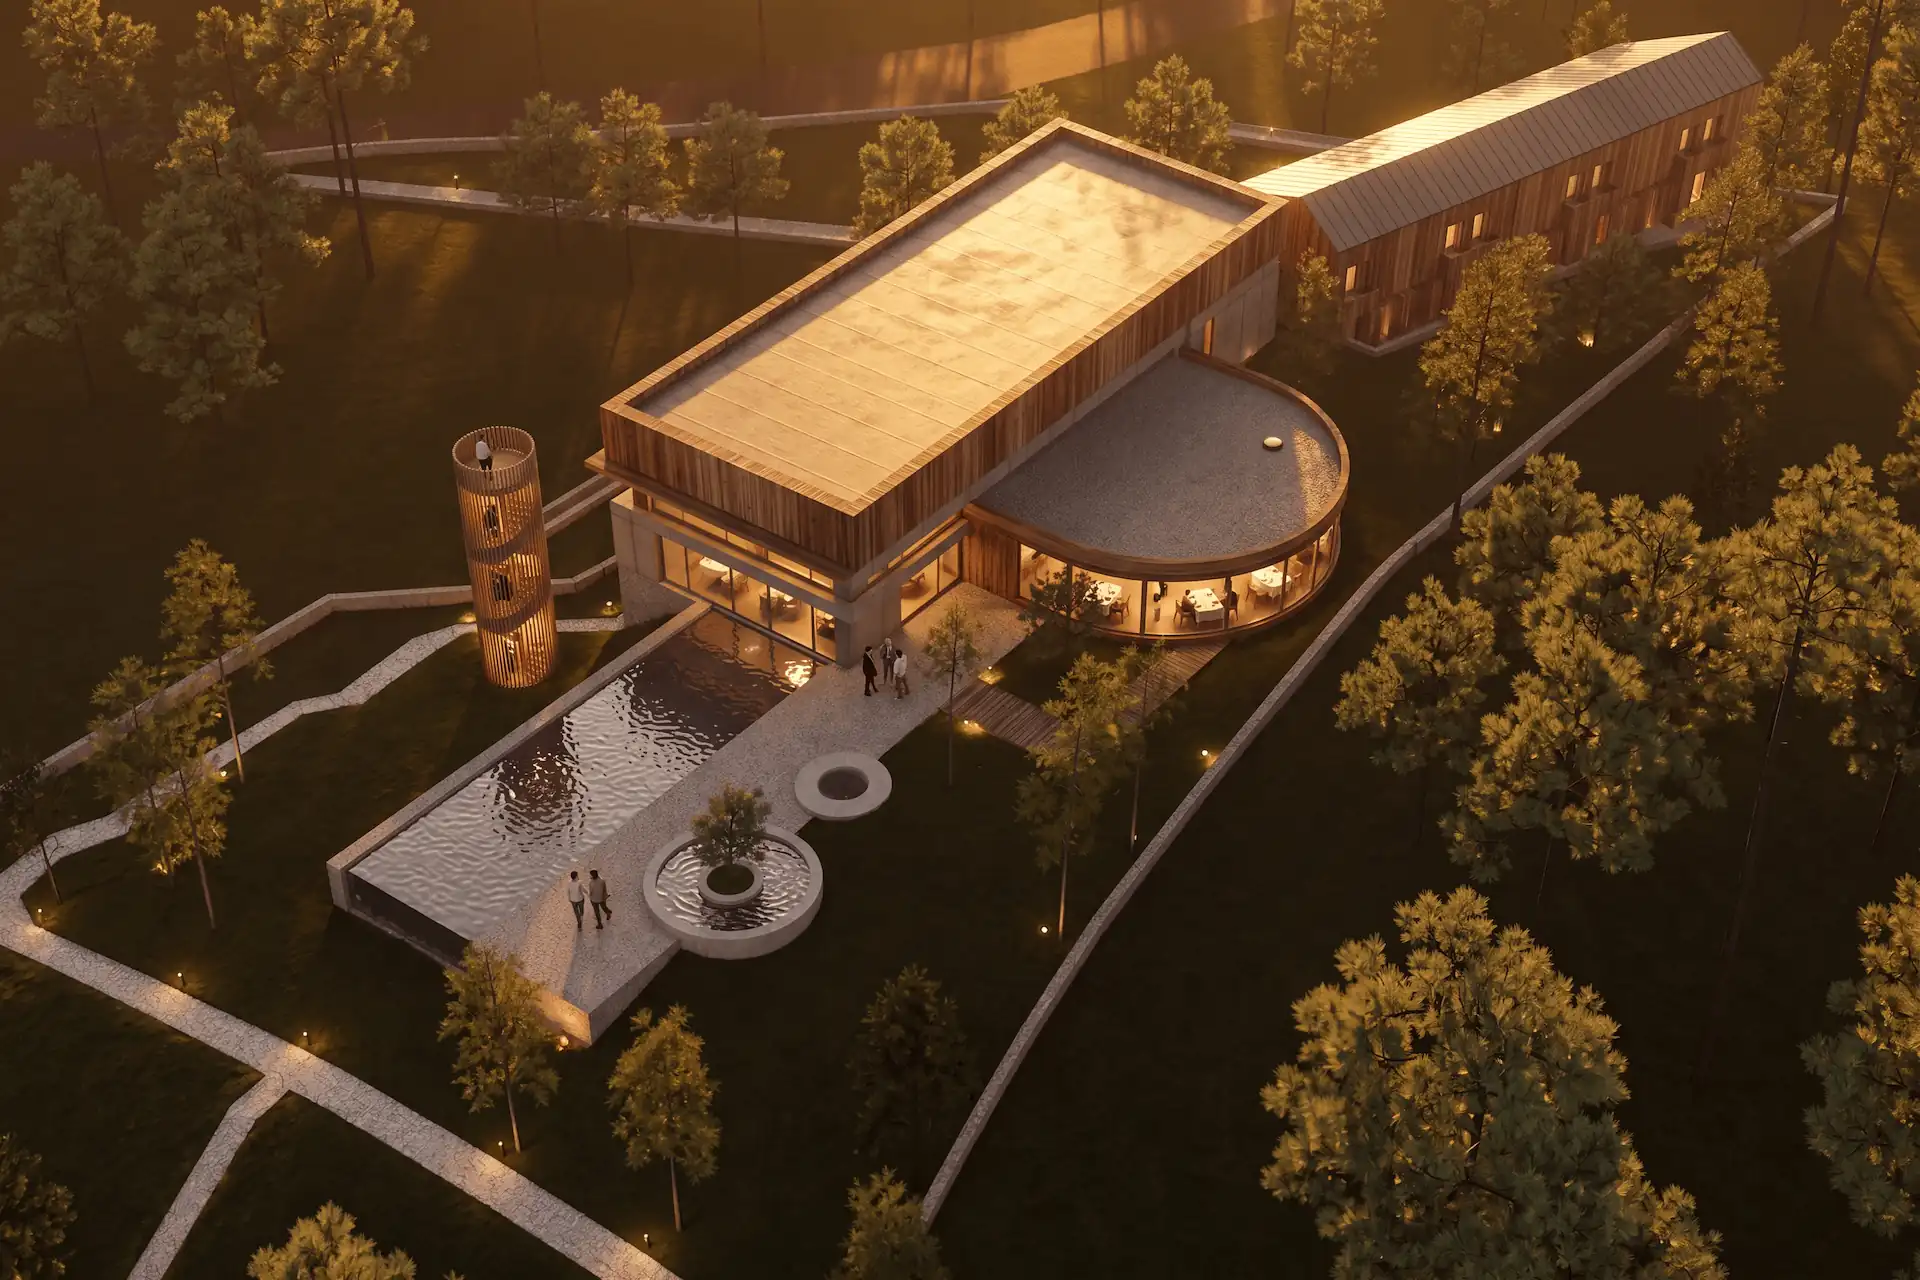
Before / after
Render your Blender screenshot free.
Which Blender viewport mode should you capture?
Use Solid when geometry must read without material noise. Use Material Preview when the existing surface assignments clarify intent. Neither source needs a finished Cycles setup.
Blender's current Viewport Render manual says Render Viewport Preview works with Workbench and EEVEE. Solid uses Workbench settings. Material Preview uses EEVEE settings. The same guide advises turning overlays off to remove rigs, empties, and other clutter.
| Solid or Workbench | Material Preview | |
|---|---|---|
| Geometry read | Clear silhouette and edges | Clear when materials stay restrained |
| Material cues | Minimal | Existing colors and broad finishes |
| Main risk | Surfaces need more prompt detail | Busy textures can hide boundaries |
| Best starting point | Clay or early model | Model with useful material intent |

How should you frame and export the Blender view?
Use the active camera for a repeatable composition. Blender's Camera View manual confirms that the camera frame defines what appears in the rendered image. It also documents aligning the active camera to a chosen viewport.
Before capture:
- set the camera height and focal length on purpose;
- keep the horizon level unless the composition needs another choice;
- match Blender's output aspect ratio to the intended board or screen;
- leave enough margin around the building for the final crop;
- hide overlays, relationship lines, extras, and active outlines;
- remove temporary people, proxy trees, or lights that give the wrong scale.
Use 3D Viewport → View → Render Viewport Preview for a clean still from the current view. Enter the active camera first when the composition must remain repeatable. A normal screenshot can also work, but crop away application chrome.
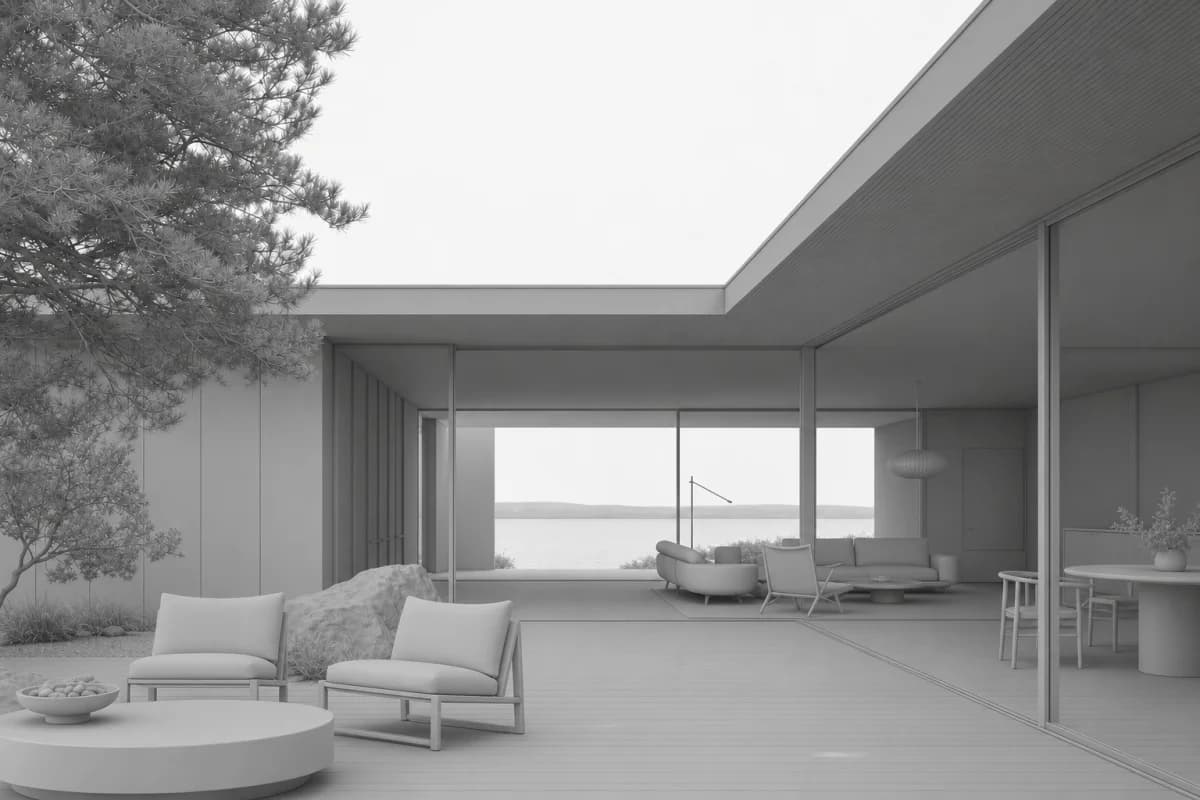 BlenderRendered
What should the Enhance brief say?
The source image carries visible geometry, camera, crop, and composition. The brief should name the finish you want to study.
Review the project's Composition before sending:
- Style: the visual language and rendering character;
- Scene: climate, landscape, and broader atmosphere;
- Lighting: time of day, direction, contrast, and mood;
- Materials: named surfaces and finish relationships;
- Entourage: planting, people, furniture, and vehicles.
A useful prompt might read:
Preserve the source camera and visible building design. Use pale oak soffits, mineral render, dark bronze frames, soft late-afternoon light, and sparse pine planting.
Avoid asking Enhance to move the camera, add a floor, or redesign the roof. Those requests conflict with the source. Use Edit for a focused change to a finished image.
Prompt library · 28 promptsSource-preserving conversionsBrowse prompts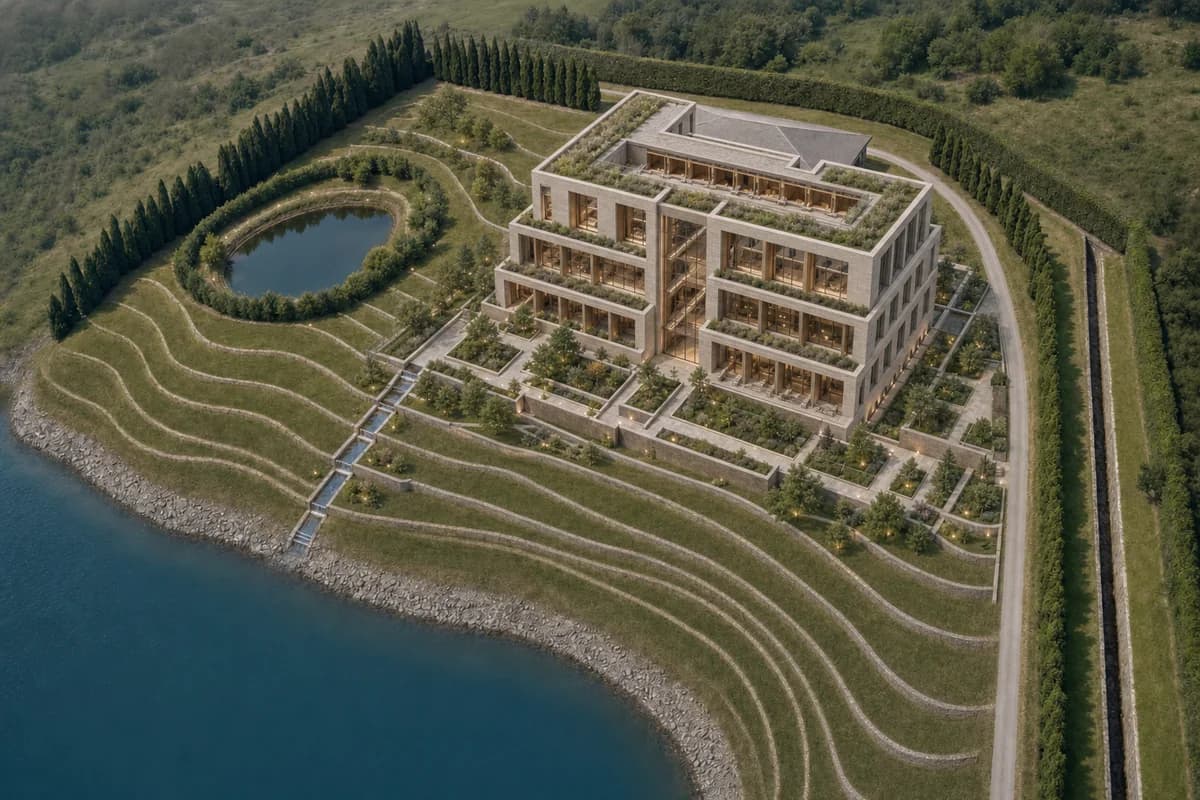
What should you check in the finished render?
Compare structure before judging atmosphere. Place the source and output side-by-side. Review these points in order:
- camera height, perspective, lens character, and horizon;
- crop, aspect ratio, and subject scale;
- roof lines, floor levels, and primary edges;
- window and door count, position, and proportion;
- repeated bays, stairs, railings, and major furniture;
- material boundaries, shadows, and reflections.
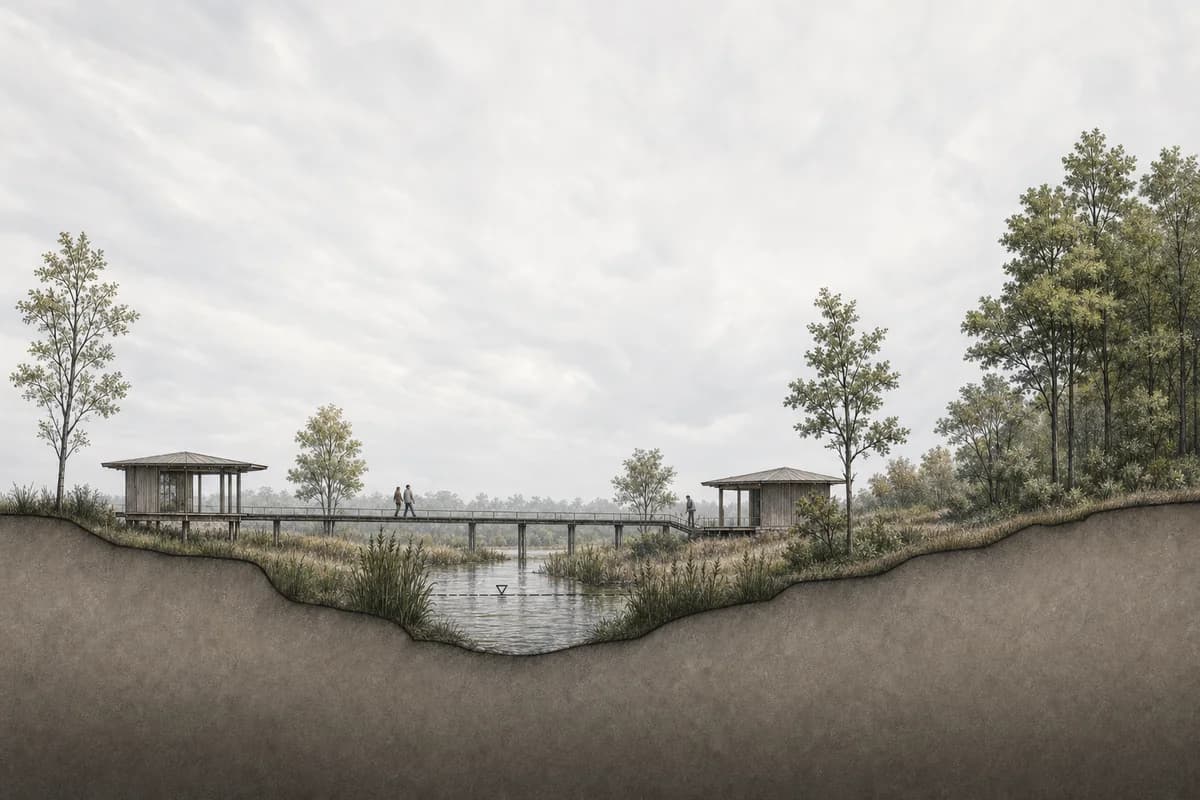
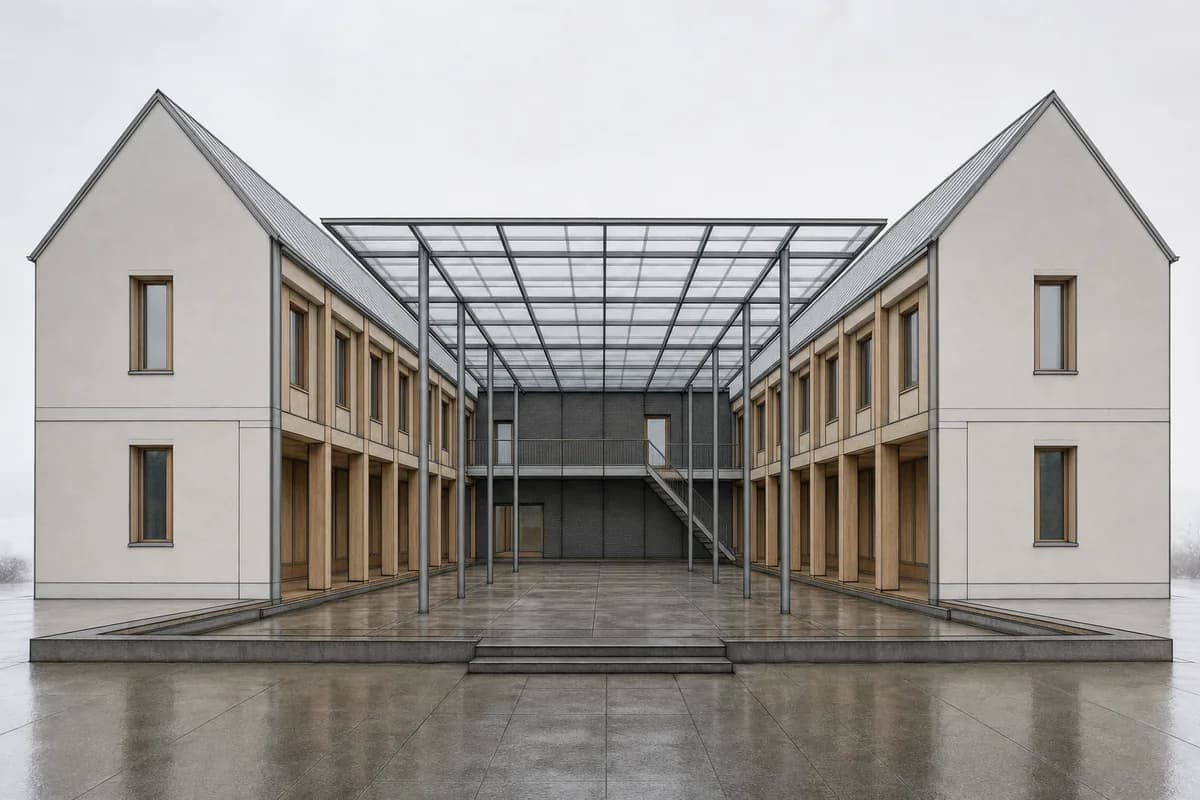
Enhance instructs the model to preserve the source view. Generated output can still drift. The pair above is a matched editorial illustration, not a measured product benchmark. Use the render-retention review method when you need a repeatable check.
When should you render inside Blender instead?
Use Blender's render engines when the output depends on scene data and controlled simulation. Use screenshot-based Enhance for quick still-image studies.
| Screenshot-based Enhance | Blender render | |
|---|---|---|
| Source | Exported image | Blender scene data |
| Material control | Brief and visible source cues | Material nodes and scene assets |
| Lighting control | Requested visual direction | Placed lights and renderer settings |
| Animation | ||
| Best for | Option studies and client-review stills | Controlled finals and animation |
For the wider process, read screenshot to render. Compare the Revit exported-view workflow and Rhino viewport workflow for mixed-tool studios. The architectural rendering styles guide helps define the finish. The software-choice guide separates screenshot tools, plugins, and conventional renderers.
Do I need to set up Cycles first?
No. A clean Solid or Material Preview image can be the Enhance source. Use Cycles when you need controlled scene lighting, material nodes, animation, or a final Blender render.
Should I use Solid or Material Preview?
Use Solid for the clearest geometry. Use Material Preview when existing material assignments help explain the intended surfaces without hiding edges.
Does CAD Scene read the .blend file?
No. Enhance reads the exported image. Blender remains the source of truth for objects, modifiers, dimensions, materials, lights, and scene revisions.
Will Enhance keep every Blender edge exactly?
No exact-retention guarantee applies. Enhance aims to preserve the source camera, framing, and major geometry. Compare every generated image with Blender.