
Style from a Photo: Match a Reference Look in Your Renders

Style from a photo captures the look of a reference image. It applies that look to your scene. You upload a photo you like. The AI reads its light, palette, and finish. Then it renders your building or room in that mood. Your scene stays the source of truth for geometry; check each result against it. The visual direction comes from the reference.
This helps when a client has already approved a specific look. It also keeps a project coherent. Capture one direction, then reuse it across every view. In CAD Scene, the captured direction becomes a preset you can version by project. You are matching mood and material, not copying a building. Use a clean, well-lit reference for the clearest result.
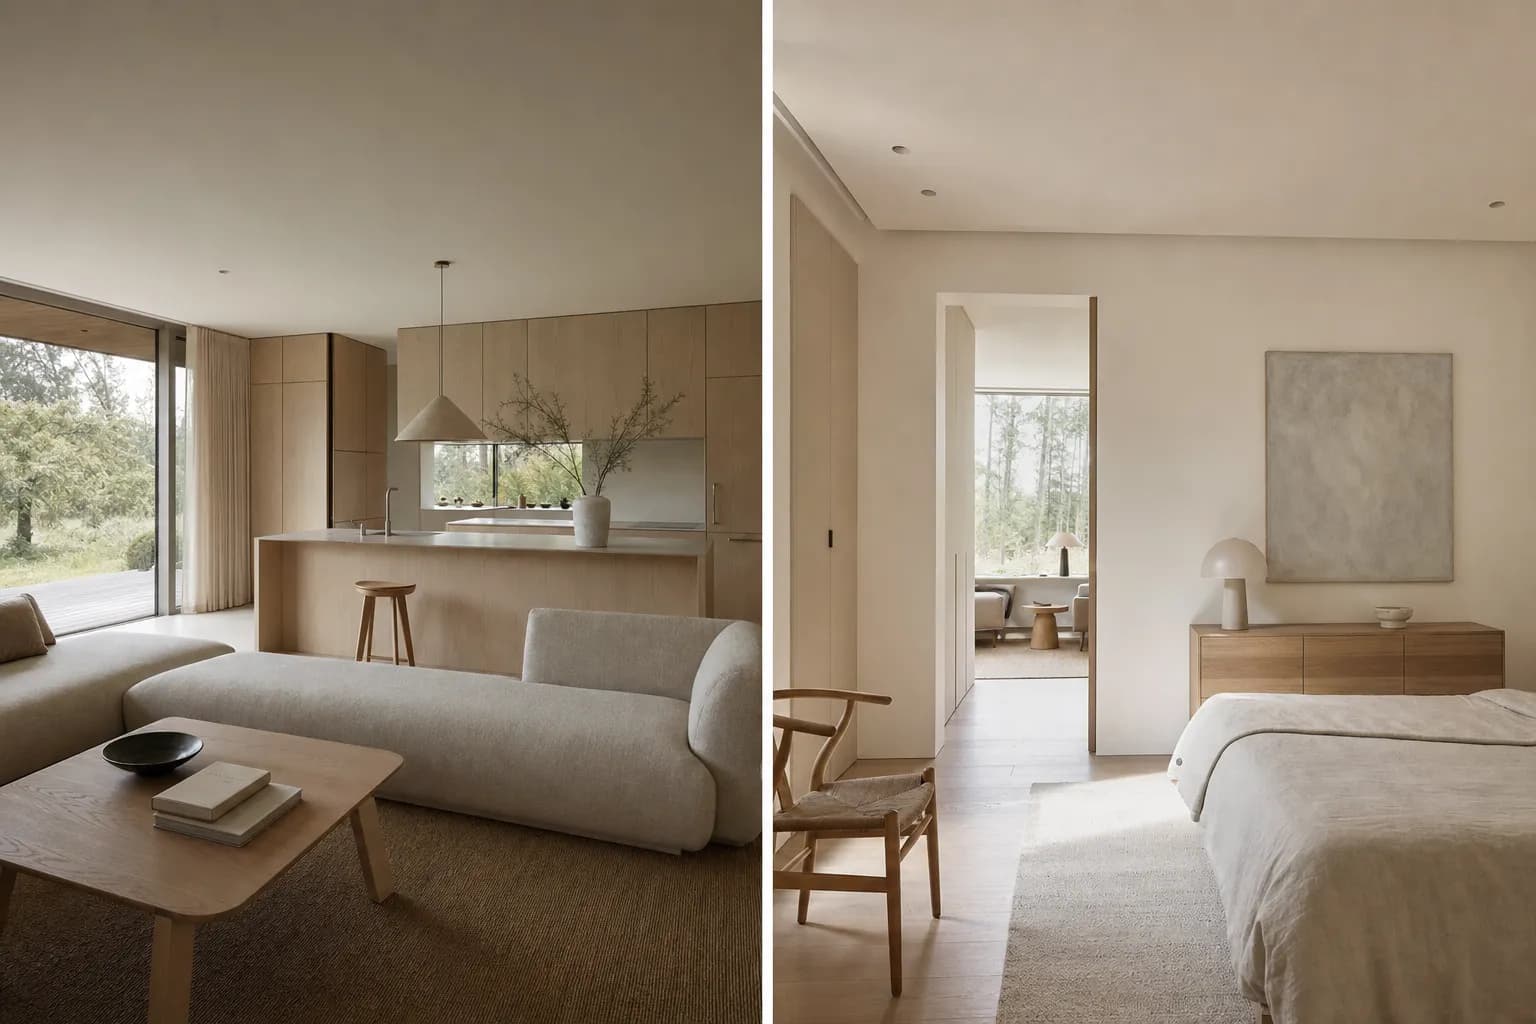
What is style from a photo?
Style from a photo captures light, palette, and finish from a reference. It applies those visual qualities to your scene while keeping your geometry.
The reference acts as a visual brief. It can show soft northern daylight, pale oak, muted linen, and low material contrast without a long description. The render reads those relationships together. That is more useful than naming a style and hoping both sides mean the same thing.
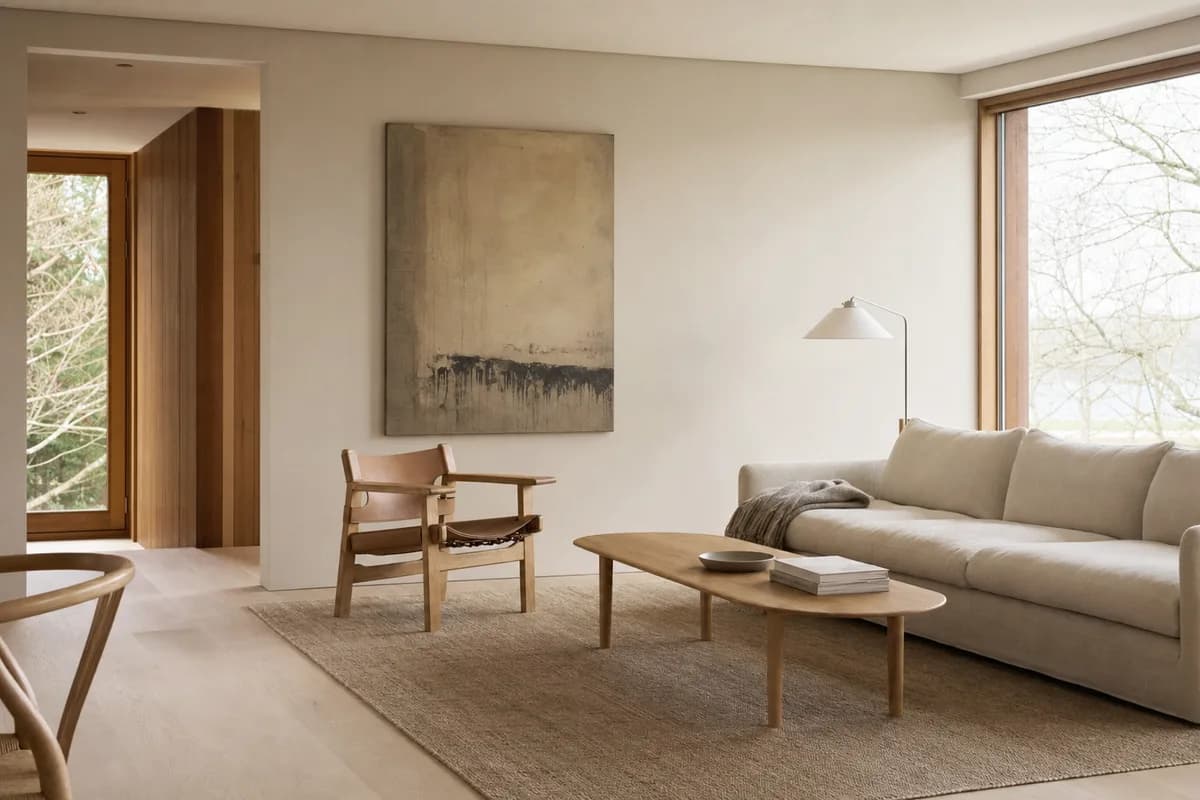 Reference photo
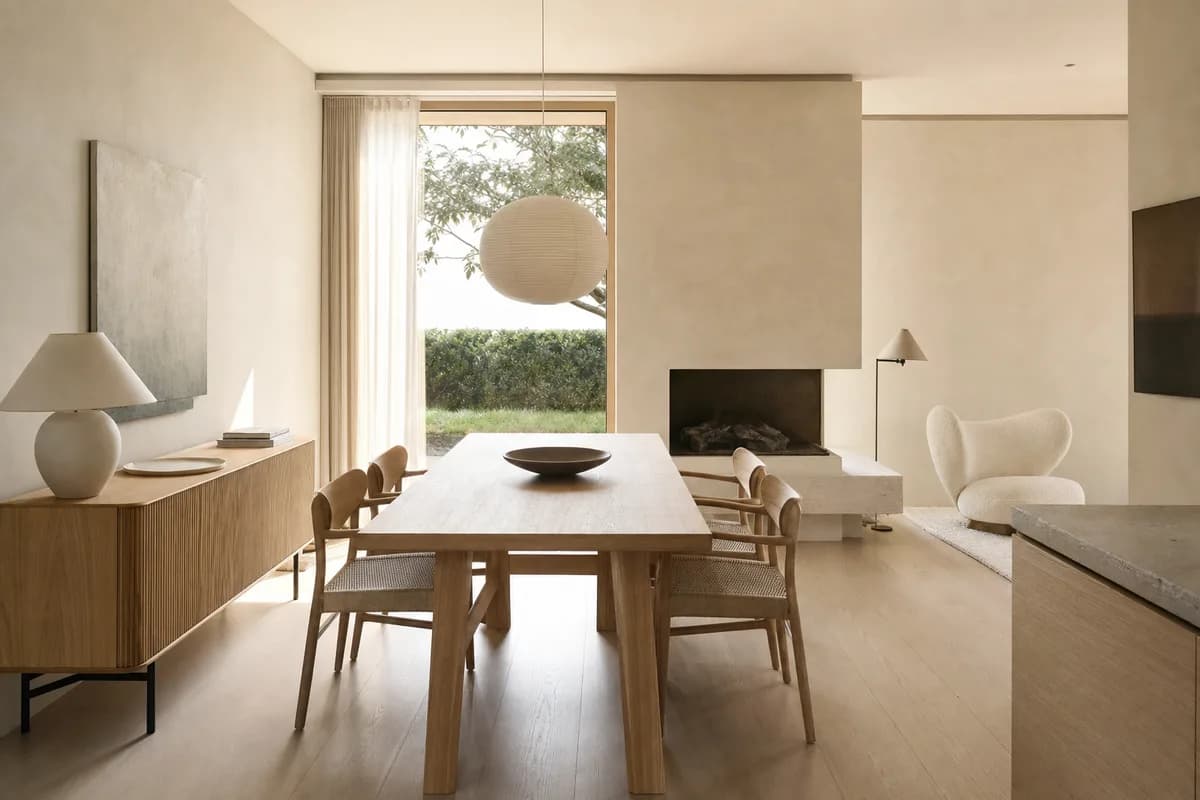 Matched render
Style matching is one branch of architectural rendering styles. It replaces a general label with evidence. Instead of asking for a warm minimal room, show the exact warmth, contrast, and material restraint you mean.
How do I match a reference photo's style in a render?
Upload one clean reference, then render your own scene against it. Save the captured direction as a preset and reuse it on the remaining views.
The source scene should already carry the camera and broad geometry. A model screenshot is ideal because the composition has been decided. The reference should describe the image treatment, not introduce a second building to copy.
Pick a clean reference
Choose one image with clear light, coherent materials, and a single visual direction.Upload the reference
Attach it as the look to match. Keep it separate from the scene that controls geometry.Render your scene
Use your model view or image as the source. Describe any project details that must remain.Save the captured direction
Store the result as a preset after the light, palette, and finish read correctly.Reuse it across views
Apply the preset to each camera, then review every image together.
Keep the written brief short. Name any qualities that matter but are easy to misread. You might specify matte plaster, low contrast, diffuse morning light, and no decorative additions. The guide to architectural rendering techniques explains how each treatment reads and what to ask for.
Review the first result before saving anything. Compare shadow softness, color temperature, timber tone, stone reflectance, and entourage density. If one quality misses, revise that quality alone. A focused correction is easier to judge than a new paragraph of requests.
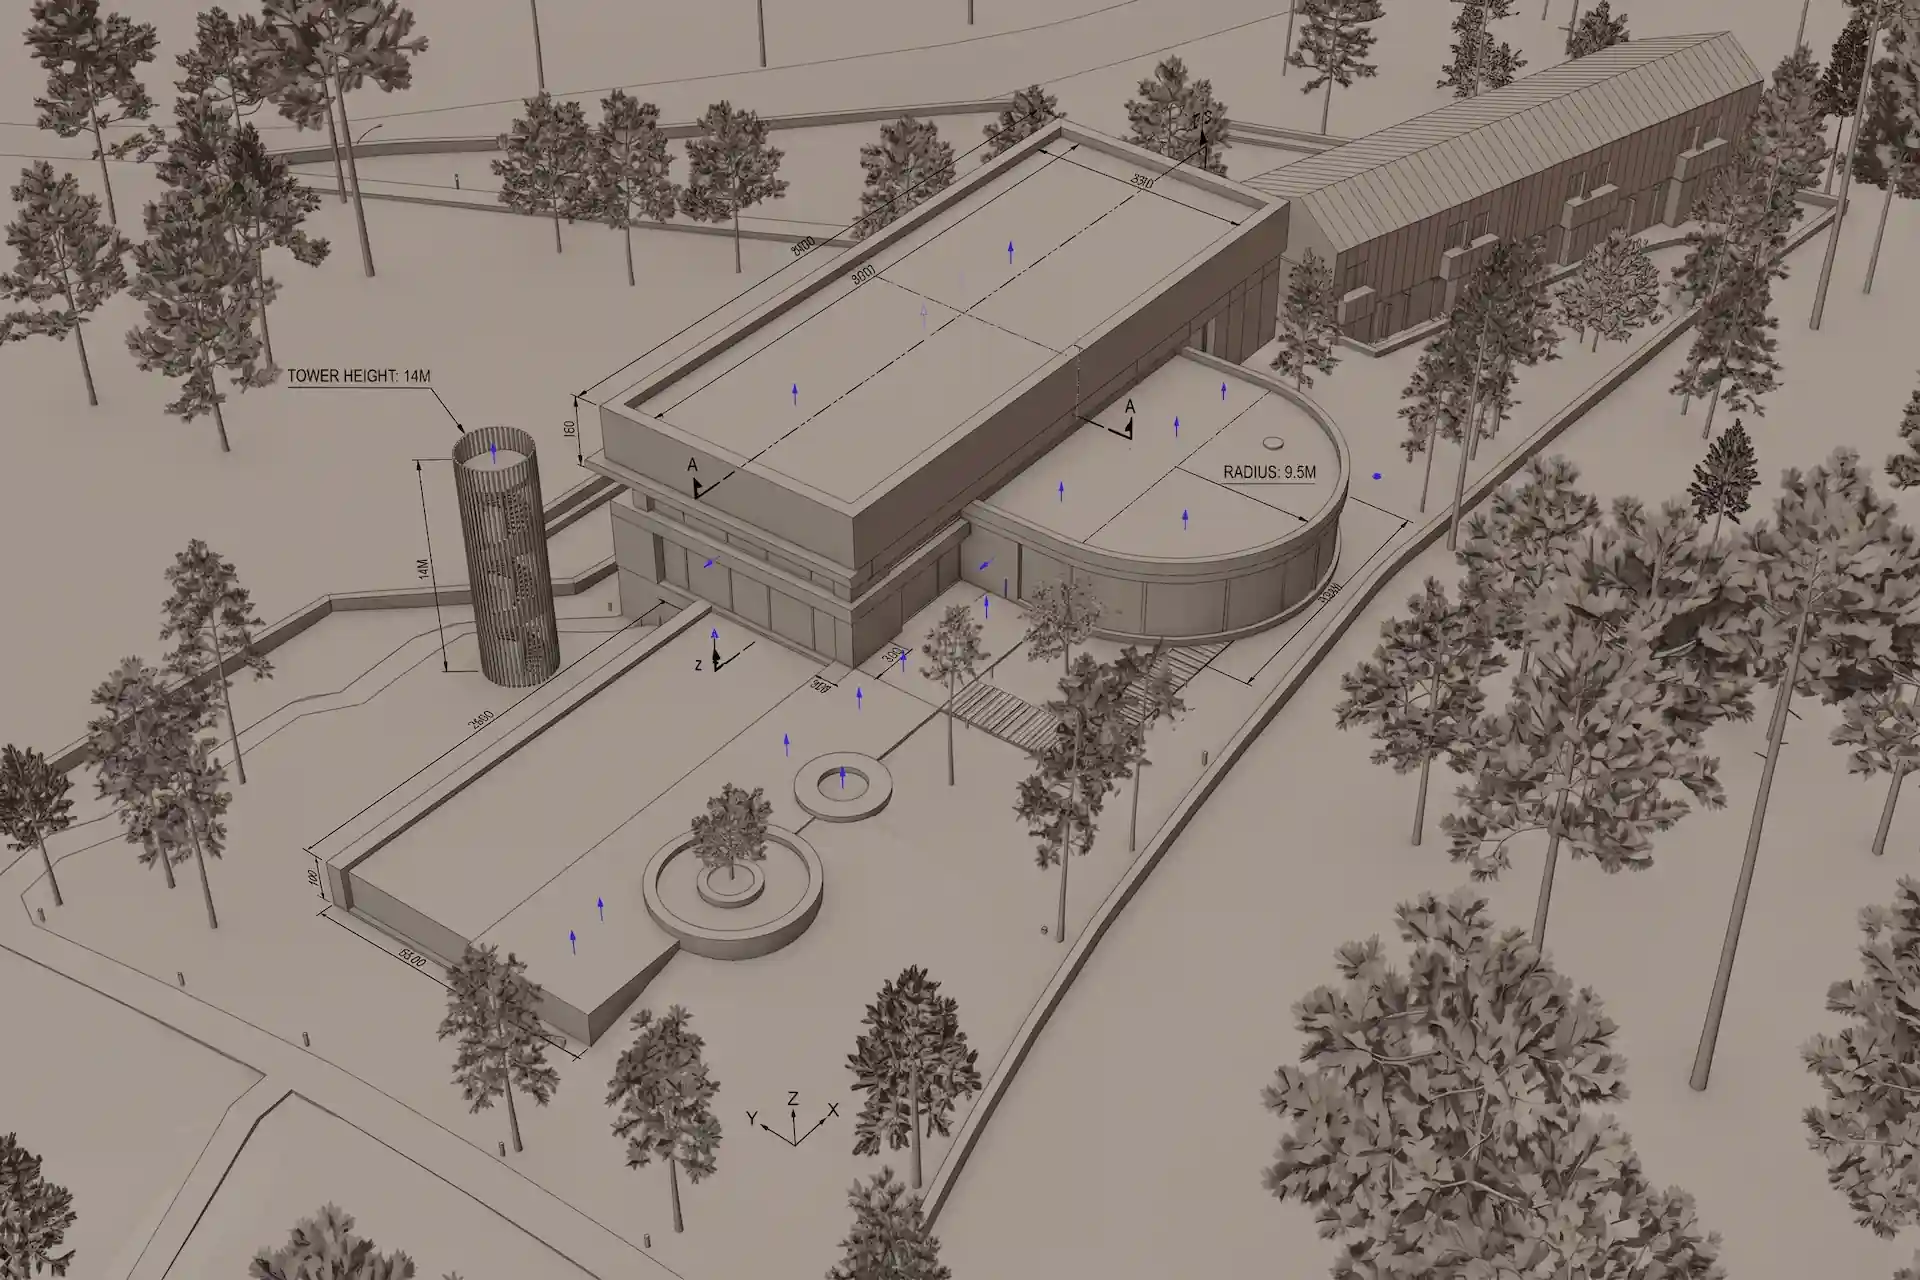
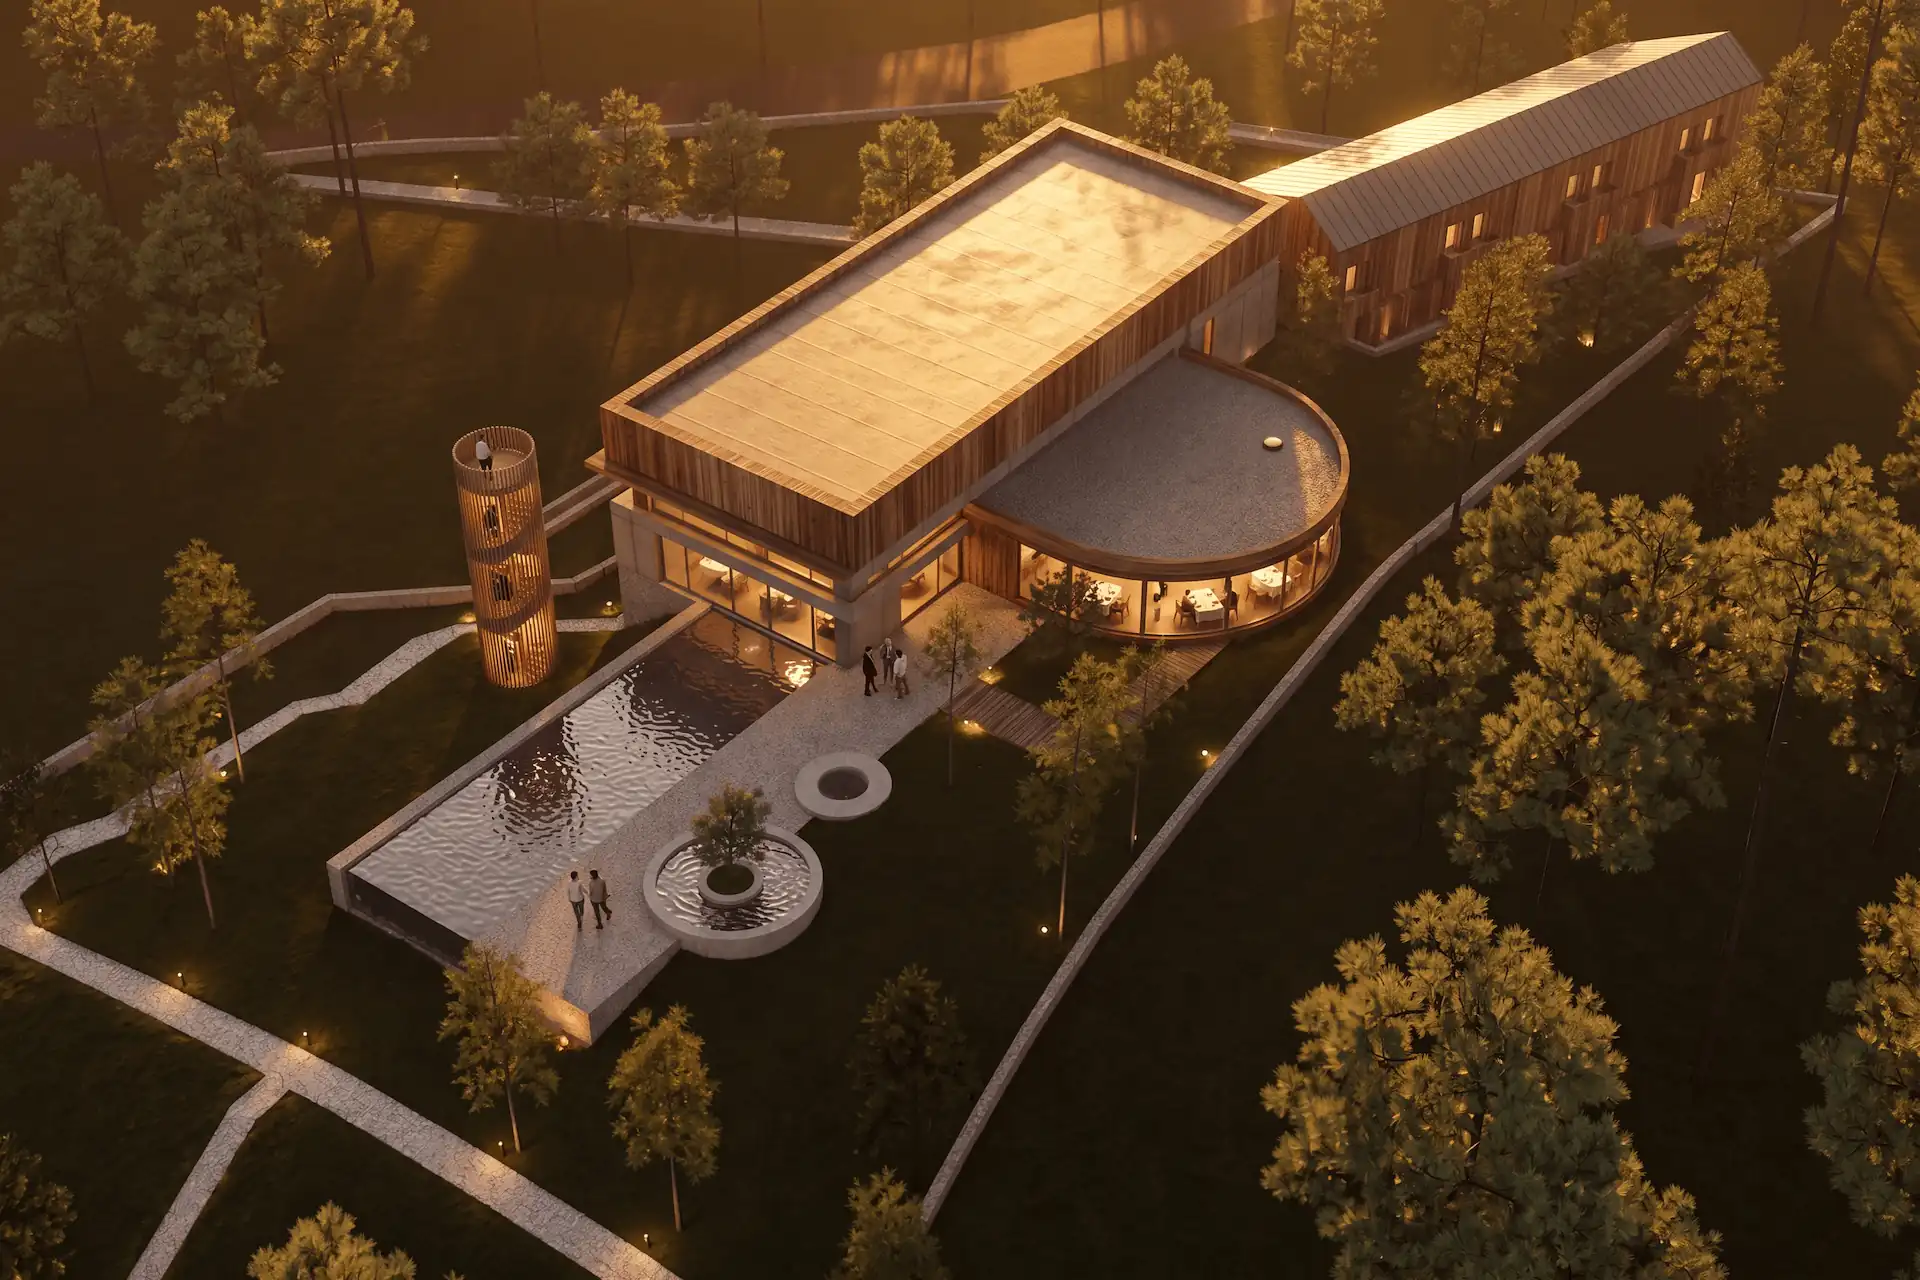
Before / after
This workflow also fits the wider process in the guide to AI architectural rendering. The source image holds the project. The reference narrows the visual direction.
What makes a good style reference?
A good reference has one clear mood, readable materials, and even lighting. It shows a coherent look without filters, graphic overlays, or competing images.
The best image is not always the most dramatic image. It is the one you can read. Look for visible shadow direction, believable material response, and a palette that works across the whole frame. Check that highlights still retain detail. Check that dark areas still describe space.
A reference should also relate to your project. An interior photograph can guide another interior even when the room geometry differs. An exterior can guide another exterior when facade depth and daylight are comparable. A heavily cropped material detail rarely contains enough information for a complete scene.
Ask four questions before uploading it:
- Can I tell where the light comes from?
- Can I distinguish timber, stone, plaster, metal, and fabric?
- Does one palette carry the whole image?
- Would this look still work on another camera?
If any answer is unclear, choose another reference. Reference quality limits the quality of the visual instruction.
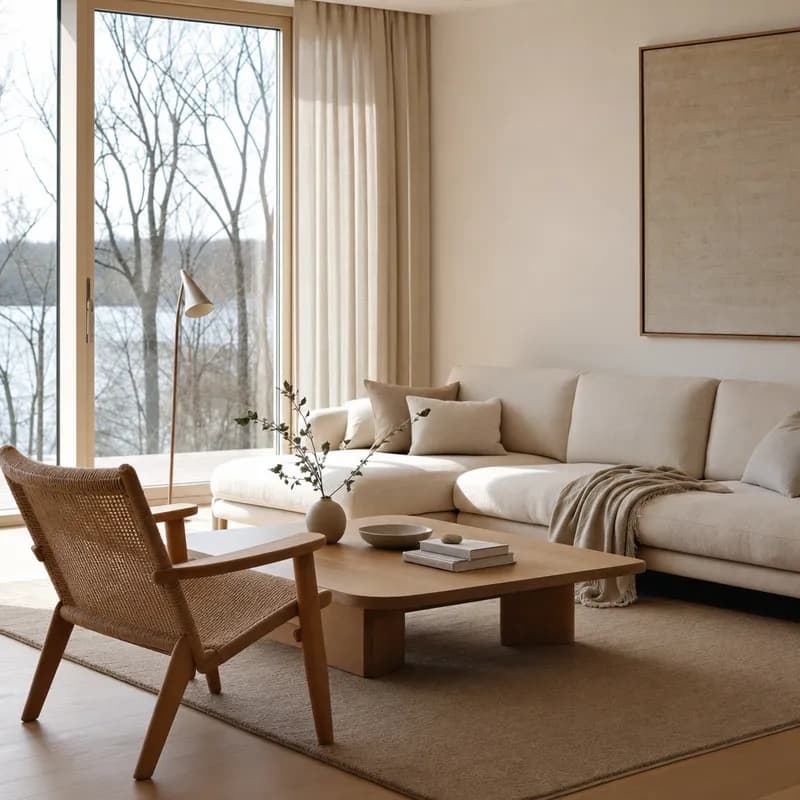
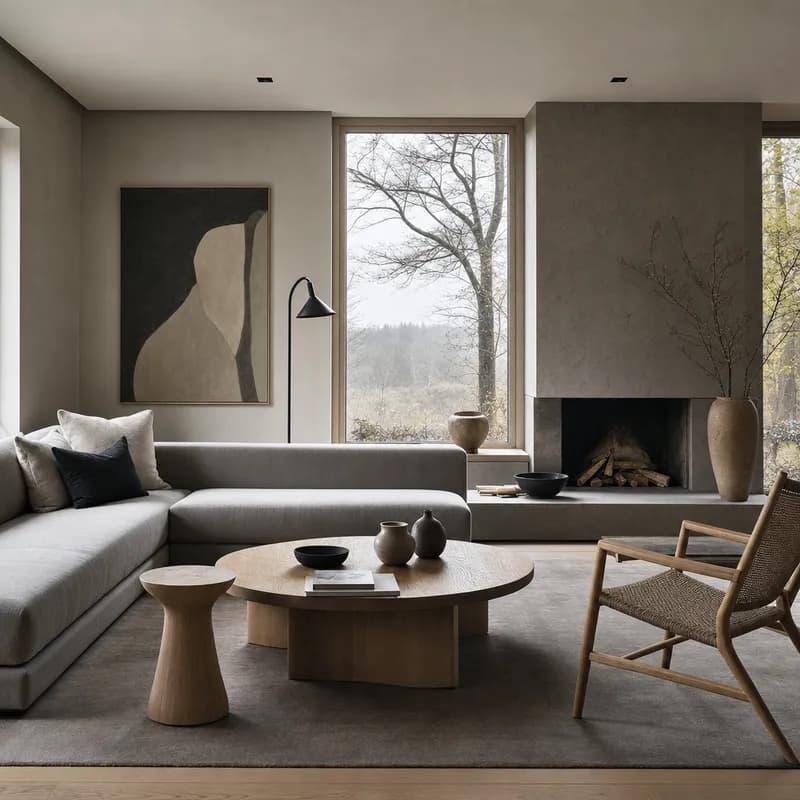
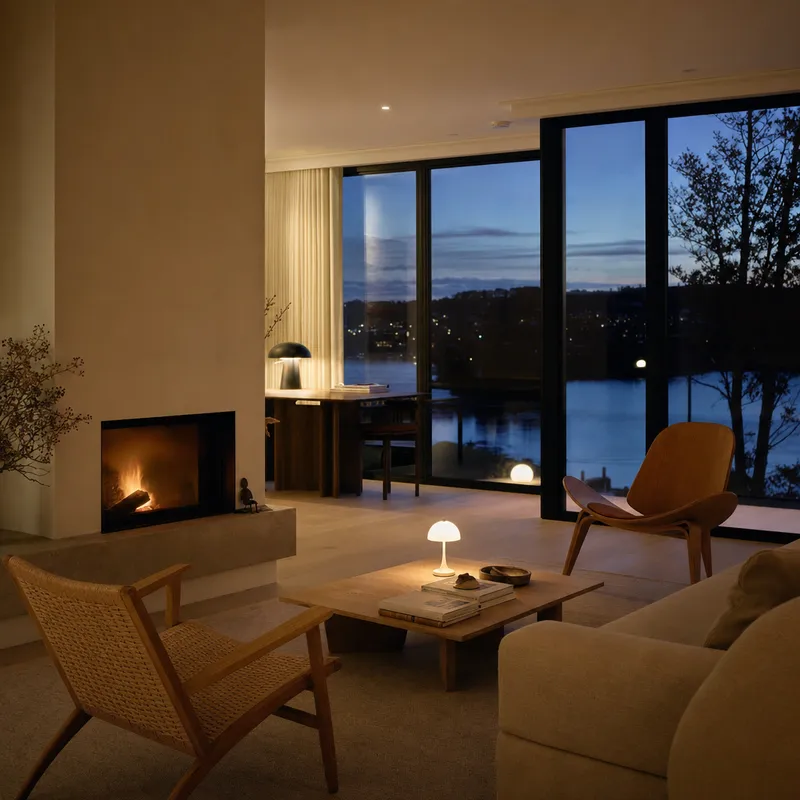
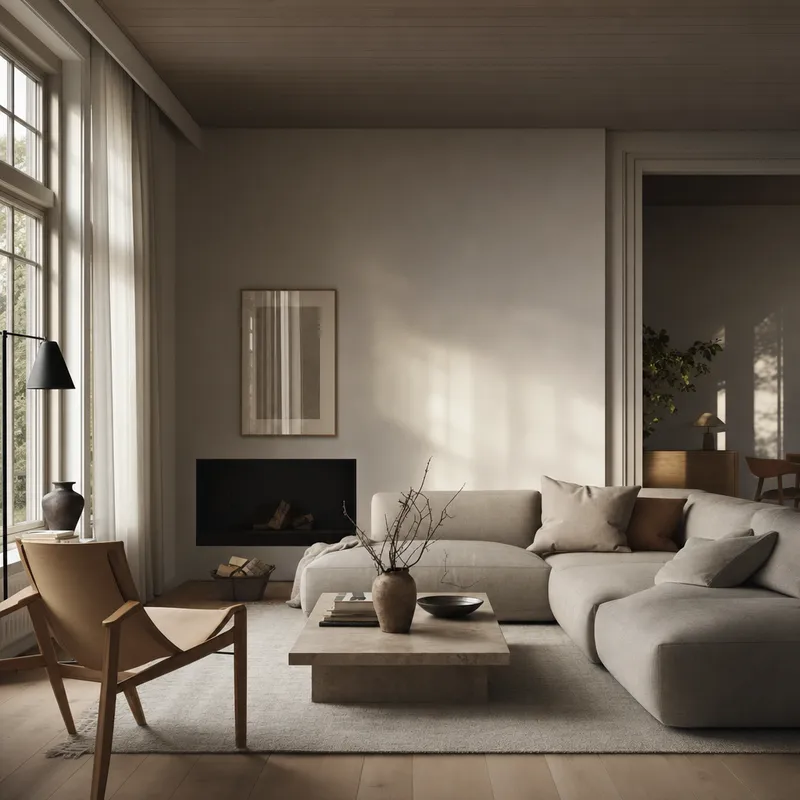
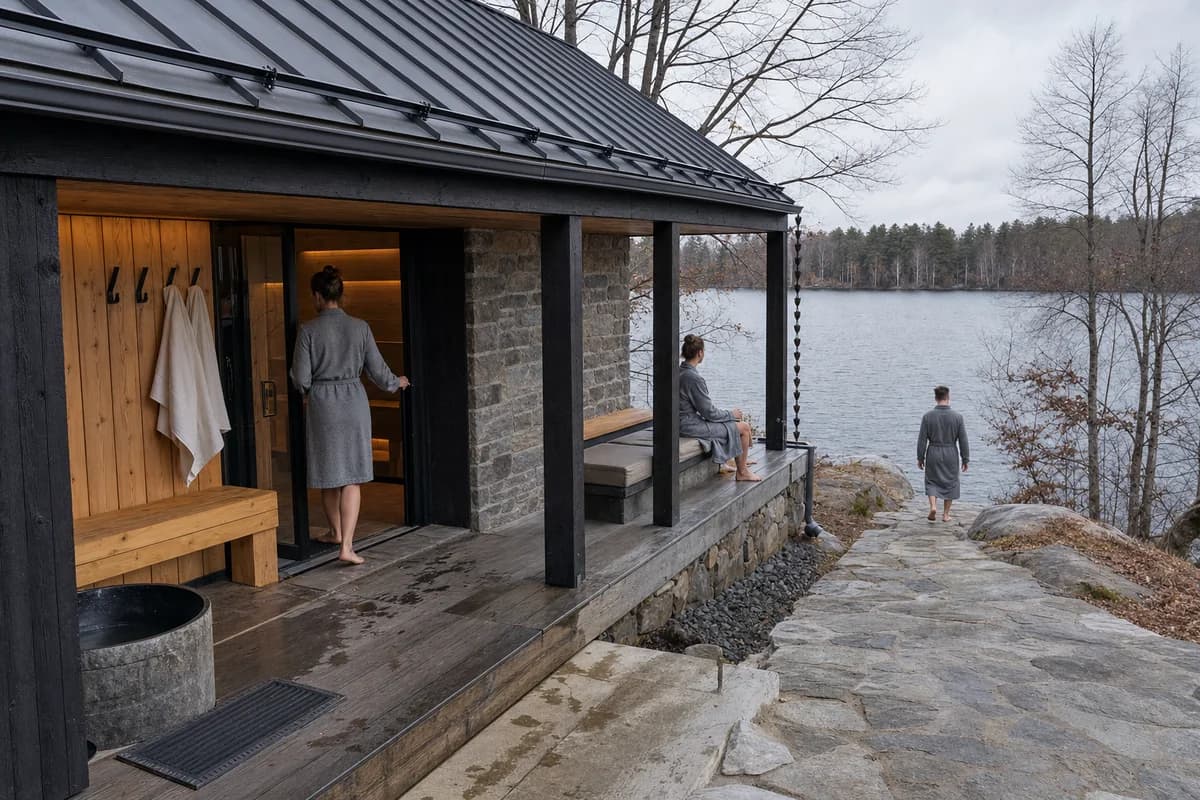
The room above stays fixed. Each reference changes the light, palette, and finish. This is the useful test. A successful match should change the image without replacing the design.
For a focused room workflow, see interior rendering with AI. For a specific material language, start with interior rendering styles; dedicated guides for Japandi, Scandinavian, and Brutalist interiors ship next.
Style from a photo vs the built-in presets
Built-in presets provide known starting points for exploration. A photo reference targets a specific look you already chose.
Use presets when the direction is open. They let a team compare established approaches on one scene. Use a reference when the target already exists in a client image, precedent board, or approved render.
| Built-in preset | Photo reference | |
|---|---|---|
| Best use | Explore a known direction | Match a specific target |
| Starting input | Named preset | One reference image |
| Control source | Prepared visual settings | Reference light, palette, and finish |
| Good review question | Which direction fits? | How closely does this match? |
| Reuse | Apply the same preset | Save the captured direction as a preset |
The two methods can work in sequence. Start with a built-in preset to narrow the field. Then use a reference to refine the chosen direction. Keep the scene fixed, or the review will mix composition changes with style changes.
Prompt library · 14 promptsUltra-real photographyBrowse prompts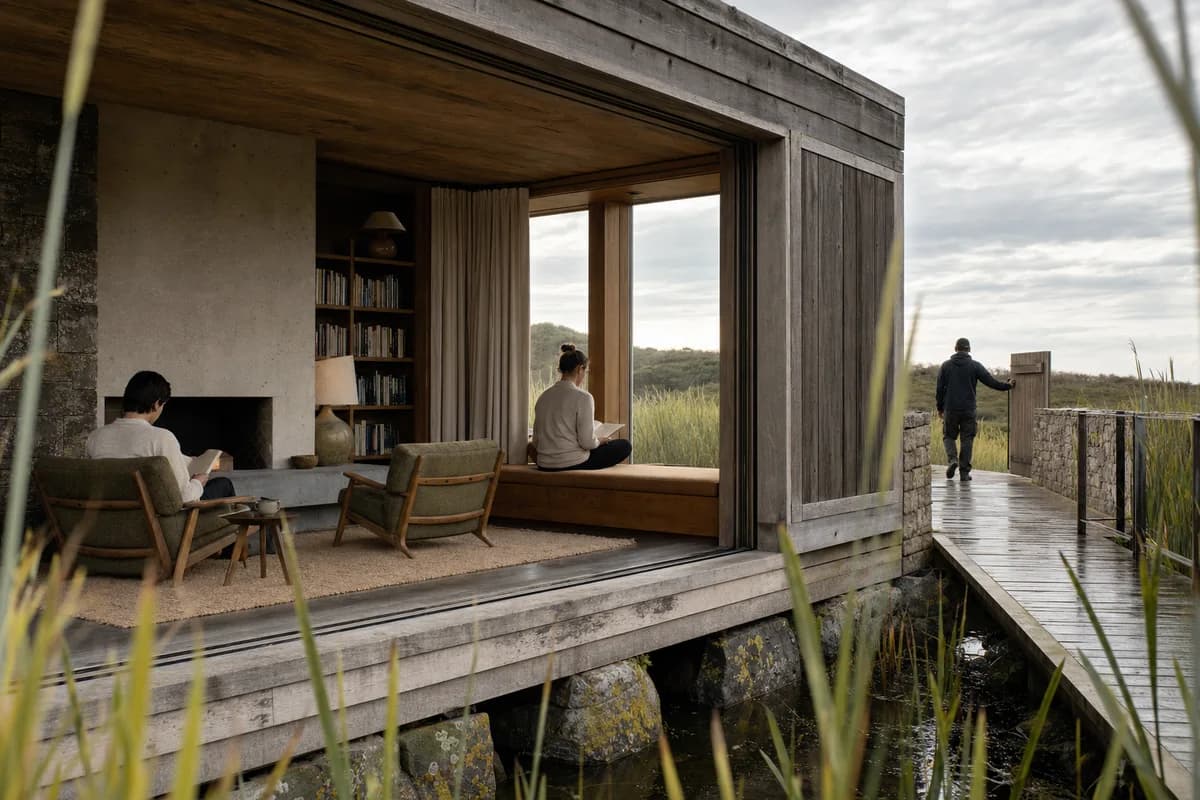
How do I keep one style across a whole project?
Capture the direction once, save it as a preset, and apply it to every view. Then review the full set together and correct the image that departs.
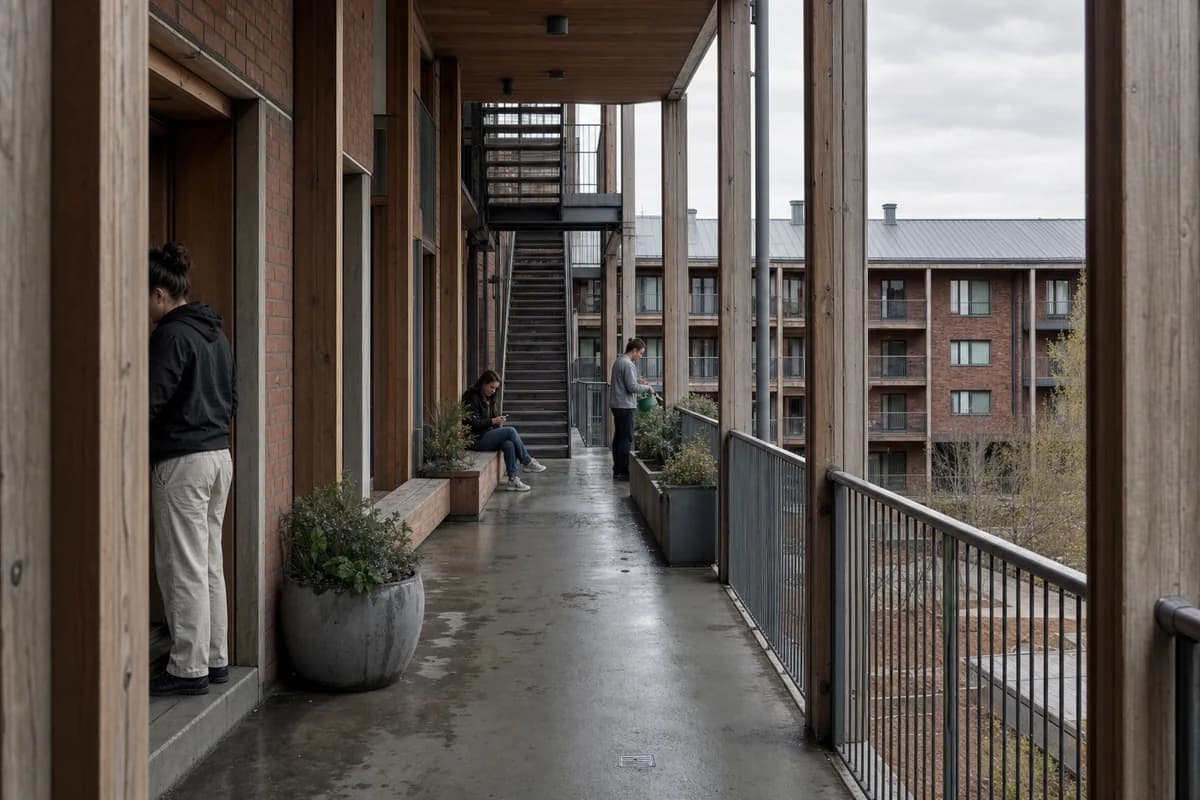
Consistency does not mean every view must be identical. Interior and exterior images can need different exposure. North and south rooms receive different daylight. The set stays coherent when material character, color relationships, contrast, and finish remain related.
Create a new preset version when the brief changes. Keep the approved version untouched. This preserves the visual decision behind earlier images and keeps experiments from altering approved work.
Review these controls across the set:
- Keep the same broad color temperature.
- Hold primary material tones across related rooms.
- Use similar shadow softness and highlight strength.
- Keep entourage density at one level.
- Reserve any dusk treatment for views that need it.
Lay every image side by side before client review. Outliers become obvious when the set is visible at once. The odd image may have colder timber, harder shadows, stronger saturation, or too much furniture. Correct that control rather than starting over.
The guide to renders for client review covers set selection and presentation.
What style from a photo will not do
Style from a photo will not copy exact geometry or reproduce a specific building. It matches mood, palette, light, material character, and finish.
That limit is useful. Your source scene should remain the authority for camera, openings, massing, and layout. The reference is not a substitute for a model. It is also not permission to present another architect's design as your own.
A reference can still pull the render away from the source when its content is too dominant. A curved concrete room can encourage curved forms. A close facade crop can introduce openings that do not exist. Use references with compatible scale and view type. Then check geometry after every render.
Do not expect one image to answer conflicting instructions. A bright Nordic interior and a dark polished-stone lobby express different light and material systems. Combining them weakens the target. Choose one, render it, and create a separate preset version for the alternative.
Treat the result as a design image, not measured documentation. Verify openings, furniture clearances, facade divisions, and material locations before sharing it. The model carries those decisions. The matched style only helps communicate them.
FAQ
These answers cover the core reference workflow. Keep the geometry in your source scene and the visual direction in one clean reference.
How do I match a reference photo's style in a render?
Upload a clean reference, render your scene, then save the captured style to reuse it.
What makes a good style reference?
One clear mood, real materials, even lighting. Avoid collages and heavy filters.
Does style from a photo copy the building in the reference?
No. It matches light, palette, and finish, not geometry.
Can I reuse a captured style across a project?
Yes. Save the style and apply it to every view for a coherent set.