
AI Rendering for Interior Designers: How to Choose a Workflow

For interior designers who already model in 3D, CAD Scene fits focused still studies. One Project holds its Composition and related studies. Create, Enhance, and Edit stay in the same workspace.
Choose VizBase when automatic masks, material libraries, or Boards lead the review. Choose mnml.ai when Studio, branching Flow, Teams, and broader outputs fit the studio. Keep a model-connected or physics-based renderer for live scenes, animation, or measured light.
There is no universal best tool. The review loop decides.
How was this interior rendering guide reviewed?
This guide was reviewed on September 18, 2026. CAD Scene facts come from current Enhance Help, Edit Help, and the Composition guide.
Alternative workflows come from current official VizBase Features, VizBase Interior Design, and mnml.ai Product pages. Those pages describe their own products. This guide does not treat vendor fidelity or speed claims as an independent benchmark.
No cross-vendor render test was run for this review. Vendor geometry, speed, and fidelity statements were not treated as measured results.
Which workflow fits an interior designer?
Start with the work around the image. A designer comparing finishes needs different controls from a studio delivering animation.
| Decision point | CAD Scene | VizBase | mnml.ai |
|---|---|---|---|
| Best fit | Focused still studies in one Project | Element materials and board-based review | Branching studies and broader outputs |
| Source route | Exported 3D view | Image upload or SketchUp plugin | Exported image, sketch, site plan, photo, or brief |
| Material control | Materials field and named Edit regions | Automatic masks, library, and per-element descriptions | Studio controls and masked selection edits |
| Workspace structure | Projects, studies, and shared Composition | Boards, Teamspaces, and shared materials | Studio, Flow, Teams, and quick tools |
| Model connection | Browser image workflow | SketchUp plugin; Revit and Rhino in development | Browser image export without a plugin |
| Output breadth | Create, Enhance, and Edit stills | Renders, regional edits, boards, and upscaling | Stills, plans, animation, editing, and upscaling |
| Keep another renderer when | You need a live scene or measured light | You need animation or a live walkthrough | You need verified simulation or live model delivery |
Choose CAD Scene for related still studies
CAD Scene fits a designer who already has a room view. Enhance uses one explicit source image. It instructs the model to preserve the camera, framing, geometry, and proportions. Generated results can still drift. Compare every opening, edge, object, and floor line with the source.
Composition holds Style, Scene, Lighting, Materials, and Entourage at Project level. The five fields apply across every study. This makes one material and lighting direction reusable without copying it into each brief.
Edit handles local revisions. Mark each area with Rectangle or Brush. Name the regions, then reference every name in one prompt. The model receives a union mask and preservation instructions. It can still alter shared boundaries or nearby pixels.
These are product contracts, not quality rankings. The public Help pages describe the controls and their limits.
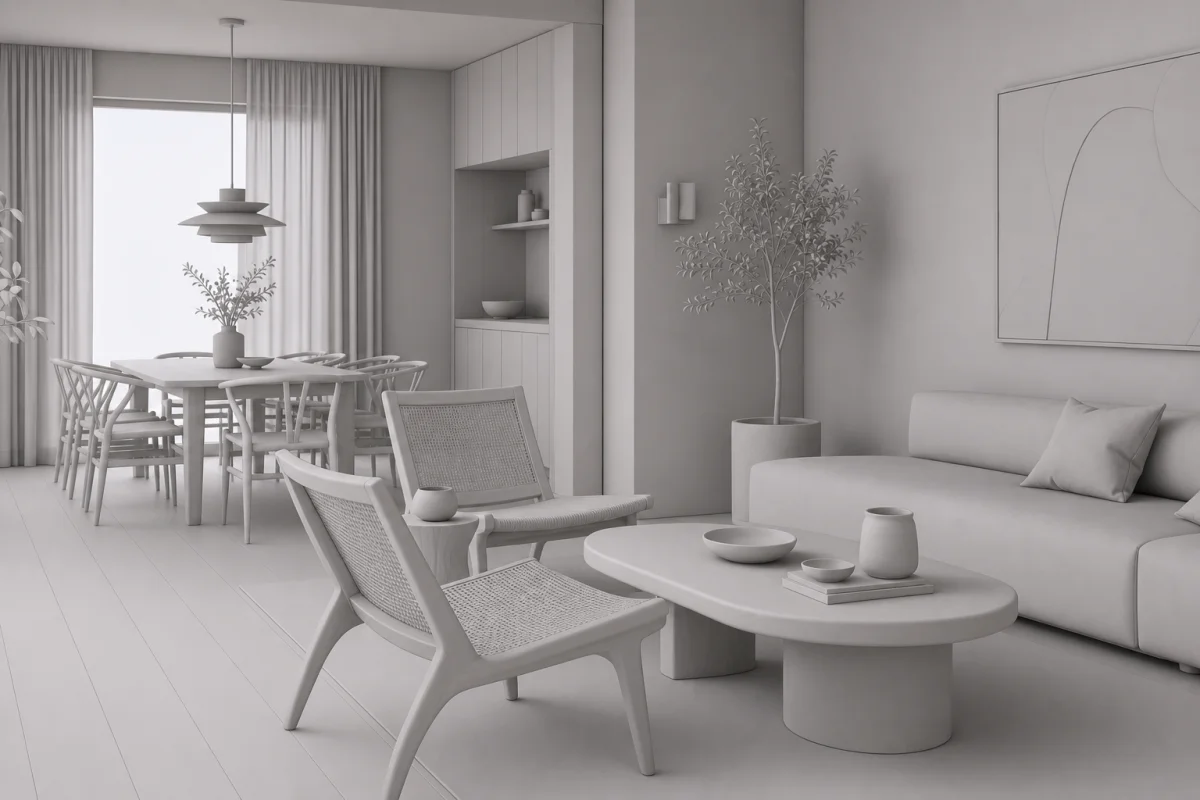 Model view
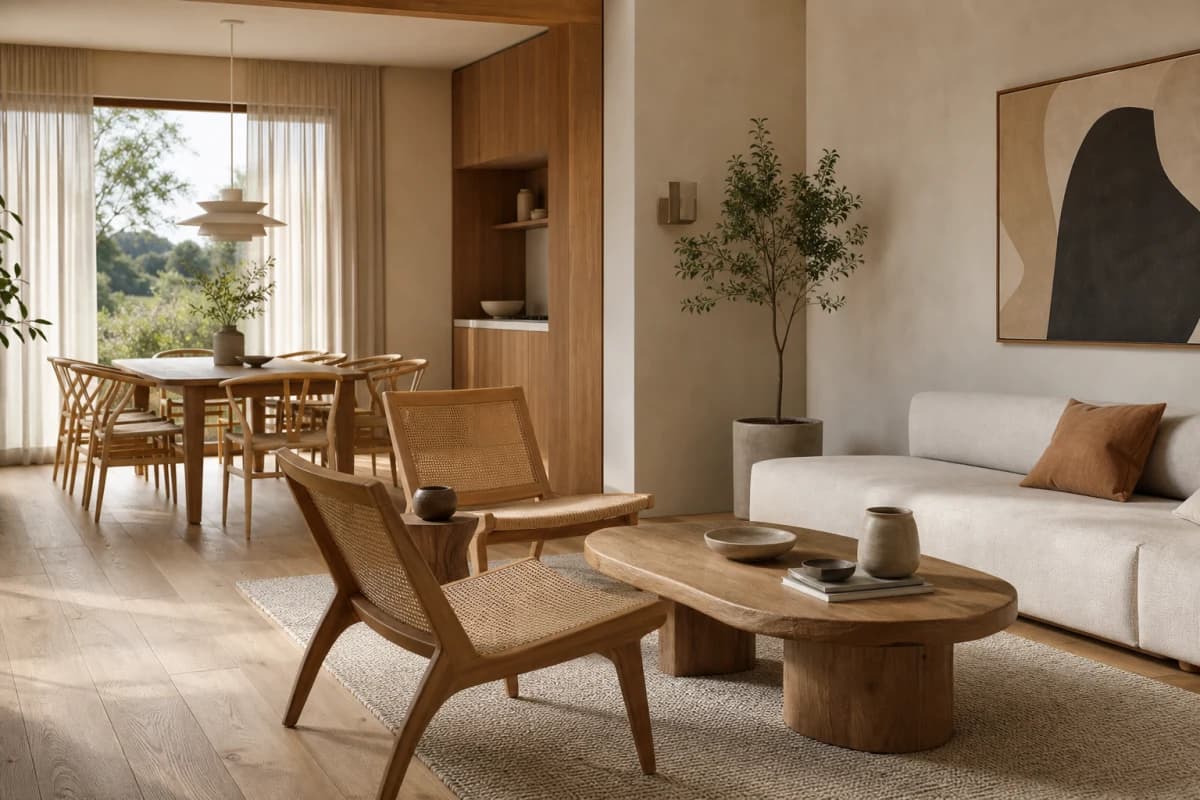 Finished study
Use the pair as a checklist. The camera and room layout correspond closely. Several details still change. The exterior view, rug, cushions, artwork, and small objects differ. That is why a matched image is not proof of exact retention.
Choose VizBase for element-based finish work
VizBase describes automatic scene analysis and one mask per detected element. Its current Features page lists five render engines and a material library. It also lists Boards, Teamspaces, regional refinement, and a SketchUp plugin. Revit and Rhino plugins remain in development.
That can fit a finish review where the floor, worktop, and cabinetry need separate targets. Boards can place renders, plans, sketches, and notes together. Teamspaces add shared projects, materials, credits, and review links.
These are current vendor facts, not a cross-vendor test. VizBase also makes geometry, timing, and masked-pixel claims. This review did not verify them. Its interior page keeps the fit to stills and concept approval. It sends real-time walkthroughs and submission-grade accuracy to another renderer.
Treat material names as visual direction. A generated marble or timber is not a verified manufacturer product. Compare color, scale, seams, reflectivity, and edge conditions with the specification.
Choose mnml.ai for a broader visualization suite
mnml.ai now presents three workspace paths. Studio keeps controls and history beside one render. Flow branches images and notes on a node canvas. Teams pools credits and shared projects. Quick tools handle one job without project setup.
Its Product page also covers interior and exterior rendering, staging, plans, landscape, animation, editing, style transfer, and upscaling. That breadth fits a studio that wants branching review and several output types. It also creates more paths to evaluate. Test the exact engine, edit path, output size, credit use, and sharing structure needed for client work.
Keep a model-connected renderer for live deliverables
A still-image workbench does not replace every interior visualization method. Keep a native or physics-based renderer when the approved output requires:
- a live model connection;
- animation or walkthroughs;
- measured daylight or artificial-light analysis;
- exact manufacturer assets and material calibration;
- construction or contractual evidence.
CAD Scene is for visual communication. It is not a BIM or simulation check.
How should you brief materials and light?
Interiors depend on material boundaries and light. Name the surface, material, finish, color, and reflectivity. Separate architectural finishes from movable objects.
For example:
- floor: wide-plank smoked oak, matte oil finish;
- walls: warm mineral paint, low sheen;
- joinery: quarter-cut oak veneer, vertical grain;
- worktop: pale honed limestone with a quiet edge;
- textiles: natural linen in warm grey;
- light: soft north daylight with warm concealed lighting.
Frame the approved view
Export the camera and crop you want the result to follow.Name the visible finishes
Describe surfaces, color, sheen, texture scale, and important junctions.Set the project direction
Keep Style, Lighting, Materials, and Entourage useful across related studies.Review geometry first
Check openings, edges, object scale, camera height, and crop before mood.Revise one named region
Mark the intended area tightly and inspect both the region and its boundary.
Adapt the reviewed interior render prompts. Use the Architecture Render Prompt Builder for a custom brief. Prepare a clean source with the screenshot capture checklist.
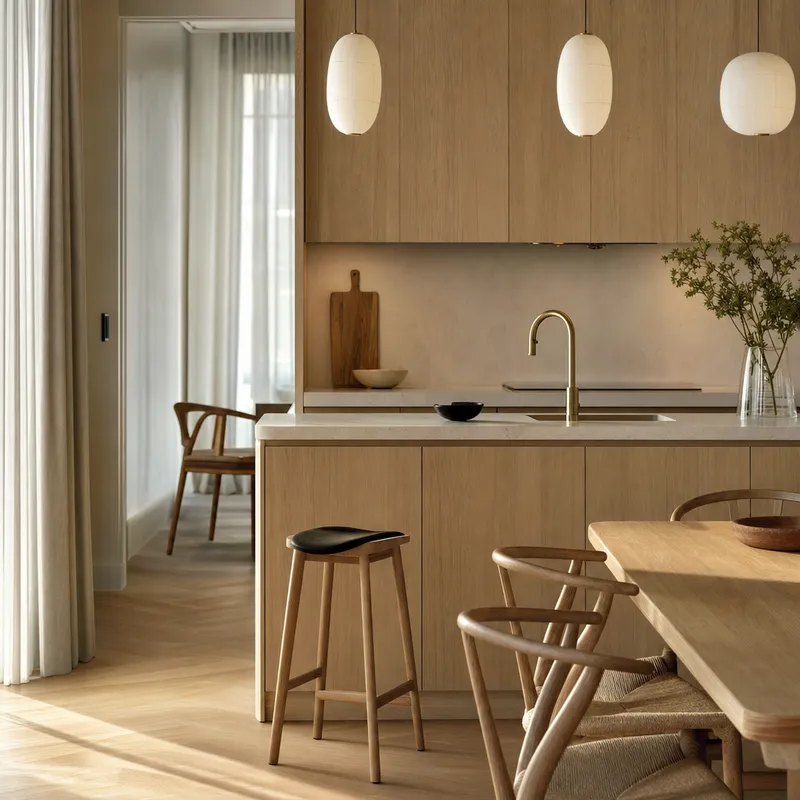
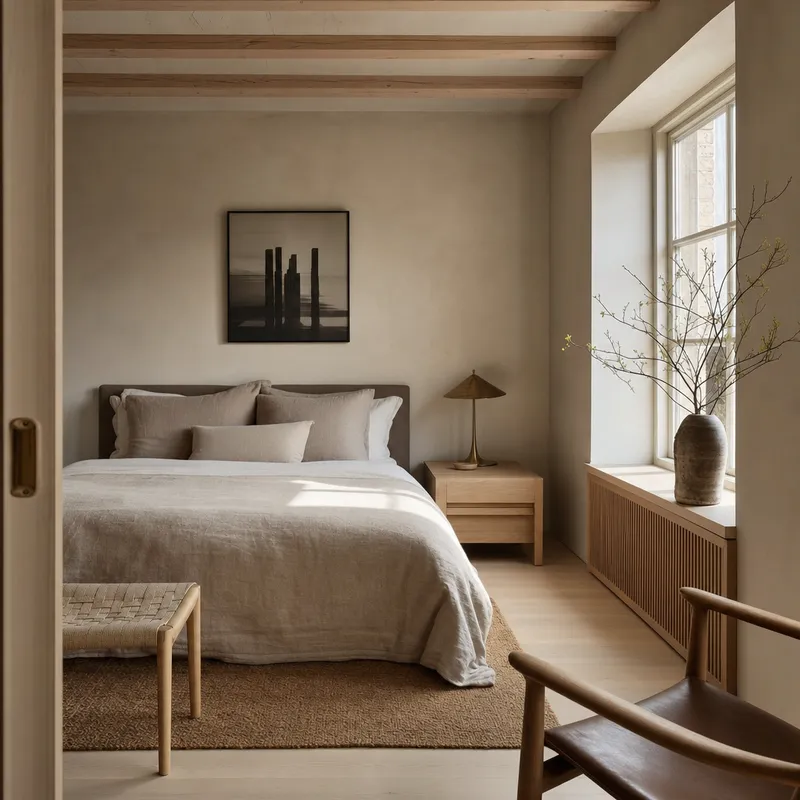
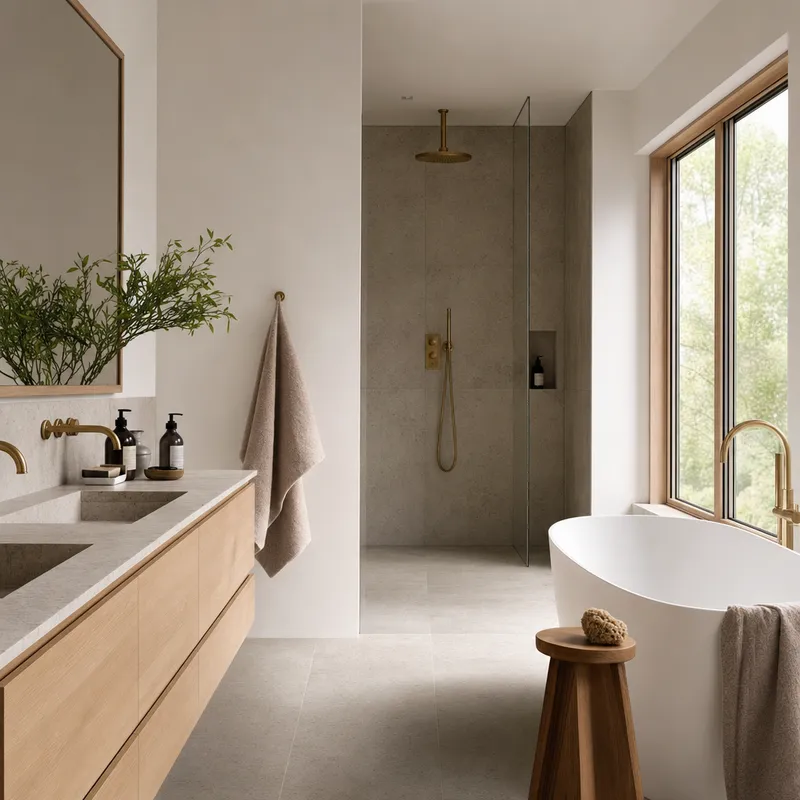
These are separate room examples. They do not prove one Project stayed consistent across several views.
For guest-facing spaces, use the hospitality AI rendering guide to review arrival, service, seating, and circulation.
Prompt library · 267 promptsInteriorsBrowse prompts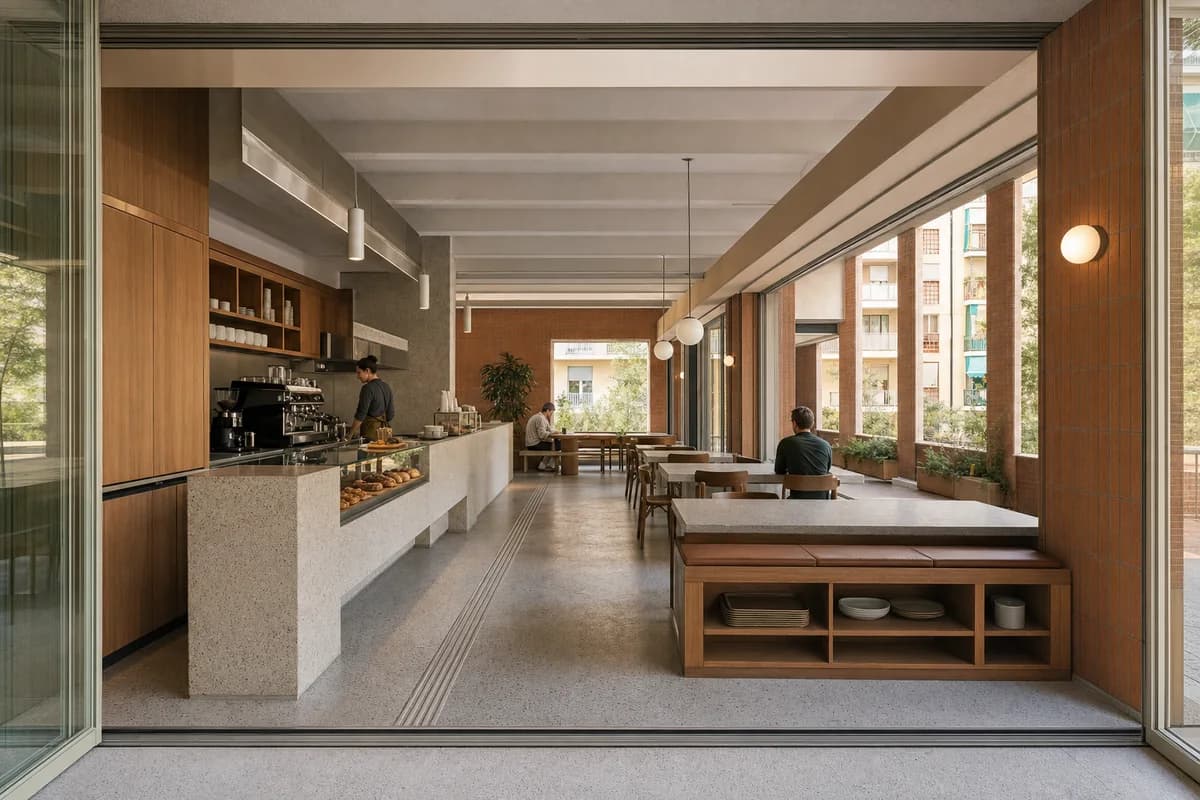
How should you test an interior AI renderer?
Use one current room, not a vendor gallery. Choose a view with glazing, joinery, repeated furniture, adjacent materials, and one difficult reflection.
- Export one source image at a fixed size.
- Write one material and lighting brief.
- Generate the same number of options in each tool.
- Request one local material change.
- Export the chosen result at the same delivery size.
- Record generations, edits, credits, and review time.
Check the accepted image:
- Camera and crop still serve the approved view.
- Openings and fixed joinery match the model.
- Furniture scale and circulation remain plausible.
- Material boundaries meet cleanly.
- Texture scale fits the room and product intent.
- Reflections, mirrors, glazing, and readable text hold up.
- The local revision leaves unrelated areas acceptable.
- The file meets the board or screen requirement.
For a stricter geometry method, use the render-retention review. For client delivery, use the client-review checklist.
Before / after
Test one room view. Your first renders are free.
What is the best AI rendering software for interior designers?
CAD Scene fits focused Create, Enhance, and Edit still studies in one Project. VizBase fits automatic masks, material libraries, and board-based review. mnml.ai fits branching Flow studies, Teams, and broader outputs. Keep a model-connected renderer for live scenes, animation, or measured light.
Will an AI interior render preserve my room design?
A source-guided mode can instruct the model to preserve the view. It cannot guarantee exact geometry. Compare openings, fixed joinery, edges, object scale, and camera framing with the source.
Can I change one material without redoing the room?
CAD Scene Edit lets you mark and name the intended region. The request instructs the model to preserve unmarked areas, but generative results can still alter boundaries or nearby pixels.
How do I keep rooms consistent?
Use one Project Composition across the studies. Keep the Style, Lighting, Materials, and Entourage fields suitable for every view. Review each result because shared settings do not guarantee identical output.
Can CAD Scene render directly from a floor plan?
This guide does not claim direct floor-plan conversion. The workflow described here starts Enhance from a 3D room screenshot. Floor-plan rendering is a separate task with different evidence needs.
Are AI interior renders suitable for client review?
They can support concept and option review after professional checks. They are not construction evidence, measured-light analysis, or proof of an exact manufacturer material.
For complete visual directions, compare the Style Atlas. For broader context, read the guide to AI architectural rendering. Check current pricing before testing several options. For workplace projects, use the commercial AI rendering guide to review circulation, furniture, acoustics, and office image sets.