
- Published on
Facade Render AI: Materials, Glazing, and Street Views
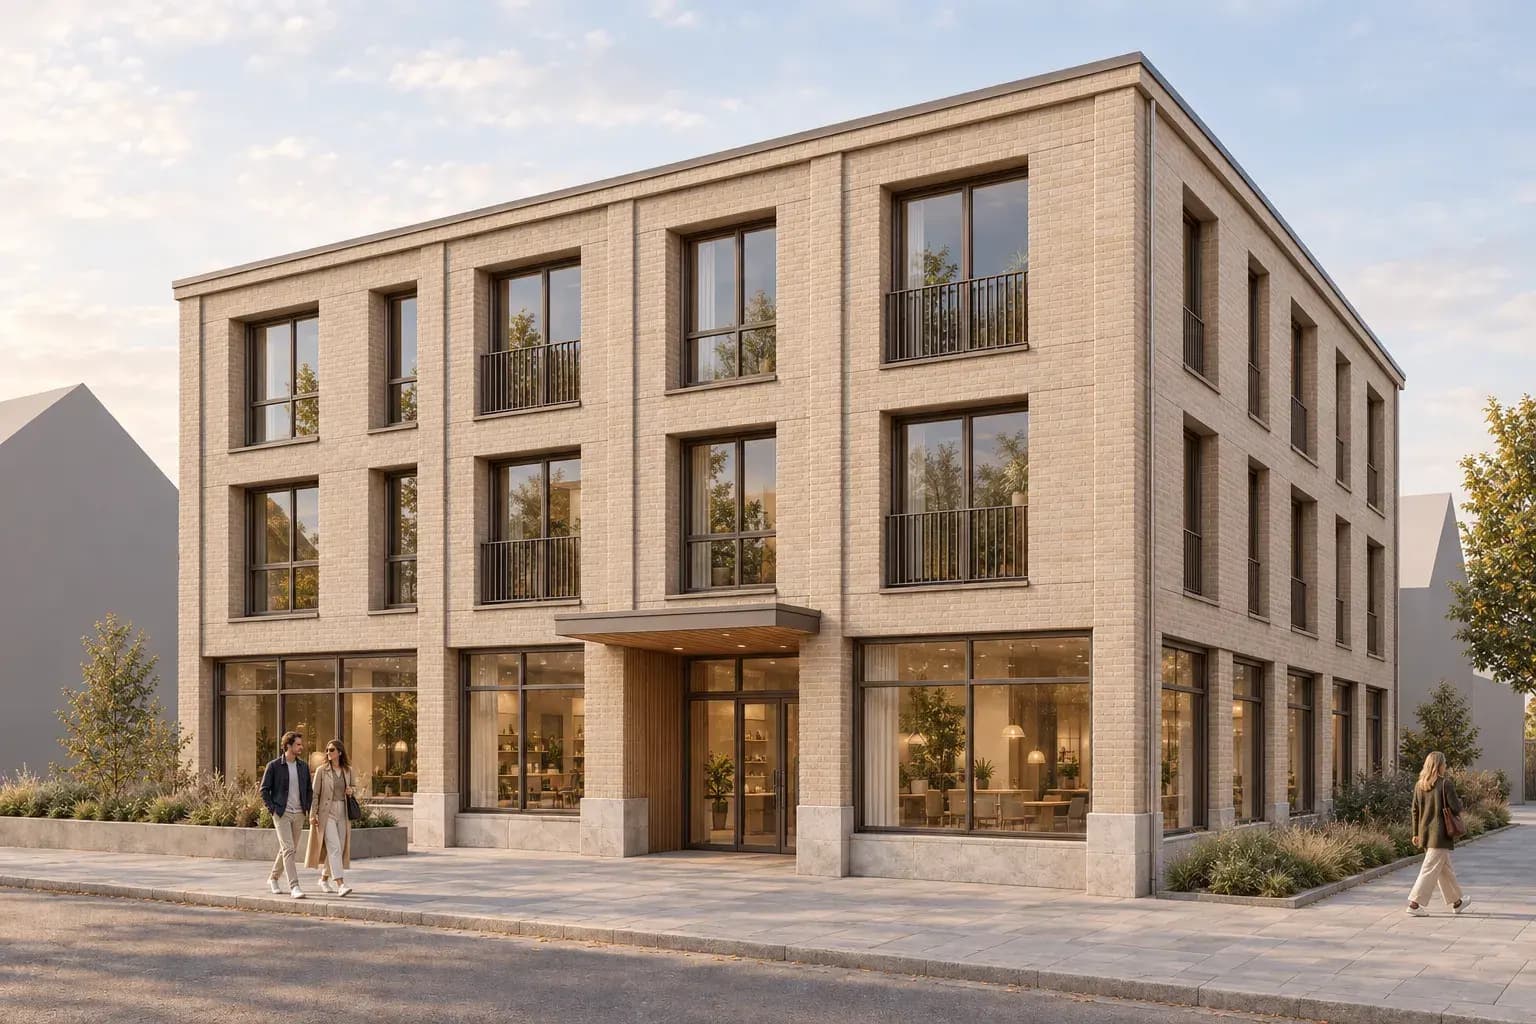
Facade render AI turns a model view, elevation, sketch, or written brief into an exterior image for design review. Start from a clean 3D view when the building proportions and camera should guide the study. Then describe material zones, joints, glazing, entrances, light, ground, and restrained entourage.
A useful facade render makes floor lines, openings, reveals, thresholds, and the street edge easy to inspect. It can support early material options and client discussions. It cannot verify wall build-ups, fire performance, waterproofing, thermal bridges, or product colours. Keep the model, elevations, details, and specifications beside every generated image.
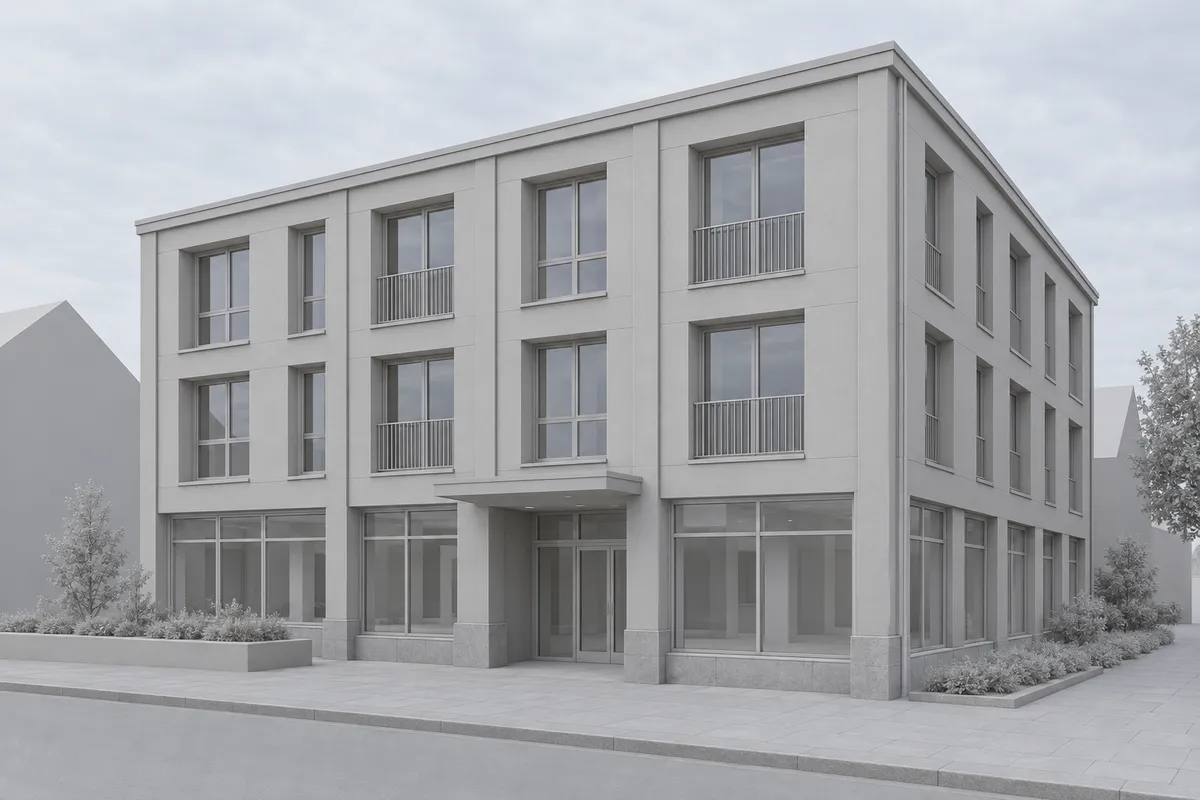 Synthetic model
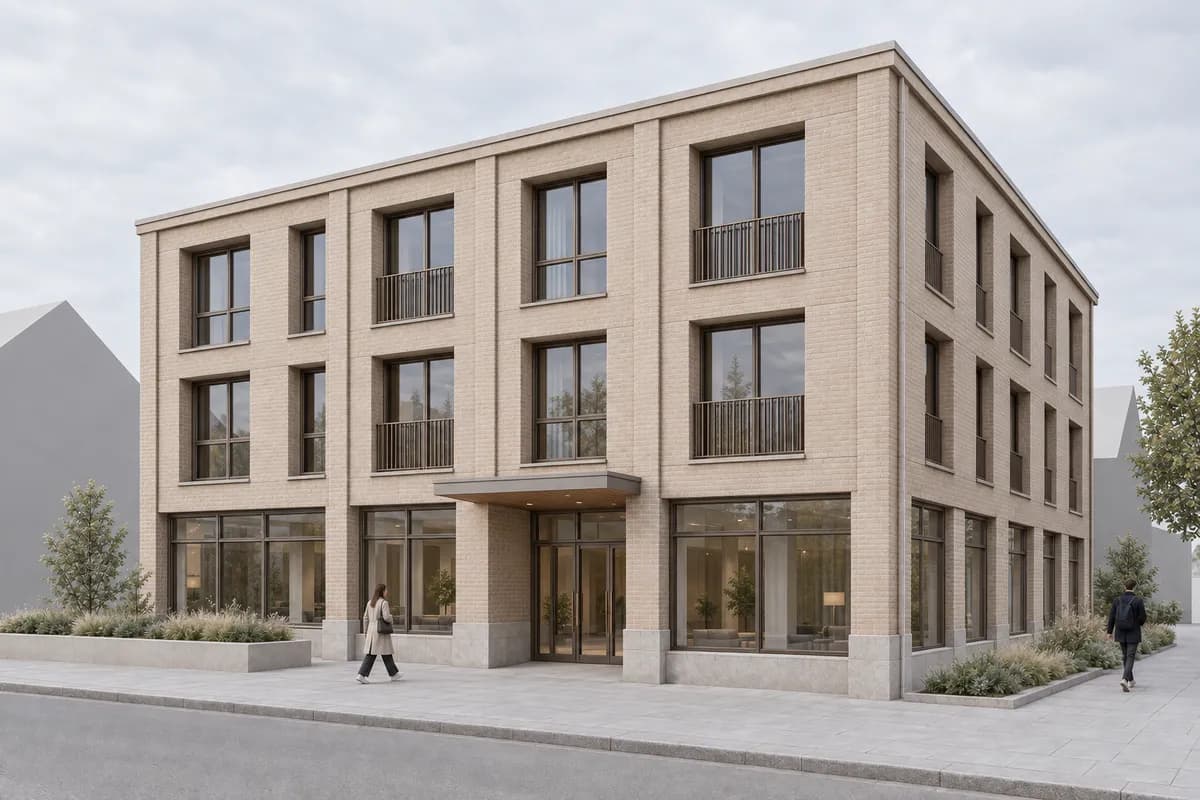 Facade study
What is facade render AI?
Facade render AI creates an exterior building image from text or visual input. The task focuses on one or more building faces and their immediate context.
This makes it narrower than broad AI exterior rendering. The exterior guide covers building, site, weather, and overall presentation. A facade study concentrates on elevation rhythm, depth, material junctions, glazing, entrances, and the street edge.
The source can be a Rhino, Revit, SketchUp, Blender, or other 3D view. A written brief leaves the form open. A model screenshot supplies the clearest visible constraint. The wider AI architectural rendering guide explains when to use text, sketches, floor plans, or model views.
Which source should guide a facade render?
Use the source that contains the decision you need to protect. Do not choose a dramatic camera that hides the difficult edge.
| Source | Best use | Check before rendering |
|---|---|---|
| Three-quarter model view | Depth, corner conditions, entrance, and street presence | Lens, verticals, floor lines, roof edge, openings, and ground |
| Elevation-like view | Bay rhythm, material zones, and opening proportions | Scale, crop, datum lines, joints, and drawing authority |
| Entry view | Threshold, canopy, signage zone, lighting, and human scale | Door position, level changes, clear route, and head height |
| Detail crop | Cladding, reveals, frames, soffits, and plinth junctions | Source resolution, unit size, joint direction, and edge continuity |
For a perspective study, save the camera before export. Hide selections, guides, dimensions, axes, and interface panels. Keep useful shadows only when they clarify depth. The cross-tool screenshot guide covers framing, overlays, edges, and image size.
How should you prepare the facade source?
Prepare the geometry before describing materials. A polished image cannot rescue an unclear model view.
Name one facade decision
Choose material zoning, opening rhythm, entrance, glazing, daylight, dusk, or street presence.Fix the camera and crop
Save the view, keep verticals deliberate, and expose every edge needed for review.Clean the visible model
Hide interface noise, resolve duplicate faces, and keep only useful context and shadow.Write the material system
Assign each surface a finish, unit scale, joint direction, reflectance, and weather condition.Review against the source
Check massing, floor lines, openings, reveals, thresholds, frames, and the ground edge first.
The source image constrains visible information. It does not give the image model hidden wall layers, exact dimensions, BIM data, or manufacturer specifications.
What should a facade render get right?
A credible facade reads as a system. Materials, openings, depth, and ground must support the same building logic.
Protect the opening rhythm
Compare every window and door with the source. Check count, width, sill, head, alignment, and frame position. Thin mullions and repeated bays can drift even when the whole image looks convincing.
Show real depth
Reveals, balconies, canopies, fins, and parapets need clear shadow. Flat light can erase that depth. Dramatic light can hide a wrong edge. Use a neutral daylight study before choosing a presentation frame.
Describe materials as assemblies
Name where each material starts and stops. Add unit scale, joint direction, finish, reflectance, and weather response. A request for "brick and timber" is too broad for a useful junction review.
The realistic render materials guide covers concrete, timber, glass, scale, joints, and correction prompts in more detail.
Keep the entrance legible
The entrance should read before signs explain it. Check canopy, recess, door, route, level change, and light. Keep people away from the threshold so the access condition stays visible.
Join the facade to the ground
Inspect the plinth, paving, planting, steps, ramps, drainage edges, and contact shadow. Cars and planting should not hide unresolved lower floors. The landscape and site rendering method covers grading, circulation, water, and planting beyond the immediate frontage.
Model / facade study
Test one facade direction on your own model view.
Which facade views should you render?
Build a small set around distinct decisions. Avoid five similar street views.
- Three-quarter street view: checks depth, corner conditions, and frontage.
- Elevation-like view: checks bay rhythm, datums, and material zones.
- Entry view: checks threshold, canopy, route, and human scale.
- Courtyard view: checks privacy, balconies, planting, and shared edges.
- Detail view: checks one reveal, joint, plinth, soffit, or frame condition.
- Dusk view: checks entrance and interior light without losing the facade.
For client review, pair one broad frame with one useful detail. The render review checklist helps separate design corrections, image defects, and technical work.
How do you prompt a facade render from a model screenshot?
Start with the preservation aim. Then describe the material system and review condition.
Keep the camera, building proportions, floor lines, entrance, and window rhythm. Render the facade with pale brick upper floors, a light stone plinth, dark bronze frames, a timber entrance soffit, soft overcast daylight, clear glazing, low street planting, and restrained people for scale.
Replace generic adjectives with visible instructions. Name the material location. State whether glazing should reflect sky, reveal a quiet interior, or remain darker than the exterior. Describe the ground edge and entrance light.
SketchUp users can follow the SketchUp facade screenshot workflow. Revit users should keep the Revit facade view authoritative for levels and openings. For custom envelopes, the Rhino viewport workflow helps preserve a repeatable NamedView.
How should you compare facade materials and light?
Keep one source and one camera. Change one main variable per study. This makes the review legible and exposes accidental drift.
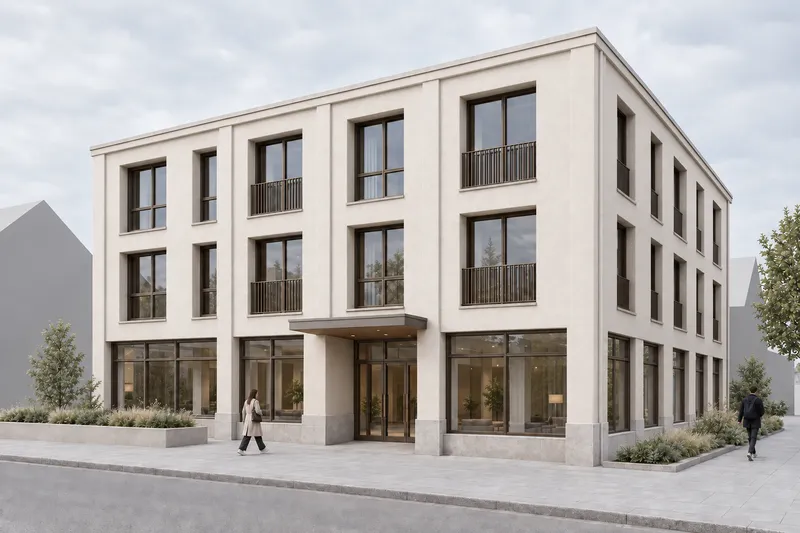
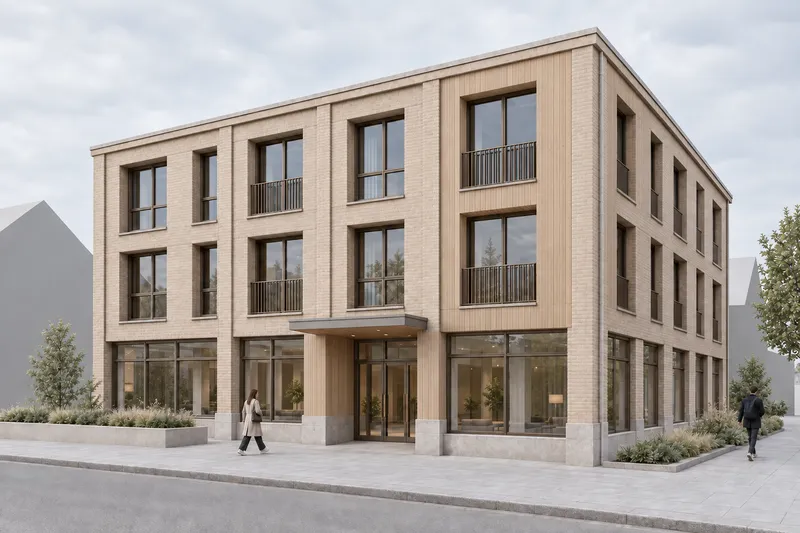
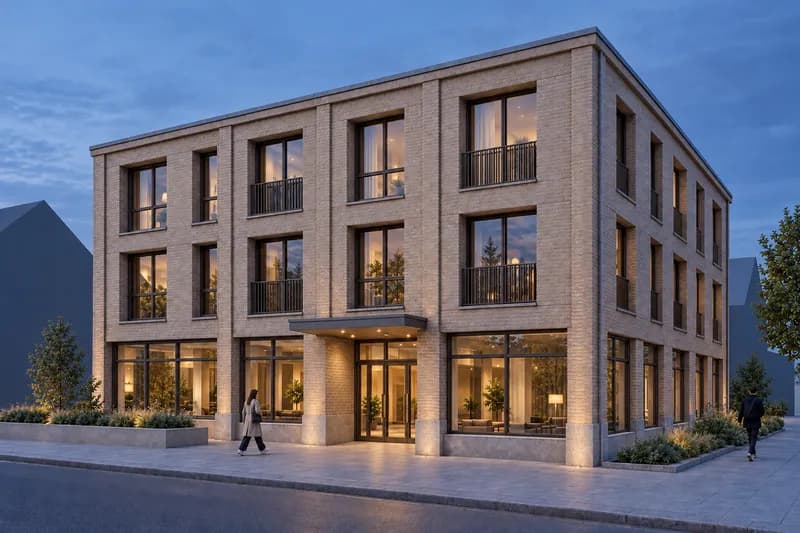
The three images share one synthetic facade lineage. The camera, openings, entrance, and street edge should remain aligned. Compare those fixed elements before discussing the material or light.
Daylight is the safer material-review condition. Dusk can explain occupation and entrance hierarchy. It can also hide weak joints and dark lower floors. Keep both when the client decision depends on material and atmosphere.
What should you edit after the first facade render?
Use Edit for one bounded visual change. A cladding bay, frame colour, canopy soffit, planting bed, or entrance light can be a useful target.
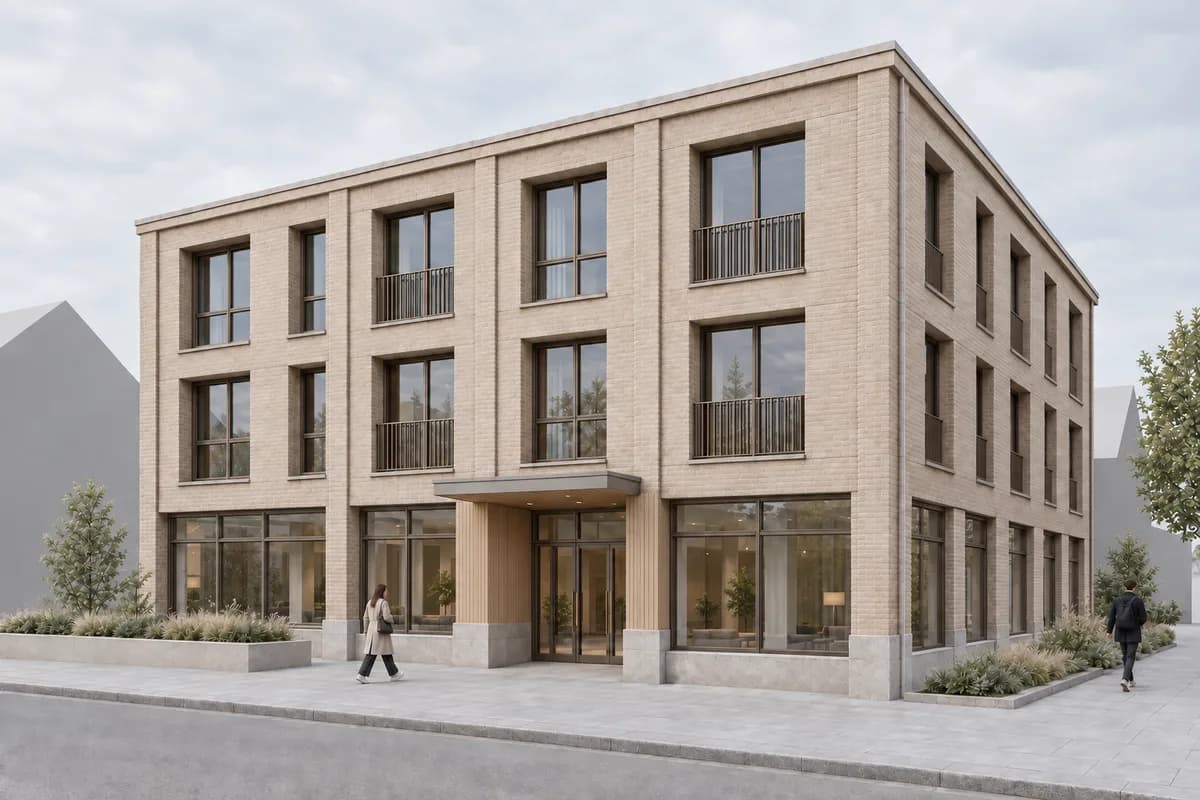
Name the region and the replacement material clearly. Then inspect the edit edge. Generative edits do not guarantee exact boundaries or unchanged pixels.
Return to the model when the requested change affects geometry. Moving an opening, deepening a reveal, or changing a canopy belongs in the project source before the next render.
What are the limits of facade render AI?
A facade image can support visual decisions. It cannot validate performance or construction.
Check wall build-ups, cavity and drainage design, fire spread, combustibility, thermal bridges, movement joints, waterproofing, fixings, maintenance access, acoustics, and code separately. Verify glass type, coatings, frame profiles, manufacturer colours, and panel modules from current product information.
Generated reflections and interiors are also uncertain. Reject distorted frames, repeated people, false signs, impossible shadows, broken railings, and materials that cross the wrong boundary.
Use a model-connected visualization process when exact geometry, measured sun, specified products, verified context, animation, or repeatable cameras govern the deliverable. AI rendering fits early still-image studies. The project model and technical documents remain authoritative.
Questions about facade rendering with AI
Can AI render a facade from a model screenshot?
Yes. A clean model view can guide the camera and visible building form. Check massing, floor lines, openings, reveals, entrances, and the ground edge against the source.
What should a facade render prompt include?
Name the material zones, unit scale, joints, glazing, entrance, ground edge, light, and restrained entourage. State which visible building elements should remain fixed.
Can I change only one facade material?
Use Edit on one named cladding region and describe the replacement. Review the selection boundary, nearby openings, joint direction, and every unselected area.
What should I verify outside the render?
Verify wall build-ups, fire performance, drainage, waterproofing, thermal bridges, fixings, movement joints, product colours, glass, code, and dimensions separately.
Table of Contents
- What is facade render AI?
- Which source should guide a facade render?
- How should you prepare the facade source?
- What should a facade render get right?
- Which facade views should you render?
- How do you prompt a facade render from a model screenshot?
- How should you compare facade materials and light?
- What should you edit after the first facade render?
- What are the limits of facade render AI?
Authors

- Name
- Vladimir Mindru
Previous Article
Table of Contents
- What is facade render AI?
- Which source should guide a facade render?
- How should you prepare the facade source?
- What should a facade render get right?
- Which facade views should you render?
- How do you prompt a facade render from a model screenshot?
- How should you compare facade materials and light?
- What should you edit after the first facade render?
- What are the limits of facade render AI?
Authors
- Name
- Vladimir Mindru