
AI Rendering for Adaptive Reuse: Keep Old and New Legible

AI rendering for adaptive reuse turns an existing-building model, survey view, or design screenshot into a visual study of retained and proposed work. Start with a source that clearly separates what stays, what goes, and what changes. Use Enhance when the visible building and camera should guide the image. Describe repairs, insertions, materials, light, and occupation without hiding the old fabric.
Treat the result as a design study. It cannot verify existing conditions, structure, fire strategy, accessibility, or conservation work. Generated edges and openings can drift. Keep the survey, model, drawings, and photographic record beside every result. Review old fabric, new work, junctions, access, and phasing before the image reaches a client.
What is adaptive reuse AI rendering?
Adaptive reuse AI rendering creates an image study for an existing building with a new use. The project may retain a structure, facade, room, or material layer while adding new work.
The method sits inside the broader AI architectural rendering process. Its review burden is different. A new-build image mainly explains one proposal. An adaptive reuse image must keep two histories legible.
The image can test repair character, material contrast, occupation, and atmosphere. It cannot establish what the existing building can carry. It also cannot confirm code, measured access, or conservation compliance.
When should you use AI for a renovation study?
Use it after the retained-versus-proposed logic is clear enough to review. The source should show the important existing edges. It should also expose the new intervention.
| Decision | Useful image study | Keep authoritative |
|---|---|---|
| Retained fabric | Repair tone, weathering, scars, and surface hierarchy | Survey, condition record, and conservation specification |
| New insertion | Material contrast, visual weight, and spatial relationship | Model, structure, details, and setting-out information |
| Changed use | Occupation, furniture character, light, and public identity | Brief, capacity, access, egress, services, and acoustic design |
| Project phase | A clear presentation of one retained and proposed state | Phasing drawings, temporary works, and construction sequence |
Early studies can compare a quiet insertion with a more assertive one. Later images can test repairs, junctions, and occupation. Stop when the image begins to answer questions held by the survey or technical design.
For house extensions, the residential AI rendering guide adds privacy, threshold, and living-pattern checks. Larger sites may need the landscape and site review method beside this building-focused workflow.
Which source should guide an adaptive reuse render?
Choose the source that records the existing condition you need to protect. A clean model view is useful when geometry and camera matter. A survey photograph is useful when wear, irregularity, and context matter.
A photograph can conceal depth and hidden construction. A model can smooth away the uneven fabric that gives the project its character. Use both when the decision needs both.
Prepare one source for each camera. Hide selections, guides, dimensions, and interface controls. Keep useful roof edges, openings, floor levels, retained walls, and new volumes visible. The cross-tool screenshot guide covers crop, overlays, edges, and export size.
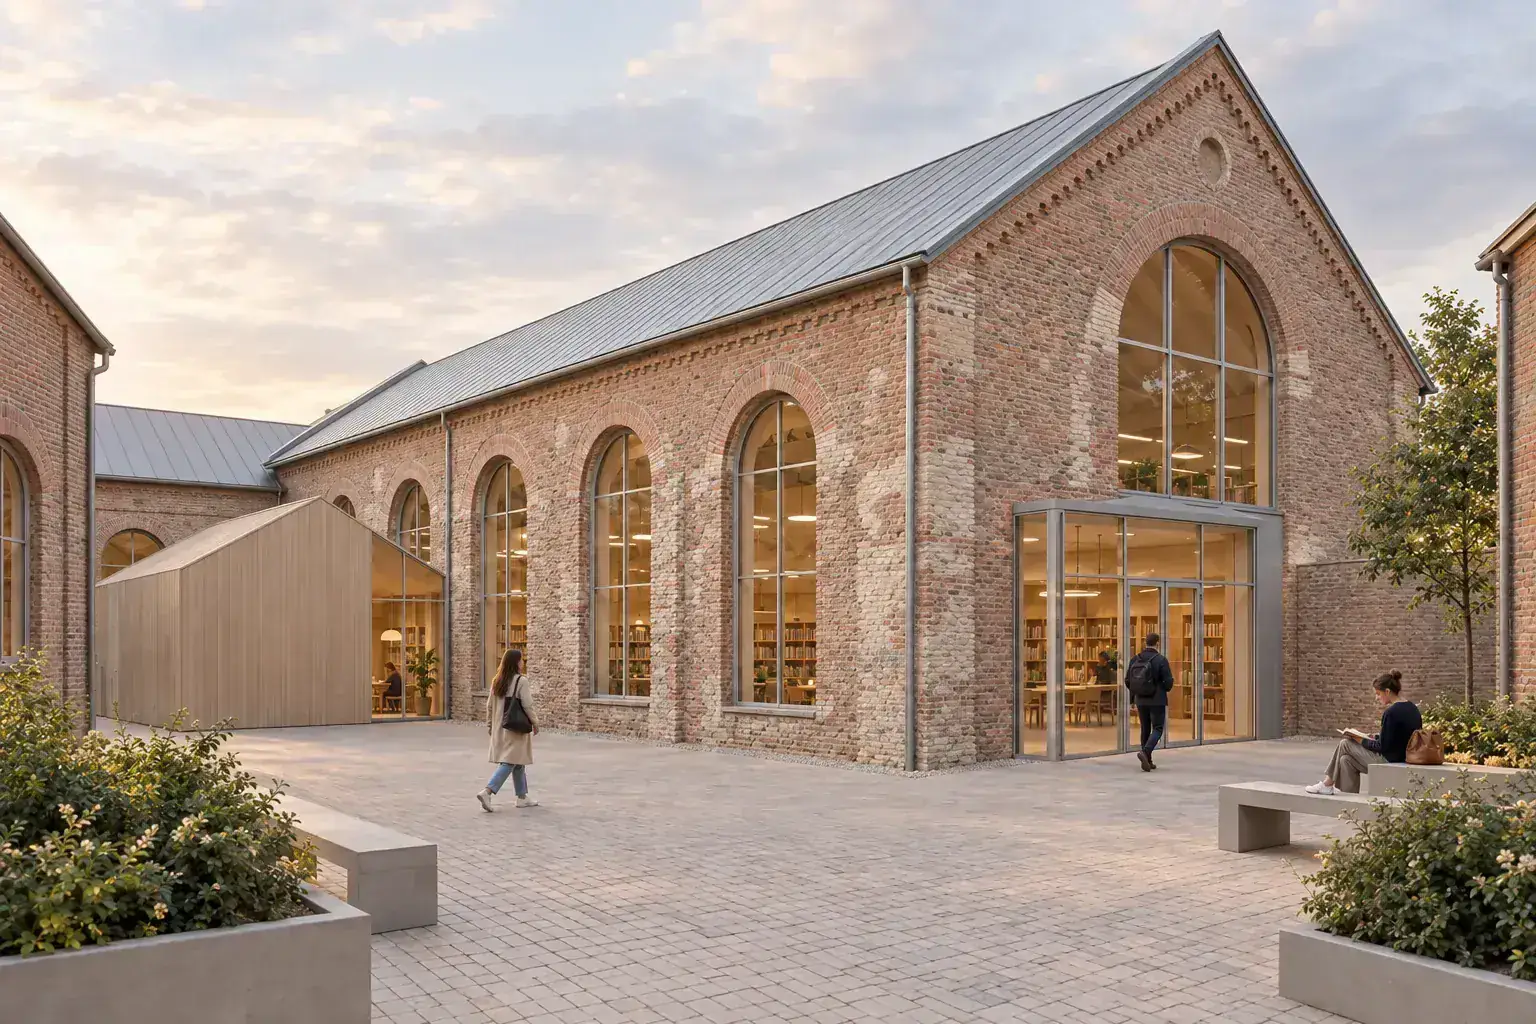
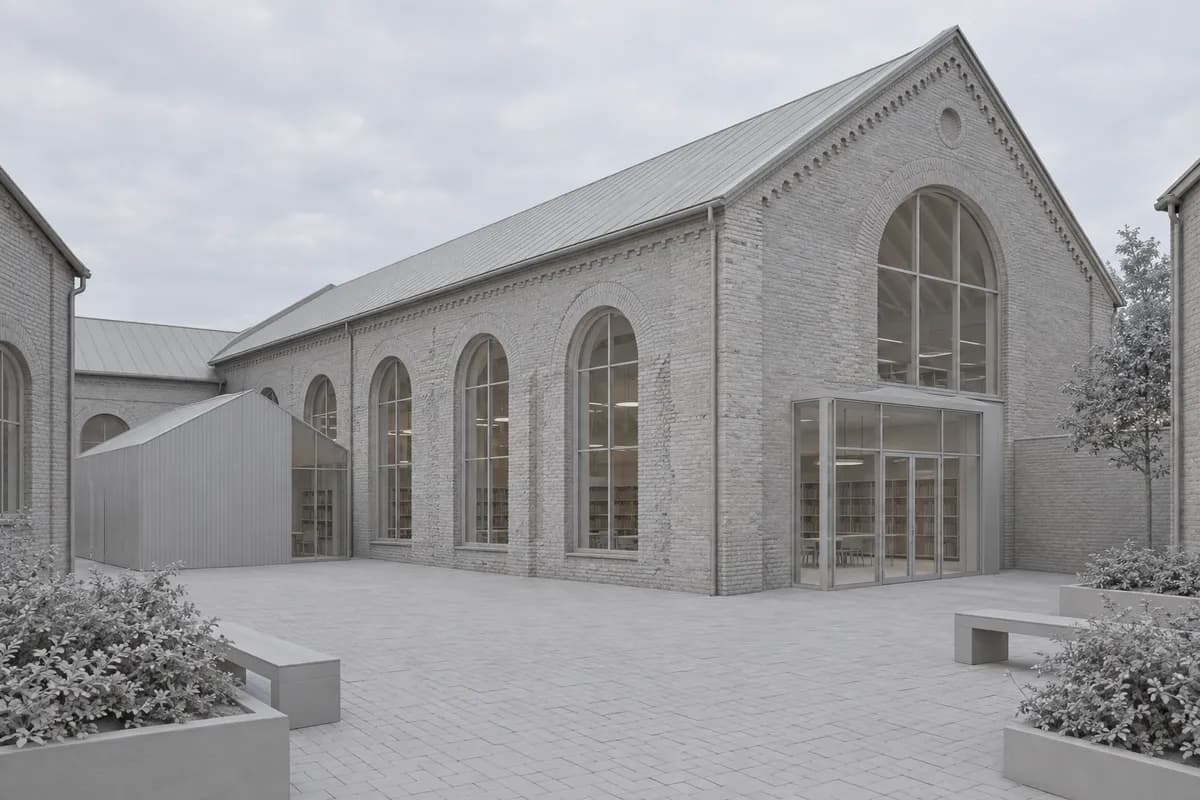 Synthetic sourceReuse study
What rendering process should an architect follow?
Start with the retained-versus-proposed record. Then ask one visual question.
Map the project state
Mark retained, removed, repaired, and proposed work in the model or drawing.Choose one review view
Expose the existing fabric, new intervention, access, and important junctions.Describe old and new separately
Name repairs, retained surfaces, new materials, light, use, and the intended contrast.Generate a focused study
Change one main decision while keeping the source camera and visible design as constraints.Compare with the record
Check openings, levels, fabric, junctions, routes, occupation, and image artifacts.
Before / after
Test one renovation direction on your own model view.
How do you keep old and new work legible?
Make the relationship explicit in both source and prompt. Name the retained elements first. Then name repairs and additions.
Let retained fabric remain imperfect
Keep brick variation, patched openings, old concrete, timber wear, and former partition traces where they matter. Avoid turning damage into decoration. Picturesque decay can distract from the architectural decision.
Give new work a clear rule
State whether the addition touches, overlaps, spans, or stands clear. A freestanding insertion should read as independent. A repair should belong to the old fabric rather than mimic a new feature.
Hold back visual noise
Too many contrasting finishes can obscure the project logic. Use material, shadow gaps, and light to explain the relationship. Do not rely on color alone.
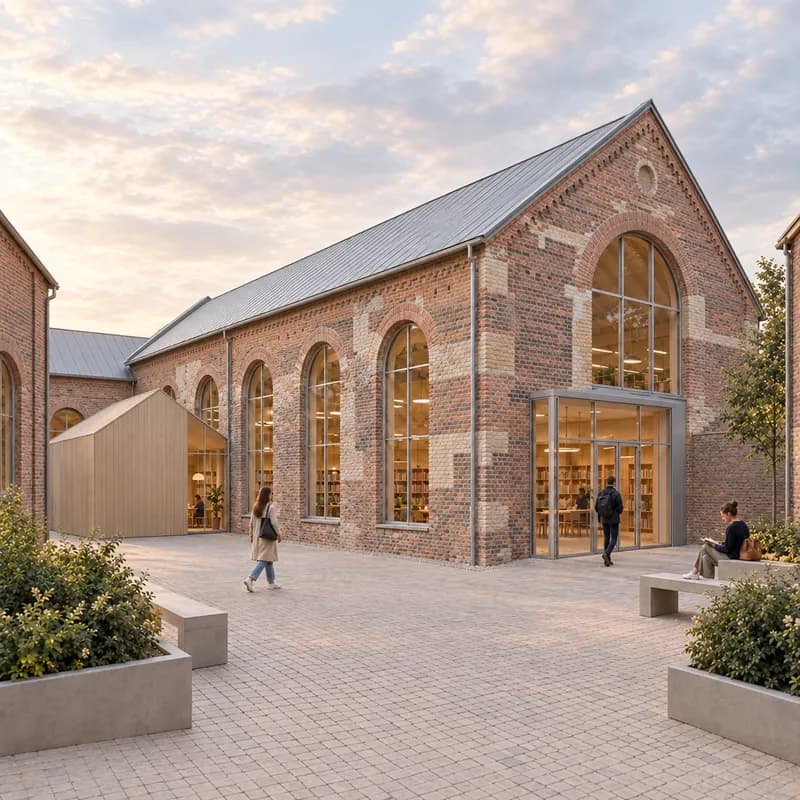
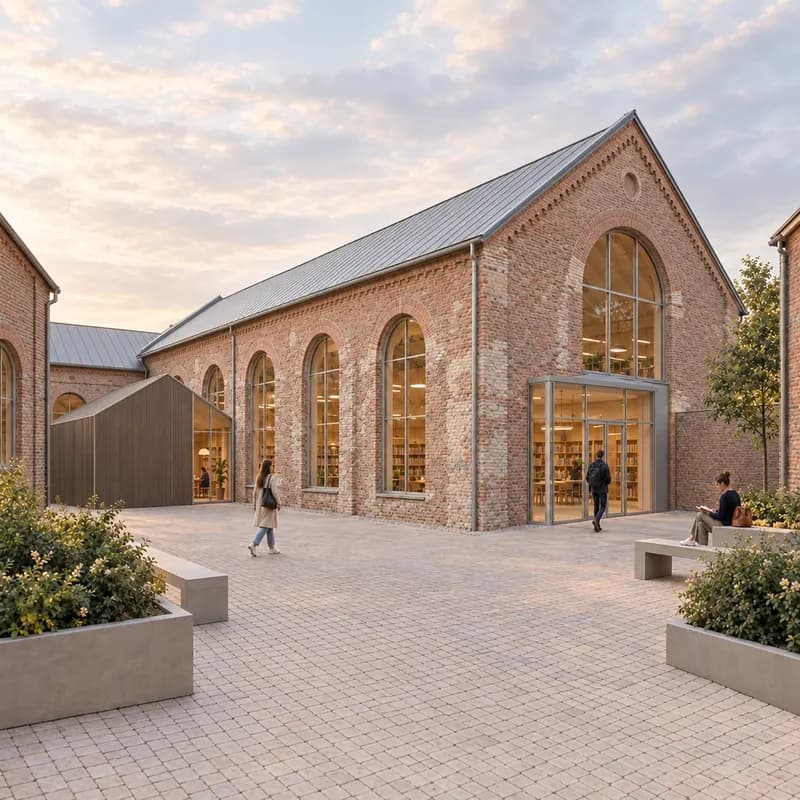
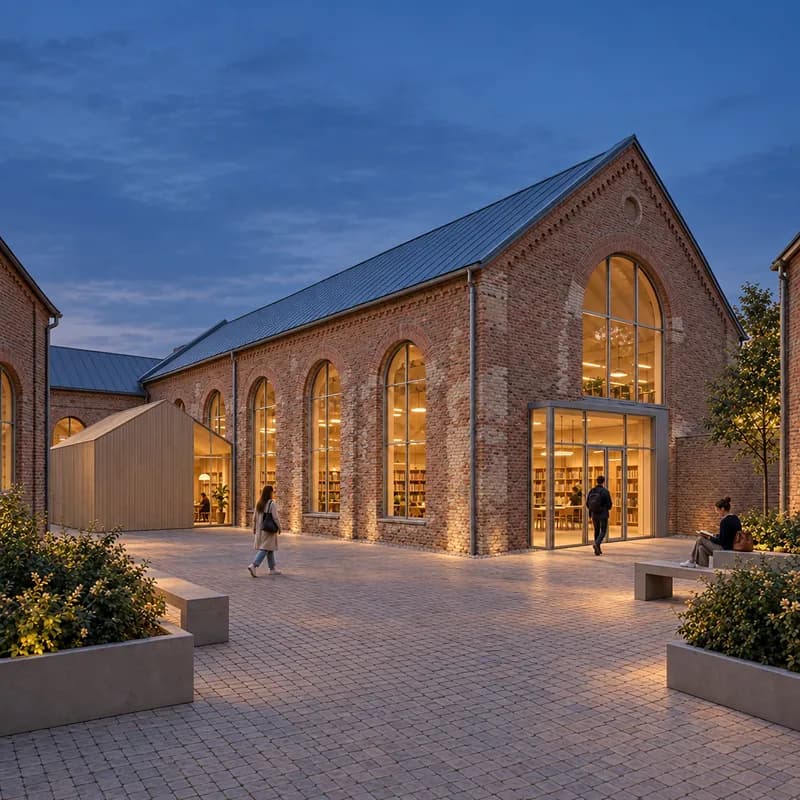
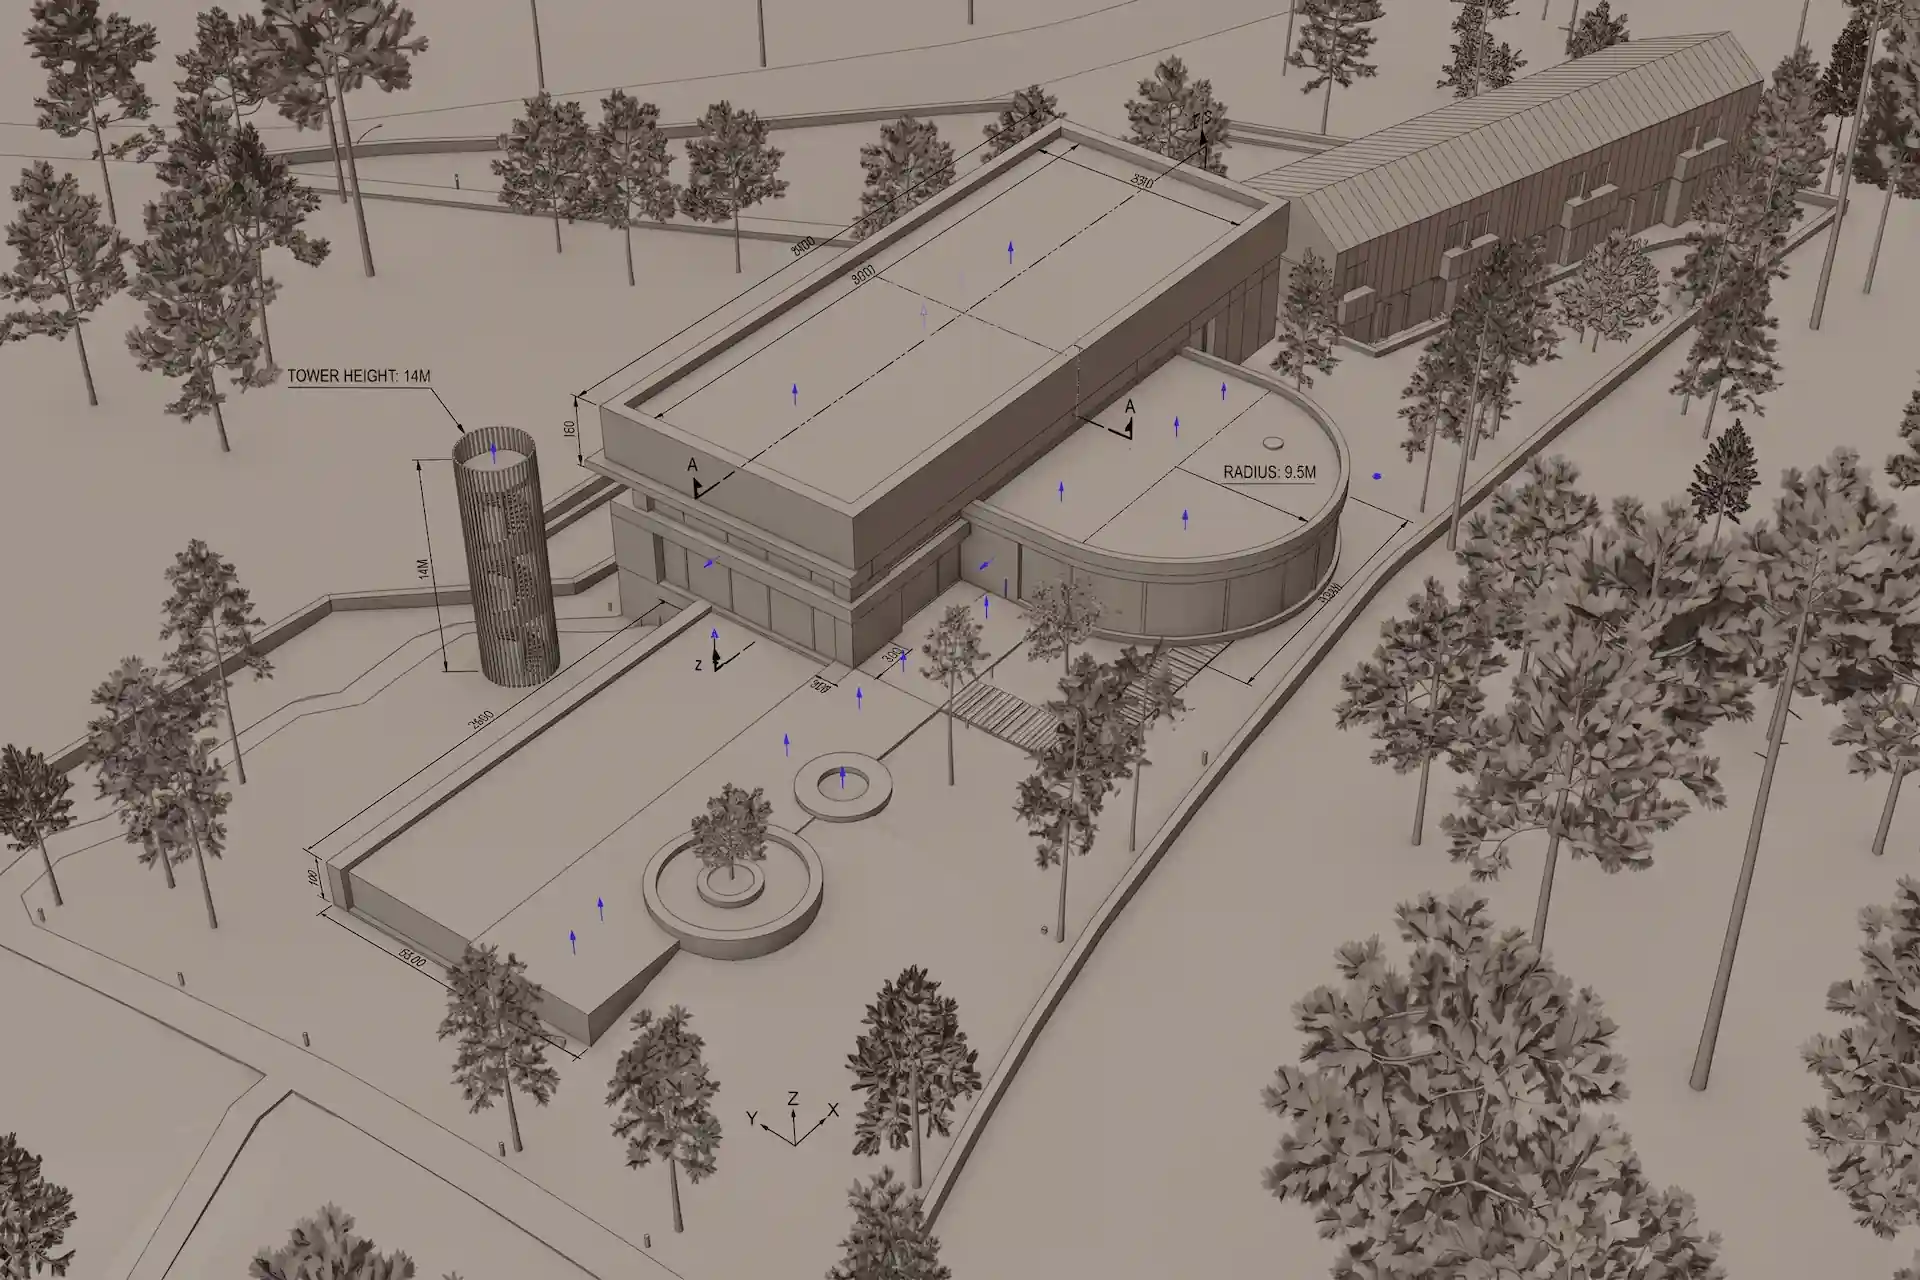
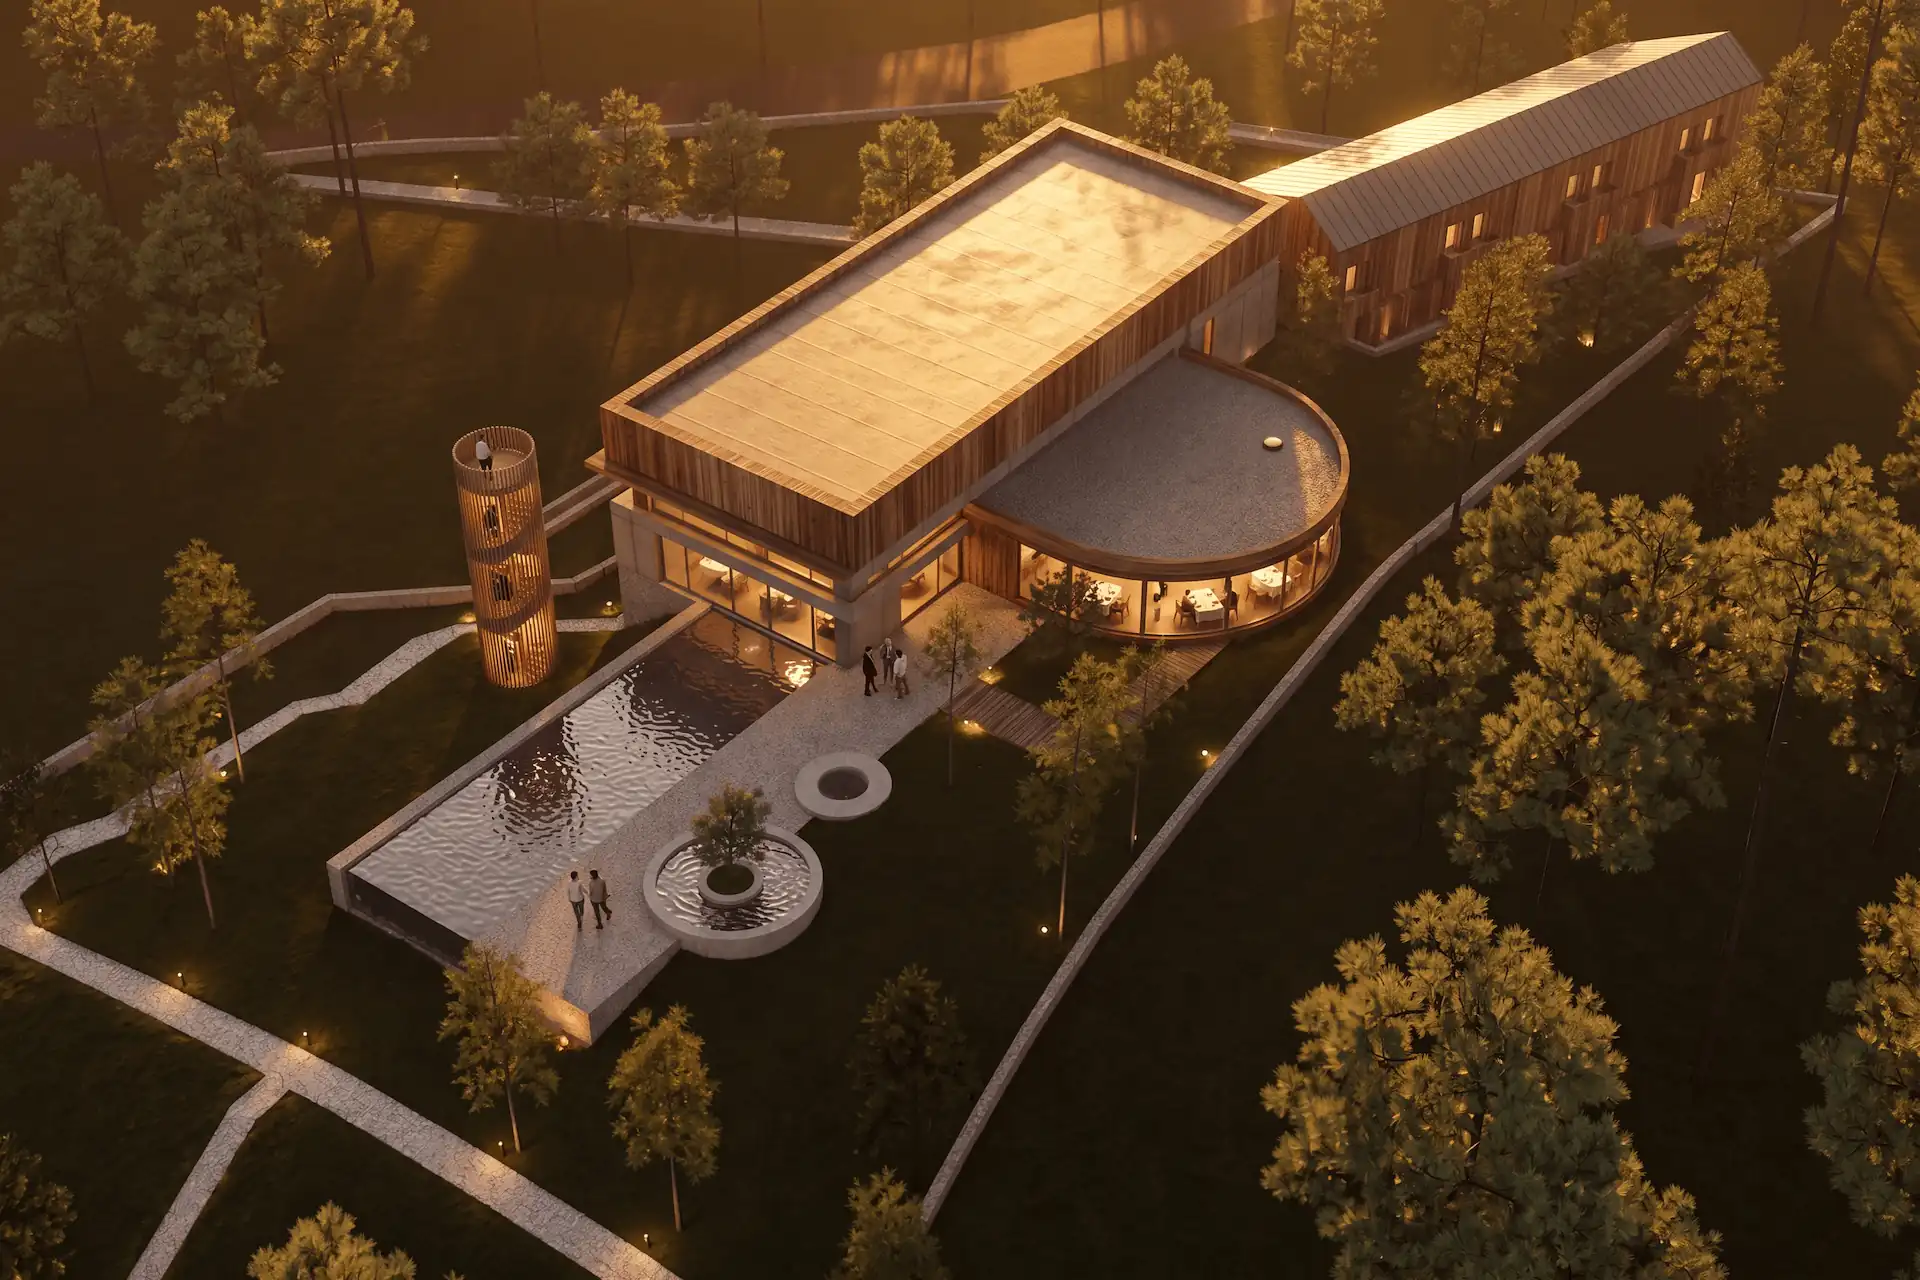
These matched synthetic studies keep one workshop and camera. Each changes a single visual question. The set does not test measured retention.
Which materials work in an adaptive reuse render?
Choose materials that explain age, repair, and intervention. Retained brick may need several batch tones. Lime repair can sit visibly beside it. New timber, steel, glass, or mineral surfaces should have their own joint and edge logic.
Describe material scale and finish. Name board direction, mortar character, metal sheen, and glass reflectance. The realistic materials guide adds joint, unit-scale, and detail-crop checks.
Old-to-new junctions matter more than broad mood. Check where roofs, floors, frames, flashings, stairs, and thresholds meet. A plausible shadow can conceal an impossible connection.
How should you show phasing and changed use?
Use separate, clearly labeled views for separate project states. Do not blend existing, demolition, temporary, and final work into one ambiguous image.
Occupation can explain the new use. Keep people and furniture secondary. They should reveal scale, access, and program without covering retained work.
For district-scale reuse, the aerial masterplan prompt library includes retained industrial and civic settings. Treat those prompts as scene structures. They do not replace the project model or phasing record.
Which source-tool workflow fits renovation work?
Use the tool that holds the reliable existing and proposed states. Export a saved camera from that model.
The Archicad rendering workflow is useful when Renovation Filters, Layer Combinations, and Graphic Overrides define the source. Hide colored status graphics unless they are intentional. Revit users should keep the BIM model view authoritative for existing and proposed elements.
SketchUp and Rhino can provide clean visual sources for survey models and insertions. Save the camera before export. Do not imply that the generated image can read hidden object data.
What should you edit after the first render?
Edit one bounded junction or surface at a time. Repair tone, one frame, one flashing, or one threshold can be useful targets.
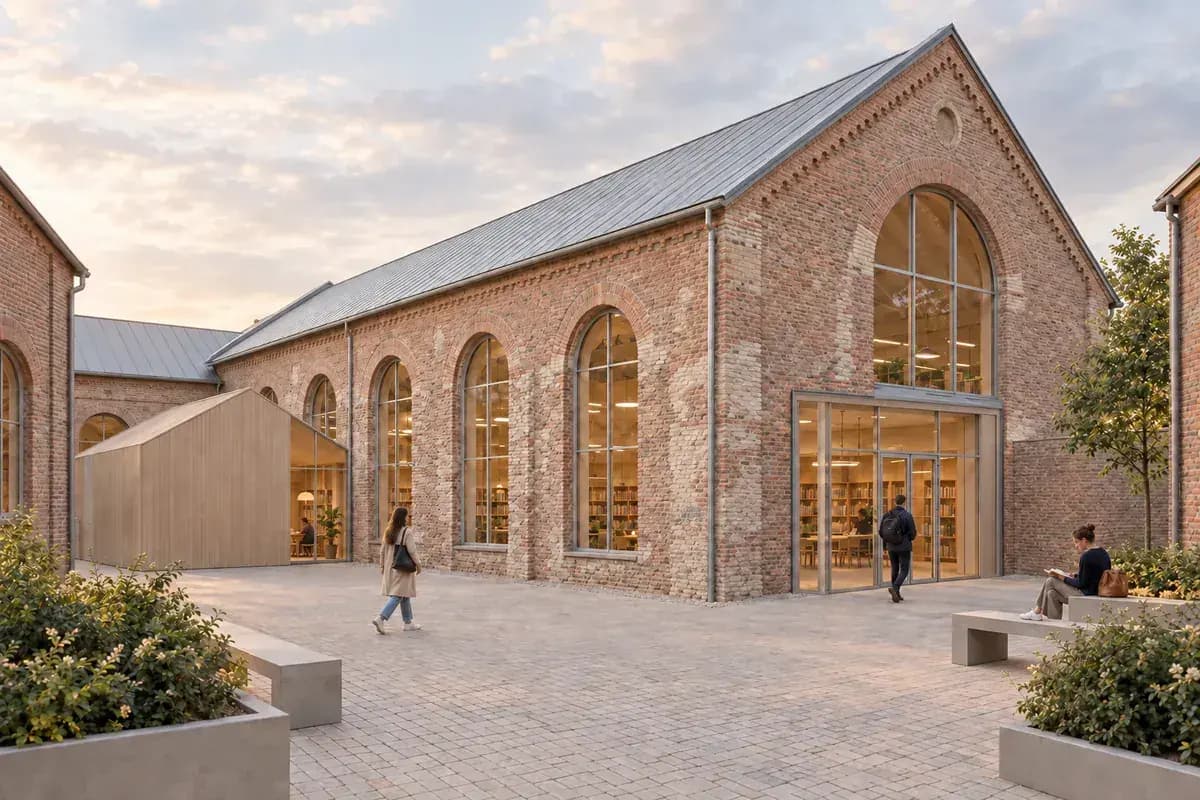
Keep the instruction attached to a clear region. Then inspect the selection edge. Generative edits do not guarantee exact boundaries or unchanged pixels.
Return to the model if the edit changes an opening, floor level, structure, or access route. Those are design inputs.
When is the image ready for client review?
The image is ready when it supports one stated decision. Its retained and proposed work should remain clear. Its limitations should also be visible.
Check the source, survey, and photographs beside the result. Review openings, levels, repairs, junctions, entrances, circulation, people, and artifacts. The client render review checklist separates image corrections from design and technical work.
Use a conventional visualization process when measured survey geometry, verified materials, repeatable cameras, phasing, or coordinated technical details govern the deliverable. AI rendering fits early still-image studies. The project record remains the authority.
Questions about adaptive reuse AI rendering
Can AI show an existing building and a proposed extension?
Yes, as a visual study. Start from a source that clearly shows both states. Compare openings, levels, roof edges, boundaries, and the new junction with the project model.
How do I stop an AI render from making old fabric look new?
Name the retained materials, repairs, variation, and meaningful scars. Use a clear source image. Reject results that regularize important edges or replace existing surfaces.
Can an adaptive reuse render verify conservation work?
No. It can help discuss visual character and repair intent. Surveys, condition records, specifications, approvals, and specialist advice remain authoritative.
Which view is best for a renovation render?
Choose a view that exposes the retained fabric, proposed intervention, access, and important junctions. Use a second view when one camera conceals a critical relationship.