
AI Rendering for Landscape and Site Design: A Review Method

AI rendering for landscape and site design turns a plan, model view, or site screenshot into a visual study. It works best when the source already fixes the camera, grading, routes, built edges, and major planting zones. The prompt can then guide materials, species character, season, weather, light, and use.
Treat the result as an image study, not a measured landscape drawing. Generated levels, path widths, drainage falls, plant quantities, and accessibility details can drift. Keep the plan or model beside every result. Review circulation, terrain, water, planting, and architecture before the image reaches a client.
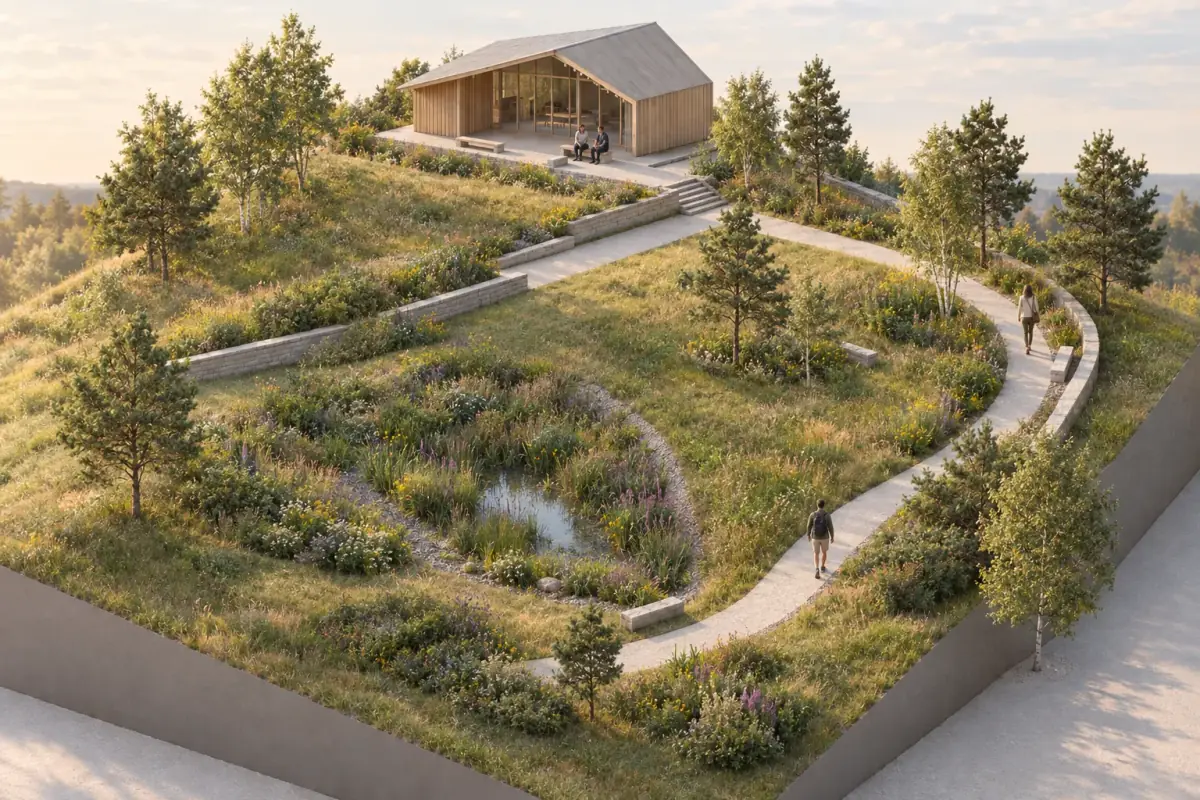
What is AI landscape rendering?
AI landscape rendering creates a site image from text or visual input. The subject may be a garden, courtyard, campus edge, public realm, or larger site.
Text alone leaves the layout open. A site plan adds boundaries and route cues. An elevated model view adds terrain, built form, and spatial depth. This makes the task part of the broader AI architectural rendering process.
The image can support early material, planting, weather, and use studies. It cannot verify levels, slopes, quantities, drainage, or plant performance.
When should you use AI for a site study?
Use it when the site geometry is stable enough to test visual direction. It can help compare hardscape, planting character, seasonal tone, and occupation.
It is also useful before a full visualization scene is ready. A clear source view lets the team discuss how building and landscape meet. The AI exterior rendering guide covers the facade side of that edge.
Do not use a generated image to settle technical site questions. Return to the landscape plan, grading model, drainage design, and specification for those decisions.
Which source should guide the render?
Choose the source that contains the decision you need to protect.
| Source | Best use | Review before sending |
|---|---|---|
| Elevated model view | Terrain, routes, built edges, and planting structure | Camera, horizon, level changes, walls, and boundaries |
| Eye-level model view | Arrival, enclosure, thresholds, and human scale | Eye height, path width, entrances, and blocked views |
| Rendered site plan | Program, circulation, canopy, and surface hierarchy | North, boundary, scale, labels, and technical authority |
| Site photograph | Existing context, vegetation character, and weather | Lens, season, ownership, and hidden ground conditions |
A clean screenshot should hide selections, guides, dimensions, and interface controls. Keep contours only when they genuinely help the image read. The cross-tool screenshot guide covers crop, overlays, edges, and image size.
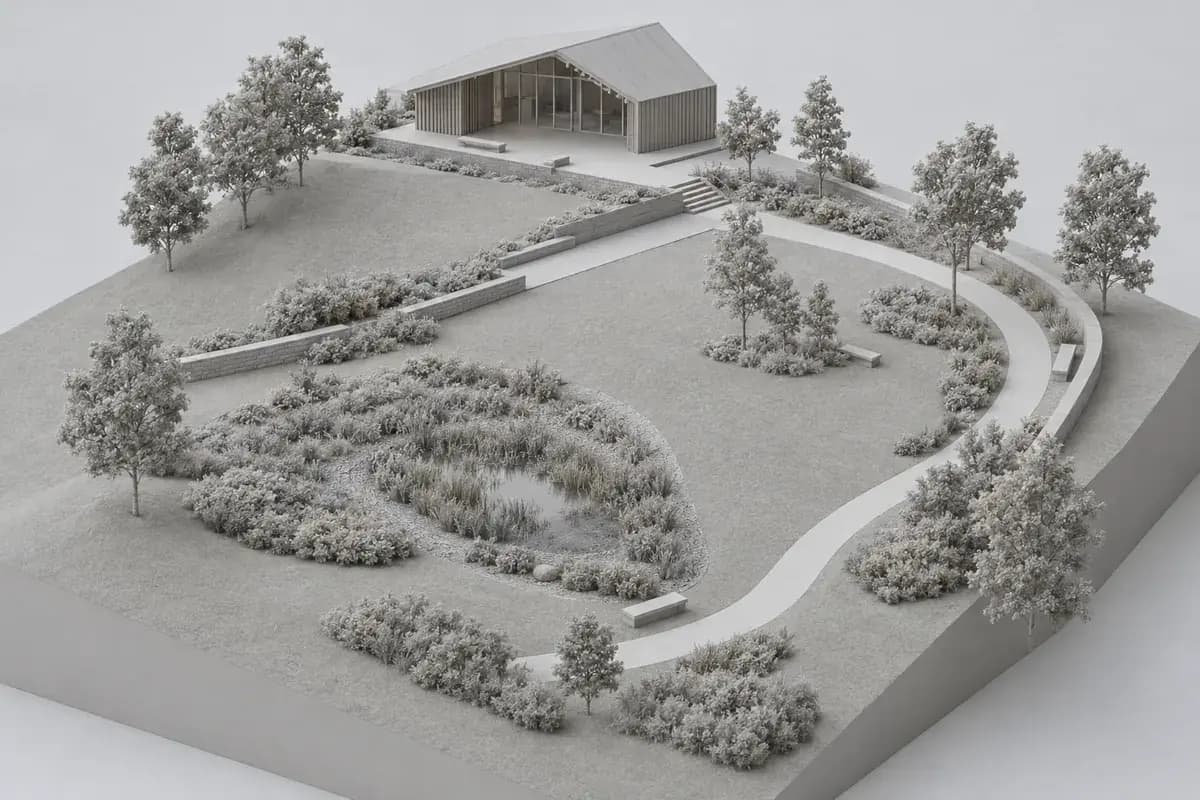 Synthetic site modelLandscape study
Review the large geometry first. Check the site boundary, slope breaks, paths, steps, ramps, walls, water edges, and building footprint. Plant detail comes later.
What landscape-rendering process should an architect follow?
Start with one clear review question. A broad request produces an image that is hard to compare.
Name the site decision
Choose grading, access, hardscape, planting, water, season, or presentation as the main question.Prepare one source view
Fix the camera and expose boundaries, level changes, routes, built edges, and major planting zones.Describe the landscape system
Name surface materials, planting structure, climate, season, weather, light, and restrained occupation.Generate focused studies
Change one main variable at a time and keep accepted images tied to their source.Review against the design
Check circulation, terrain, drainage edges, planting scale, entrances, sightlines, and artifacts.
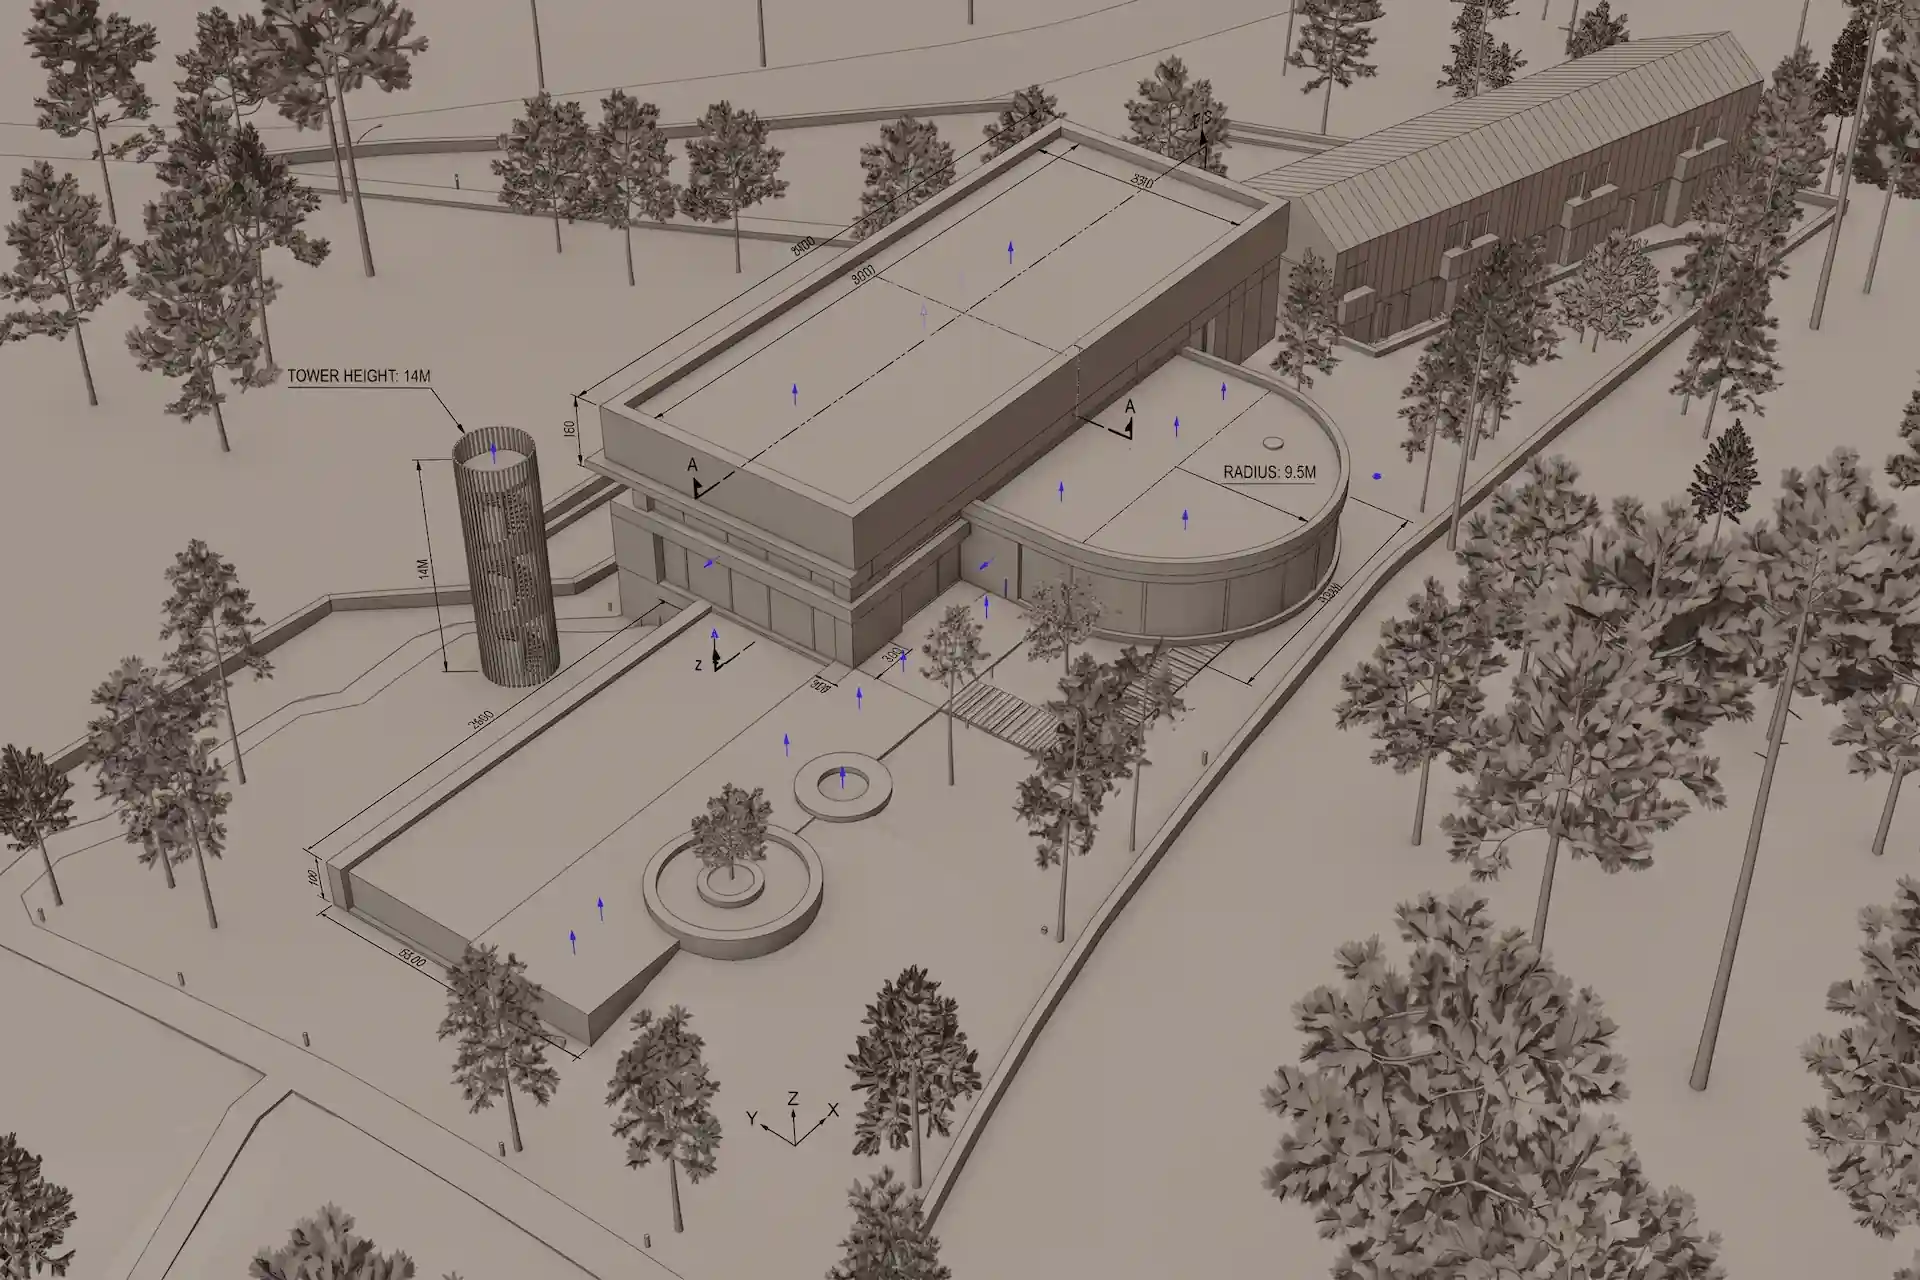
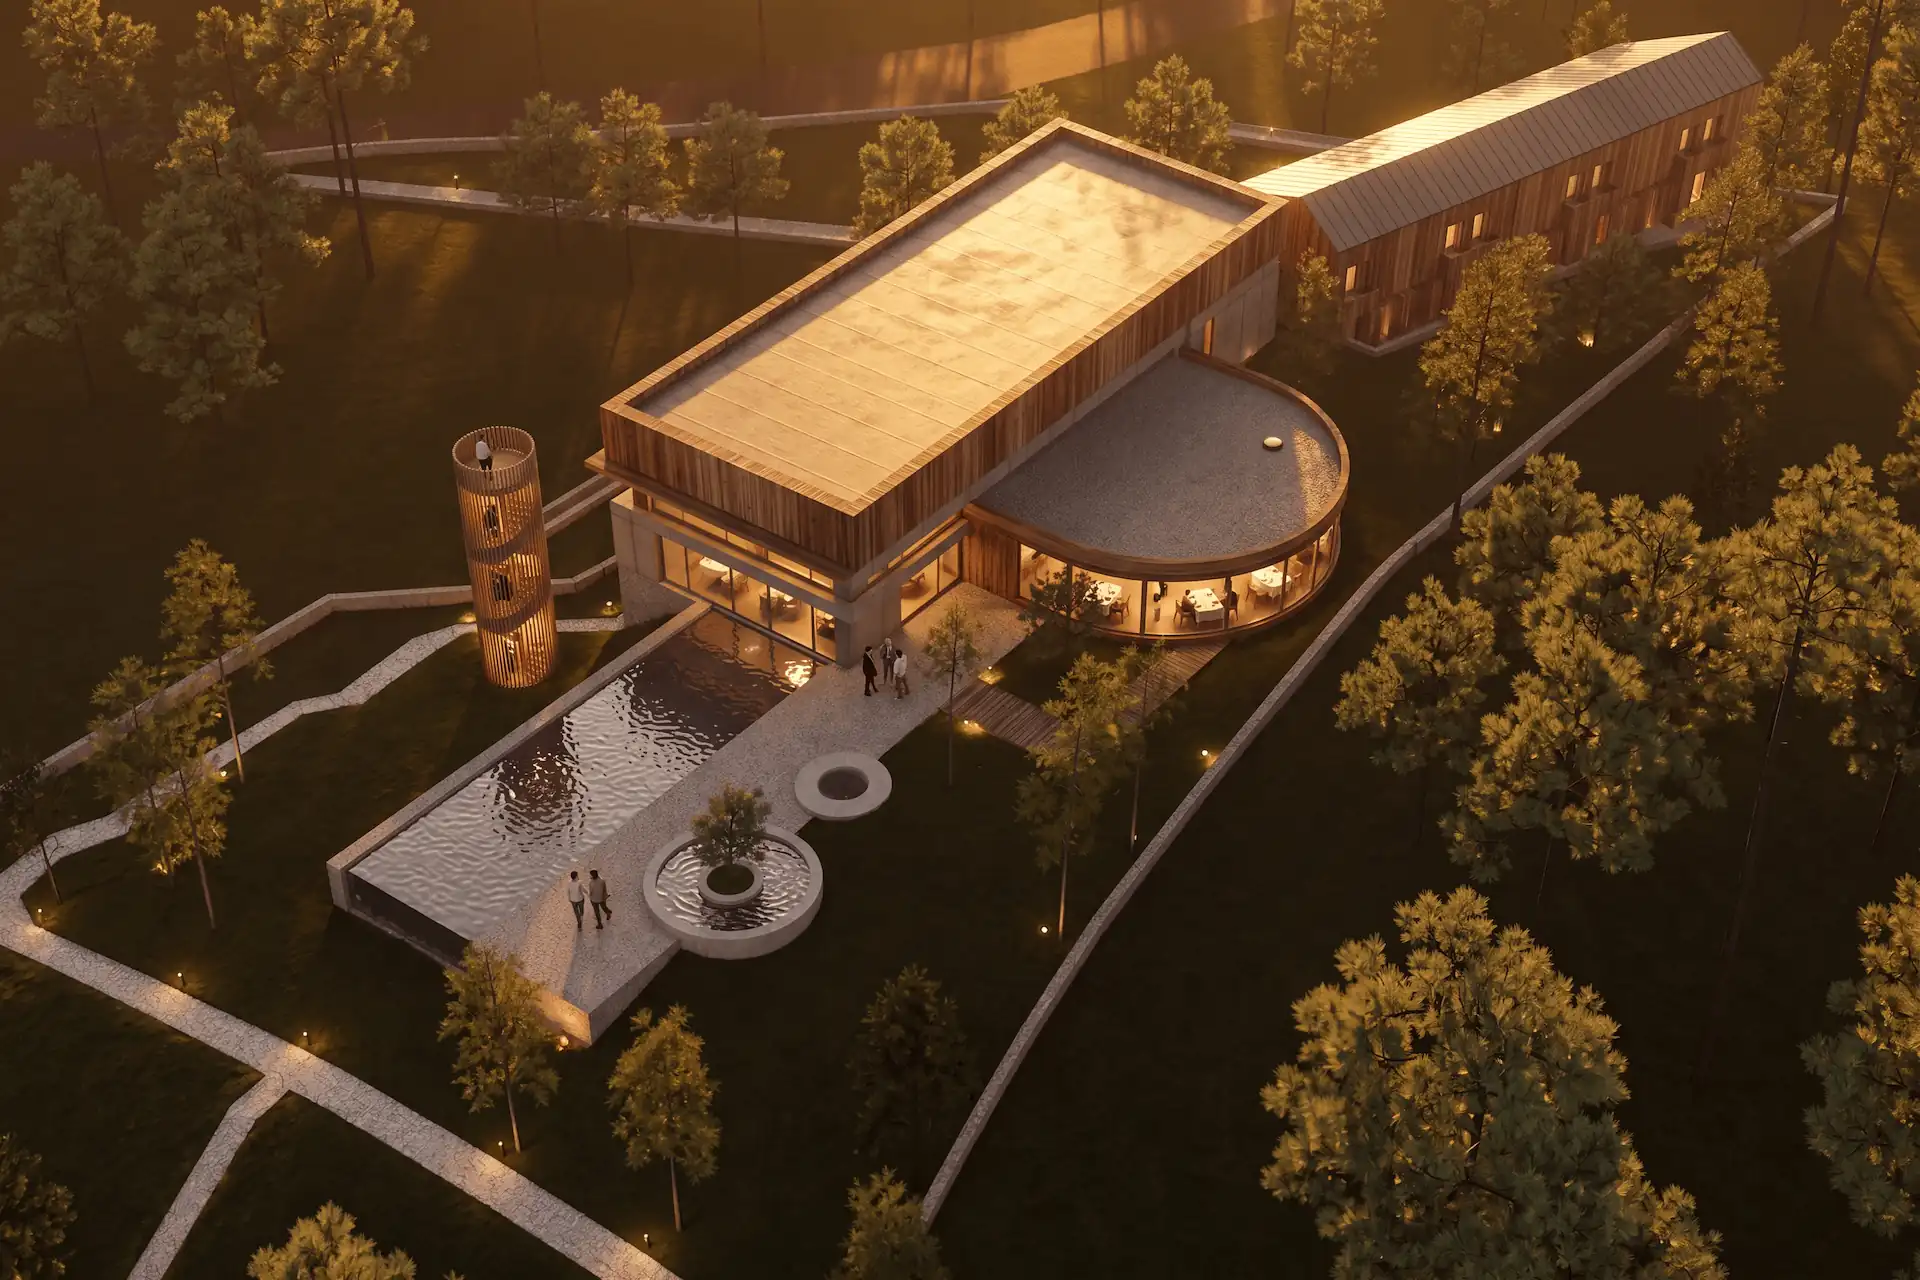
Before / after
Test one landscape direction on your own site view.
What makes a landscape render credible?
A credible image explains how the site works. Planting alone cannot carry it. The viewer should understand movement, level change, shelter, water, and use.
Keep grading visible
Show where the ground rises, falls, and meets architecture. Retaining walls, steps, ramps, kerbs, and planted slopes should agree. Watch for paths that quietly flatten difficult terrain.
Protect access and circulation
Keep route widths and junctions legible. Place people beside movement lines, not across them. A generated ramp may look convincing while missing its actual landing or handrail condition.
Give water a physical edge
Rain gardens, ponds, swales, and channels need depth and a readable boundary. Avoid decorative water that ignores the source. An image cannot prove storage, flow, or drainage performance.
Build planting in layers
Separate canopy, understory, shrubs, grasses, and groundcover. Match their scale to nearby architecture. Keep key entrances, sightlines, and paths clear.
Join building and site
Check thresholds, plinths, paving falls, walls, and planting at the facade. These small edges make the landscape feel attached to the project.
How should you test season, weather, and use?
Use one fixed view to compare environmental conditions. Keep paths, grading, water footprint, trees, and architecture aligned.
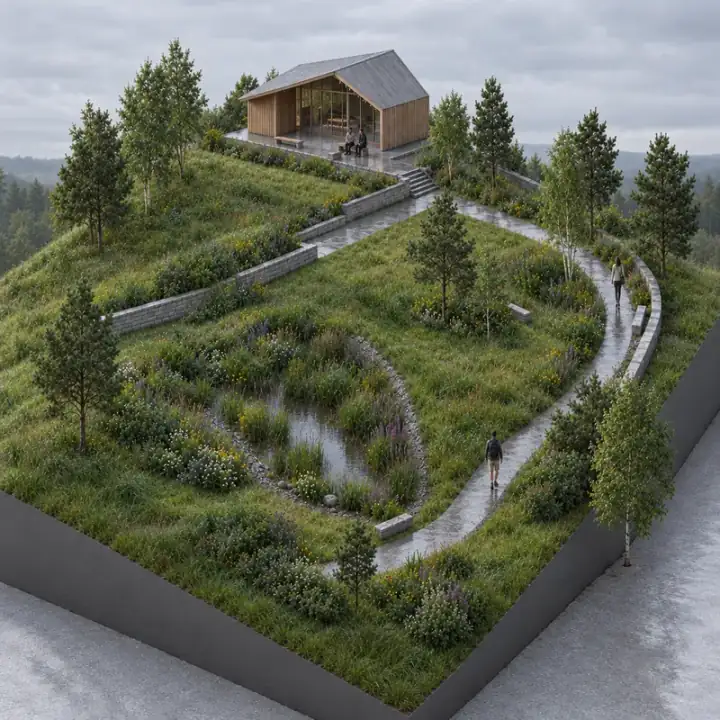
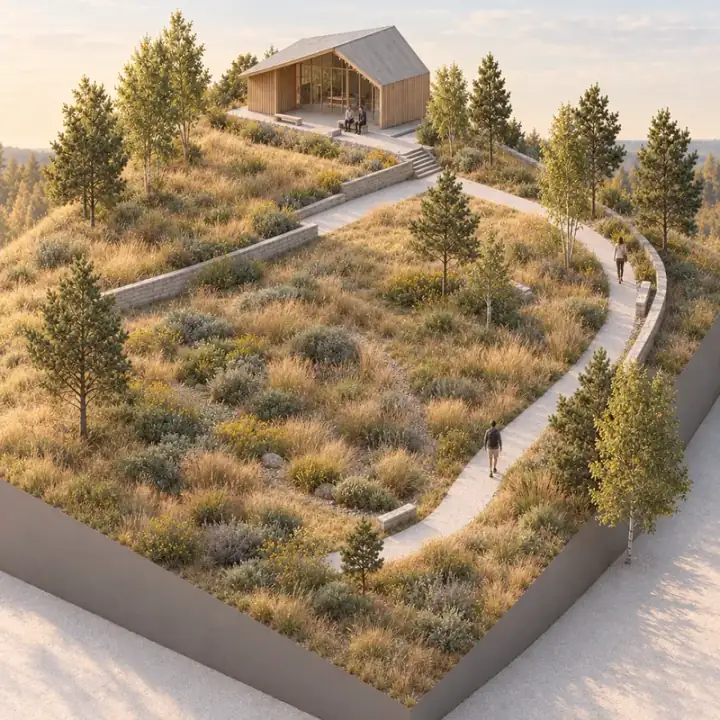
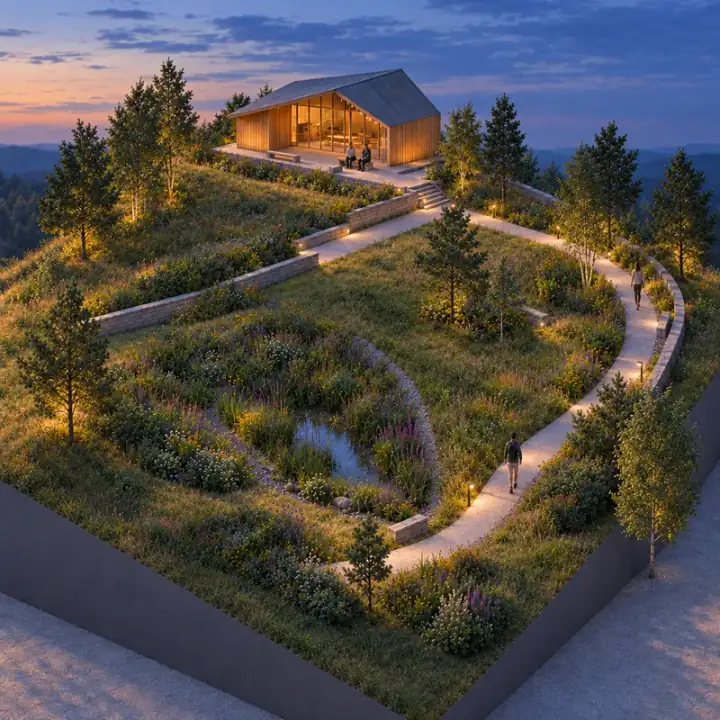
Wet weather can reveal low points and surface character. Dry conditions expose planting resilience and bare ground. Evening light tests entrances and routes.
These remain visual studies. They do not simulate hydrology, growth, ecology, or measured lighting.
Which site views should you render first?
Render the view that answers the current decision. A small set often works better than many similar images.
- Elevated oblique: shows terrain, routes, planting structure, and built form.
- Arrival view: tests hierarchy, access, threshold, and identity.
- Eye-level route: shows enclosure, shade, planting scale, and safety.
- Building edge: checks paving, drainage, plinth, steps, and planting.
- Detail view: tests one seat, wall, water edge, or material junction.
For larger sites, the aerial masterplan prompt library offers scene structures for districts, campuses, and public space. The site-to-concept prompts start from aerial site imagery. Neither route replaces a measured masterplan.
Which model workflow fits landscape and site design?
Use the modeling tool that already holds the reliable project geometry. Export a clean image from its saved view or camera.
The Vectorworks Saved View workflow is useful when classes, layers, terrain, and planting need a repeatable view. SketchUp users can follow the SketchUp screenshot method. Revit users should keep the Revit model view authoritative for building and level coordination.
Rhino suits modeled topography and custom site geometry. The Rhino viewport workflow explains how to export a clean NamedView without implying that the image reads model data.
What should you edit after the first render?
Edit one bounded decision at a time. Planting density, paving tone, seating, path light, and small groups of people are suitable visual studies.
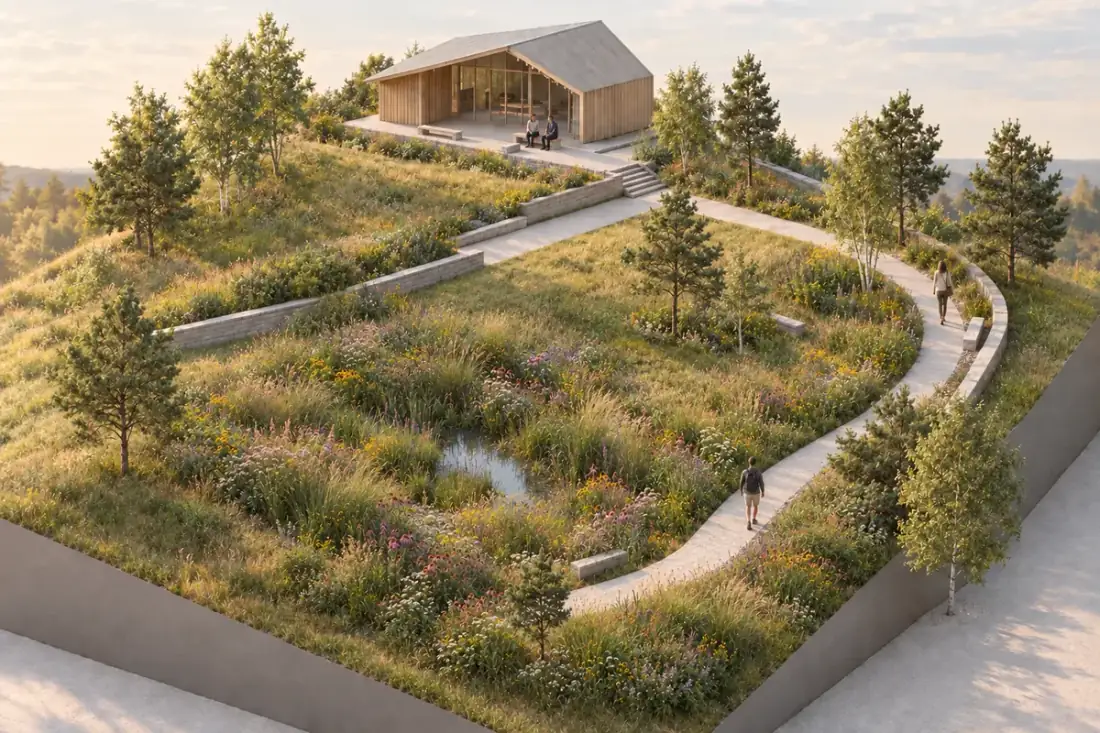
Keep the instruction tied to a clear region. Then inspect the selection edge. Generative edits do not guarantee exact boundaries or unchanged pixels.
Return to the source if an edit changes the route, wall, grading, drainage edge, or building. Those are design inputs, not image decoration.
When is the landscape render ready for client review?
The image is ready when it supports a stated decision and its limits are clear. Show the source beside it when geometry matters.
Review terrain, circulation, access, planting scale, water edges, entrances, lighting, and occupation. Then check image artifacts. The client render review checklist separates design corrections from image polish and technical work.
Use a conventional visualization process when exact topography, measured sun, verified species, growth stages, water behavior, phasing, or repeatable cameras govern the deliverable. AI rendering fits early still-image studies. The landscape model and drawings remain the authority.
Questions about AI landscape rendering
Can AI render a landscape plan?
It can create a visual study from a plan image. Keep the original plan authoritative for scale, boundaries, levels, routes, quantities, labels, and technical information.
How do I keep paths and grading consistent?
Start from a clear model view that shows routes and level changes. Ask to preserve them, then compare walls, paths, steps, ramps, and slope breaks with the source.
Can an AI landscape render test planting seasons?
It can illustrate seasonal character on one fixed view. It cannot predict growth, ecology, maintenance, survival, or measured performance.
Which view is best for a site render?
Use an elevated oblique for site structure, an arrival view for access, and eye level for enclosure and planting scale. Choose the view that exposes the current decision.