
AI Exterior Rendering: Make Facades Read as Built

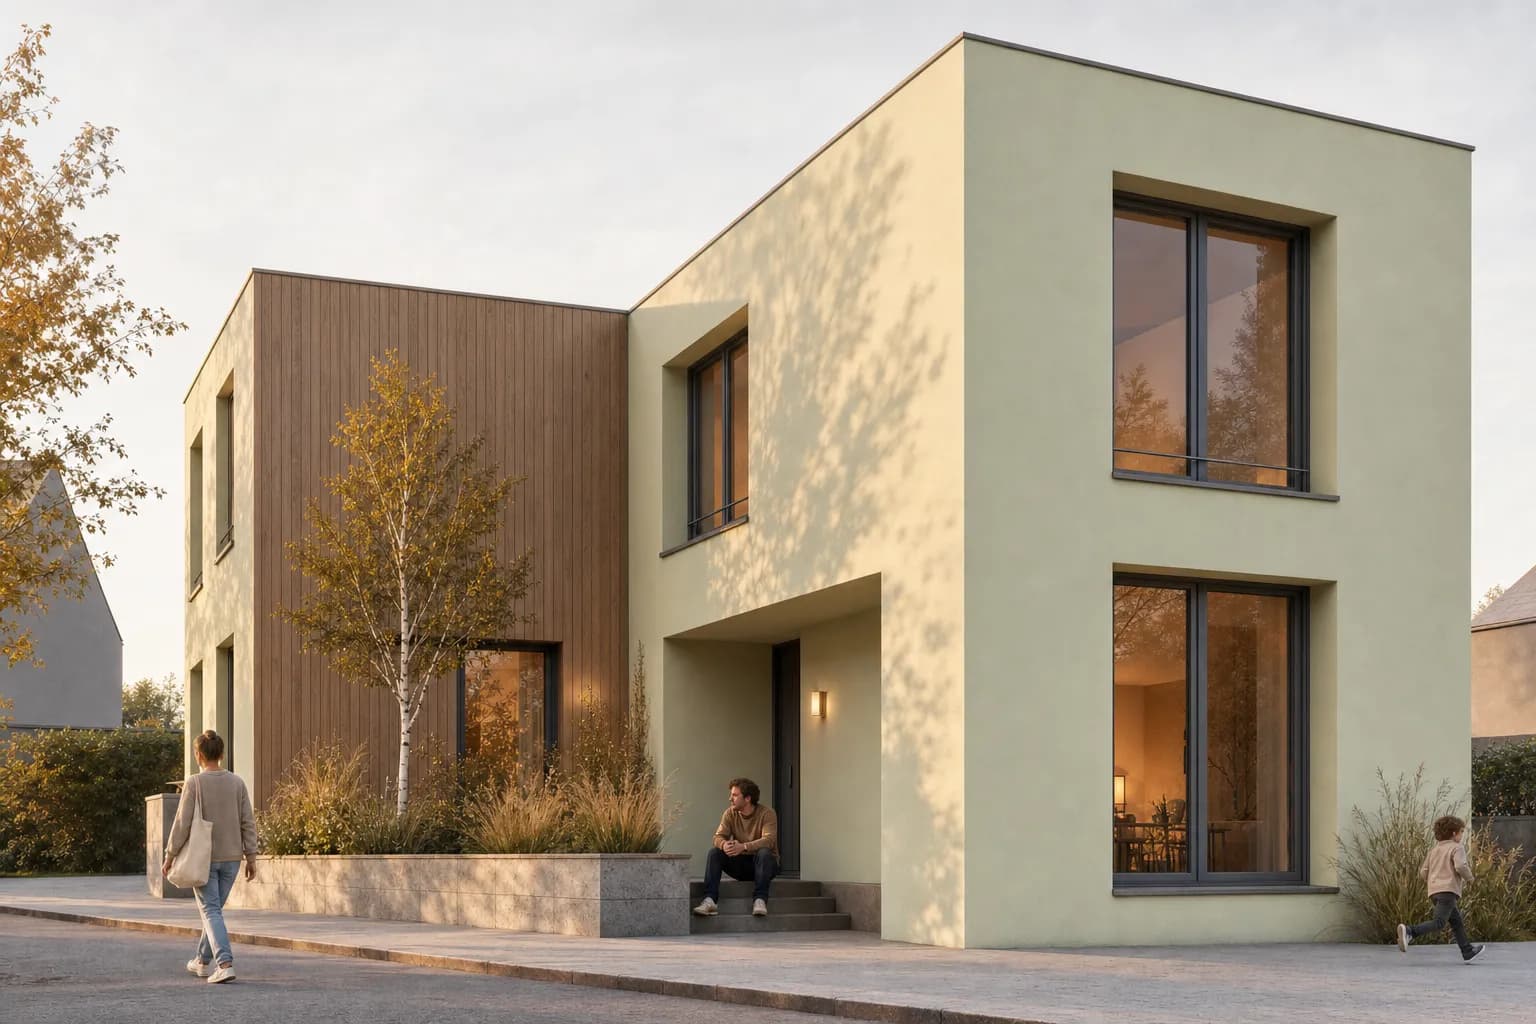
AI exterior rendering turns a written brief or model view into a presentation image of a building and its site. Start with Create when the form remains open. Use Enhance when a 3D screenshot should constrain the camera and visible geometry. Then describe cladding, glazing, light, ground, planting, and entourage. A strong result makes the facade feel built rather than applied to a background. The source still needs review. Generated openings, edges, joints, reflections, and proportions can drift. Compare every important result with the model before client review.
What is AI exterior rendering?
AI exterior rendering creates an architectural image from text or visual input. The subject can be a house, facade, pavilion, or larger building.
For houses and apartments, the residential AI rendering workflow adds view selection, living-pattern checks, and a small client-review set.
For material zones, window rhythm, entrances, and street edges, use the facade rendering review method. It keeps that narrower task separate from the full exterior and site image.
A written brief leaves massing and camera open. A sketch adds line and proportion cues. A 3D screenshot provides the clearest visible constraint. This places exterior work inside the broader AI architectural rendering process.
The output is an image, not a measured model. Use it for design studies and presentation direction. Do not treat it as construction evidence.
How do you keep the building and camera recognizable?
Start from a resolved model view. Set the camera, crop, and horizon before export. Hide selections, guides, axes, and interface controls.
CAD Scene Enhance instructs the image model to preserve camera, framing, geometry, and proportions. That instruction is a constraint, not a guarantee. The screenshot-to-render method explains the boundary in detail.
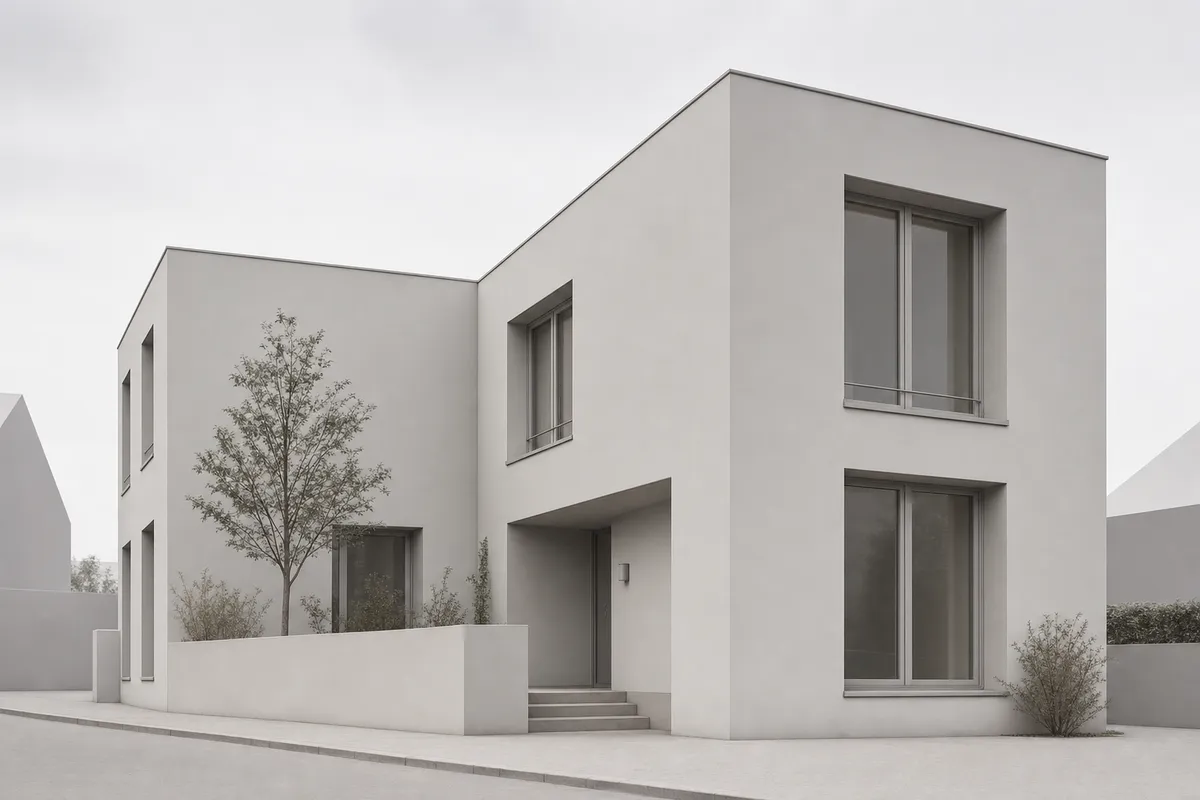 Model viewExterior study
Review the silhouette first. Then check roof edges, floor lines, entrances, and openings. Fine joints and railings can look plausible while being wrong.
Use the clean screenshot capture guide before exporting a difficult view. It covers crop, overlays, edges, and image size across modeling tools.
What makes facade materials look physically clear?
Assign one material idea to each readable surface. Name the material, finish, joint direction, and reflectance. Avoid broad requests such as "premium facade."
- Render or plaster: state mineral, lime, smooth, or lightly textured.
- Timber: name species, board width, orientation, and weathering.
- Brick: state bond, mortar tone, depth, and edge condition.
- Stone: name unit scale, finish, joint width, and wet or dry appearance.
- Metal: state profile, seam rhythm, sheen, and edge detail.
Material changes should follow the facade logic. A plinth, upper volume, and recessed entrance can carry separate finishes. Random surface variation makes the building harder to read.
The prompt should also protect the design. Ask to retain roof form, openings, and camera while changing finishes. The architecture render prompt guide shows how to write constraints without burying the main direction. The realistic materials guide adds surface assignment, unit scale, joints, detail crops, and correction prompts.
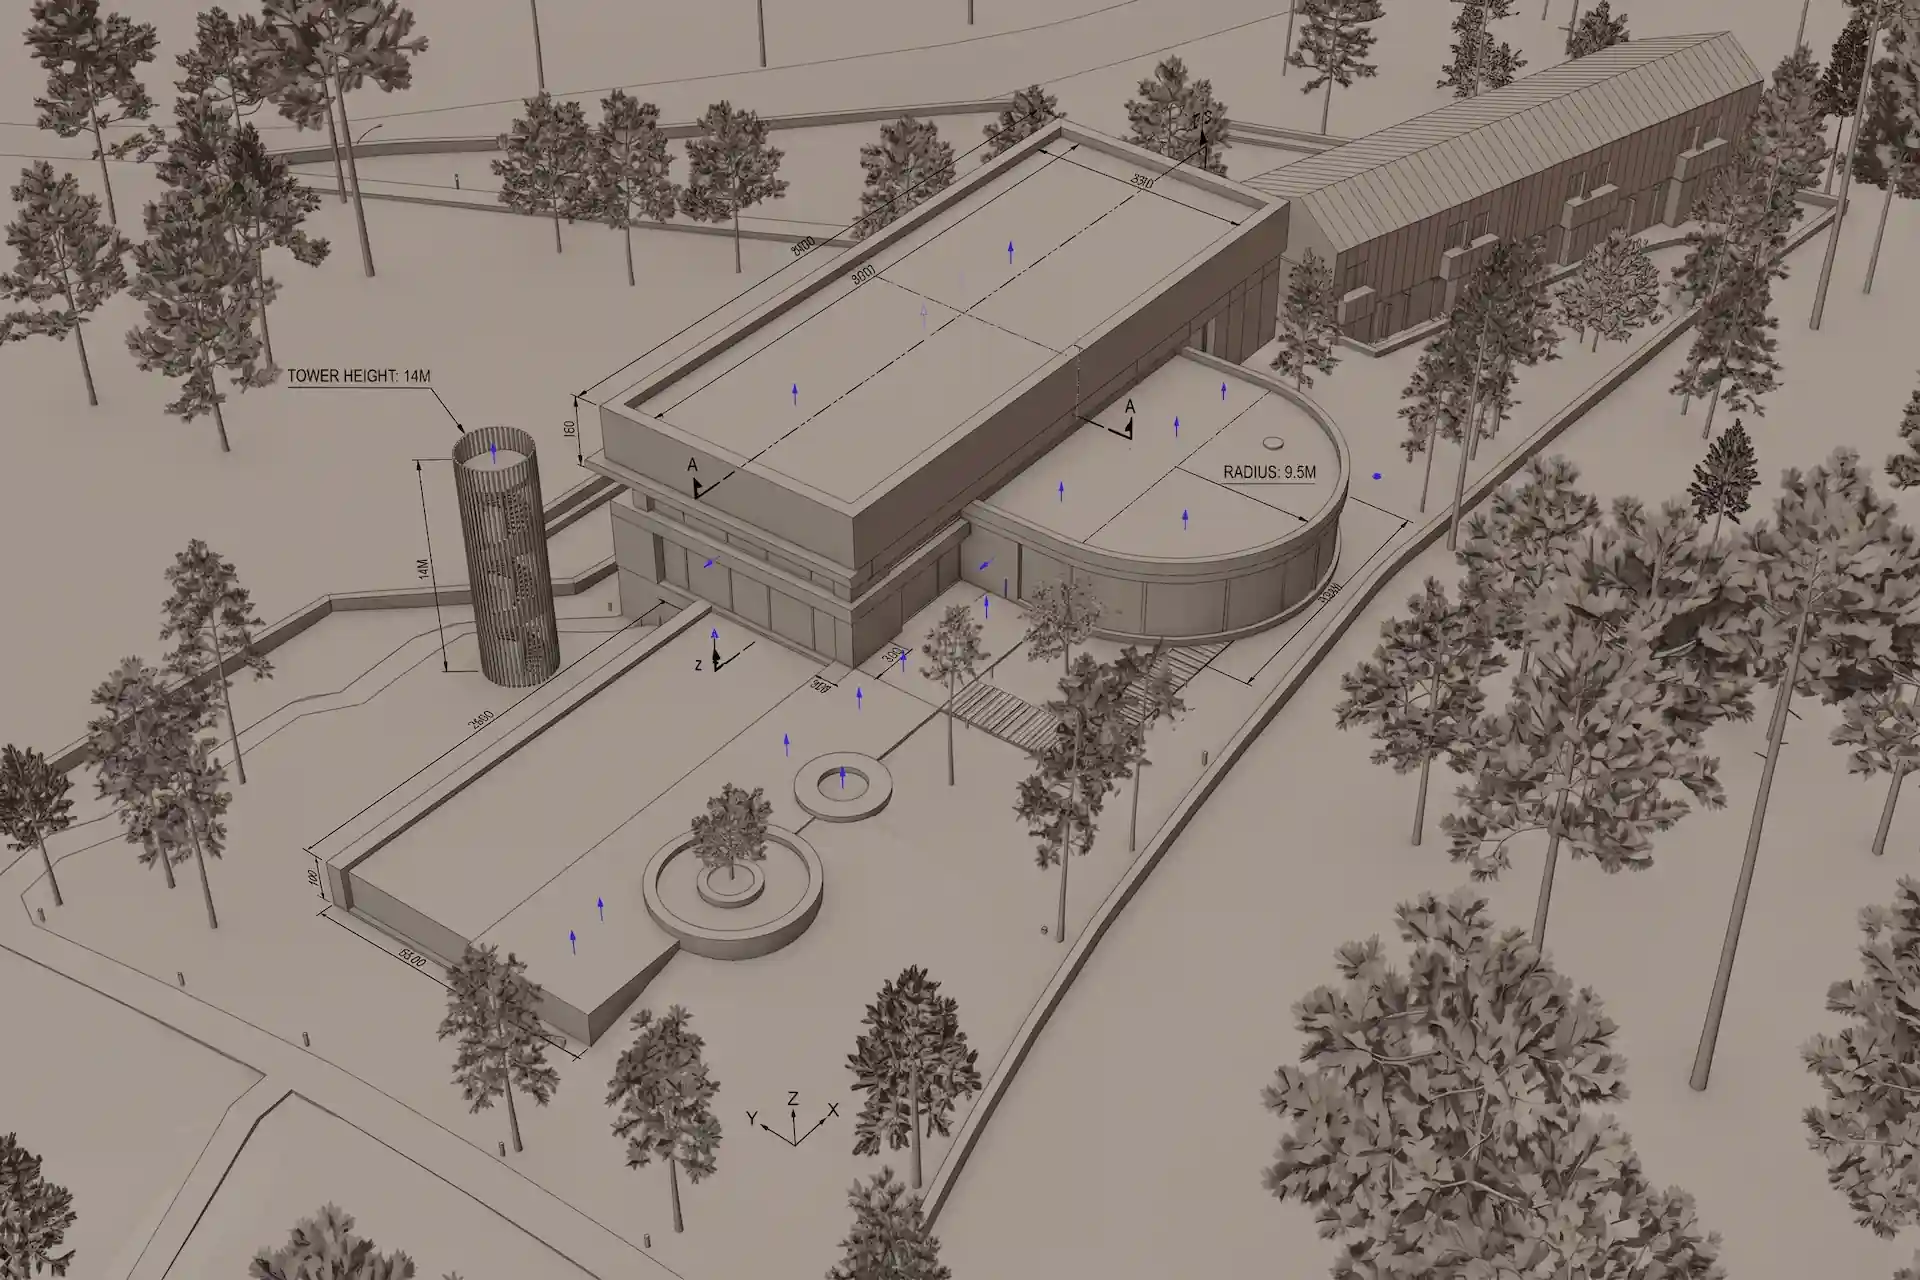
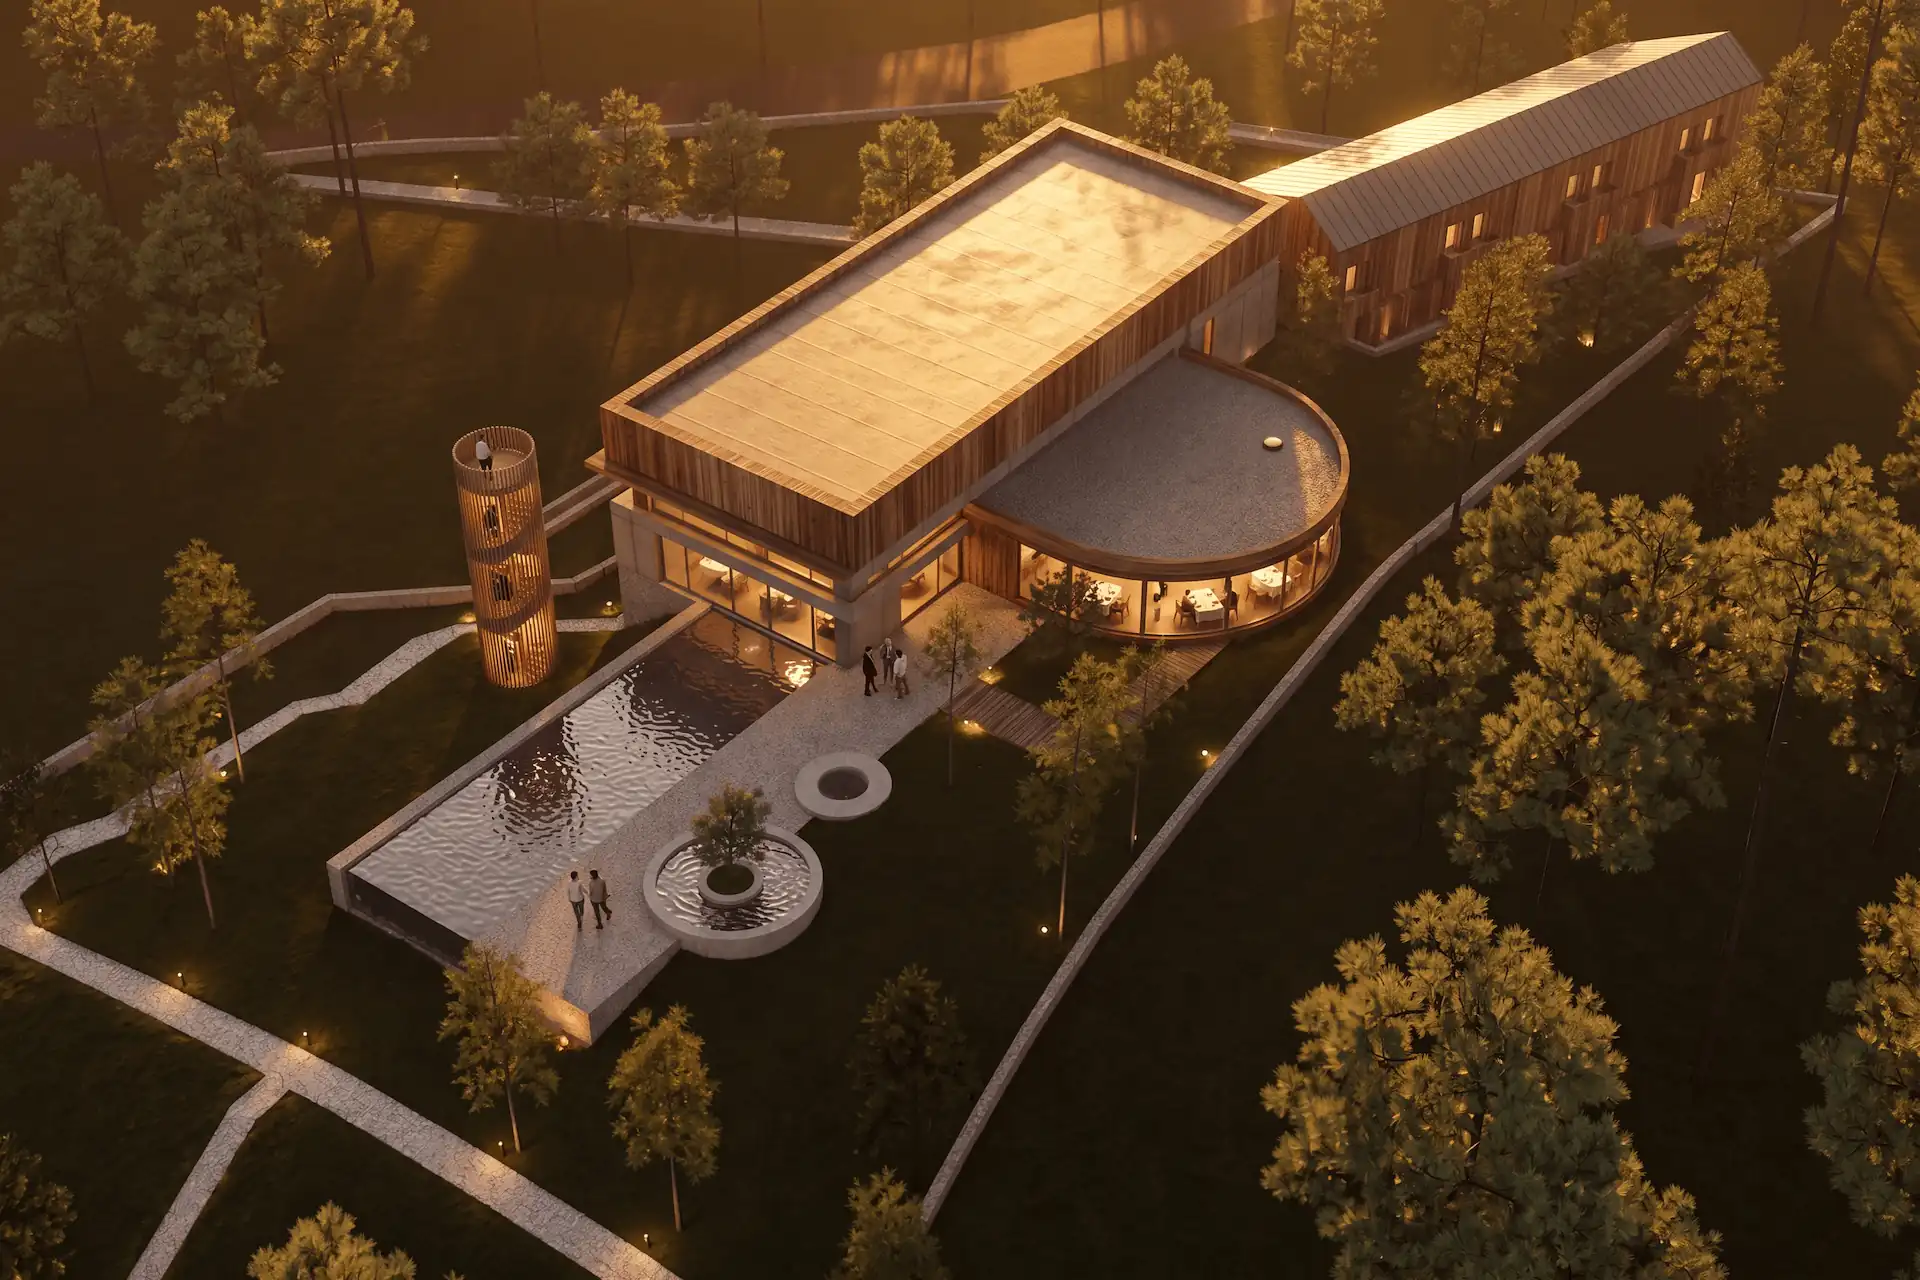
Before / after
Test one facade direction on your own model view.
How should glazing and reflections behave?
Glazing needs depth, reflection, and a believable interior condition. Pure black panes read as empty holes. Fully transparent panes expose too much visual noise.
Describe restrained sky and landscape reflections. Keep the interior darker than the exterior by day. At dusk, use warm interior light without turning every window into one flat luminous panel.
Check mullion count and spacing against the model. Image models often alter thin frames or invent divisions. Reject any result that changes a design-critical opening.
Prompt library · 88 promptsExteriorsBrowse prompts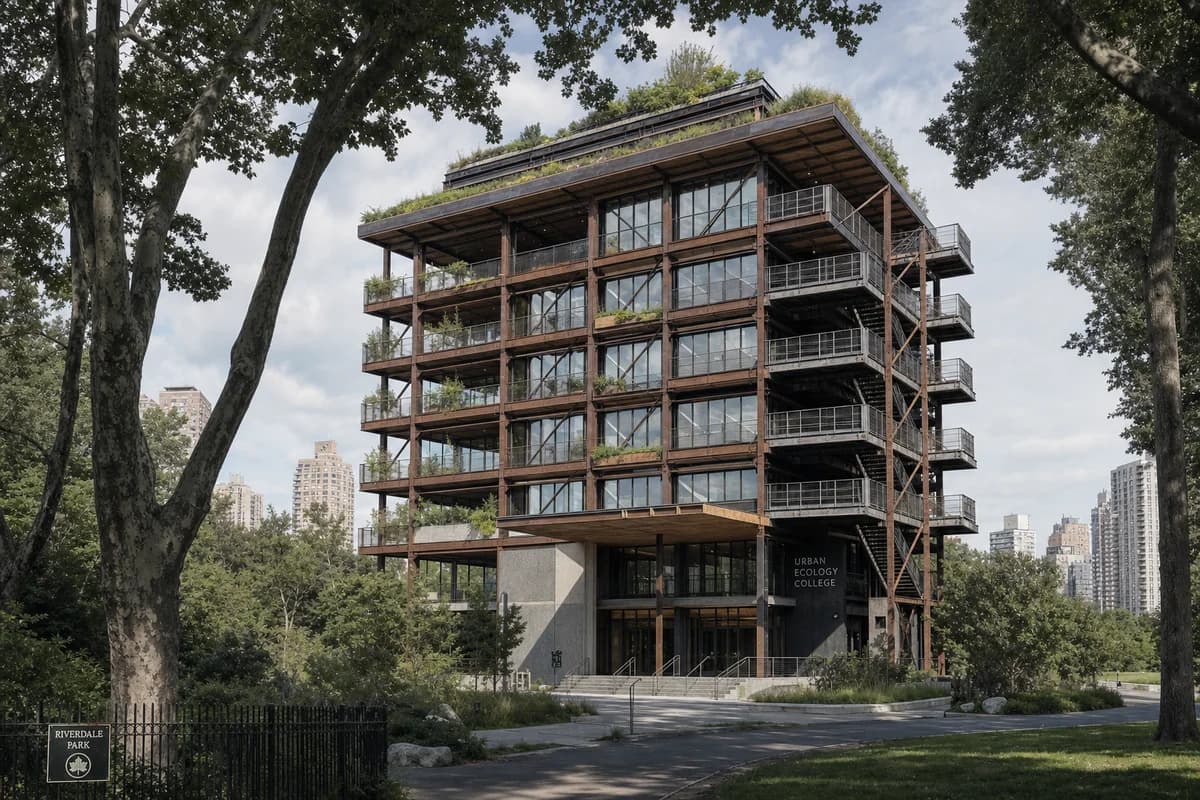
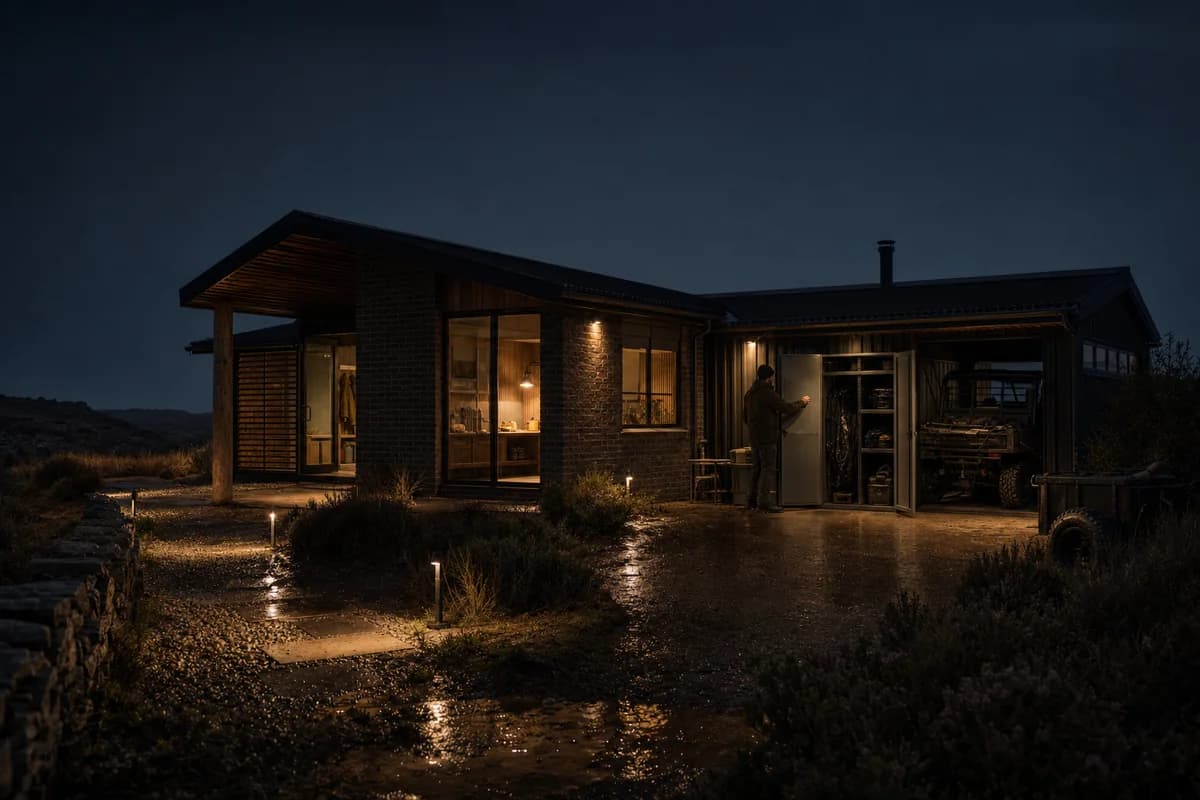
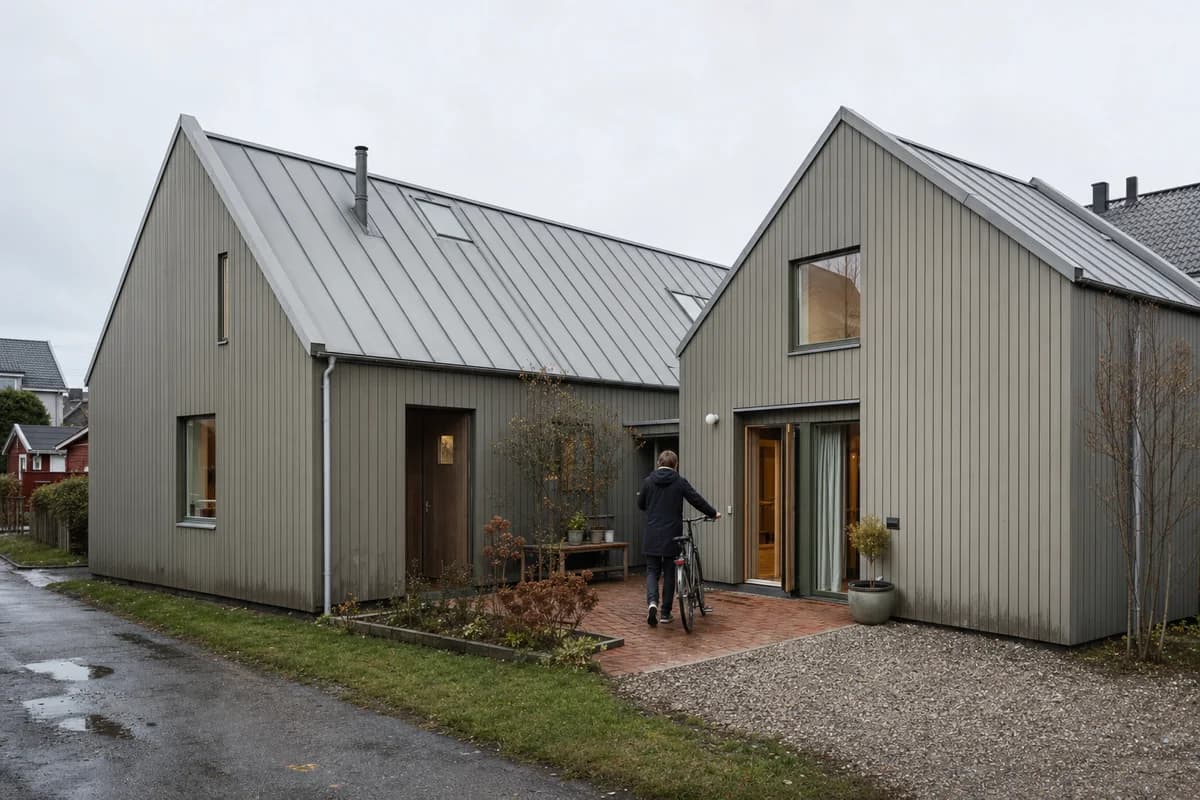
Which light makes an exterior render useful?
Choose light from the decision the image must support. Time of day changes both material reading and client perception.
| Light | What it reveals | Watch for |
|---|---|---|
| Overcast | Surface tone, joints, and massing | A flat sky without local contrast |
| Clear morning | Crisp edges and restrained shadow | Glare on pale materials and glass |
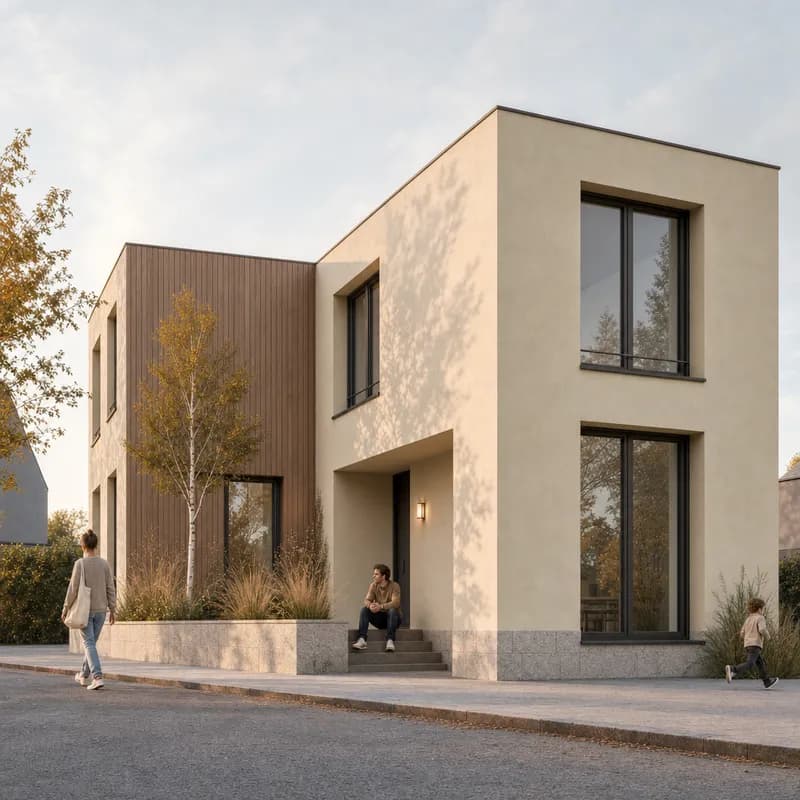
| Late afternoon | Depth, texture, and landscape warmth | Over-orange materials and deep black shadows |
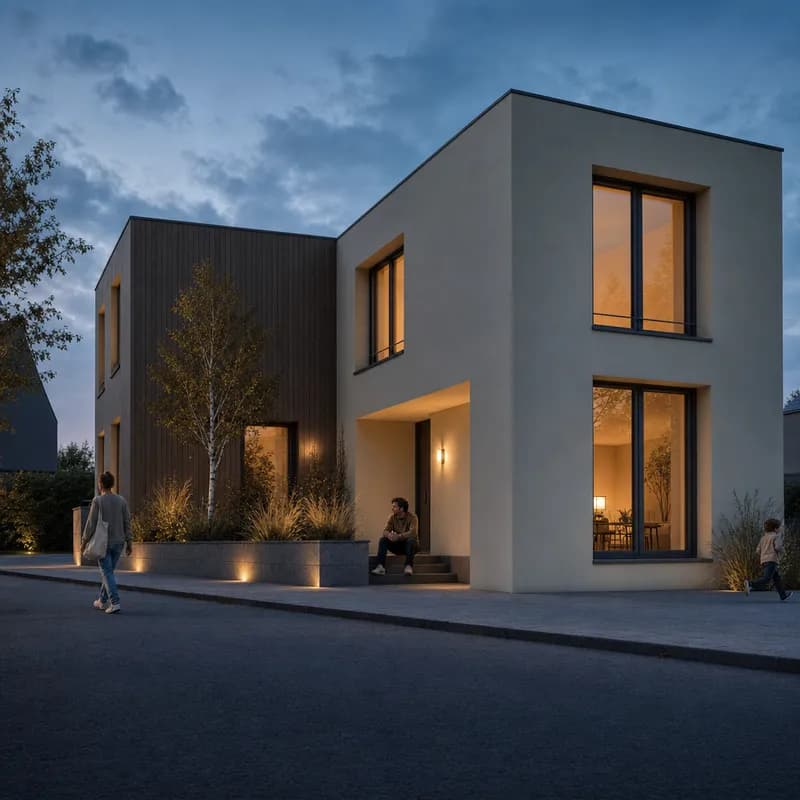
| Blue hour | Interior use and facade illumination | Uniform glowing windows and lost cladding detail |
Overcast light suits material comparison. Clear light helps test shadow depth. Blue hour can explain occupancy and entrances. It can also hide weak facade work.
Do not judge material color from one dramatic image. Review an honest daylight version before choosing the presentation frame.
How do you ground a facade in its site?
The building needs contact with the ground. Match paving, planting, shadow, and terrain to the base of the model. Floating steps and blurred plinths quickly break the image.
Use planting to explain climate and scale. Keep branches clear of key openings. Place people near routes, thresholds, and gathering areas. Cars should support the street reading rather than cover the facade.
Entourage also needs a consistent light direction. A bright person under a deeply shaded canopy will look pasted into the frame. Check feet, shadows, scale, and blocked circulation.
The same facade can support several review questions. These matched synthetic variations change finish and light while retaining one camera and building.
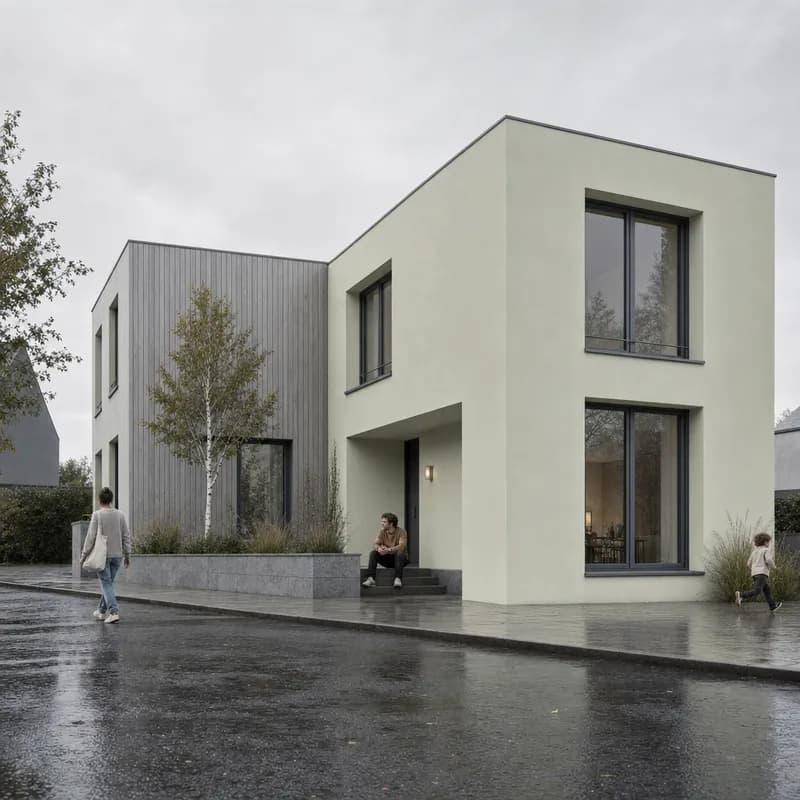
What exterior-rendering process should an architect follow?
Work from the design outward. Lock the view before exploring atmosphere.
Choose the review question
Decide whether the image tests massing, materials, light, landscape, or presentation.Prepare the model view
Set the camera and crop. Hide interface noise and expose every design-critical edge.Write the exterior direction
Name facade finishes, glazing, light, ground, planting, and restrained entourage.Generate focused options
Change one main decision at a time so each image remains comparable.Review against the model
Check camera, proportions, openings, joints, reflections, contact shadows, and artifacts.
Keep accepted images tied to their source view and prompt. That record makes later revisions easier to explain. It also helps separate a material decision from a lucky image.
How does an exterior render differ from an interior render?
Exterior renders depend on facade depth, site contact, weather, and sky. Interior renders depend more on eye-level composition, furniture scale, and layered room lighting.
Both need material logic and visual review. Exteriors expose large repeated patterns. Interiors expose furniture, fixtures, and close material junctions. The interior rendering with AI guide covers those room-specific checks.
Use the same calm review standard for both. A useful image supports the current decision. It does not need to perform every later project stage.
When should you use a conventional render engine?
Use a conventional scene when measured control governs the deliverable. This includes exact sun studies, verified product assets, animation, panoramas, and repeatable camera paths.
AI exterior rendering fits concept options and still-image studies. It can help review cladding, atmosphere, and presentation direction. The full 3D scene remains the authority for geometry and technical decisions.
For client-facing work, use the render review checklist. It separates design review from image polish and construction information.
Questions about AI exterior rendering
How do I render a house exterior with AI?
Capture a clean model view when the design is resolved. Then describe facade materials, glazing, light, ground, planting, and entourage. Compare the result with the model.
Will an AI exterior render keep the exact facade?
A model screenshot constrains the visible camera and design, but generated details can drift. Check roof edges, floor lines, openings, joints, and proportions against the source.
What light is best for an exterior render?
Use overcast light for surface review, clear light for shadow depth, and blue hour for occupancy or entrance lighting. Choose the condition that reveals the current decision.
How do I stop a facade from looking pasted into the site?
Check contact shadows, terrain, paving, planting, people, and cars at the building base. Keep their scale, light direction, and circulation believable.