
AI Rendering for Urban Design and Masterplans

AI rendering can turn an urban model, site image, or written brief into a clear masterplan study. Use an aerial view to review massing and connections. Use a rendered plan when routes and plots need direct comparison. Add street-level views only after the district structure reads. Keep one source, camera, and review question for each option set. Then check blocks, streets, open space, access, and phasing against the model. The result can support concept review and public communication. It cannot verify dimensions, transport, ecology, planning compliance, or construction.
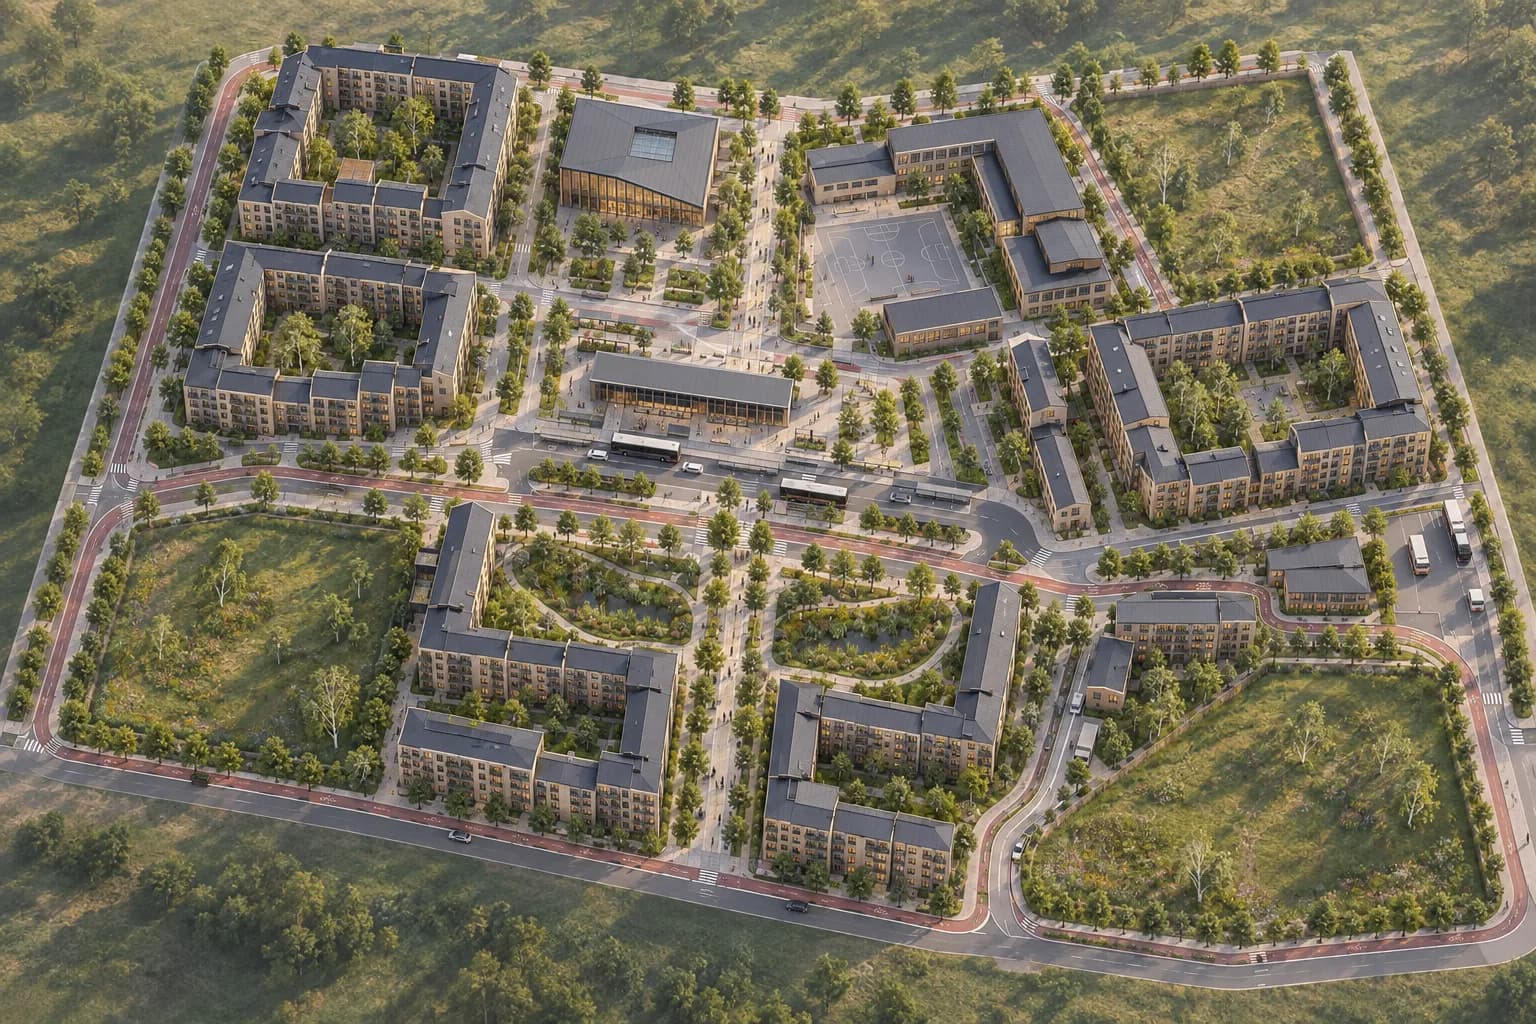
What can AI rendering do for urban design?
AI rendering can help an urban designer test how a plan reads as a place. It can add material, light, planting, weather, and occupation to model views.
The useful question is not whether an image looks finished. Ask whether it reveals the decision under review. A massing study should show block scale and open-space hierarchy. A movement study should keep routes unobstructed. A phasing image should keep retained and future fabric distinct.
This task sits within the wider AI architectural rendering process. The same limits apply at district scale. Generated details can look plausible while moving a street edge, path, or building footprint.
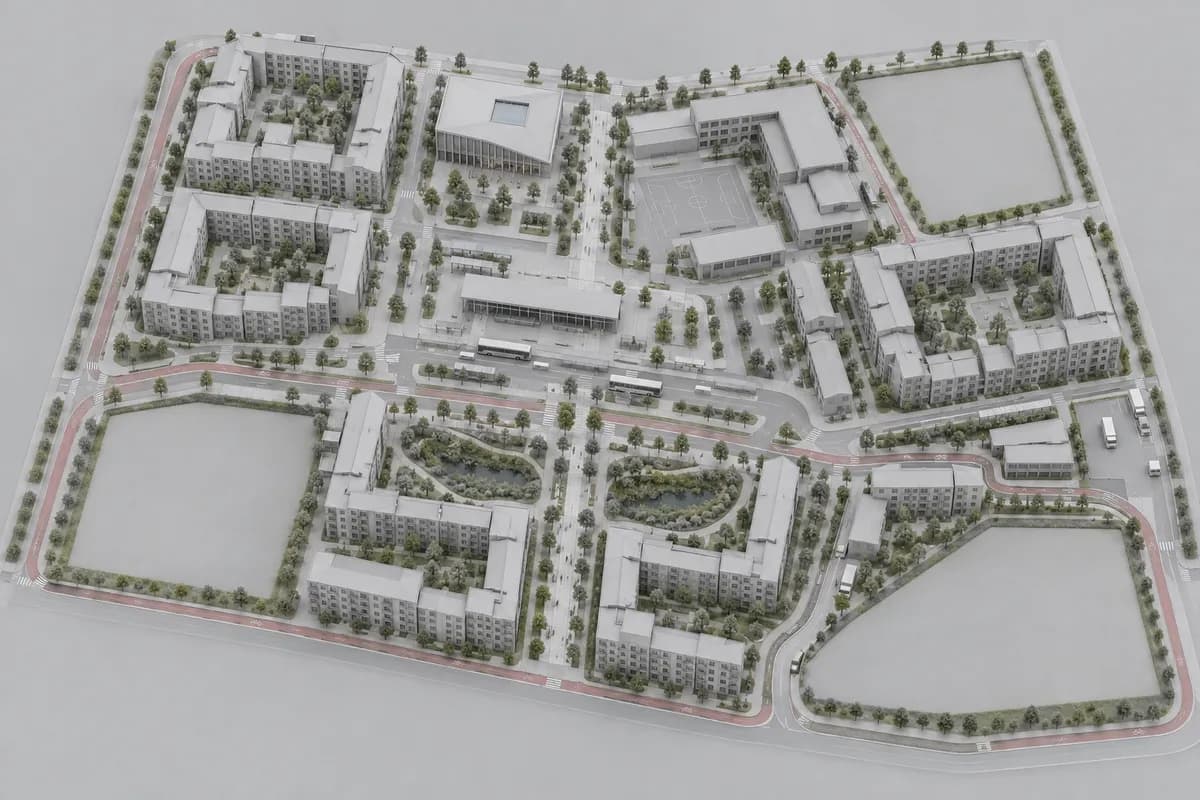 Synthetic sourceUrban study
Keep the source next to every study. Start with block outlines, roofscape, streets, and open-space edges. Review material and atmosphere only after those elements still agree.
Which view should an urban design render use?
Use the view that exposes the current planning decision. One image rarely explains the whole masterplan.
| View | Best use | Main limit |
|---|---|---|
| Aerial oblique | Massing, roofscape, public-space hierarchy, and wider context | Perspective hides distances and some ground relationships |
| Rendered plan | Plots, routes, open space, access, and phasing | Occupation and vertical enclosure remain abstract |
| Street level | Frontage, thresholds, shade, activity, and human scale | The wider network disappears beyond the frame |
| Axonometric | Block structure, levels, courtyards, and program relationships | It can flatten depth and surrounding character |
The architectural rendering types guide separates aerial, plan, axonometric, and street views. Use that distinction before choosing a camera.
For a site-led concept, start from a clean aerial or plan image. The site-to-concept prompt set shows how fixed roads, water, trees, and vacant plots can define the brief.
How should movement and public space read?
Movement needs a visible hierarchy. Separate walking, cycling, transit, ordinary traffic, servicing, and emergency access before adding atmosphere.
Do not rely on colored arrows inside a presentation render. Let paving, crossings, planting, canopies, and street width explain the route. Keep intersections and station approaches clear. Place people where they explain use, not where they hide geometry.
Public space also needs hierarchy. A main square, neighborhood court, green link, and service yard should not carry equal visual weight. Show which spaces connect across the district. Then check where buildings define or weaken each edge.
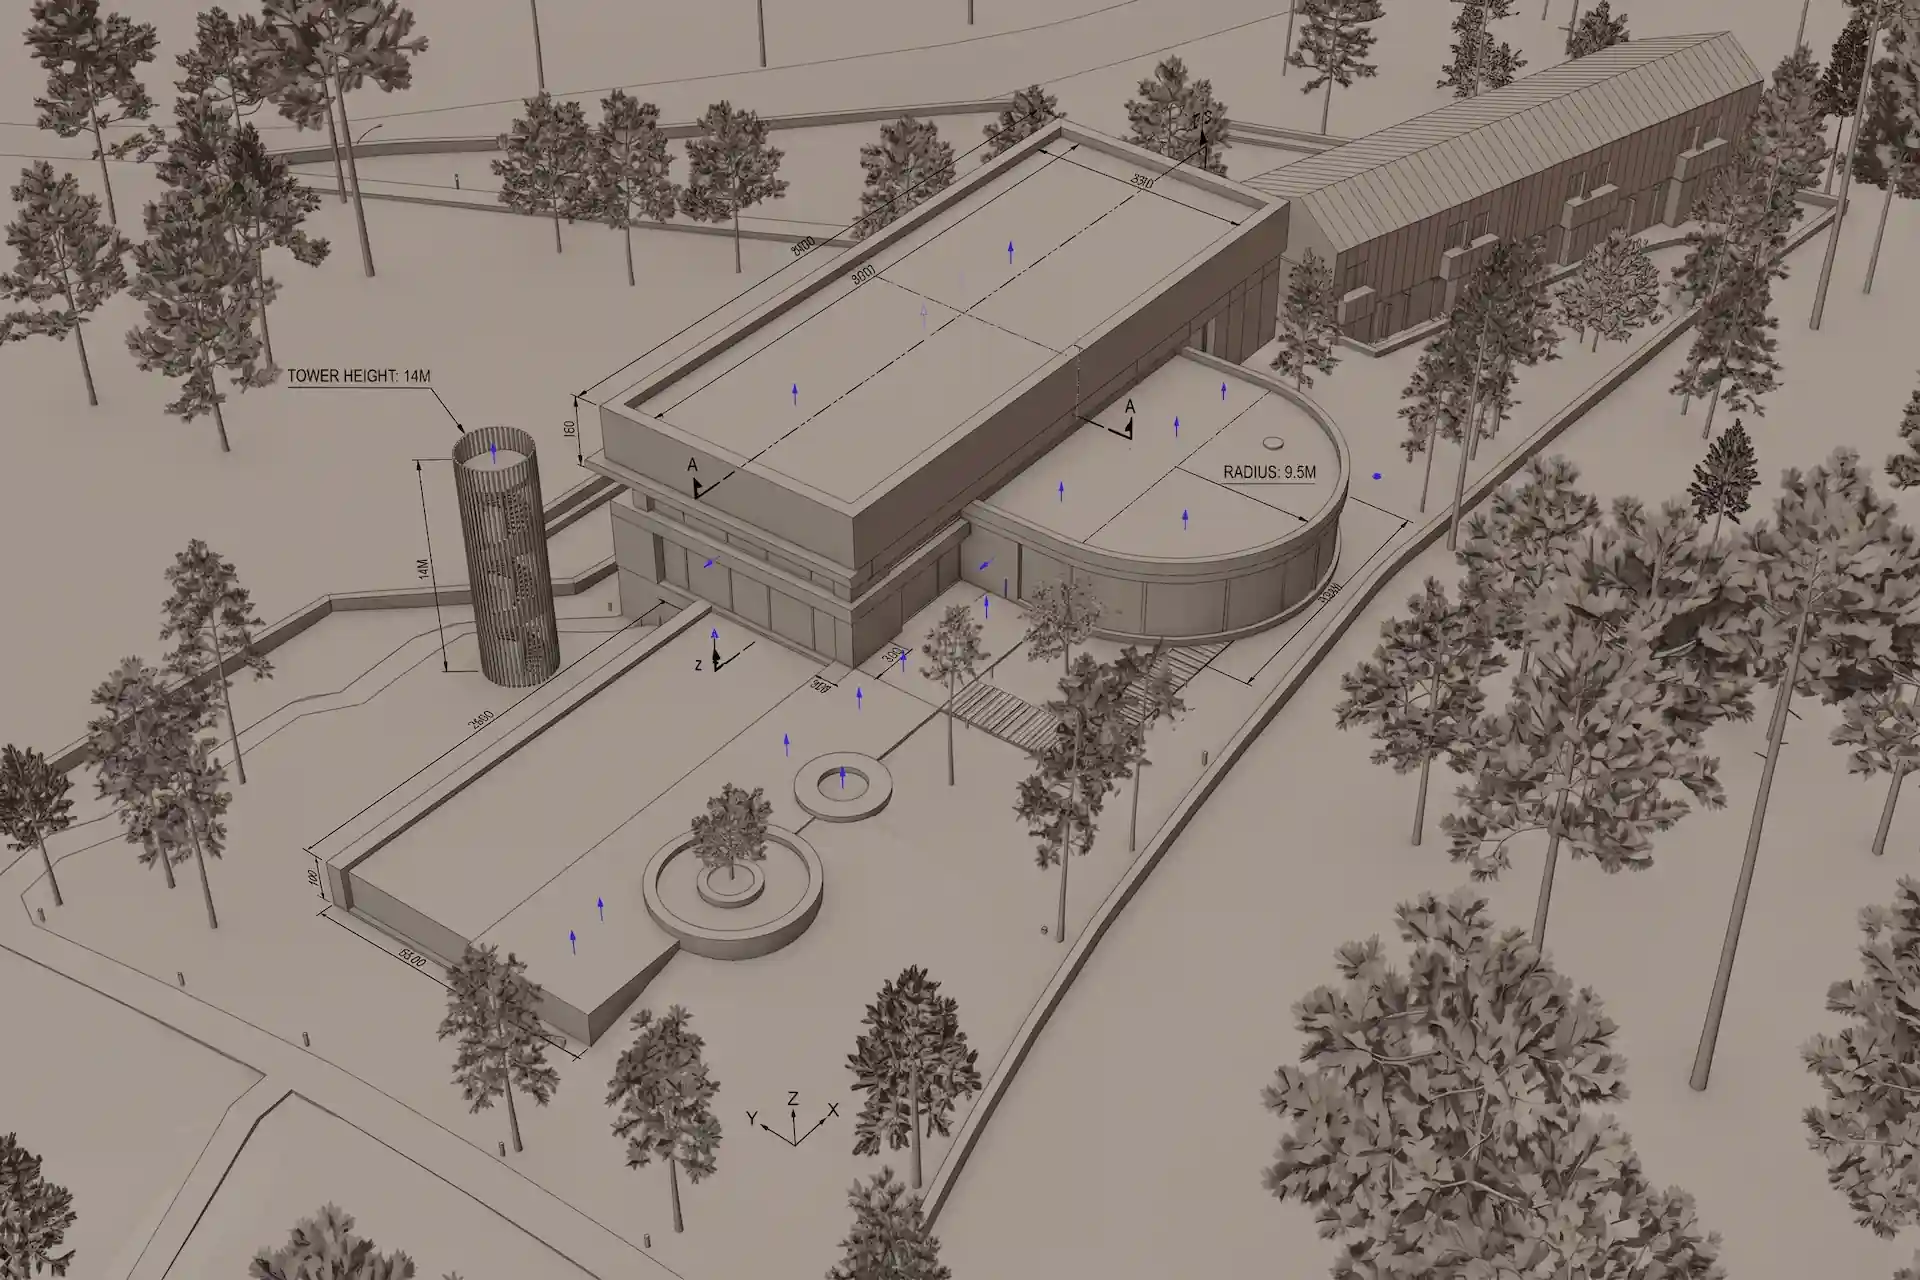
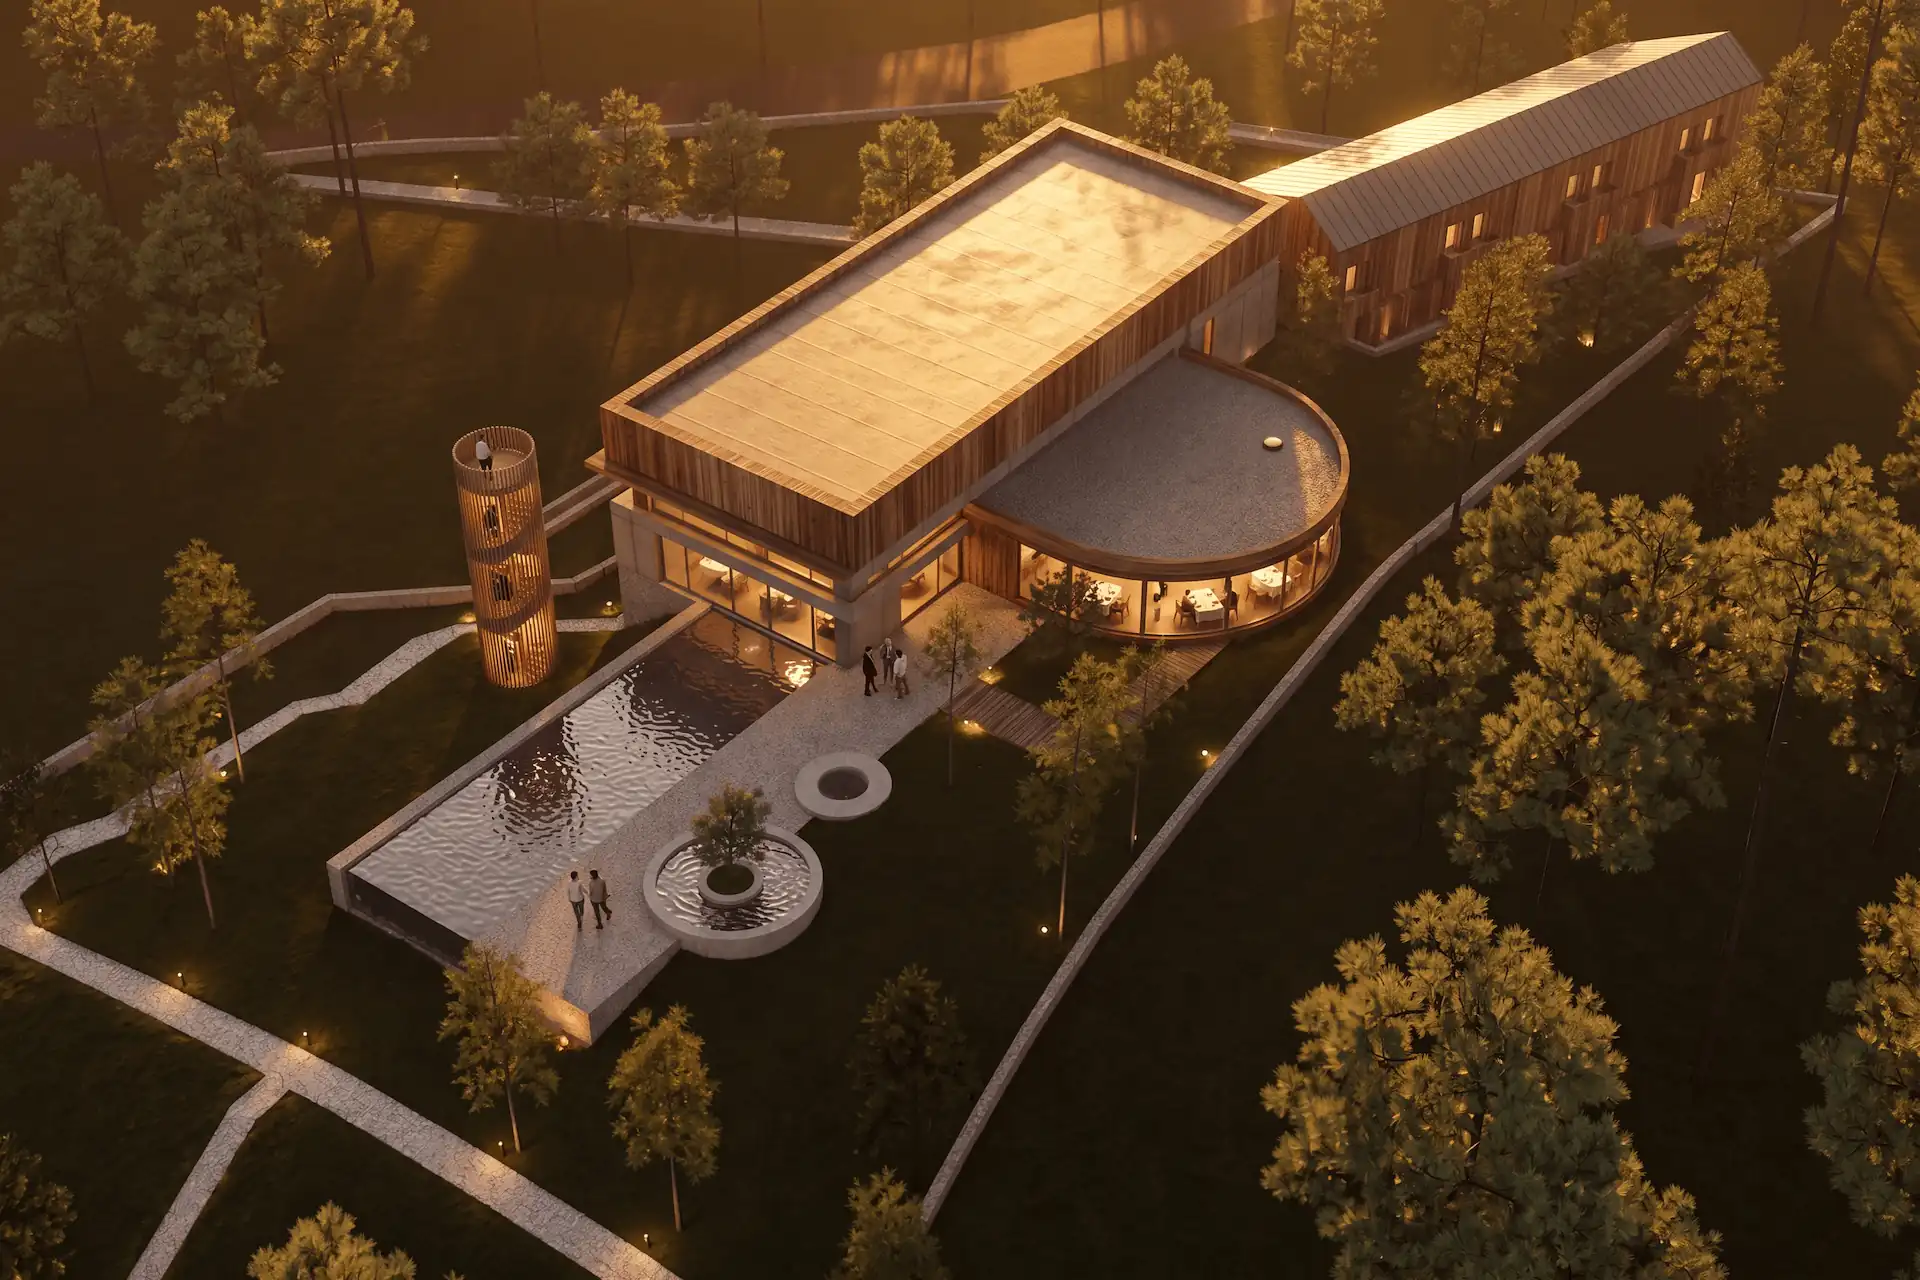
Before / after
Test one fixed aerial view against one urban design question.
What should an urban design rendering brief include?
Write the brief from fixed structure toward changeable atmosphere. Keep each instruction tied to something visible.
Name the review question
Choose massing, movement, public space, frontage, landscape, light, or phasing as the main decision.Fix the source and view
Set the model state, camera, crop, horizon, and visible context before generating options.Protect the urban structure
Name the blocks, streets, plots, retained fabric, water, trees, and routes that must not move.Describe the intended change
Set materials, planting, occupation, weather, or light without reopening unrelated decisions.Review from plan to image
Compare footprints, routes, levels, open-space edges, access, and phasing with the source.
The architecture render prompt guide provides a wider brief structure. For masterplans, add explicit fixed-site constraints. Avoid phrases such as "vibrant district" unless the image brief explains the spaces and uses.
Browse the aerial masterplan prompt library for examples across campuses, civic quarters, housing, transit, climate, and water landscapes. Those examples are concept prompts. They are not planning evidence.
How do you compare masterplan options?
Keep the camera and source fixed. Change one main variable between options. That variable might be a route hierarchy, public-space use, planting condition, or time of day.
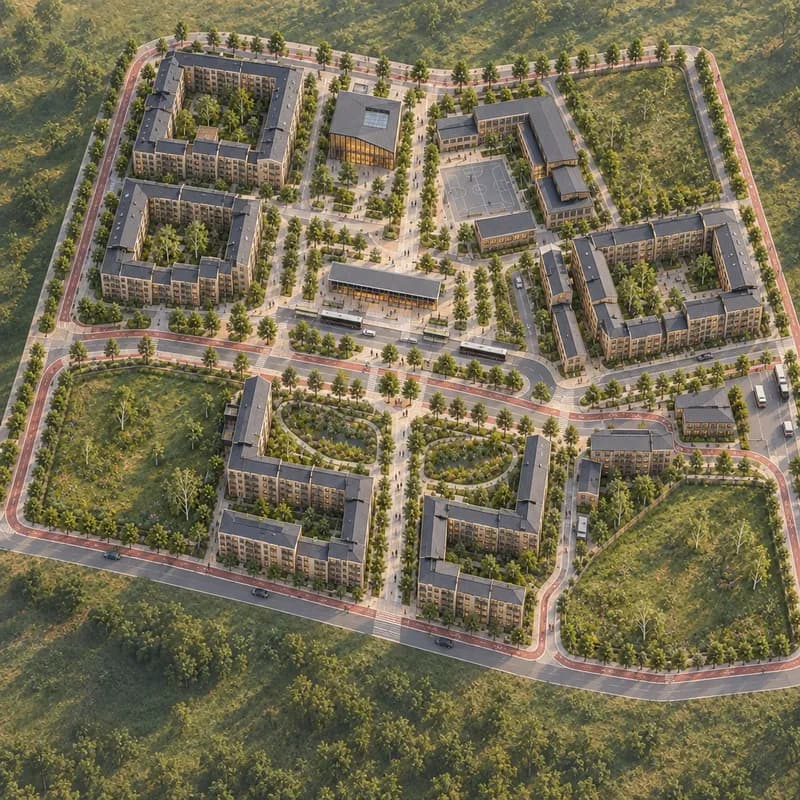
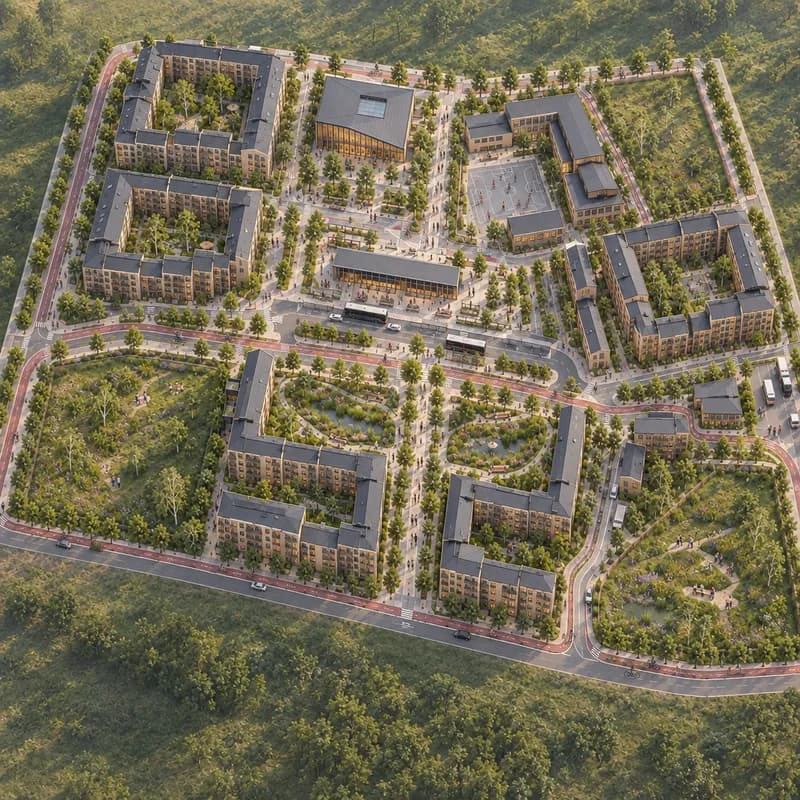
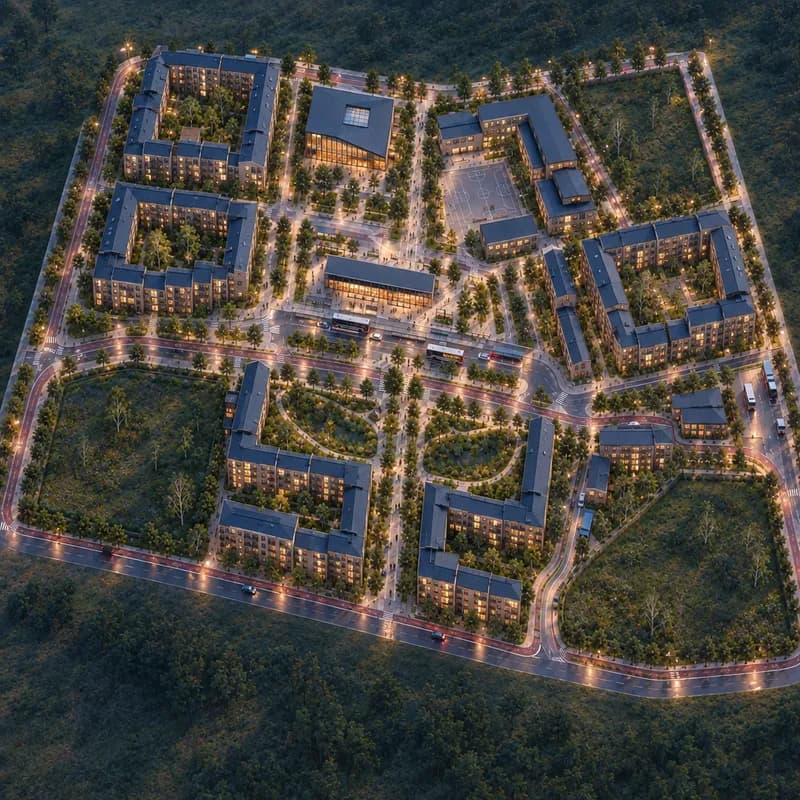
These editorial images share one source lineage. The district, camera, and crop stay consistent. Each image shifts one review emphasis.
Do not compare independent generations as if they were design options. A different block or street network makes the comparison invalid. The public render-retention method explains how to separate scene retention from visual treatment.
What should you check before presenting the image?
Review the plan logic before the rendering polish. A clear image can conceal a broken district.
- Massing: compare block length, height, setbacks, courtyards, and roof form.
- Movement: check routes, crossings, station access, cycle paths, and service entries.
- Public space: check dimensions, edges, shade, seating, and connected paths.
- Landscape: check retained trees, water, drainage, planting bands, and seasonal claims.
- Access: keep step-free routes, turning areas, and emergency access visible.
- Phasing: separate retained, proposed, temporary, and future development.
- Artifacts: inspect repeated windows, roads, vehicles, people, and warped building edges.
Use the client render review checklist for image acceptance. For larger boards, the presentation board layout guide helps separate lead views from plans, sections, diagrams, and technical evidence.
What can an urban design render not prove?
An urban design render cannot prove dimensions, capacity, planning compliance, ecology, drainage, transport performance, daylight, or construction. It also cannot confirm ownership, phasing cost, or delivery.
Use the source model and drawings for geometry. Use validated analysis for movement, climate, water, and ecology. Use current planning documents for policy. The image communicates one proposal and review question.
The architectural render lighting guide makes the same distinction for sun and daylight. Generated light can support atmosphere. It cannot replace a measured study.
When should you use a conventional urban visualization workflow?
Use a model-connected workflow when every camera must update with the plan. It also fits verified terrain, repeated phasing, animation, measured sun, and large coordinated view sets.
Use AI rendering for focused concept images and option review. It can help a team see material, occupation, landscape, and atmosphere earlier. Keep the masterplan model, drawings, and analysis as the project record.
Questions about AI rendering for urban design
Can AI create a masterplan render from a site plan?
It can create a concept image from a clean plan or aerial source. Generated buildings, routes, and landscape can drift. Check every result against the source plan.
Is an aerial render the same as a rendered site plan?
No. An aerial render uses perspective and shows depth, massing, and roofscape. A rendered site plan keeps a top-down view for clearer route and plot comparison.
How do I keep streets and blocks consistent between options?
Use one source image and fixed camera. State which blocks, streets, plots, trees, water, and routes must remain. Review every option against the source.
Can an AI masterplan render be used for planning approval?
Use it only as a communication image unless the project team verifies every element. Planning drawings, policy checks, measured analysis, and consultant evidence remain authoritative.