
- Published on
AI Rendering for Hospitality Interiors
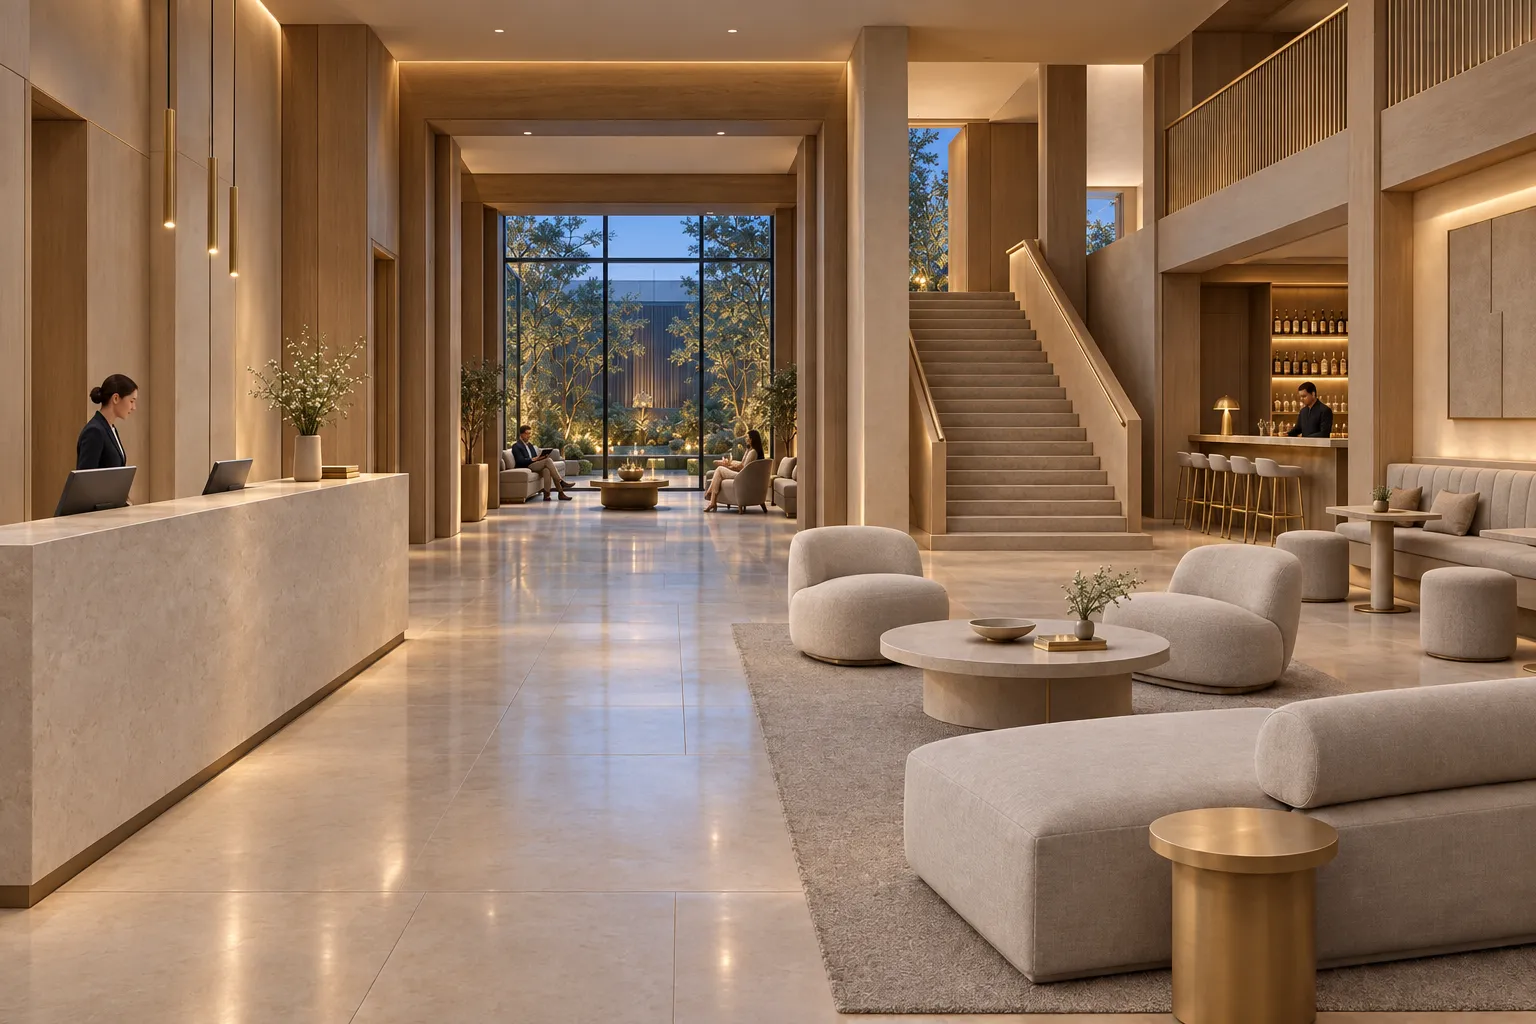
Hospitality AI rendering helps architects test hotels, restaurants, cafes, bars, and lounges before a full visualization package. It is most useful when the plan can support discussion, but atmosphere remains open. The render should explain more than furniture and finishes. It should show arrival, service, seating, circulation, light, and guest comfort. Start with a modeled view when those relationships must remain recognizable. Then use the image to compare material or lighting directions. Keep code, egress, accessibility, kitchen planning, and specifications in the project documents. A convincing image can support a decision. It cannot verify the building.
What is hospitality AI rendering?
Hospitality AI rendering creates architectural images for guest-facing spaces. These include hotel lobbies, restaurants, cafes, bars, lounges, and shared amenities.
The work sits inside the wider AI architectural rendering process. Hospitality adds a specific test. The image must communicate how a guest arrives, waits, orders, sits, and moves.
A prompt can explore an early mood. A sketch can test character. A clean 3D view gives the strongest visible constraint for a resolved layout.
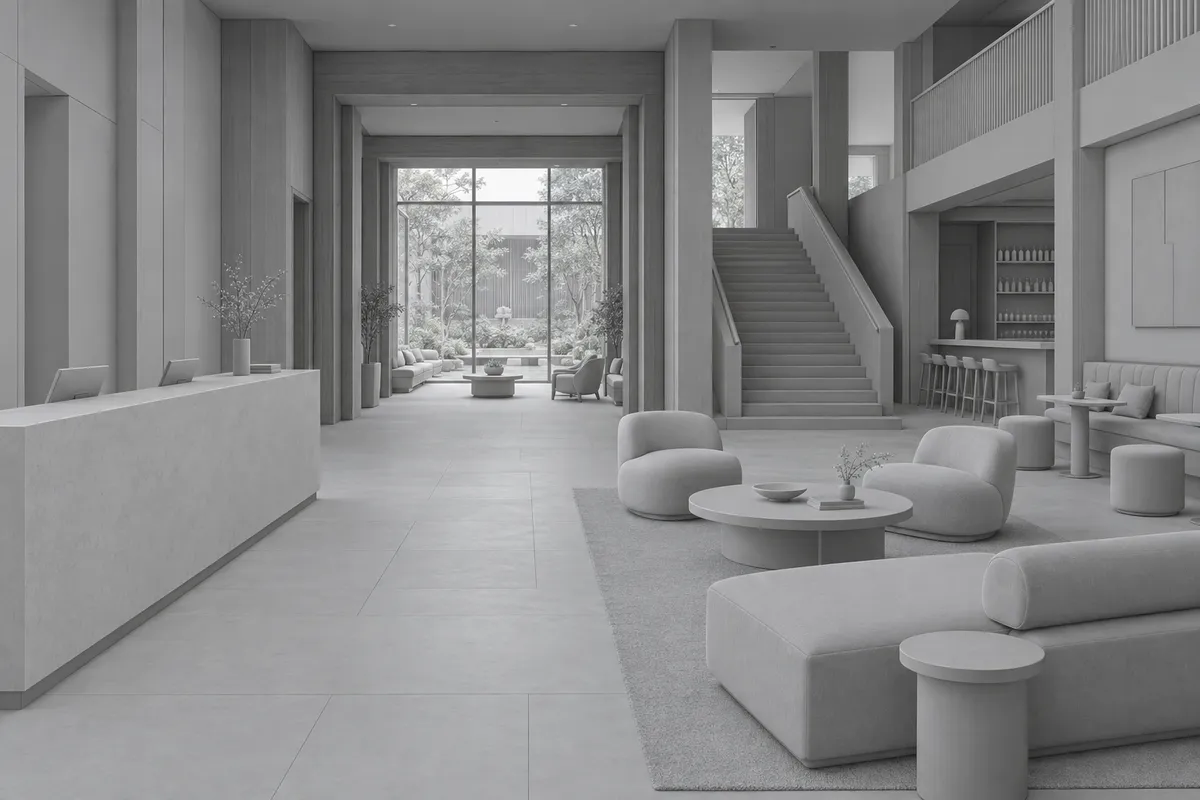 Synthetic source
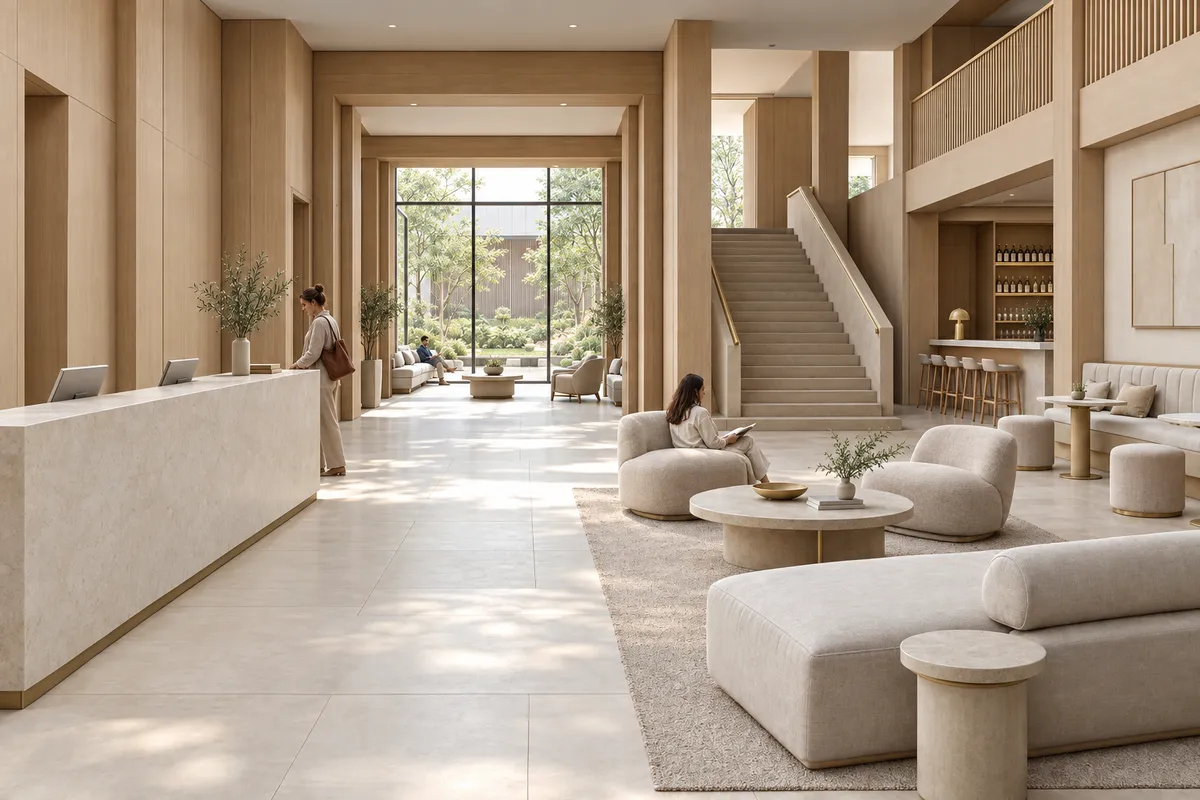 Hospitality study
The pair keeps one camera, layout, opening pattern, and circulation route. It shows a review method. It does not prove guaranteed geometry retention.
When should architects use AI rendering for hospitality?
Use it when a visual decision is open and the technical source still exists. The useful stage often sits between planning and detailed visualization.
Name the decision
Choose arrival, service position, seating mood, material palette, lighting, or client presentation.Prepare the source view
Fix the camera and crop. Hide interface noise and keep critical routes visible.Set the hospitality direction
Describe surfaces, light, guest activity, acoustic character, and the intended time of day.Generate focused studies
Change one main decision at a time so the options remain comparable.Review against the project
Check layout, clearances, fixtures, materials, light, people, and visible artifacts.
Typical uses include a lobby arrival study, restaurant material options, cafe counter direction, and a bar lighting test. The accepted image can then join a small client-review render set.
Lobby source / hospitality study
Test one hospitality direction on a fixed model view.
What makes a hospitality render credible?
A credible hospitality render makes use and movement plausible. Atmosphere supports that reading. It should not hide it.
Check the arrival sequence first. The entrance, reception point, host stand, or counter should be easy to find. Keep the route clear of decorative furniture and oversized planting.
Then review occupancy:
- tables and chairs allow believable movement;
- queues do not block doors or main aisles;
- lounge groups support conversation without filling circulation;
- stools align with the counter and usable knee space;
- people match the scale and activity of the room;
- service zones remain distinct from guest routes.
Material durability should also read. Stone, timber, upholstery, metal, and plaster need suitable scale and junctions. A visually warm surface can still be wrong for a wet, busy, or high-contact location.
Which hospitality spaces should you render first?
Start with the spaces that explain the guest journey. One arrival view and one occupied social space often reveal more than several decorative details.
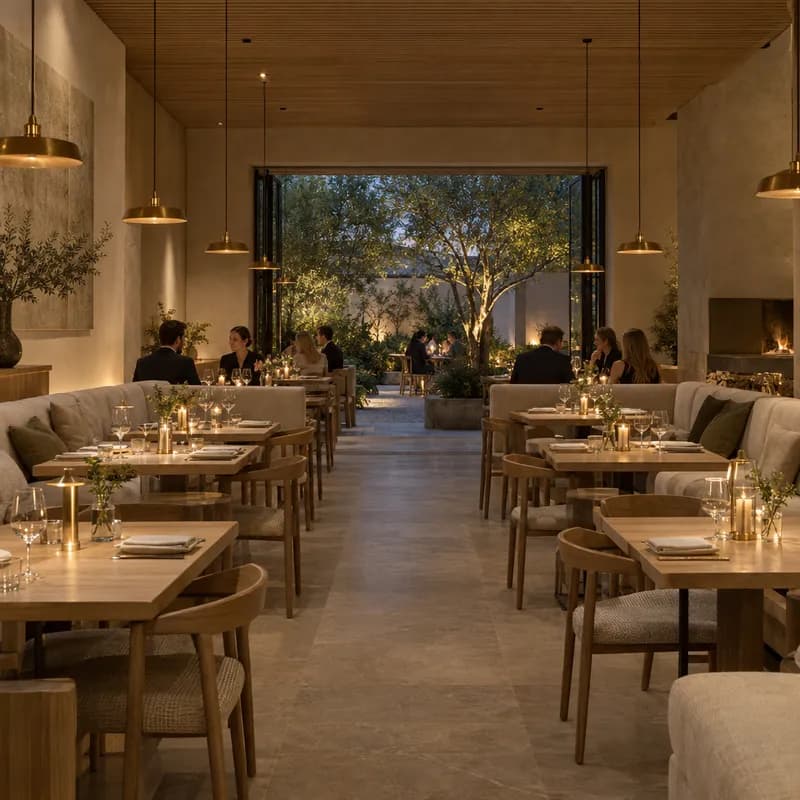
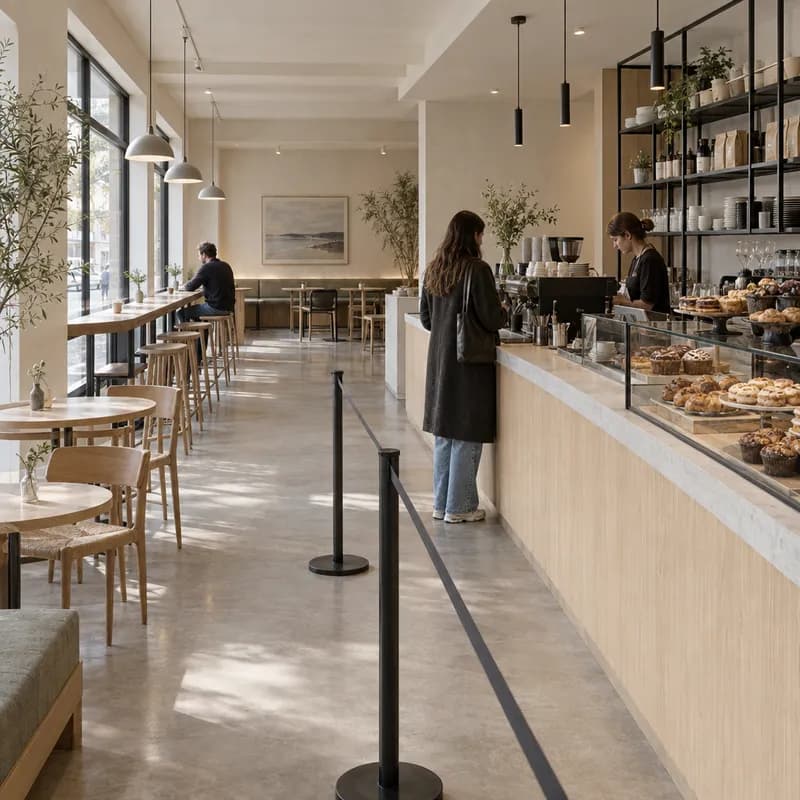
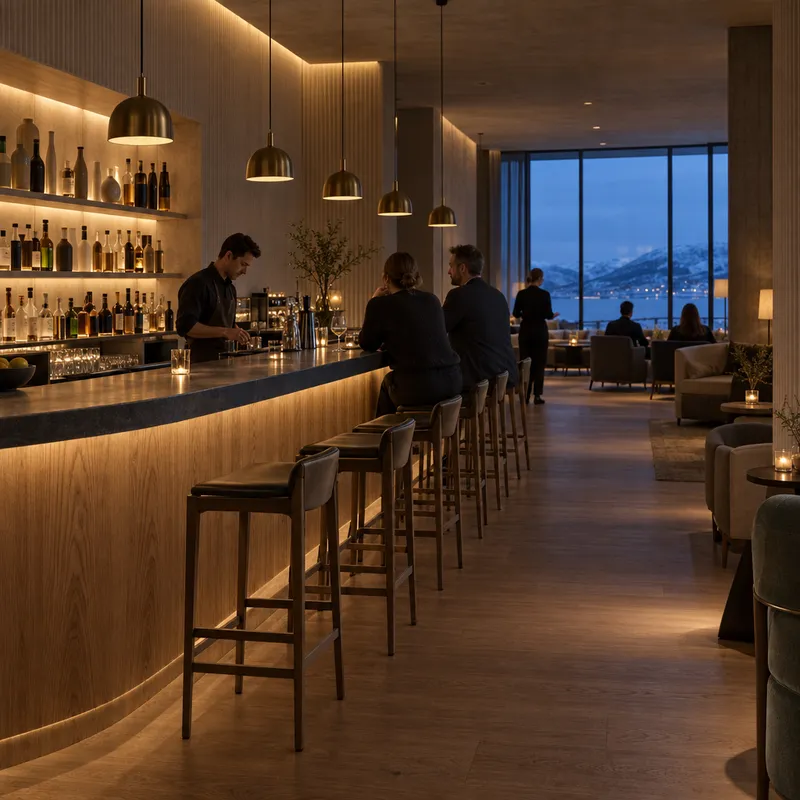
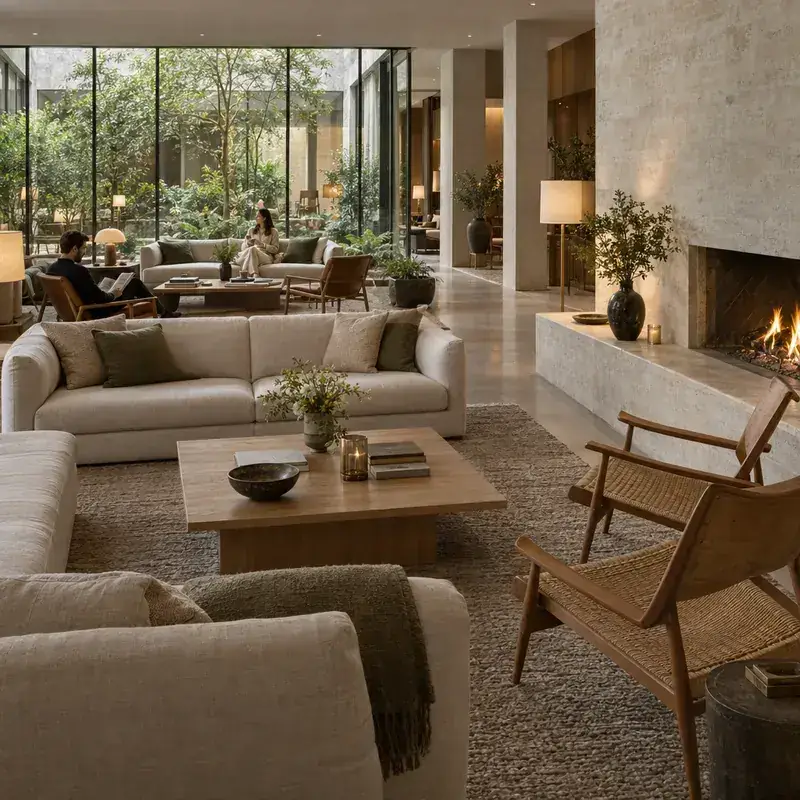
These are separate synthetic spaces. They show different hospitality tasks, not one Project or a measured consistency test.
A useful sequence may include:
- entrance or approach;
- reception, host stand, or ordering point;
- main occupied room;
- one threshold or circulation view;
- one material or lighting detail.
Add another image only when it answers a new question.
How do you keep a hospitality image set consistent?
Use one visual language across all guest-facing views. Keep the differences intentional.
Hold the material palette, neutral balance, lighting temperature, entourage density, and camera height. Repeat key finishes where the project repeats them. Oak, stone, metal, and upholstery should not change character between rooms.
CAD Scene Project settings hold one Composition across studies. The Composition combines Style, Scene, Lighting, Materials, and Entourage. Use it as a shared brief, then review every Render separately.
The architectural rendering styles guide helps select a treatment. The lighting guide explains when daylight, dusk, or night best exposes a decision.
| Review point | Keep consistent | Allow to change |
|---|---|---|
| Materials | Species, finish, joint scale, and metal tone | Wear level or local feature surfaces |
| Light | Color temperature and exposure language | Daylight or evening condition by room use |
| Camera | Eye level, lens character, and horizon discipline | Position and crop for each guest decision |
| Entourage | Scale, dress, density, and visual restraint | Activity that fits each hospitality space |
How should you prepare views from common design tools?
Prepare the view in the tool that owns the design. Keep that source available through review.
- For a restaurant or cafe model, use the SketchUp screenshot rendering workflow.
- For a hotel or larger fit-out, prepare a Revit interior view for AI rendering.
- For a custom bar, stair, or reception desk, follow the Rhino viewport workflow.
- For a staged camera scene, use the Blender screenshot-to-render method.
Hide grids, guides, section boxes, selections, and temporary entourage. Keep doorways, counter edges, ceiling changes, and floor boundaries visible. The cross-tool screenshot guide covers the shared capture checks.
What should you edit after the first render?
Edit the element that carries the current brief. Avoid changing the entire room when one surface or fixture is unresolved.
Useful targets include:
- reception or bar-front material;
- pendant type and light level;
- seating upholstery;
- acoustic wall or ceiling treatment;
- floor finish;
- planting density;
- exterior view through glazing.
CAD Scene Edit supports several named regions in one request. Mark each area, name it, and reference every name in the prompt. Then inspect the region edge and nearby pixels. Generative edits can affect shared boundaries.
What are the limits of hospitality AI rendering?
Hospitality renders are visual studies. They do not coordinate the full building.
Keep these tasks outside the image:
- accessibility and egress review;
- kitchen, bar, laundry, and service planning;
- MEP and specialist lighting coordination;
- acoustic performance;
- furniture and equipment schedules;
- product, finish, and signage approval;
- measured capacity and code checks.
Watch generated people, table legs, glass, mirrors, fittings, and small text. Reject an image when an artifact affects the decision.
Questions about hospitality AI rendering
What is hospitality AI rendering?
It creates architectural images for hotels, restaurants, cafes, bars, lounges, and guest amenities. The image should explain arrival, service, seating, circulation, materials, and light.
Can AI rendering help with restaurant design?
It can support early material, lighting, seating, and atmosphere decisions. Check clearances, kitchen planning, egress, accessibility, and equipment in the project documents.
Which hospitality view should I render first?
Start with the view that explains arrival or the main occupied room. Add a service, circulation, material, or lighting view only when it supports another decision.
Can I change one material after the first render?
Yes. Use a named Edit region for the intended surface, then inspect its boundary and nearby pixels. Keep the source image available for comparison.
Table of Contents
- What is hospitality AI rendering?
- When should architects use AI rendering for hospitality?
- What makes a hospitality render credible?
- Which hospitality spaces should you render first?
- How do you keep a hospitality image set consistent?
- How should you prepare views from common design tools?
- What should you edit after the first render?
- What are the limits of hospitality AI rendering?
Authors

- Name
- Vladimir Mindru
Previous Article
Table of Contents
- What is hospitality AI rendering?
- When should architects use AI rendering for hospitality?
- What makes a hospitality render credible?
- Which hospitality spaces should you render first?
- How do you keep a hospitality image set consistent?
- How should you prepare views from common design tools?
- What should you edit after the first render?
- What are the limits of hospitality AI rendering?
Authors
- Name
- Vladimir Mindru