
- Published on
Commercial AI Rendering: Offices That Read as Workplaces
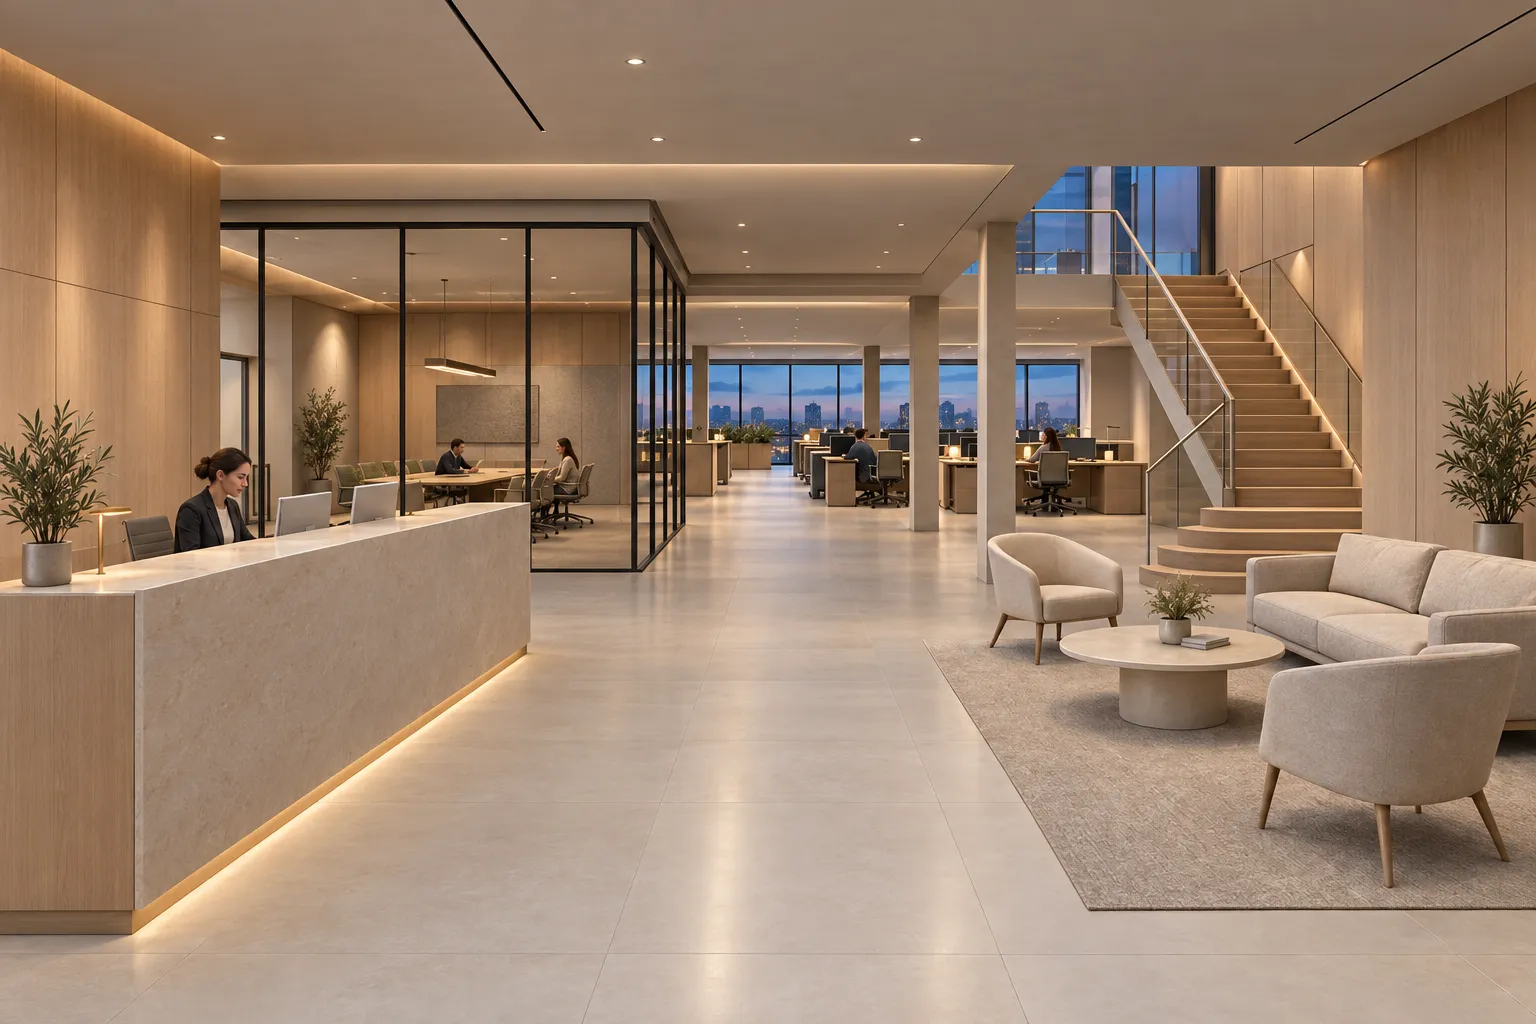
Commercial AI rendering helps architects test office and workplace concepts before a full visualization package. It works best once the plan can support a useful camera. The image can then test material tone, lighting, furniture scale, and occupation. A credible office render is not a generic desk scene. It needs clear circulation, plausible workstation spacing, controlled glazing, and materials suited to daily use. Start with Create while the layout remains open. Use Enhance when a Revit, SketchUp, Rhino, or Blender view should guide the result. Use Edit for one named local change. Keep the model, schedules, and technical checks beside every image. The render can support concept and client review. It cannot resolve code, access, services, or workplace capacity.
What is commercial AI rendering?
Commercial AI rendering creates presentation images for offices, workplaces, receptions, meeting rooms, and related interiors. A written brief can explore an early direction. A clean 3D view provides more visual constraint.
The job sits within the wider AI architectural rendering process. Commercial work adds specific questions about circulation, occupation, durability, privacy, acoustics, and brand presence.
This guide concentrates on workplace interiors. Retail and hospitality have different customer journeys, operating patterns, and image priorities.
When should architects use AI rendering for offices?
Use an office render when a client needs to see a design decision. Reception presence, material warmth, meeting-room privacy, and open-workplace atmosphere all benefit from an image.
The project stage determines the right source:
Frame the review question
Choose arrival, circulation, work setting, meeting, material, or lighting as the main decision.Choose text or a model view
Use Create for open concepts. Use Enhance when a resolved camera and layout should guide the image.Describe workplace behavior
Name the route, furniture use, privacy, acoustic treatment, light, finishes, and restrained occupation.Review the source first
Check doors, glazing, desks, chairs, clear routes, ceiling elements, and fixed joinery against the model.Correct one issue at a time
Use a named Edit region for a bounded material, furniture, planting, or lighting change.
AI images suit concept options and visual direction. Keep a model-connected renderer when live navigation, repeated camera output, measured light, or verified product assets govern delivery.
What makes an office AI render credible?
A credible office render makes work patterns visible. People should understand where they arrive, move, meet, focus, and pause.
Check these conditions before judging atmosphere:
- Circulation stays open. Chairs, plants, and bags do not block routes.
- Furniture fits the plan. Desks, tables, and seats have plausible scale.
- Doors can work. Swings, handles, and access zones remain readable.
- Glazing has depth. Frames, reflections, and privacy follow one logic.
- Acoustic treatment feels intentional. Panels and baffles belong to surfaces.
- Light supports the workday. Task, ambient, and daylight layers agree.
- Brand presence stays quiet. Color and signage do not replace architecture.
Screens and wall graphics deserve special attention. Generated text often breaks at normal reading size. Keep displays abstract. Add verified copy and logos later in a controlled layout tool.
How do you render an office model view with AI?
Lock the camera before changing materials or light. Hide selections, guides, annotations, grids, and interface controls. Keep every decision-critical edge visible.
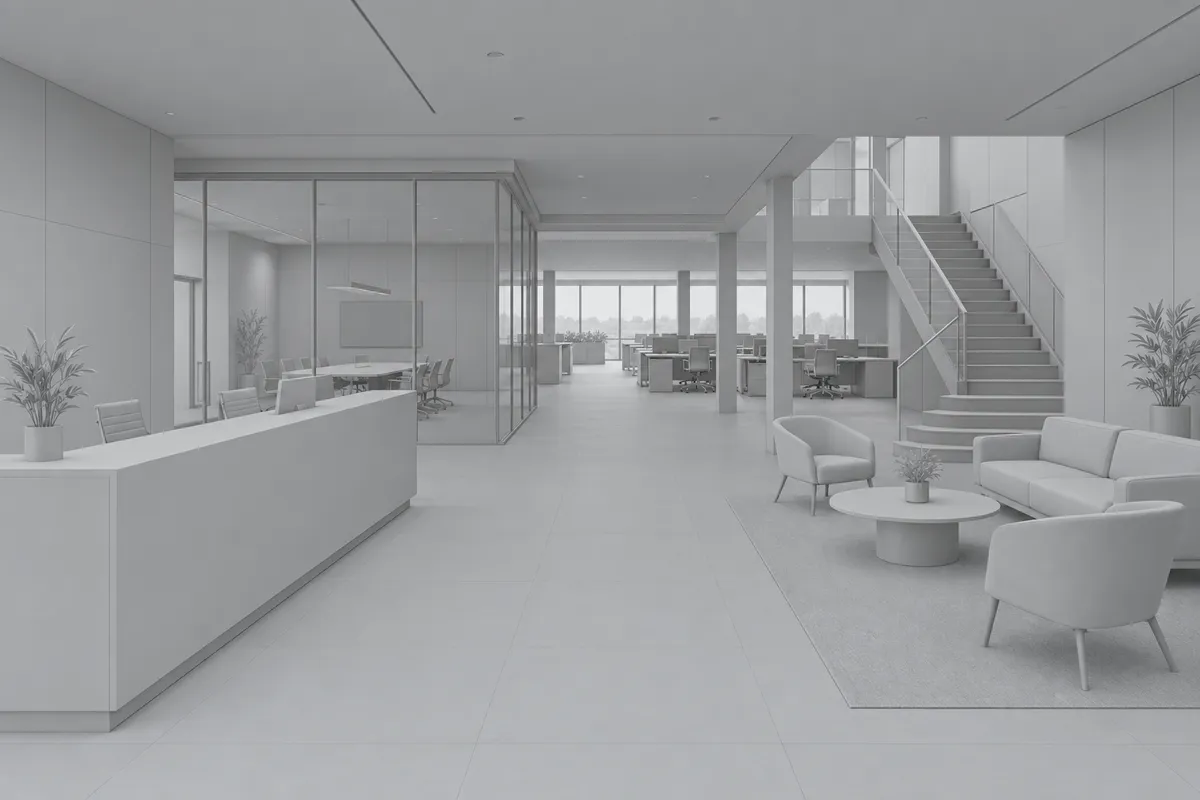 Synthetic source
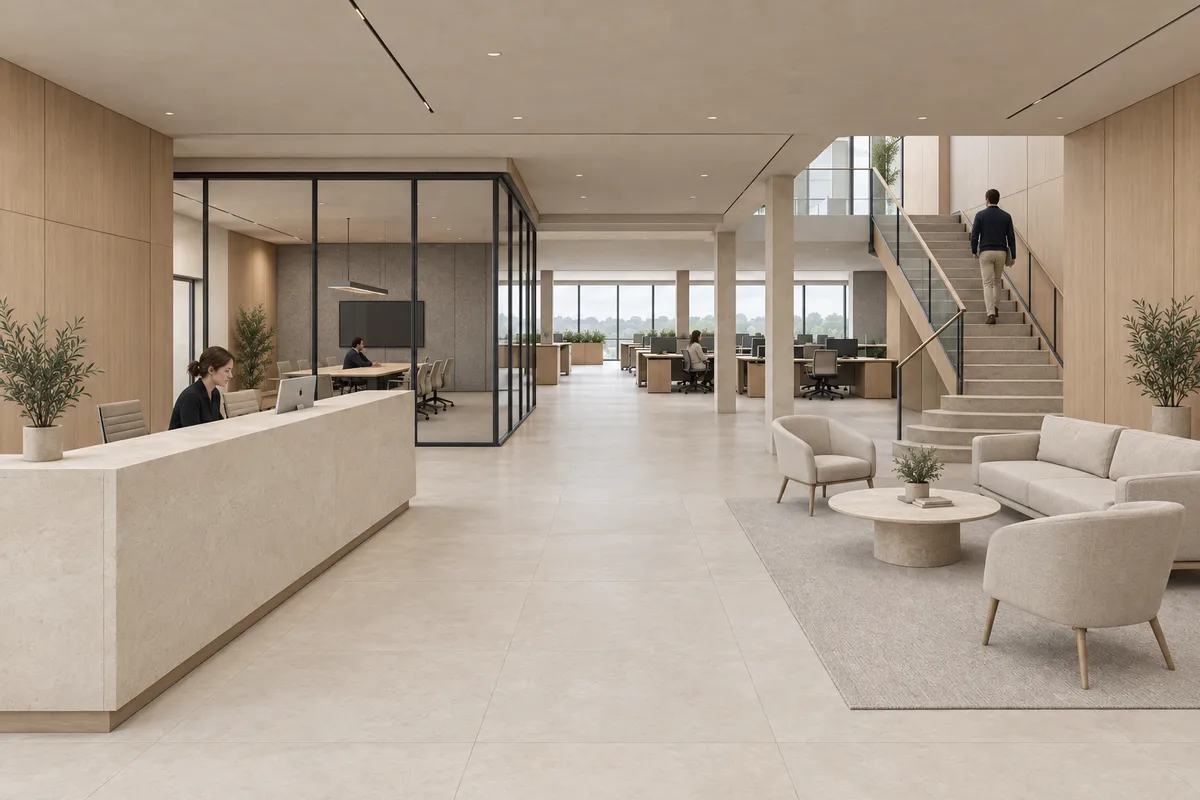 Daylight study
The two images share one source, camera, crop, and workplace layout. They illustrate a review method. They do not prove exact or repeatable retention.
Compare the silhouette and large openings first. Then inspect the reception desk, meeting-room glass, stair, desks, and route edges. Generated detail can look convincing while moving a partition or changing a chair count.
The clean screenshot capture guide covers crop, overlays, edges, and export size across common design tools.
Which office views should you render first?
Start with the views that explain the workplace sequence. A compact set often needs arrival, shared work, meeting, and one focused setting.
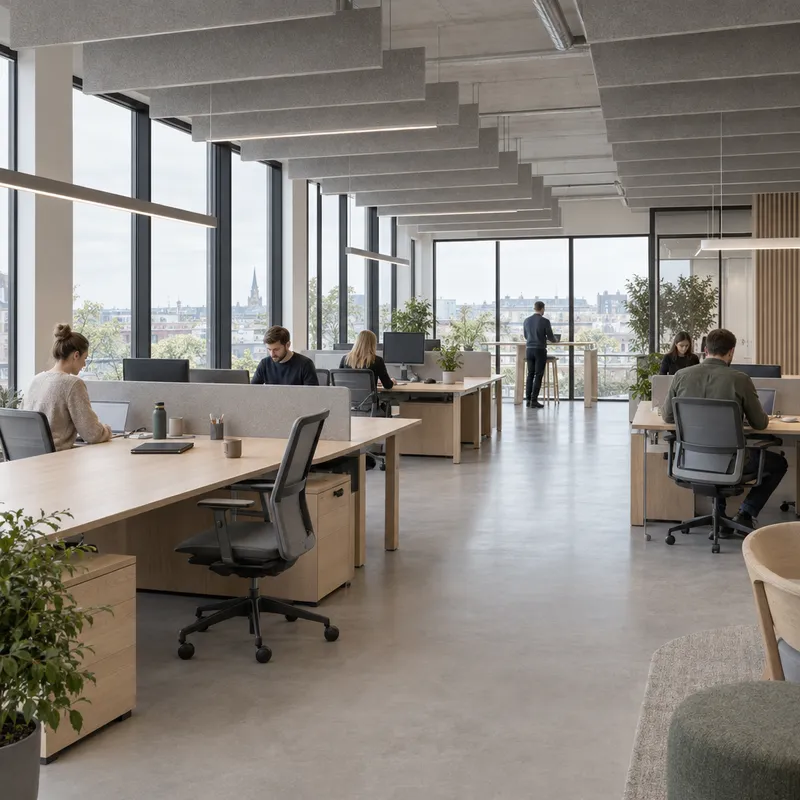
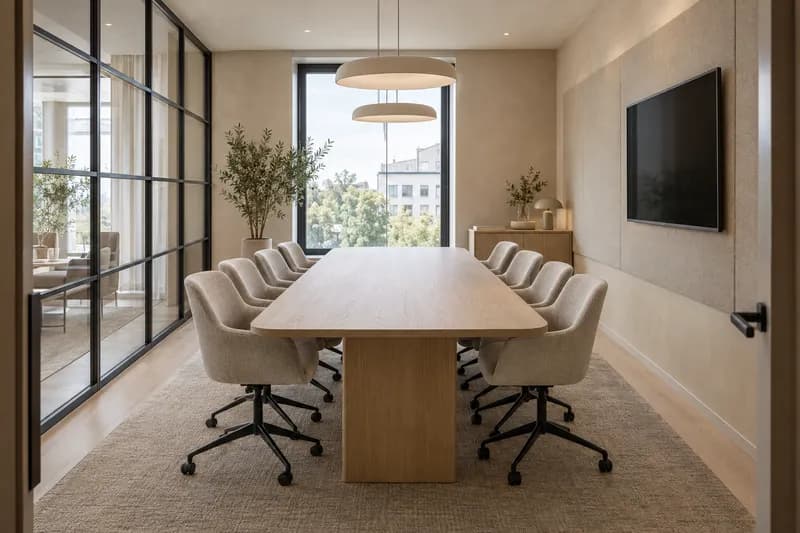
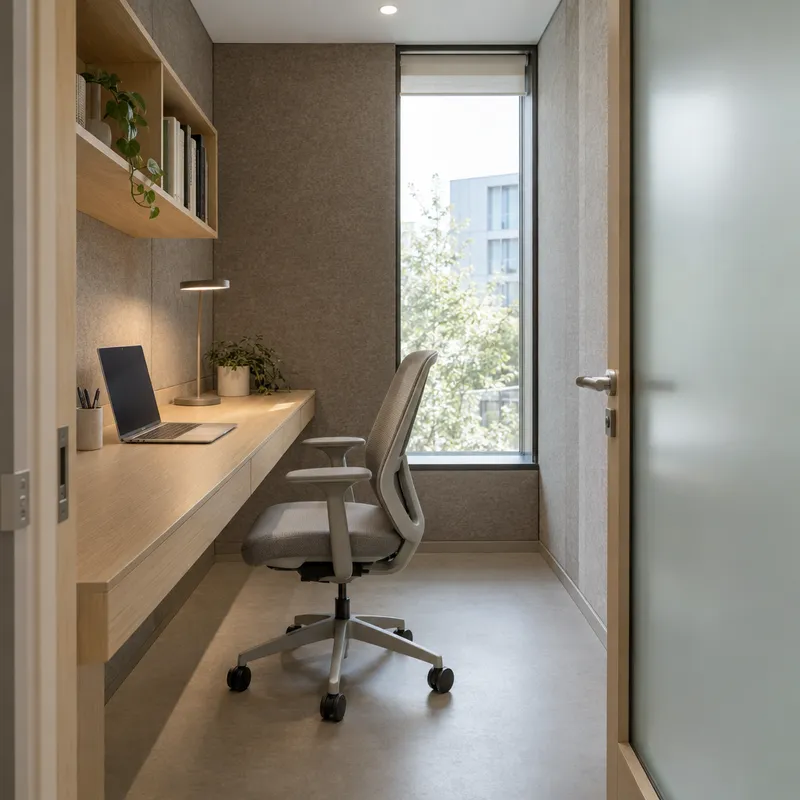
These images represent different workplace questions. They are not views from one measured project. Use one source image per approved camera in real work.
Before / after
Test one office direction on your own model view.
How should each design tool prepare an office view?
The source tool remains responsible for the model and camera. Export a clean image, then use the tool-specific checks that fit the project.
| Source tool | Useful office source | Check before export |
|---|---|---|
| Revit | A resolved fit-out 3D view | Categories, temporary elements, annotations, crop, and visible services |
| SketchUp | A saved reception or workplace Scene | Guides, axes, selections, field of view, section cuts, and image ratio |
| Rhino | A NamedView for custom interiors | Display mode, grid, curves, clipping, object edges, and exact crop |
| Blender | A fixed camera or clean viewport | Safe area, overlays, focal length, framing, and visible material cues |
Follow the detailed workflows for a Revit commercial interior view, a SketchUp office Scene, a Rhino workplace view, or a Blender office camera.
Which materials work in commercial interior renders?
Start with durability and use. Describe the surface, finish, scale, joint, reflectance, and location. Avoid broad requests for a luxurious office.
A useful workplace palette might combine pale oak, honed stone, mineral plaster, dark metal glazing, wool upholstery, and acoustic felt. The exact balance should follow wear, cleaning, daylight, and the client brief.
These two studies keep one synthetic reception and camera. Only the palette changes.
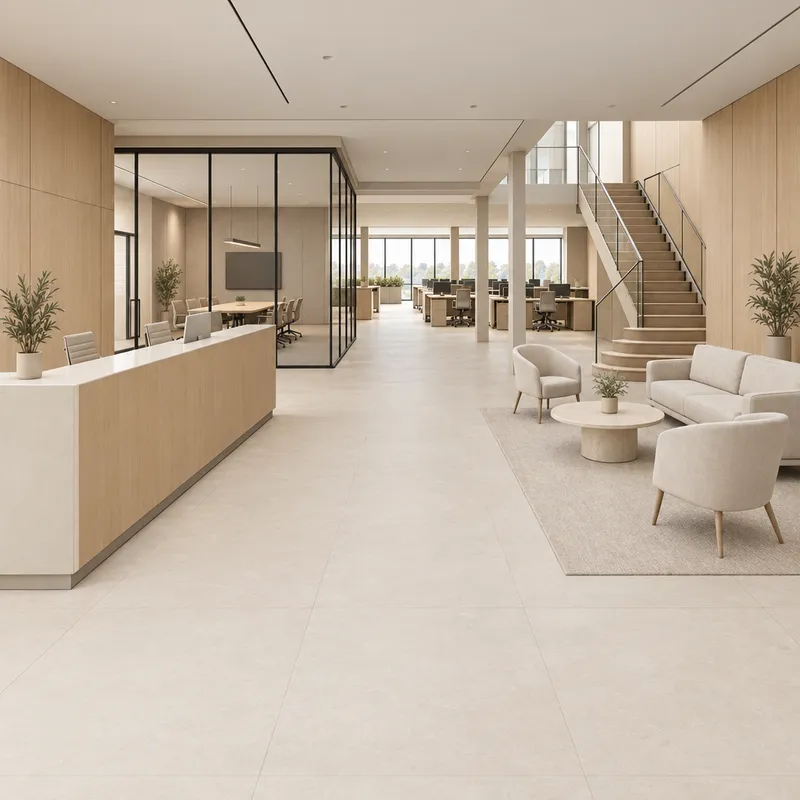
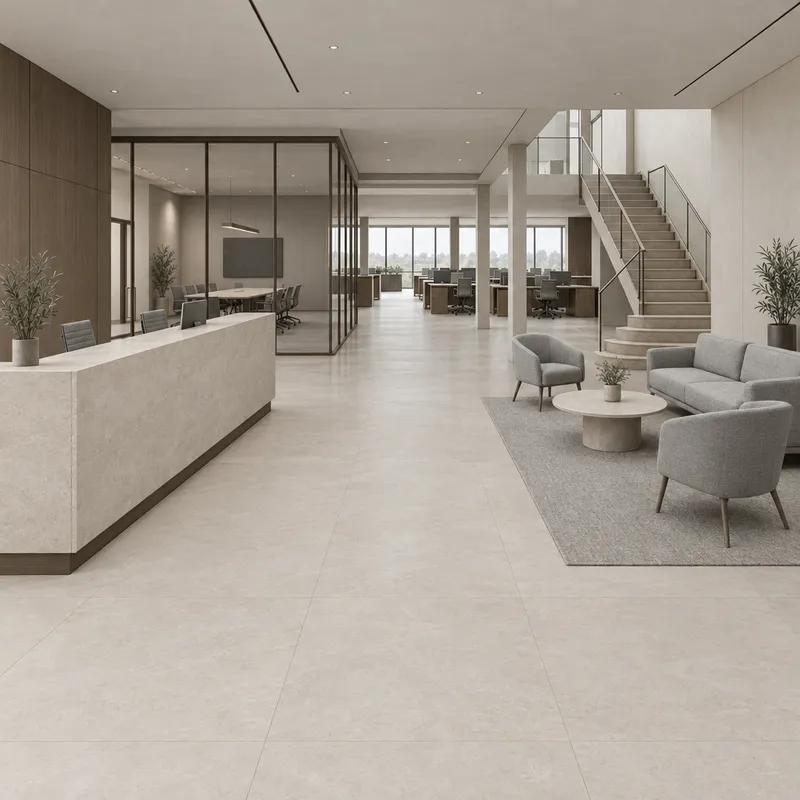
Compare texture scale, panel joints, floor transitions, glazing frames, and furniture edges. The realistic materials guide provides a deeper material review. Browse architectural rendering styles when the image treatment remains open.
What should you edit after the first office render?
Edit one decision that can be named and checked. Useful targets include a reception finish, acoustic panel, chair family, planting density, pendant, or glazing-frame color.
This source-derived example changes one acoustic surface. It also shifts the crop and furniture edges. Those changes make it a useful review case, not a matched result.
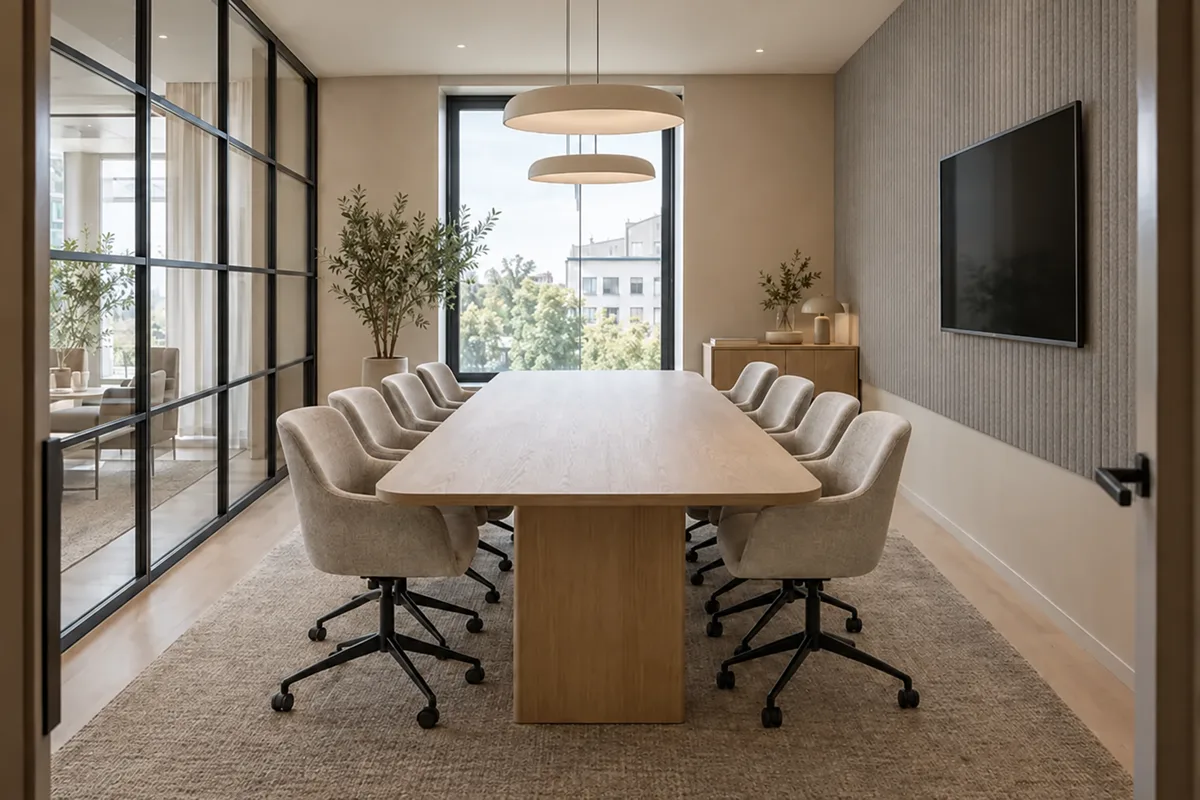
Inspect the selected region and its edge. Thin frames, adjacent plaster, table edges, and chair backs can still shift. Reject the result when a local change damages a resolved element.
How should commercial renders support client review?
Use a small sequence with distinct jobs. Reception explains arrival. The open work area explains occupation. A meeting room shows privacy and material control. A focus space shows enclosure. One detail can confirm a key finish.
Review the set at its delivery size. A circulation problem can disappear in a small image. Fake text and distorted furniture often become obvious on a presentation board.
The renders for client review checklist separates pass, correct, and defer decisions. For room-specific guidance, use the interior rendering with AI workflow.
What are the limits of commercial AI rendering?
An office image cannot verify code, egress, accessibility, occupancy, desk count, ergonomics, acoustics, lighting performance, fire strategy, or MEP coordination. It cannot confirm a specified product from appearance alone.
Keep drawings, schedules, calculations, and consultant information authoritative. Treat the image as a visual study. Label unresolved items before client review.
Use a conventional renderer or coordinated model when the deliverable needs repeatable cameras, verified lighting, animation, live navigation, or exact manufacturer assets.
Questions about commercial AI rendering
What is commercial AI rendering?
It creates presentation images for offices, workplaces, receptions, meeting rooms, and related interiors from text or a visual source.
Can AI rendering help with office design?
It can test material tone, light, furniture scale, occupation, and client-review views. The project model and technical documents still govern the design.
Will an office AI render preserve my layout?
A clean 3D source can constrain the visible camera and layout, but generated details can drift. Check partitions, doors, glazing, desks, chairs, stairs, and routes against the model.
How many office views should I show a client?
Use the smallest set that explains the current decision. Arrival, shared work, meeting, and one focused setting often cover distinct workplace questions.
What must I verify outside the render?
Verify code, egress, accessibility, occupancy, furniture dimensions, MEP, acoustics, lighting performance, and specified products through the project team and technical documents.
Review basis
- CAD Scene Product, Glossary, and current Help, reviewed 13 September 2026
- Current Revit, SketchUp, Rhino, and Blender workflow guides
- One matched synthetic office lineage and three separate room examples
- No measured product-retention or workplace-performance benchmark
Table of Contents
- What is commercial AI rendering?
- When should architects use AI rendering for offices?
- What makes an office AI render credible?
- How do you render an office model view with AI?
- Which office views should you render first?
- How should each design tool prepare an office view?
- Which materials work in commercial interior renders?
- What should you edit after the first office render?
- How should commercial renders support client review?
- What are the limits of commercial AI rendering?
- Review basis
Authors

- Name
- Vladimir Mindru
Previous Article
Table of Contents
- What is commercial AI rendering?
- When should architects use AI rendering for offices?
- What makes an office AI render credible?
- How do you render an office model view with AI?
- Which office views should you render first?
- How should each design tool prepare an office view?
- Which materials work in commercial interior renders?
- What should you edit after the first office render?
- How should commercial renders support client review?
- What are the limits of commercial AI rendering?
- Review basis
Authors
- Name
- Vladimir Mindru