
AI Rendering for Retail Interiors: Route, Display, and Light

AI rendering for retail interiors turns a brief or fixed model view into an image study of a shop, showroom, market, or temporary pavilion. Use Create while the plan and display concept remain open. Use Enhance when the camera, fixtures, storefront, and customer route should follow a 3D screenshot. Use Edit for one bounded revision to a finished Render.
A useful retail image shows more than atmosphere. It makes arrival, movement, product density, service points, and material hierarchy easy to read. Keep the model as the source of truth. Generated products, signs, fixture details, and clearances can drift. Compare each accepted image with the design before client review.
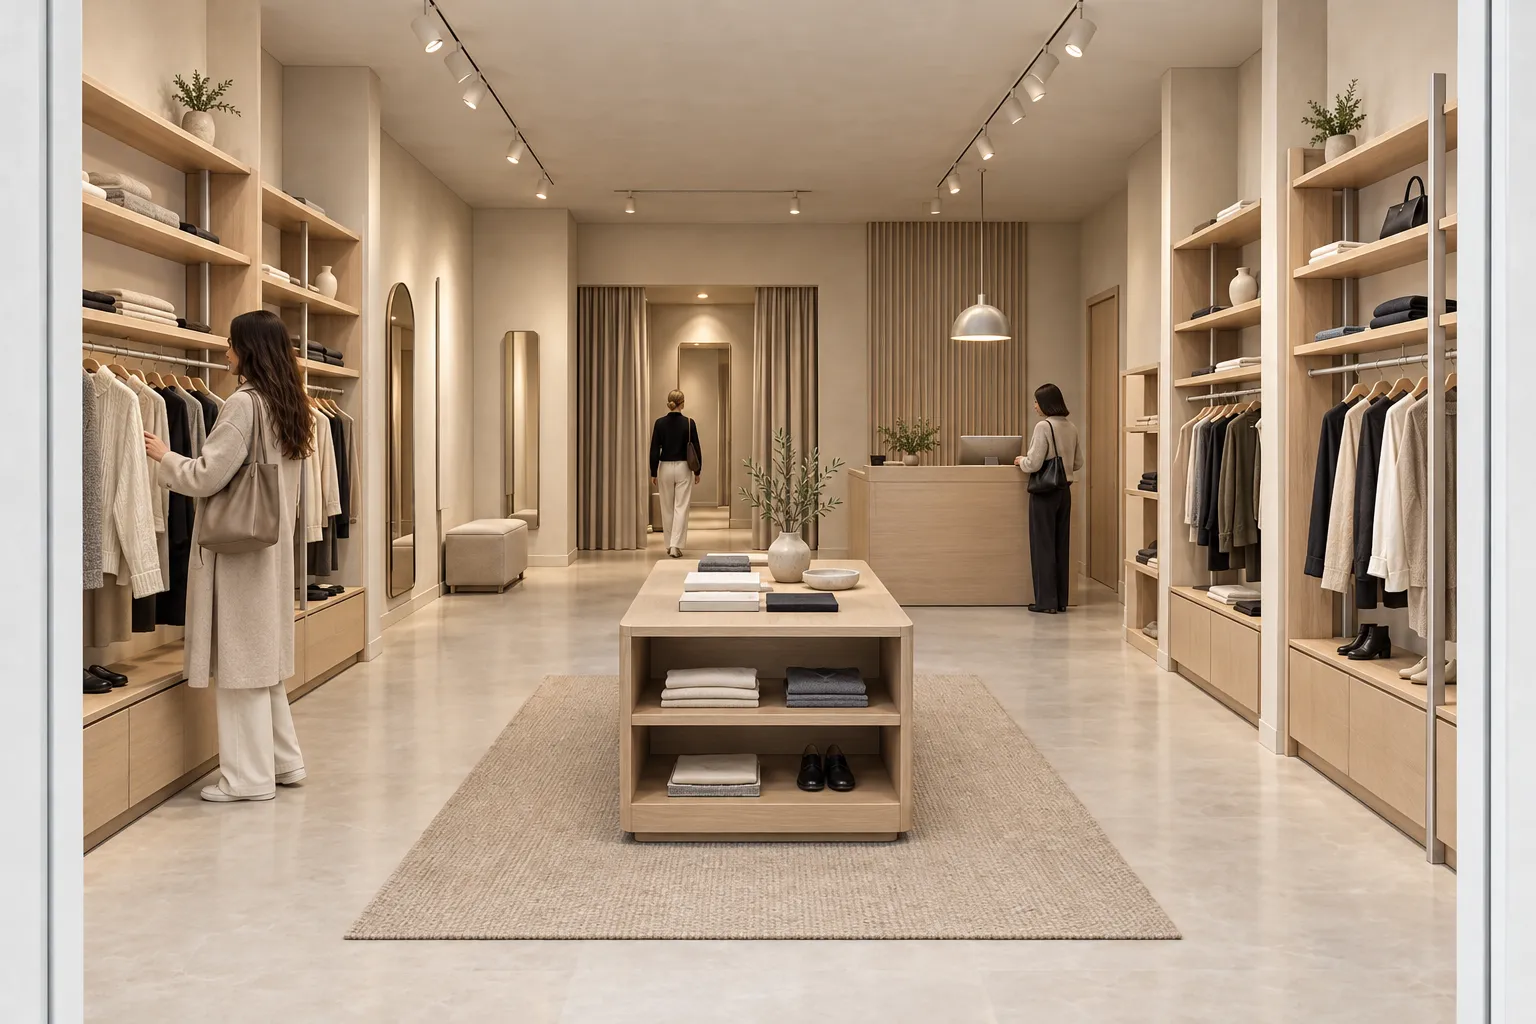
What is AI rendering for retail interiors?
Retail AI rendering creates a shop image from text, a sketch, or a model view. It helps architects study display, material, light, and customer experience.
The input determines what the image can constrain. A written brief leaves the layout and camera open. A sketch carries broad spatial intent. A clean model view provides the clearest visible reference for walls, fixtures, thresholds, and crop.
This work sits inside the broader AI architectural rendering process. The output remains an image study. It does not replace the model, lighting calculations, signage files, access review, or construction information.
When should you use Create, Enhance, or Edit?
Choose the mode from the decision, not the project label. A retail project can move through all three modes as its design matures.
| Mode | Useful retail task | Main boundary |
|---|---|---|
| Create | Explore an early store character, display language, or material direction | The plan, fixtures, and camera remain open |
| Enhance | Render a fixed shop view from SketchUp, Revit, Rhino, or Blender | Visible design cues constrain the image but can still drift |
| Edit | Revise one display, finish, fitting zone, or service counter | Review both the selected area and everything outside it |
Use Create for mood and spatial direction before detailed fixtures exist. Use Enhance when the plan, camera, and display system already matter. Use Edit after one image is close enough to correct rather than replace.
Which retail view should you render first?
Start with the view that explains the primary customer decision. For many shops, that is the entrance looking toward the main display and service point. It shows arrival, route, depth, and visual hierarchy in one frame.
Do not force every question into that image. A small retail set often needs four different roles:
- Threshold view: explains the storefront and first impression.
- Route view: shows the main path, display rhythm, and destination.
- Service view: tests checkout, consultation, collection, or waiting.
- Detail view: checks one fixture, material junction, or lighting idea.
Keep cameras tied to named review questions. The interior AI rendering guide covers broader room composition and eye-level framing.
How do you prepare a retail model view?
Export a clean image that makes the architecture easy to parse. Keep the elements that govern movement and display. Remove viewport noise.
Fix the review camera
Set eye level, lens character, crop, and corrected verticals before exploring finishes.Keep design-critical fixtures
Show shelving, counters, fitting rooms, stairs, doors, and low displays at their intended size.Clarify the route
Leave the primary path visible from entry to display, service, and exit.Remove working overlays
Hide grids, axes, guides, selections, dimensions, helper objects, and interface panels.Export the final crop
Save enough resolution for review, then inspect the file before upload.
The clean screenshot guide explains crop, overlays, edge clarity, and source size across modeling tools. For a tool-led workflow, see the guides for SketchUp retail views, Revit interior views, Rhino viewports, and Blender screenshots.
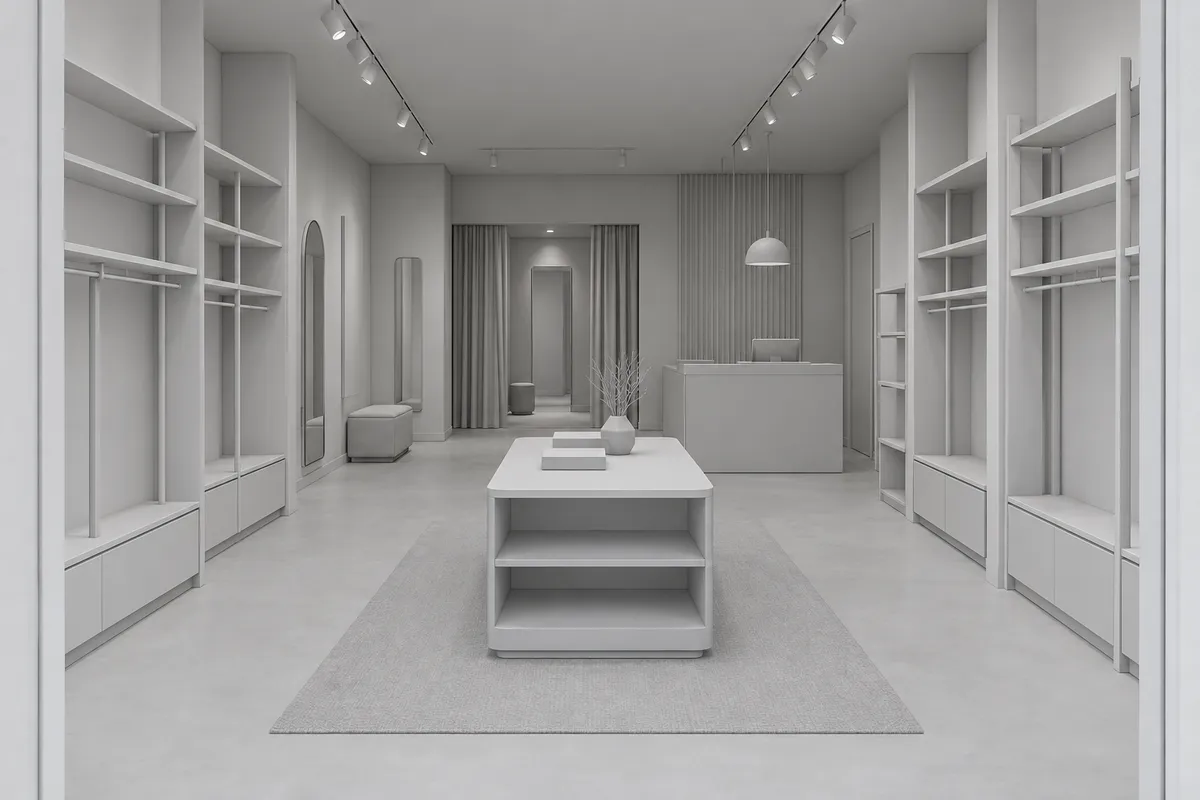 Synthetic modelRetail study
What should a retail rendering brief contain?
Write the brief in spatial order. Start with the store type and customer route. Then name fixture materials, display density, light, and occupation.
Boutique retail study
Copy the full brief, then adjust one variable at a time.
Prompt
Preserve the source camera, crop, storefront, walls, ceiling, fitting-room threshold, checkout counter, perimeter shelving, central display, and clear route. Render a calm Nordic boutique with pale oak fixtures, warm lime plaster, honed limestone flooring, brushed stainless-steel details, restrained unbranded garments, soft storefront daylight, and focused warm display lighting. Keep the main path and service point visible. Do not move fixtures, narrow circulation, add signs, or change the architecture.
Assign materials by location. Name the floor, walls, ceiling, perimeter fixtures, central displays, and counter separately. State what must not move. The realistic render materials guide covers scale, joints, reflectance, and surface assignment in more detail.
Avoid requests such as "luxury store with lots of products." They leave the layout, density, and visual hierarchy unresolved. Describe where the product sits and how much empty space remains.
Retail model / image study
Test one fixed retail view in CAD Scene.
How do you keep circulation and display legible?
Treat the customer route as an architectural element. It needs a clear start, direction, destination, and return path. Displays should frame movement rather than dissolve it.
Check the image in this order:
- entry and decompression space;
- primary route and changes in direction;
- sightline to the main display or service point;
- relationship between low and tall fixtures;
- fitting, consultation, collection, and queue zones;
- doors, stairs, level changes, and exit routes.
An attractive image can still hide a weak plan. Large plants, foreground figures, and dramatic displays often cover the exact pinch point under review. Remove them or change the camera.
How should products and signs appear?
Use products to show density, scale, and fixture purpose. Keep them secondary to the architecture. A sparse concept study can use restrained unbranded objects. A merchandising review needs controlled product assets outside the generated image.
Do not rely on generated labels, prices, packaging, or wayfinding. Image models can invent readable-looking marks that carry the wrong words. Add approved graphics later in a controlled layout or image-editing workflow.
The same caution applies to product counts and shelf dimensions. Compare fixture spacing with the model. Use the image to discuss visual direction, not inventory capacity.
Which lighting makes a retail render useful?
Retail lighting must explain both space and product. Start with ambient light. Then add focused light where it supports the display hierarchy.
| Condition | What it can review | Watch for |
|---|---|---|
| Daylight-led | Storefront depth, material tone, and entry contrast | Dark rear zones or washed-out glazing |
| Balanced display light | Fixture rhythm, focal products, and service points | Uniform brightness that flattens the room |
| Evening storefront | Street presence, threshold, and interior depth | Glowing glass, black reflections, or hidden material detail |
A generated image cannot verify illuminance, glare, emergency lighting, or colour rendering. Keep those checks in the lighting design process. Use the architectural render lighting guide to separate daylight, dusk, and night presentation tasks.
Which retail spaces need different image priorities?
Retail is not one room type. Each format puts pressure on different parts of the architecture.
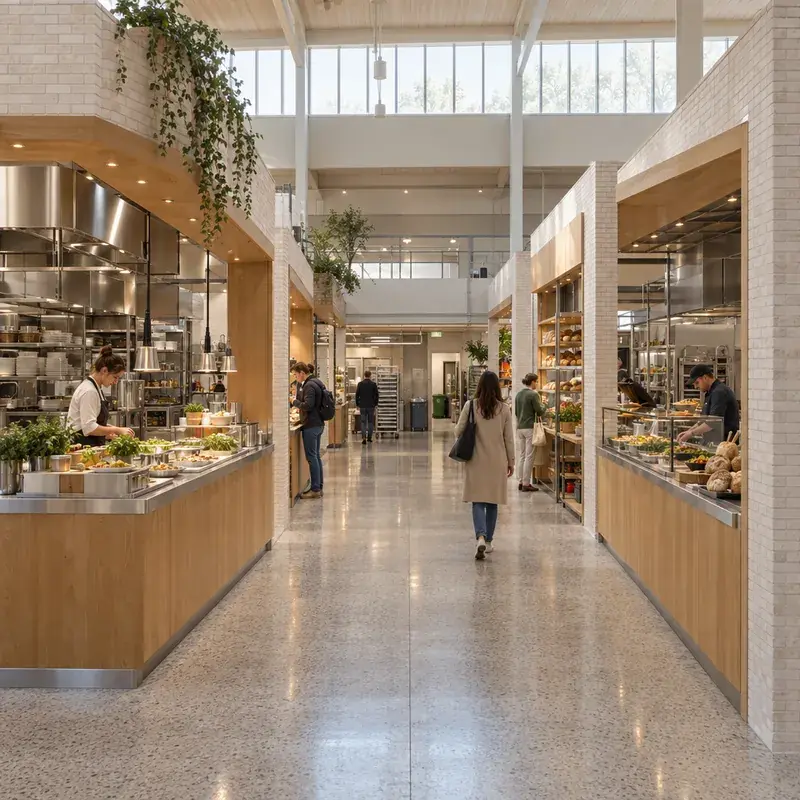
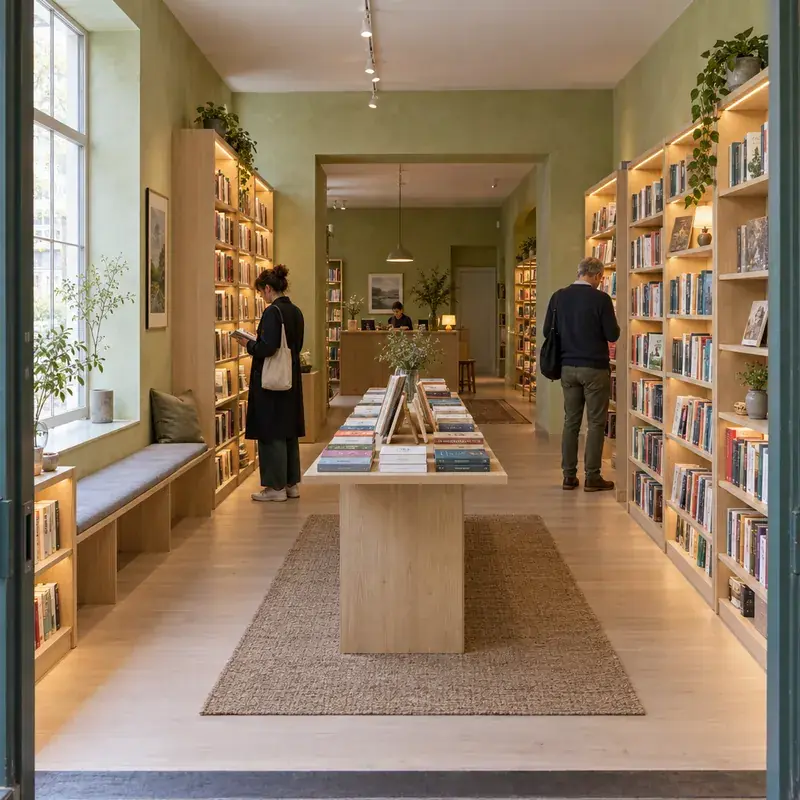
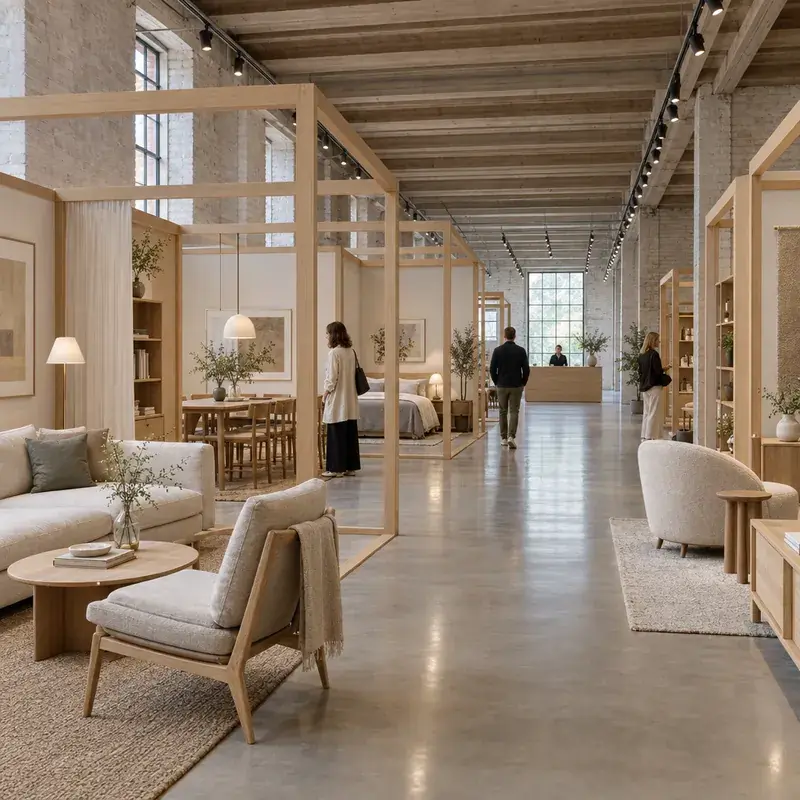
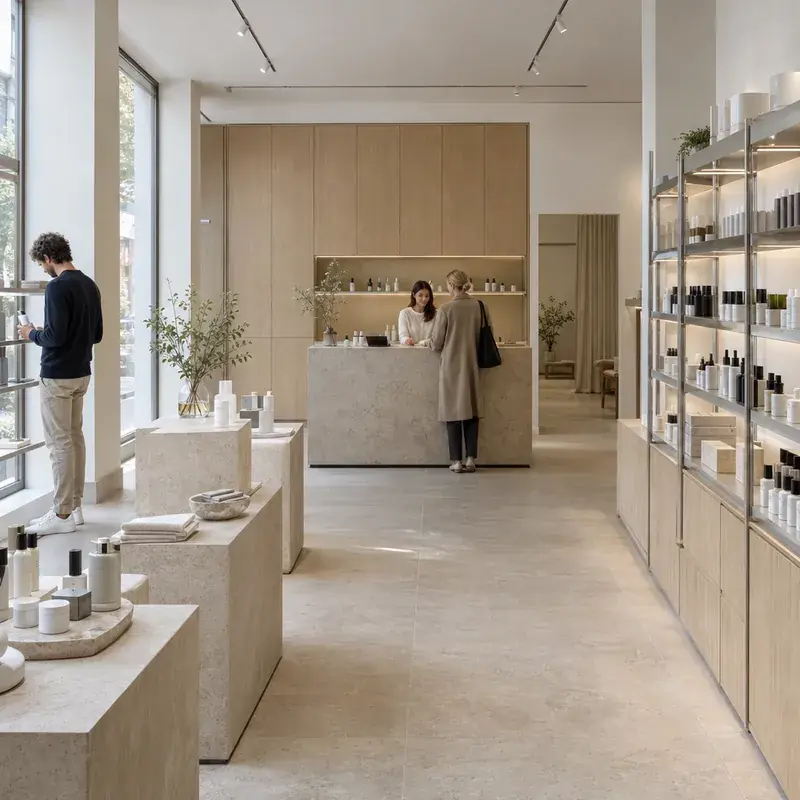
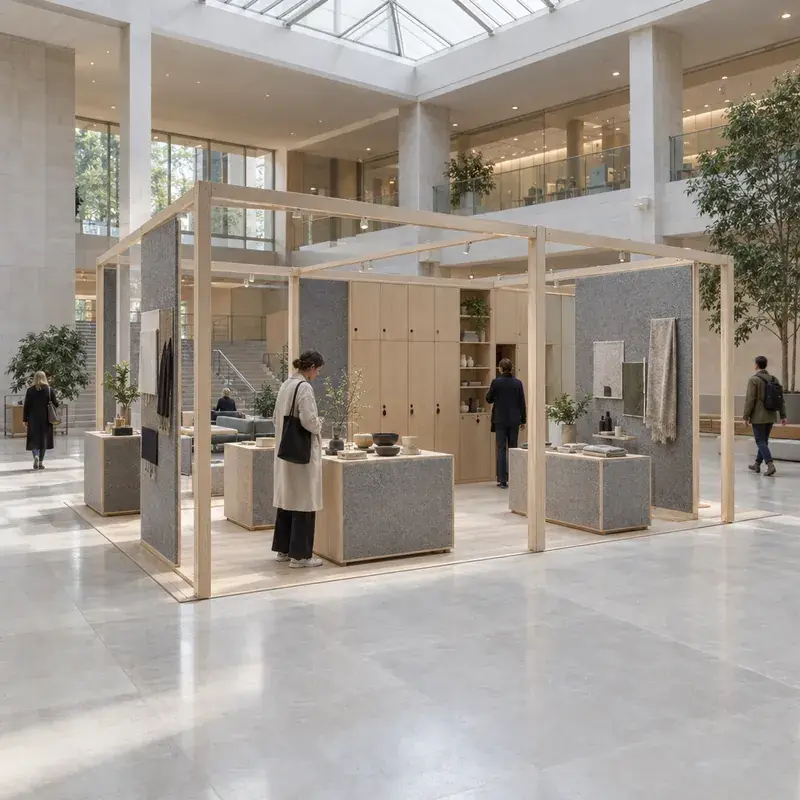
These are five different synthetic scenes. They do not claim one matched project. Their purpose is to show how the review question changes by format.
Food halls need service depth and queue clarity. Bookshops need browsing rhythm and quiet destinations. Furniture showrooms need long views across several settings. Consultation-led stores need a clear service relationship. Pop-ups must explain assembly, storage, and circulation with few elements.
What should you edit after the first render?
Edit the smallest decision that blocks the image. A central display, counter finish, fitting-room threshold, or lighting zone is a better target than the whole store.
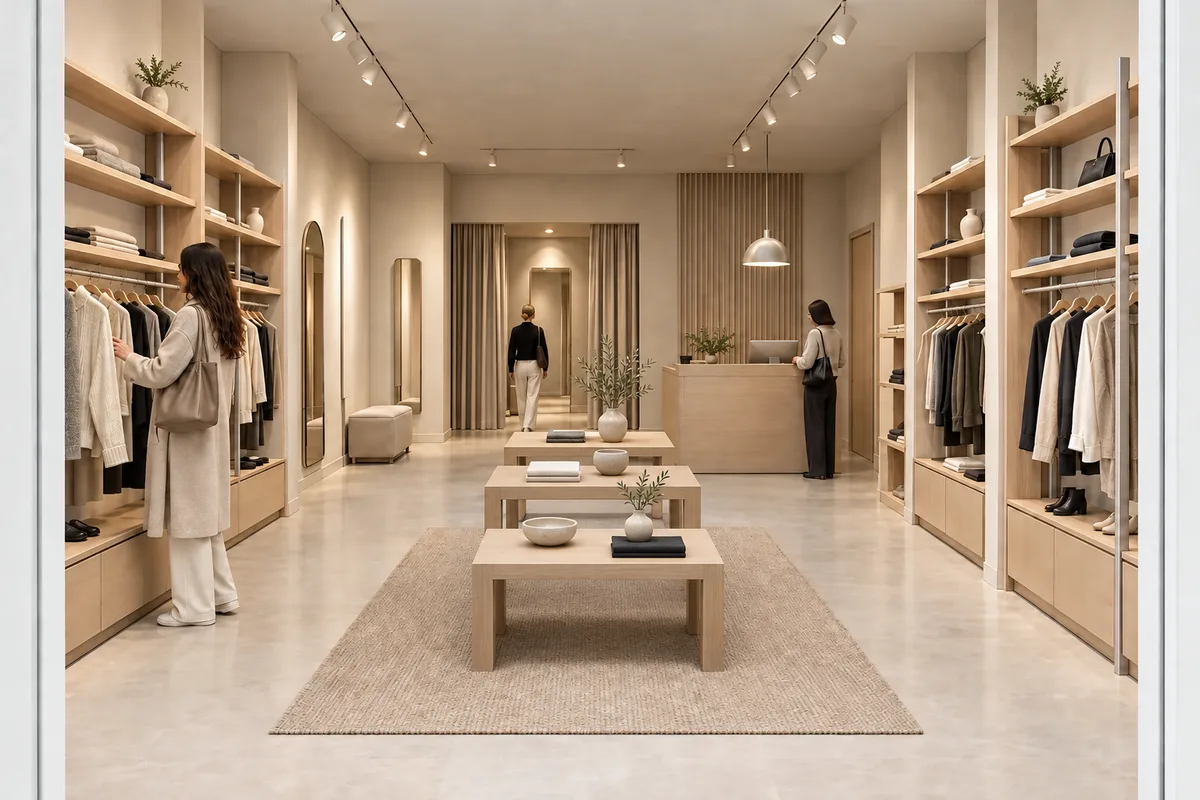
After an edit, compare the full frame. Check that walls, fixtures, lighting, people, and products outside the selected region remained acceptable. A bounded instruction does not remove the need for review.
What are the limits of retail AI rendering?
AI images can support early design and presentation studies. They remain weak evidence for measured or brand-controlled decisions.
Do not use a generated image to verify:
- exact aisle, door, counter, or fitting-room clearances;
- product capacity, shelf loading, or fixture fabrication;
- approved signage, prices, packaging, or brand colours;
- lighting performance, glare, or emergency requirements;
- fire strategy, security coverage, services, or accessibility compliance;
- specified products, hardware, or material samples.
Keep those decisions in drawings, schedules, calculations, and reviewed specifications. The image can still expose questions worth resolving.
For a client-facing set, use the architect render review checklist. Review camera and layout before material polish. Record what the image proves, what remains open, and what the model still controls.
Questions about AI rendering for retail interiors
Can I render a retail interior from SketchUp, Revit, Rhino, or Blender?
Yes. Export a clean fixed view, then use it as the source in Enhance. Keep the model authoritative and compare fixtures, routes, thresholds, and clearances with the source.
Will AI keep the exact shelving and checkout layout?
The source image constrains visible fixtures, but details can drift. Check unit size, spacing, openings, counters, and the customer route against the model.
Can AI generate final retail signs and product packaging?
Do not rely on generated words, labels, prices, or brand marks. Use approved graphics and controlled product assets later in the presentation workflow.
Which retail view should I render first?
Start with the view that explains arrival, the primary route, the main display, and the service point. Add separate views for details or hidden decisions.
Is a retail AI render ready for client review?
It can support concept and visual-direction review after comparison with the model. It does not verify dimensions, compliance, lighting performance, products, or construction information.