
- Published on
How to Choose an AI Rendering Tool: A Buyer Framework

Choose an AI rendering tool by starting with your source scene. A prompt needs creative range. A sketch needs careful interpretation. A CAD or 3D screenshot needs camera and geometry checks. A connected model may need a plugin or conventional renderer. Then decide how you will correct the first image. Some projects need broad variations. Others need one bounded material or object change.
Use the framework below before comparing brands. It routes your project toward prompt, sketch, screenshot, plugin, collaborative, or production rendering workflows. Then test the final two candidates on one source. Judge the accepted image, not the strongest gallery sample.
Buyer framework
Match the tool to the scene
Choose your source, required control, and working pattern. The result points to a category and a practical next guide.
Screenshot workflow
Start with Enhance
Use the screenshot as the camera and geometry reference. Compare every result with the saved source view.
Test these first
- Camera and crop
- Openings and edges
- Requested materials
Test one source
Try the framework on your own scene.
What is the fastest way to choose an AI rendering tool?
Match the tool to the source and acceptance test. Features matter only after that fit is clear.
| Starting point | Useful first category | Main check |
|---|---|---|
| Prompt | Prompt-led image workflow | Design assumptions |
| Sketch | Sketch-to-render workflow | Massing and invented detail |
| CAD or 3D screenshot | Screenshot-to-render workbench | Camera and visible geometry |
| Connected BIM or 3D model | Plugin or render engine | Model context and deployment |
| Resolved production scene | Conventional render engine | Exact scene and delivery control |
This first split prevents a common buying mistake. A strong prompt tool can be poor at a fixed facade. A model-connected renderer can be excessive for a quick material study. A broad creative suite may add work when one architecture workflow would do.
The best AI rendering software guide for architects compares named tools. This page decides which category belongs on your shortlist.
What input are you starting from?
The input determines what evidence the tool can use. It also defines what you must verify after generation.
Do you have only a prompt?
Choose a prompt-led workflow for early visual exploration. It suits atmosphere, material direction, massing ideas, and scenes that do not yet exist as a fixed model.
Prompt output can invent geometry and context. Treat it as a study. Compare options for design value, not source accuracy. The practical AI architectural rendering guide explains where Create fits.
Do you have a sketch?
Choose a sketch-to-render workflow when the drawing already sets the composition. Look for tools that let the sketch remain legible. Check every opening, edge, and inferred volume.
Loose linework leaves room for interpretation. That can help early design. It can also hide changes that the drawing never approved.
Do you have a CAD or 3D screenshot?
Choose a screenshot workflow when camera, crop, and visible form already matter. A clean exported view can travel between tools. It also creates a fixed source for later review.
The screenshot-to-render method covers this handoff. Tool-specific guides explain SketchUp, Revit, Rhino, and Blender.
Do you need to stay inside one model?
Choose a plugin-first route when one host application leads the studio. Direct model context can reduce export steps. It may also simplify view updates.
Confirm the supported host version and operating system. Check what model data the plugin reads. Direct context does not guarantee an accepted render.
Prompt library · 626 promptsBrowse architecture render promptsBrowse prompts
How much geometry control does the image need?
Resolved designs need stricter review. Start by naming the geometry that cannot move.
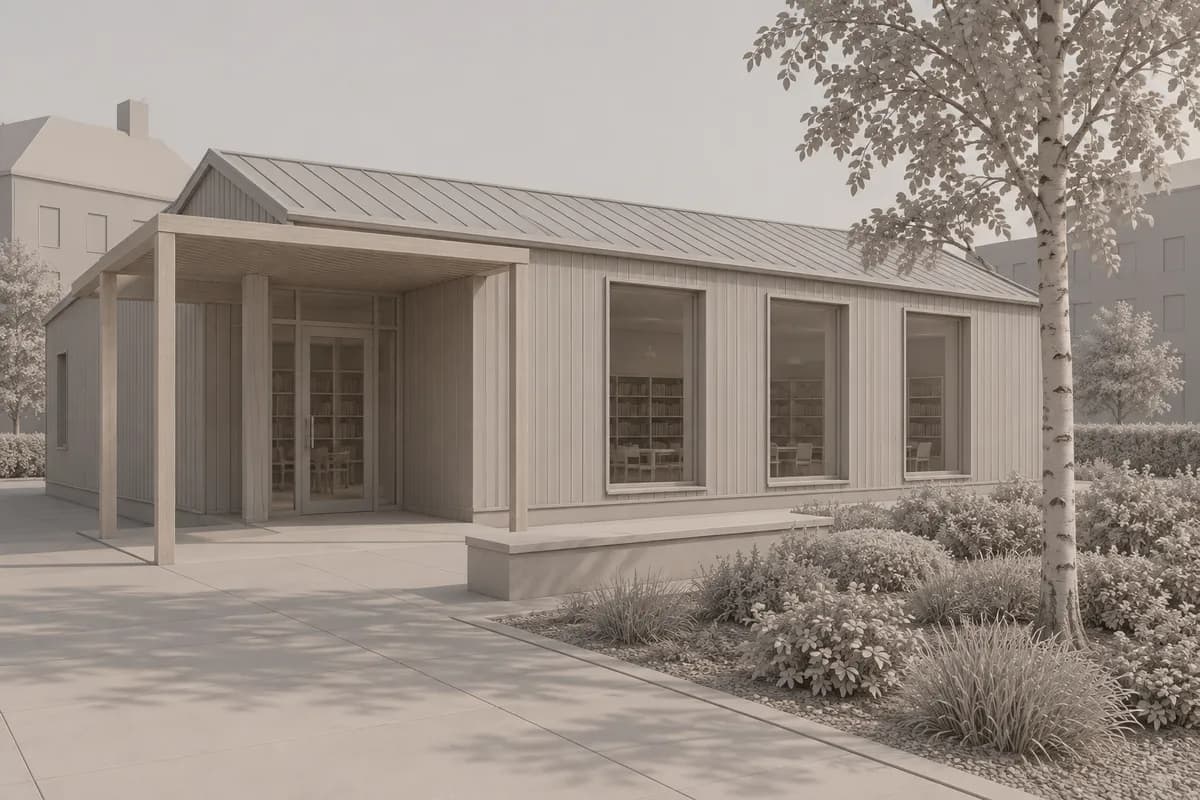
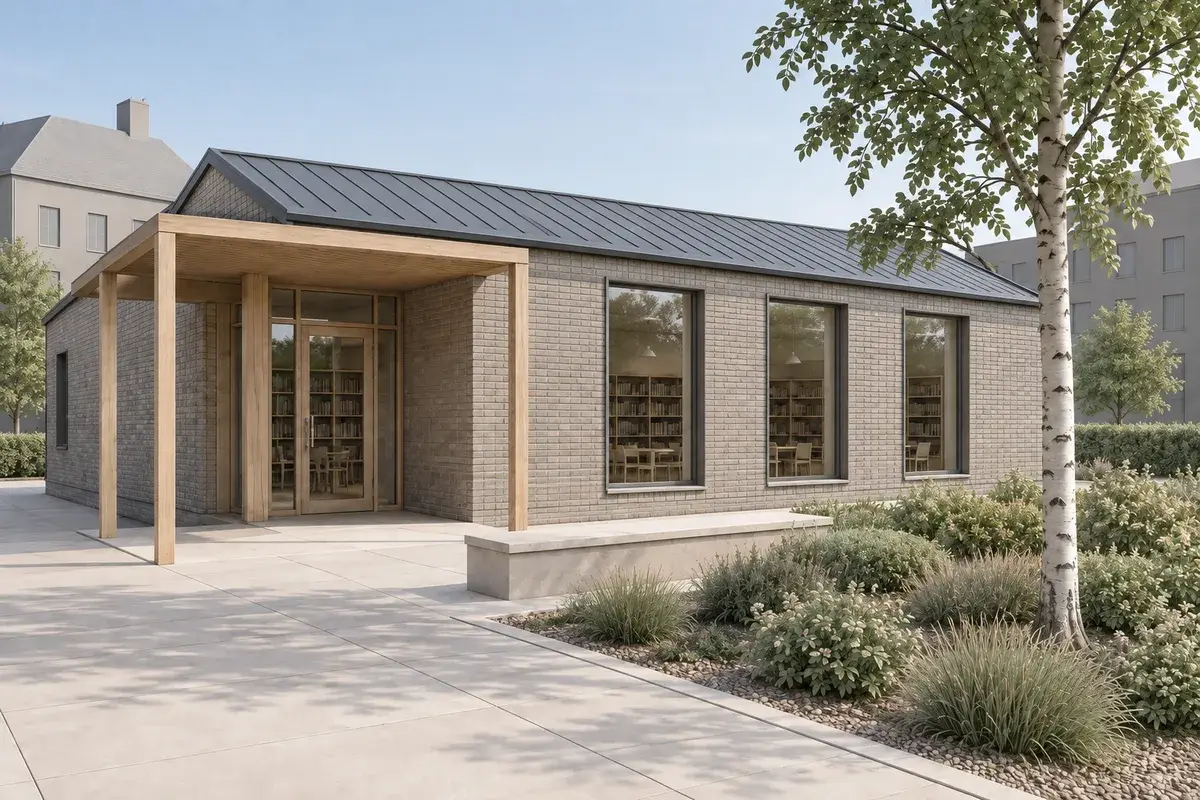
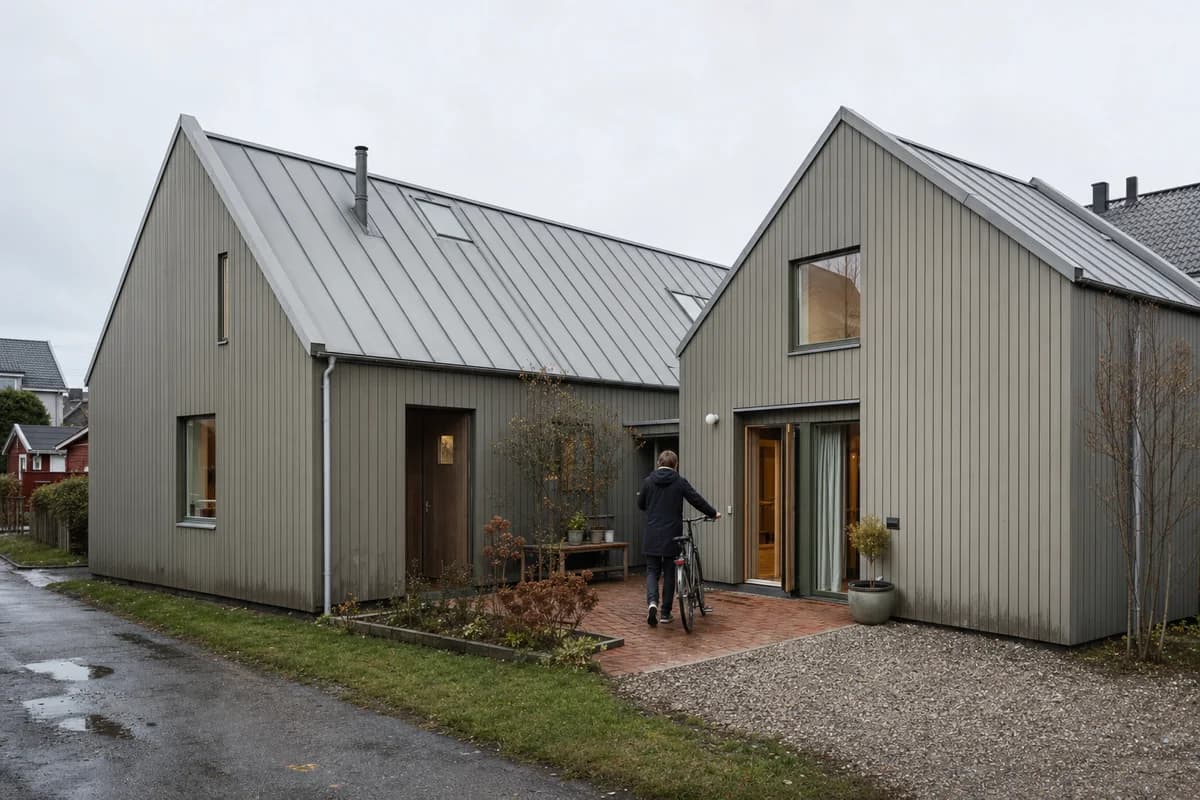
Synthetic sourceRender studyFor a concept image, broad massing may be enough. For client review, check the camera, floor levels, roof edges, openings, and repeated elements. Facades, kitchens, and bathrooms expose small drift quickly.
Screenshot-based generation uses visible pixels as context. It does not read hidden dimensions or construction data. Compare the result with the source before discussing surface quality.
Use a model-connected renderer when exact scene data defines acceptance. This often applies to measured lighting, animation, technical passes, or final production. The AI rendering versus traditional rendering guide explains that boundary.
Do you need whole-image generation or targeted edits?
The first attractive image rarely ends the decision. Check how each tool handles correction.
| Correction need | Tool capability to test |
|---|---|
| Broad visual option | Whole-image generation |
| Alternative from an accepted image | Later variation |
| One material or object | Bounded region edit |
| Several related changes | Multiple named regions |
| Exact production revision | Return to the model |
CAD Scene keeps Create, Enhance, and Edit inside one Project. Edit supports Rectangle, Brush, and Eraser selection tools. It can carry multiple named regions in one instruction. Generated boundaries can still drift. Review the selected edge and every adjacent surface.
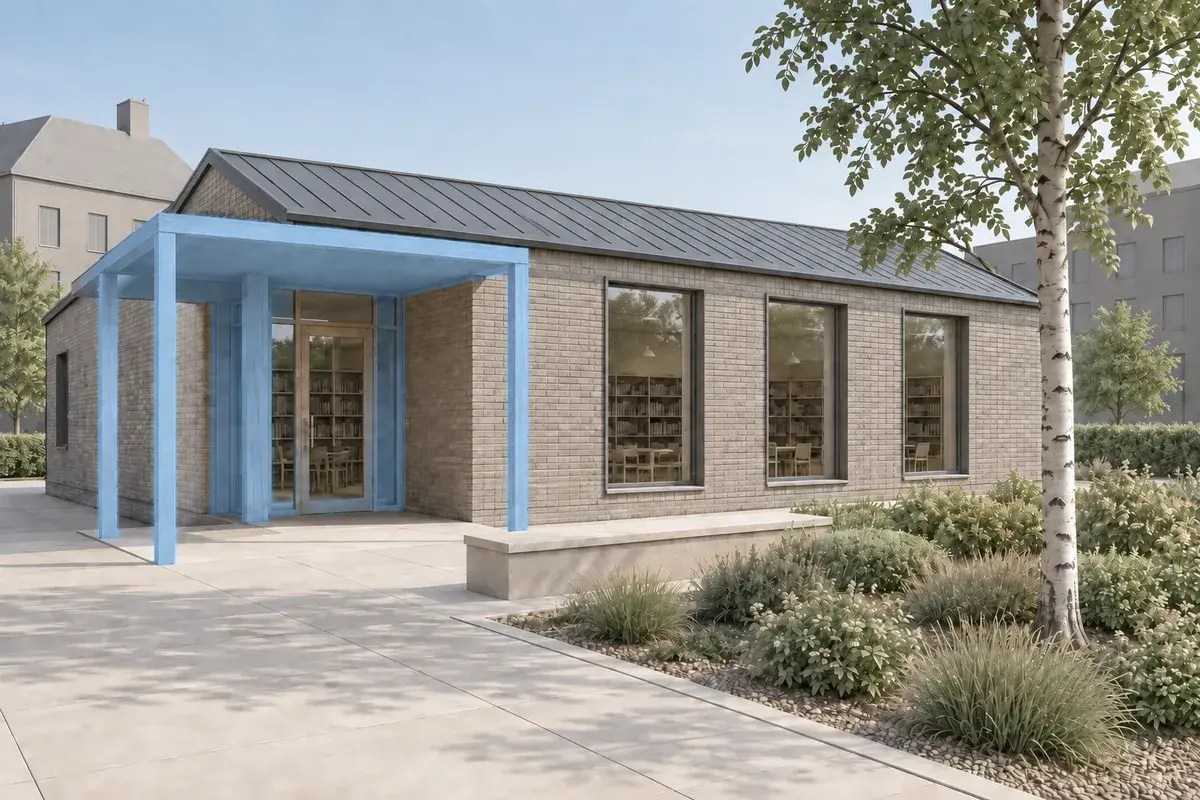
Choose a broad image suite when whole-scene exploration leads. Choose focused editing when revisions drive the workflow. Return to the model when the change must alter verified geometry.
How repeatable does the visual direction need to be?
One render can succeed by chance. A project set needs a reusable visual direction.
Check how the tool stores style, materials, light, context, and later versions. Ask whether those settings belong to one image or the wider project. Then test a second view. Similar color is not enough. Material logic, light direction, detail, and entourage should still belong together.
CAD Scene stores a Composition at Project level. It includes Style, Scene, Lighting, Materials, and Entourage. Presets can save that bundle. Studies inside the Project share the same current settings.
The architectural rendering styles guide helps name the visual direction. A reference image can also guide a style-from-photo workflow.

These studies share one synthetic source and camera. The comparison isolates material and light choices. It does not prove identical behavior across tools.
Which team workflow should the tool support?
Choose the workflow your team can maintain. Collaboration features matter when people work on the same visual decision at the same time.
| Category | Choose it when | Check before buying |
|---|---|---|
| Architecture workbench | Related image studies lead | Project context and edit path |
| Host plugin | One model stack leads | Version and deployment support |
| Collaborative canvas | Live shared ideation leads | Permissions, history, and handoff |
| Broad creative platform | Architecture is one visual task | Depth of architecture controls |
| Traditional render engine | Exact production output leads | Hardware, setup, and scene ownership |
A small studio may prefer one calm workbench and portable screenshots. A larger team may need shared canvas permissions. A renderer-centered studio may keep the model and render engine connected.
Use the /compare hub after the category is clear. It records dated product facts and fair competing fits.
How should you compare AI rendering prices?
Compare the cost of an accepted image. Plan price alone hides model settings, reruns, edits, upscale, seats, and unused allowances.
CAD Scene prices generation by model and native settings. Quality and Resolution can change the charge. The Composer shows the exact total before submission. Hobby is $12 a month with 250 credits. Studio is $35 a month with 1,000 credits. Unused paid credits roll over while subscribed. Lanczos 4K upscale is free.
Estimate monthly render credits
Choose one current setup and the number of images you plan to generate. The estimate reads CAD Scene's live pricing matrix.
Generation only. Existing rollover credits can change plan fit. Current top-ups range from 50 to 450 credits. The Composer shows the final cost before every send.
The estimator reads current product pricing. It cannot predict how many attempts your scene will need. Use the AI rendering credits and pricing guide for the full cost method.
When checking another tool, open its current pricing page. Note currency, billing period, credits, output limits, seats, and tax. Then run the same source test.
What does a fair tool test look like?
Use one source, one brief, and one correction. Change only the tool.
Save one controlled source
Fix the camera, crop, visibility, and source dimensions before testing.Write one bounded brief
Name materials, light, context, and the geometry that should remain stable.Generate one review option
Use a comparable output size and avoid selecting only a vendor showcase.Request one focused correction
Change one material or object after the first acceptable image.Review against the source
Check camera, openings, repeated elements, material boundaries, and artifacts.Record the accepted-image path
Note reruns, edits, time, credits, export size, and unresolved failures.
Do not score only realism. A useful result must fit the project stage. Record failures as well as strong output. If the tool cannot complete the required correction, that is part of the decision.
What should you decide before subscribing?
Write a one-line acceptance rule. For example: “The tool must keep this saved camera, support one material correction, and export the board size we need.”
Then answer five questions:
- Does the input path fit the current source?
- Does the output pass the geometry review?
- Can the team correct a local problem?
- Can later views reuse the visual direction?
- Does the accepted-image cost fit the monthly workload?
If two tools pass, choose the simpler handoff. If neither passes, keep the model workflow and test a different category. A new feature list will not repair a bad source fit.
CAD Scene facts and prices on this page were reviewed on 26 September 2026. Product behavior can change. Recheck features, pricing, and current Help before a studio-wide decision.
Questions architects ask before choosing
How do I choose an AI rendering tool for architecture?
Start with the source input and the image acceptance test. Then compare geometry control, correction tools, project consistency, team handoff, and accepted-image cost.
Should architects choose a plugin or browser AI renderer?
Choose a plugin when one connected model stack leads. Choose a browser workbench when portable screenshots from several tools need one shared image workflow.
What matters most for client-review renders?
Camera, visible geometry, materials, artifacts, and correction control matter more than a long feature list. Compare every output with the saved source.
How should I test two AI rendering tools fairly?
Use the same source, brief, output target, and focused correction. Record reruns, failures, edits, time, credits, and the path to an accepted image.
When should I keep a traditional render engine?
Keep it when exact scene data, measured light, animation, technical passes, or production control defines acceptance.
Table of Contents
- What is the fastest way to choose an AI rendering tool?
- What input are you starting from?
- How much geometry control does the image need?
- Do you need whole-image generation or targeted edits?
- How repeatable does the visual direction need to be?
- Which team workflow should the tool support?
- How should you compare AI rendering prices?
- What does a fair tool test look like?
- What should you decide before subscribing?
Authors

- Name
- Vladimir Mindru
Previous Article
Table of Contents
- What is the fastest way to choose an AI rendering tool?
- What input are you starting from?
- How much geometry control does the image need?
- Do you need whole-image generation or targeted edits?
- How repeatable does the visual direction need to be?
- Which team workflow should the tool support?
- How should you compare AI rendering prices?
- What does a fair tool test look like?
- What should you decide before subscribing?
Authors
- Name
- Vladimir Mindru