Professional architecture AI rendering

AI architectural rendering online, from the scene you already have.

AI rendering software for practices and design studios. Turn prompts, sketches, and 3D model views into client-ready images.

Your first renders are free. No credit card. Review generated details before client issue.

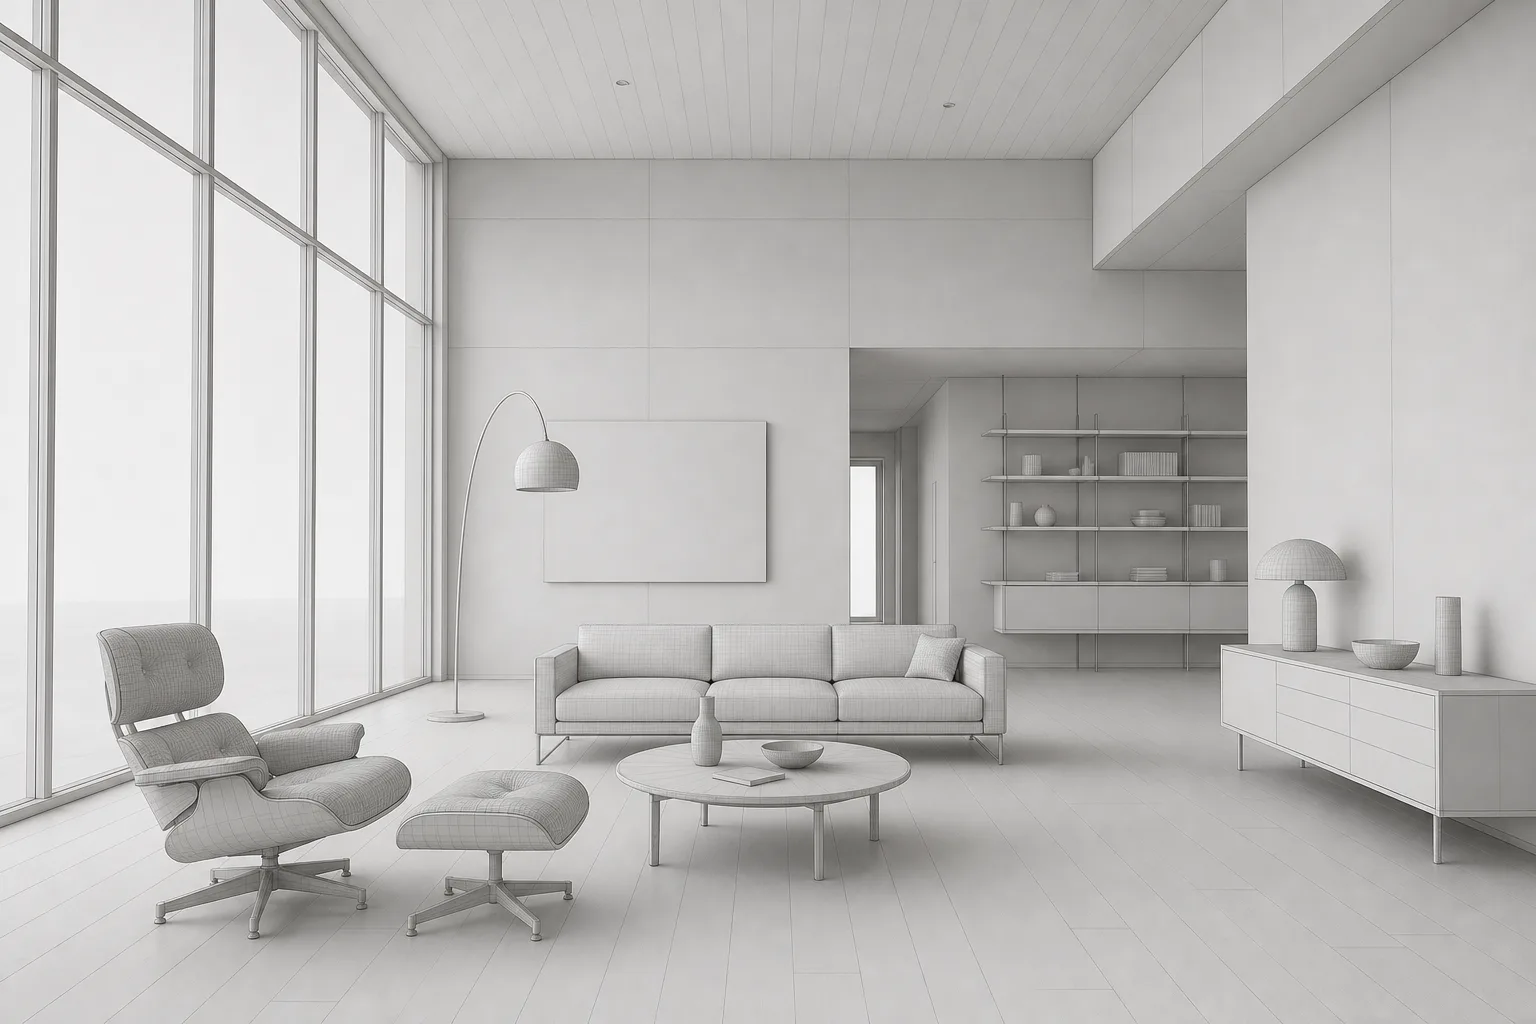
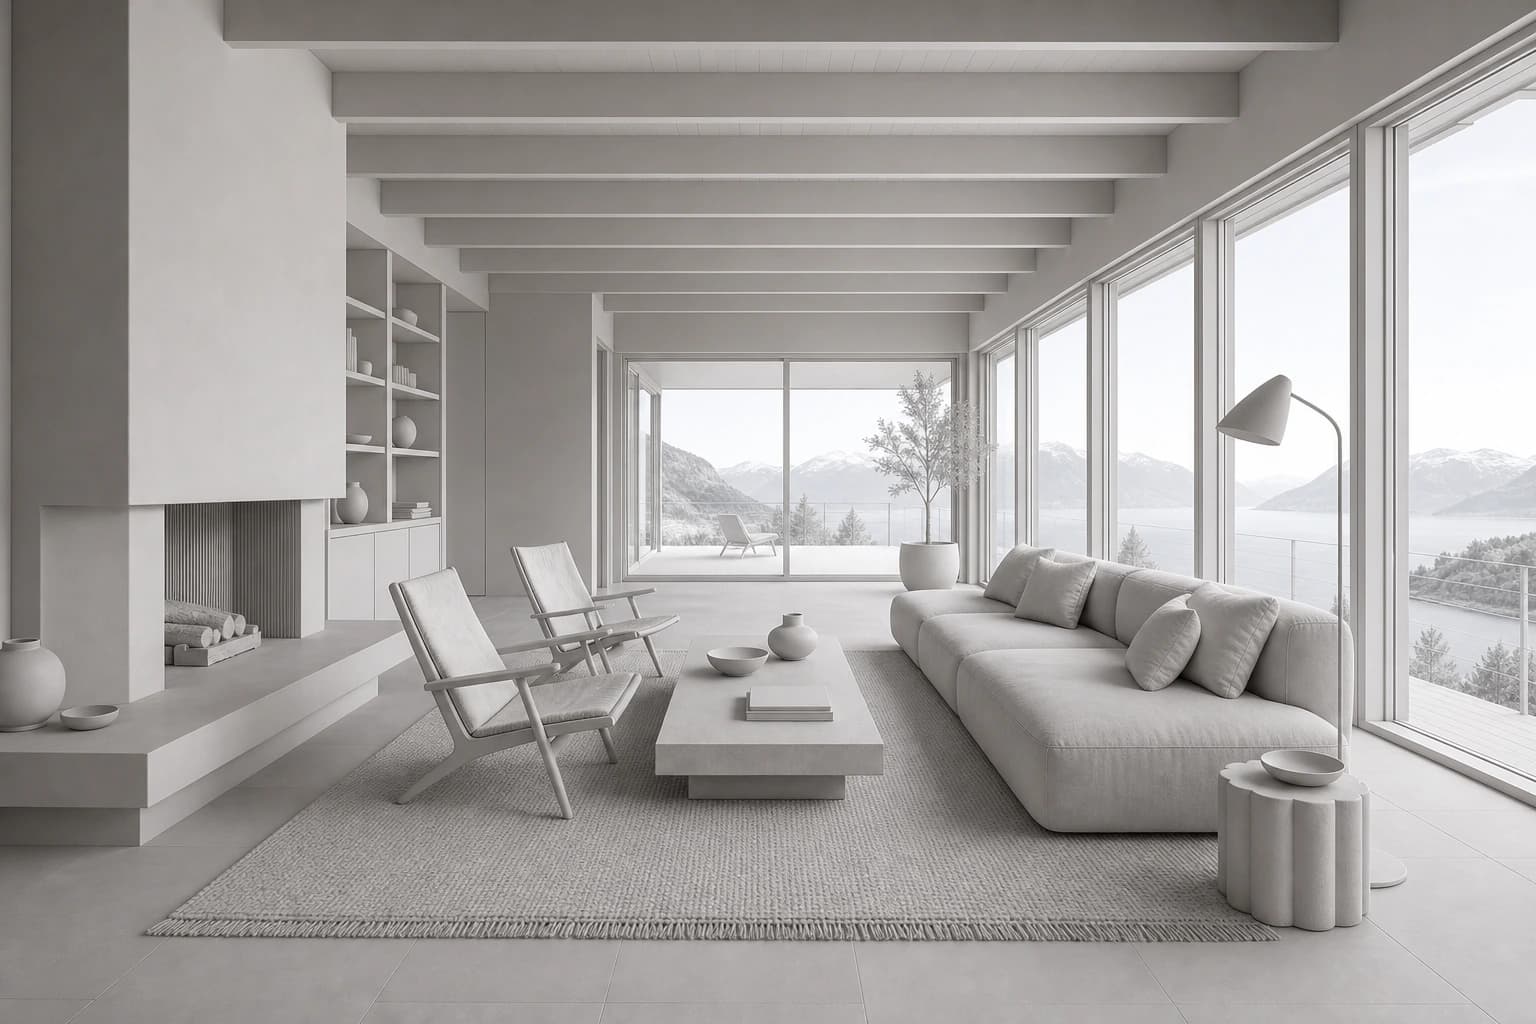
Bare Nordic living room 3D scene before online rendering3D scene
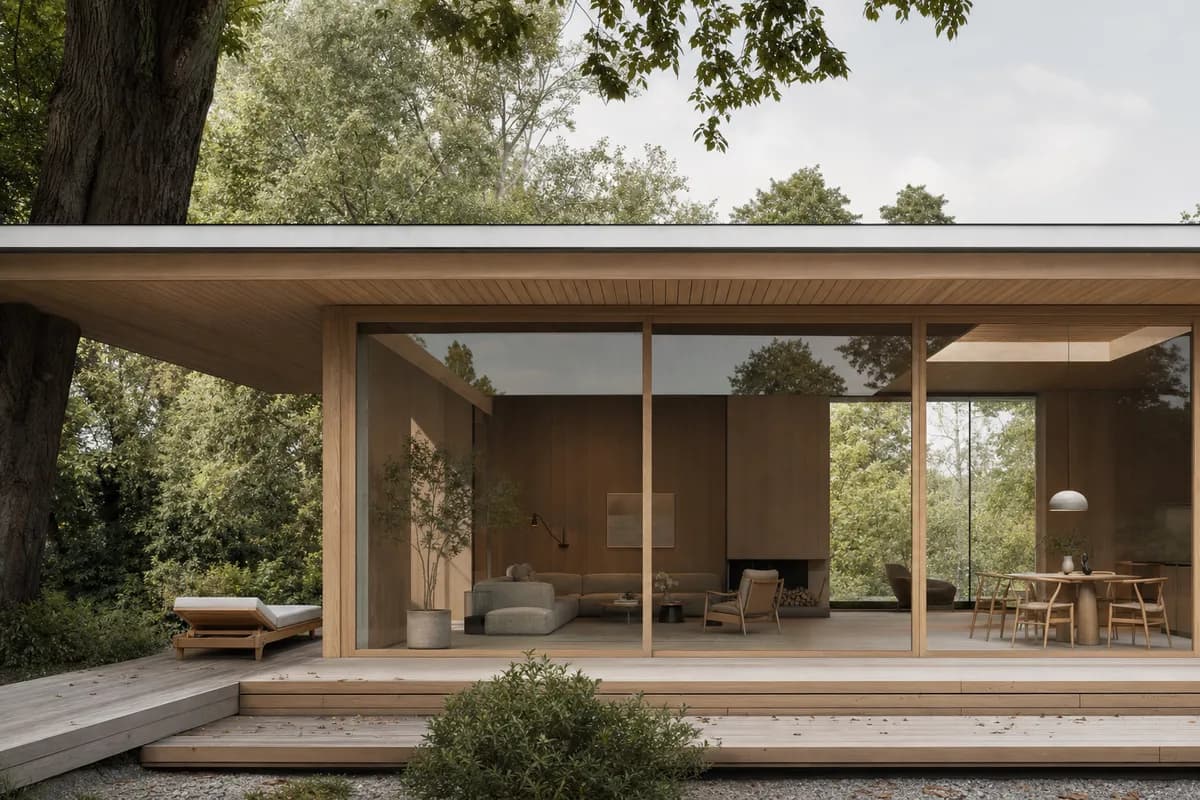
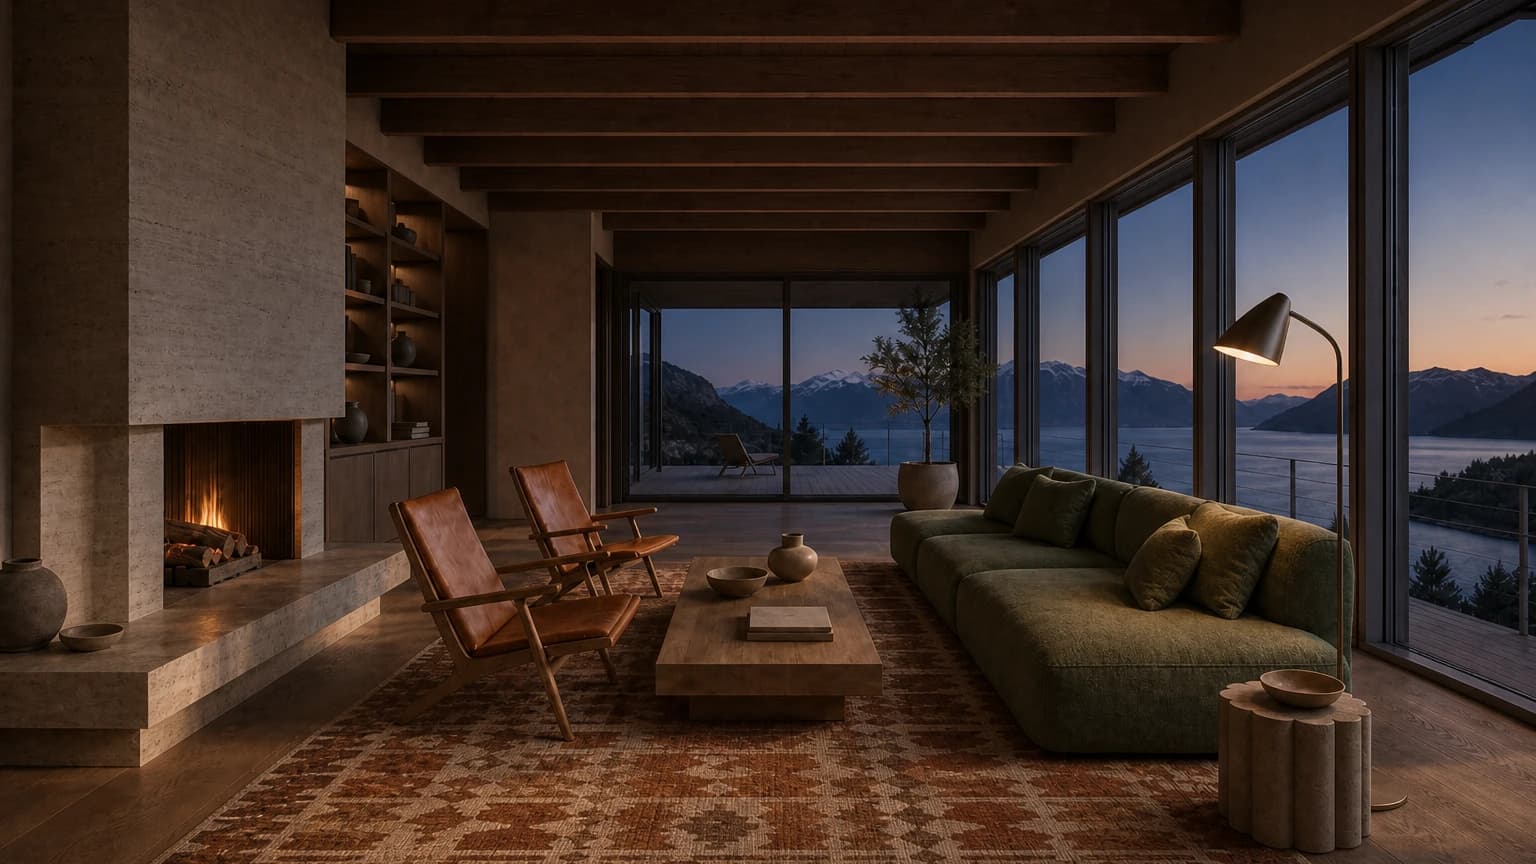
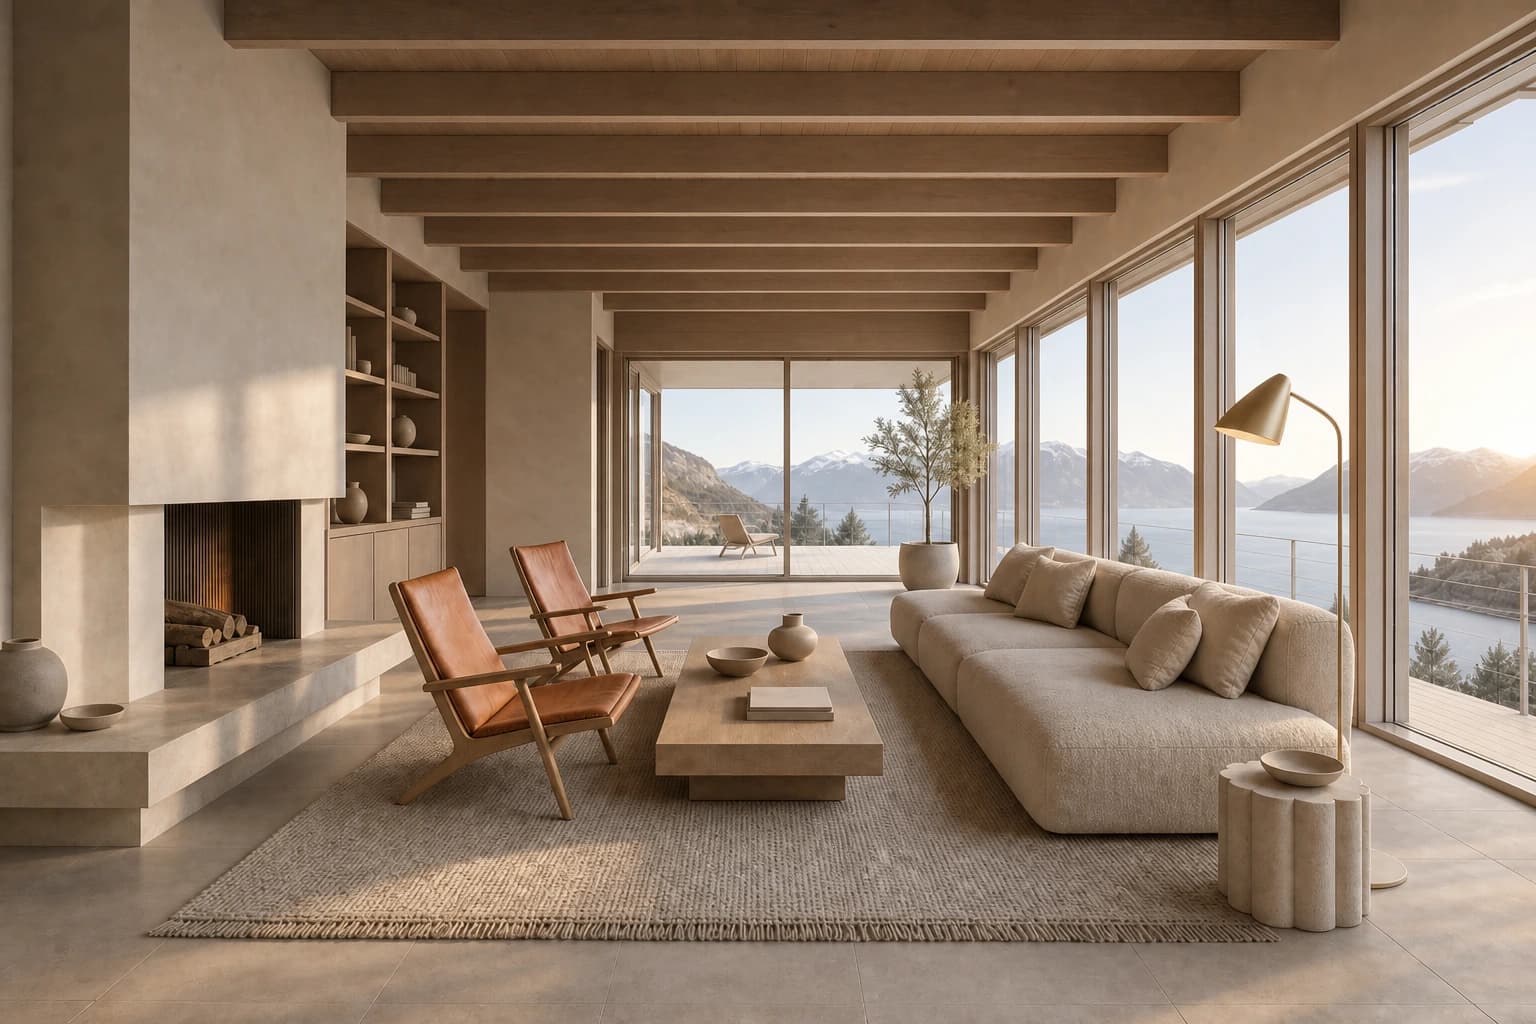
Photorealistic architectural render from the same composed viewRendered
Drag to compare the composed source view with its rendered study.

Choose the input you have

Which online rendering path fits this study?

Start with the material already in front of you. The source changes how much composition the image model has to invent.

Recommended mode

Enhance

Turn the view you composed into a photorealistic study.

Read the matching workflow
Prepare
Capture a clean view without selections, guides, or UI overlays.
What guides it
The image guides camera, crop, massing, and visible proportions.
Review
Compare openings, edges, repeated elements, and material boundaries.
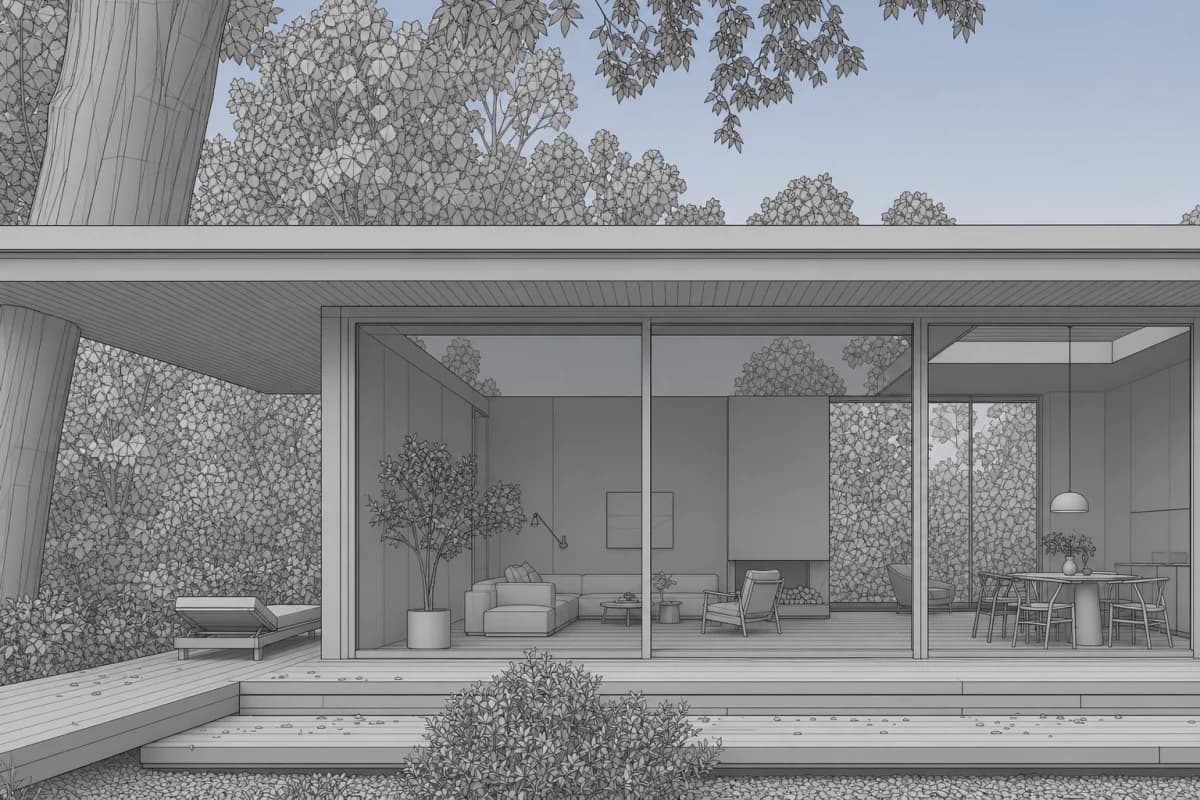
  1. A written briefCreate. Open a new architectural direction without a source image.
  2. A 3D screenshotEnhance. Turn the view you composed into a photorealistic study.
  3. An existing renderEdit. Change named regions while asking the rest of the image to hold.

From the software you use

Keep working in the software you know.

Start with a clean screenshot from the software you already use. CAD Scene adds materials, light, and atmosphere. Enhance keeps the camera, angle, and dimensions in place. See how this fits the wider AI architectural rendering workflow.

Bare Rhino viewport with default shadingRhino
AI render from a Rhino viewport turning the same geometry into a photorealistic renderRendered

Free-form geometry gains finished materials and controlled light for client review.

What runs online

Keep modeling where you model.

CAD Scene reads a flat image, not the underlying BIM or CAD model. Your source file remains authoritative. The online render is a visual study for materials, light, atmosphere, and review.

Prepare a clean source image
  1. 01

    Modeling tool

    Compose the view in Rhino, SketchUp, Revit, Blender, or your current tool.

  2. 02

    Capture

    Export or capture one clean PNG, JPG, or WebP image.

  3. 03

    Browser workspace

    Set the direction, choose a model, and render online.

  4. 04

    Review

    Compare the output with the source and revise the decisions that matter.

Stays in the model

Measured geometry, assemblies, coordination, schedules, and construction information.

Moves into the study

The chosen camera, visible composition, material direction, light, atmosphere, and presentation intent.

62 presets built in

One scene. Ten presets. Seconds apart.

Render the same room as Nordic, wabi-sabi, Bauhaus, and more. Then save your own.

The bare 3D scene, before applying a preset
Scene

Before client issue

Review the image against the source.

A source image constrains the study. It does not verify the design. Keep the model and drawings beside the result during review.

  1. 01

    Camera and crop

    Compare perspective, camera height, horizon, and every edge of the frame.

  2. 02

    Massing and openings

    Check the silhouette, levels, roof lines, windows, doors, and thresholds.

  3. 03

    Repeated elements

    Count bays, mullions, stairs, balusters, lights, and furniture modules.

  4. 04

    Materials and artifacts

    Inspect boundaries, joints, reflections, entourage, hands, vehicles, and text.

Questions before you render online.

What stays in the browser, what stays in the model, and what to review.

Yes. The rendering workspace runs in your browser. Keep modeling in your current 3D or CAD tool, then bring a clean screenshot into CAD Scene.

Bring the view already on your screen.

Start with a prompt or a clean 3D screenshot. Choose the mode that matches the study.

Start free

Your first renders are free. No credit card.