
3ds Max Screenshot to Render with AI: A Clean Camera Workflow

To turn a 3ds Max view into an AI render, start with the camera you intend to present. Show the safe frame and confirm the final crop. Use a clean Clay, Flat Color, or restrained Realistic view. Hide grids, helpers, selections, and working overlays. Then capture the viewport and use that image in Enhance. Describe materials, light, atmosphere, and entourage without requesting new geometry. Compare the result with 3ds Max before client review.
This route suits early material and lighting studies. It does not read the .max file or use scene data. Keep 3ds Max and its renderer as the source of truth for production output.
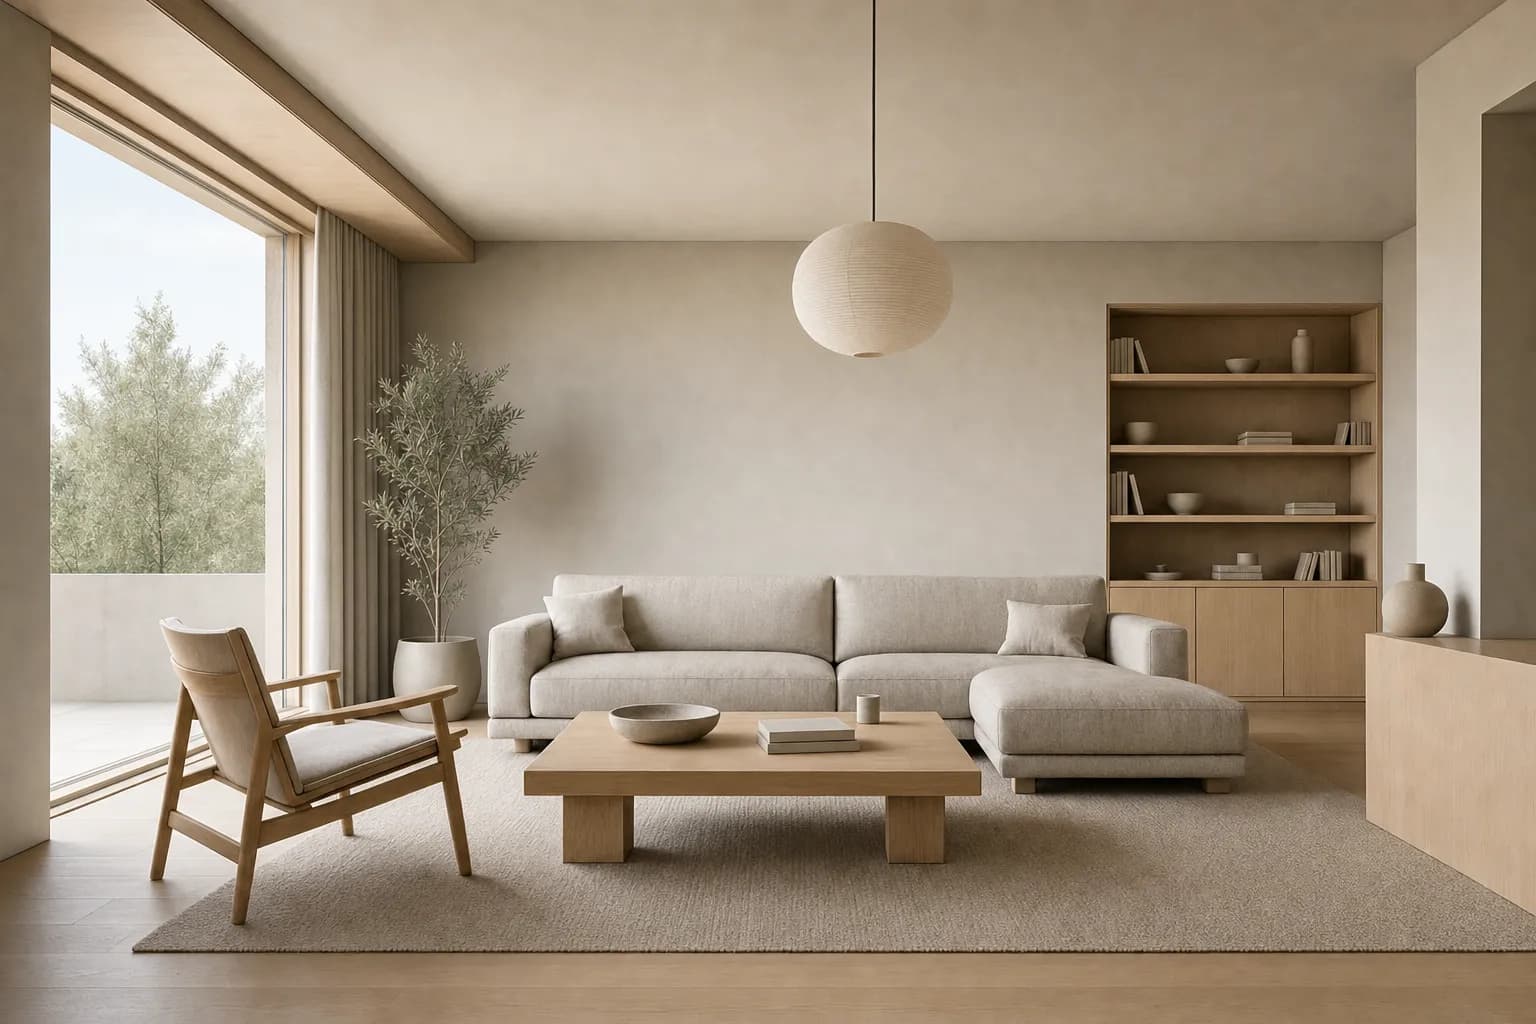
Can you render a 3ds Max viewport with AI?
Yes. A clean 3ds Max viewport image can become an image-based render study. The source carries visible camera, massing, openings, furniture, and proportions. The brief supplies the intended finish.
Use a camera view for repeatable work. A Perspective viewport can support a quick internal test. It is easier to change or crop by accident.
CAD Scene Enhance starts from one explicit source image. It asks the image model to preserve camera, framing, geometry, and proportions. That instruction is a constraint, not a guarantee. Generated details can still drift.
The wider screenshot-to-render workflow covers the same source-first method across modeling tools.
Should you use a camera view or a Perspective viewport?
Use a camera view when composition is already part of the design decision. Use Perspective for loose exploration before the view is fixed.
| View | Useful for | Main risk |
|---|---|---|
| Camera view | Repeatable client views and option studies | Wrong output ratio if the safe frame is ignored |
| Perspective viewport | Fast internal composition tests | Accidental camera movement or later cropping |
| Orthographic view | Facade, section, and diagram studies | Depth can remain ambiguous |
Autodesk's current safe-frame guide states that the outer frame matches render output resolution. Open the Point-of-View viewport menu and choose Show Safe Frame. Set the output ratio before judging the crop.
Keep the camera name stable. Record its focal length when several views need a related visual character. Do not claim that one screenshot defines unseen views. Each camera needs its own source image.
How should you clean the 3ds Max view?
Prepare the viewport like a presentation still. Keep design evidence. Remove working information that could become false image detail.
Fix the camera and output ratio
Choose the intended camera, set the output ratio, show its safe frame, and confirm the crop.Choose a clear visual style
Use Clay or Flat Color for geometry. Use Realistic only when its material cues help.Clear the viewport
Hide the home grid, helper objects, gizmos, selection outlines, brackets, and temporary proxies.Check the scene boundary
Keep furniture, planting, lights, and context only when they belong in the intended study.Capture the source image
Maximize the active viewport, keep the final crop, and exclude menus, panels, and timeline chrome.
The home grid is visible by default. Autodesk confirms in Using Grids that it can be turned off. Hide grid objects when they only support modeling.
Clear the active selection before capture. Selected objects can show edged faces, brackets, or colored outlines. Autodesk documents those states in Basics of Selecting Objects. Also hide camera icons, light helpers, bones, splines, and measurement guides.
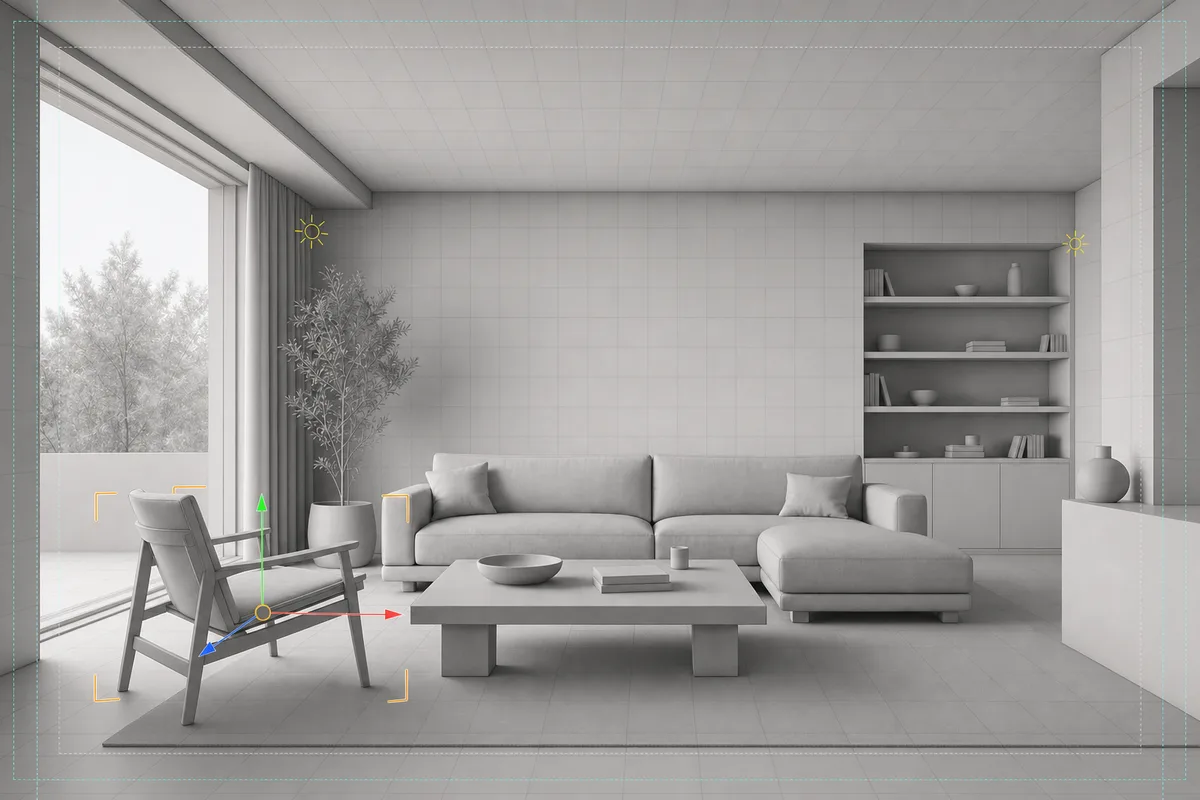
Which visual style makes the best source?
Use the simplest style that still explains the model. Clay and Flat Color make geometry easy to inspect. Realistic can carry broad material intent.
Autodesk's 2026 viewport visual-style reference lists Realistic, Flat Color, Hidden Line, Clay, and other display modes. Their names describe display choices. They do not make one mode universally better for image input.
| Style | What it carries | Watch for |
|---|---|---|
| Clay | Massing, openings, and furniture geometry | The brief must name every important finish |
| Flat Color | Broad zones and material boundaries | Working colors may look like final finishes |
| Realistic | Existing texture and lighting intent | Busy maps can hide edges or lock in noise |
| Hidden Line | Facade rhythm and diagram structure | Lines can become joints or facade detail |
The cross-tool screenshot checklist covers edge clarity, crop, and multi-view capture. Compare the Blender camera workflow when a studio moves between visualization packages.
What should the Enhance brief say?
The source image already carries the visible design. Ask for finish decisions, not a new room.
3ds Max interior study
Copy the full brief, then adjust one variable at a time.
Prompt
Preserve the source camera, crop, room envelope, window opening, built-in shelving, and furniture positions. Render the room with pale oak flooring and joinery, warm lime-wash walls, natural linen upholstery, a wool rug, soft north daylight, and restrained foliage outside. Do not move walls, openings, shelving, or furniture.
Name material boundaries precisely. Separate the floor, walls, joinery, upholstery, and metalwork. State the intended light direction and contrast. The architectural rendering styles guide can help define the image language.
Avoid broad instructions such as "make it luxurious." Name the surface and its finish. Use Edit later when one finished Render needs a focused change.
Prompt library · 28 promptsSource-preserving conversionsBrowse prompts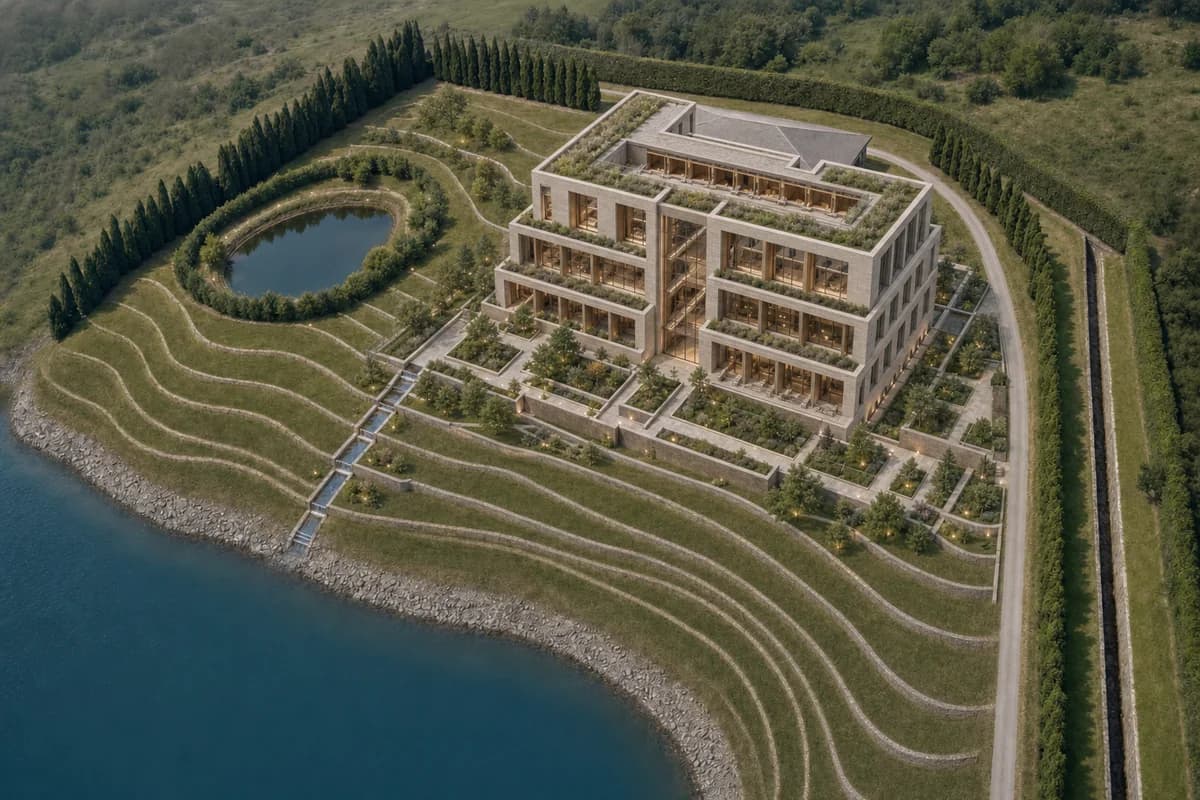
What proof should you check after rendering?
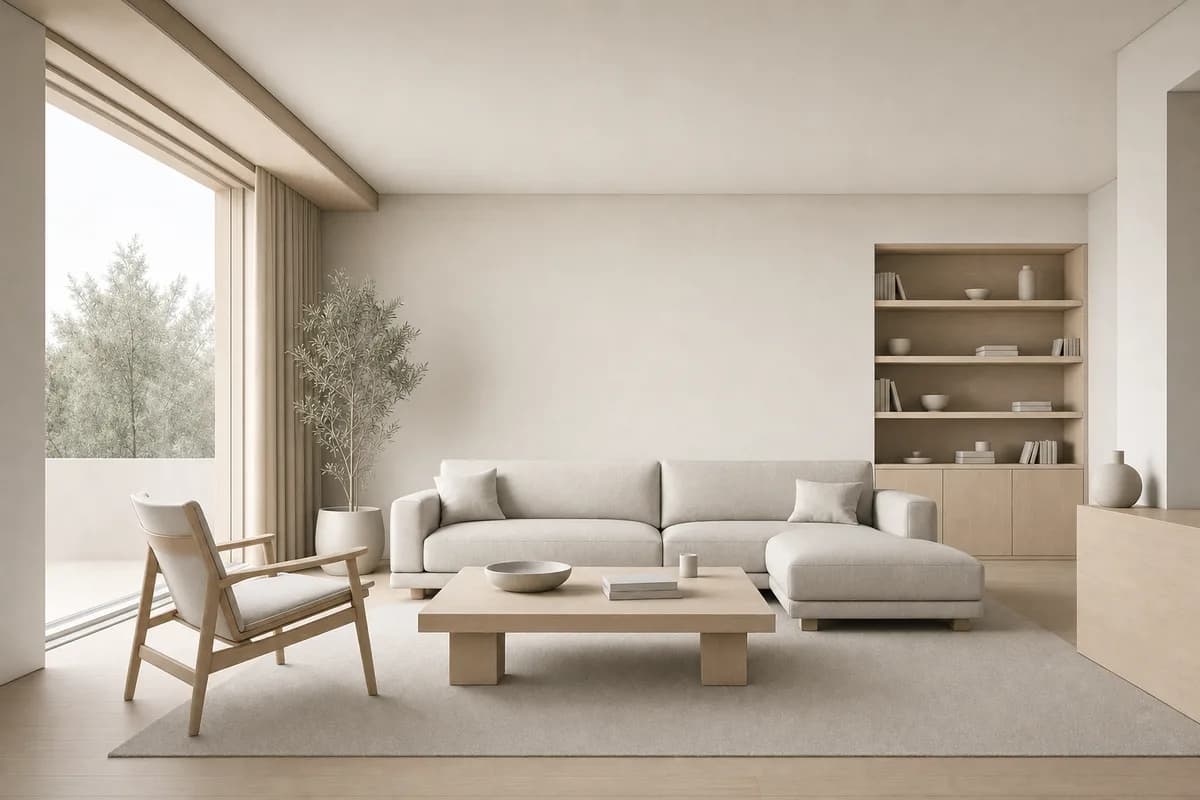
Compare structure before atmosphere. Place the source and result side by side.
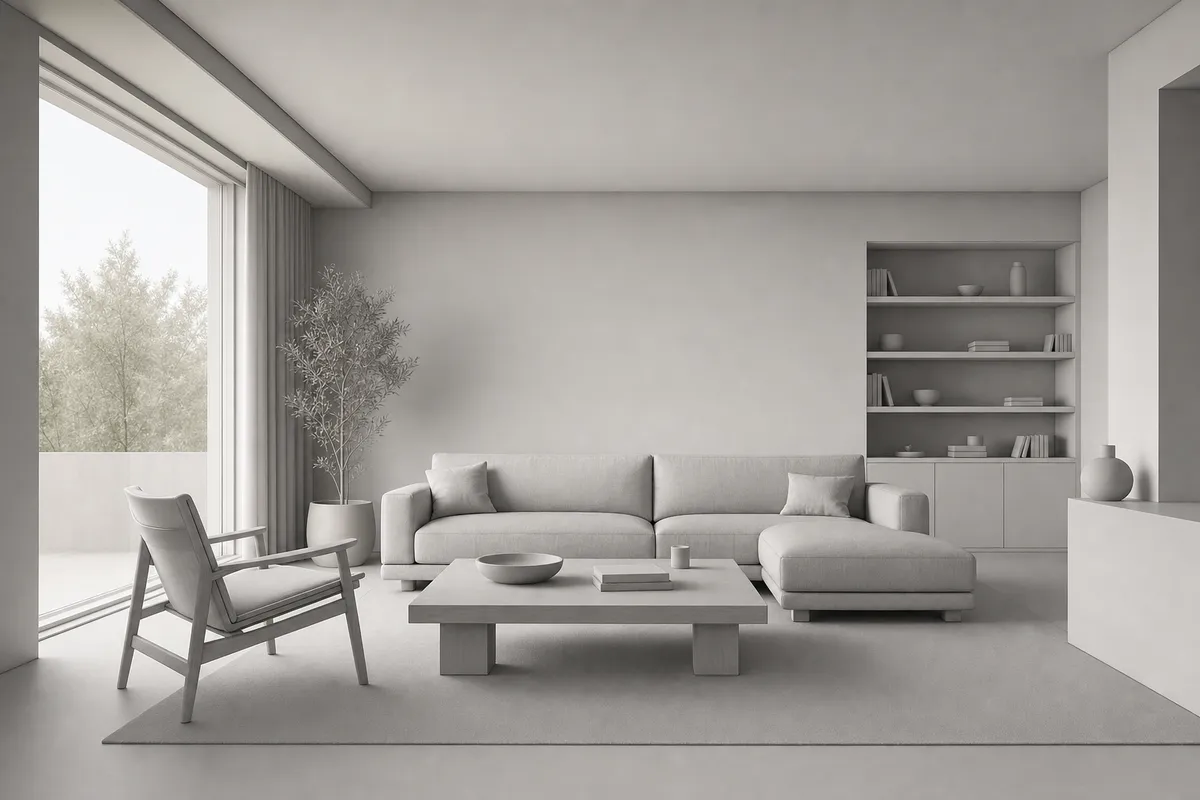 Synthetic viewportRender study
Review these points in order:
- camera height, perspective, focal character, and horizon;
- crop, aspect ratio, and subject scale;
- wall, ceiling, floor, and opening edges;
- furniture count, placement, and silhouette;
- built-ins, repeated details, and material boundaries;
- reflections, shadows, foliage, and visual artifacts.
Reject a polished image when a design-critical edge has moved. The public render-retention method provides a repeatable review sequence. It does not publish a benchmark result.
3ds Max view / render study
Test one fixed 3ds Max camera view in CAD Scene.
When should you stay in 3ds Max?
Stay in 3ds Max when the deliverable depends on scene data. Native rendering provides direct control over geometry, shader networks, lights, cameras, passes, animation, and model-linked revisions.
Use screenshot-based Enhance for quick still studies. It can test material, light, atmosphere, and presentation direction. It cannot update the .max scene or return native assets.
| Screenshot-based Enhance | Native 3ds Max render | |
|---|---|---|
| Source | Exported image | 3ds Max scene data |
| Materials | Brief and visible source cues | Shader networks and maps |
| Lighting | Requested image direction | Placed lights and renderer settings |
| Render passes | ||
| Animation | ||
| Best fit | Early still options and review studies | Controlled finals, passes, and motion |
The AI rendering software guide separates browser studies, plugins, and native visualization systems. The Archicad exported-view workflow covers a related BIM source.
Use the 3ds Max AI rendering buyer guide to compare browser image studies, LiveSync, integrated AI, and native production rendering.
Questions about 3ds Max AI rendering
Does CAD Scene read a .max file?
No. Enhance reads the exported image. It does not read 3ds Max geometry, modifiers, materials, lights, cameras, or renderer settings.
Should the safe frame stay visible in the uploaded image?
Use the safe frame to confirm the crop, then exclude it from the final source image. The outer frame matches the render output ratio, but its guide lines should not become image content.
Should I use Clay or Realistic view?
Use Clay when geometry should lead and the brief will define every finish. Use Realistic when existing material zones help explain the intended result.
Does AI replace Arnold, V-Ray, or Corona?
No. Use image-based Enhance for early still studies. Use a native renderer when you need scene-linked materials, exact lights, passes, animation, or production consistency.
Sources reviewed
- 3ds Max 2026 safe frames, reviewed 3 September 2026
- 3ds Max 2026 grids, reviewed 3 September 2026
- 3ds Max 2026 selection display states, reviewed 3 September 2026
- 3ds Max 2026 viewport visual styles, reviewed 3 September 2026