
Floor Plan to Render: From 2D Plan to Presentable Image

Floor plan to render starts with a clean image of a 2D plan. An image model can turn it into a colored presentation plan. It can also suggest an interior view from the program and room arrangement. These outputs answer different design questions. A colored plan keeps the top-down view. An interior image must infer height, camera, and hidden geometry. Treat that image as a concept, not a survey. Use a modeled 3D view when dimensions and openings must remain controlled. This guide shows how to prepare the plan, choose the right output, write the brief, and review what the image model inferred.
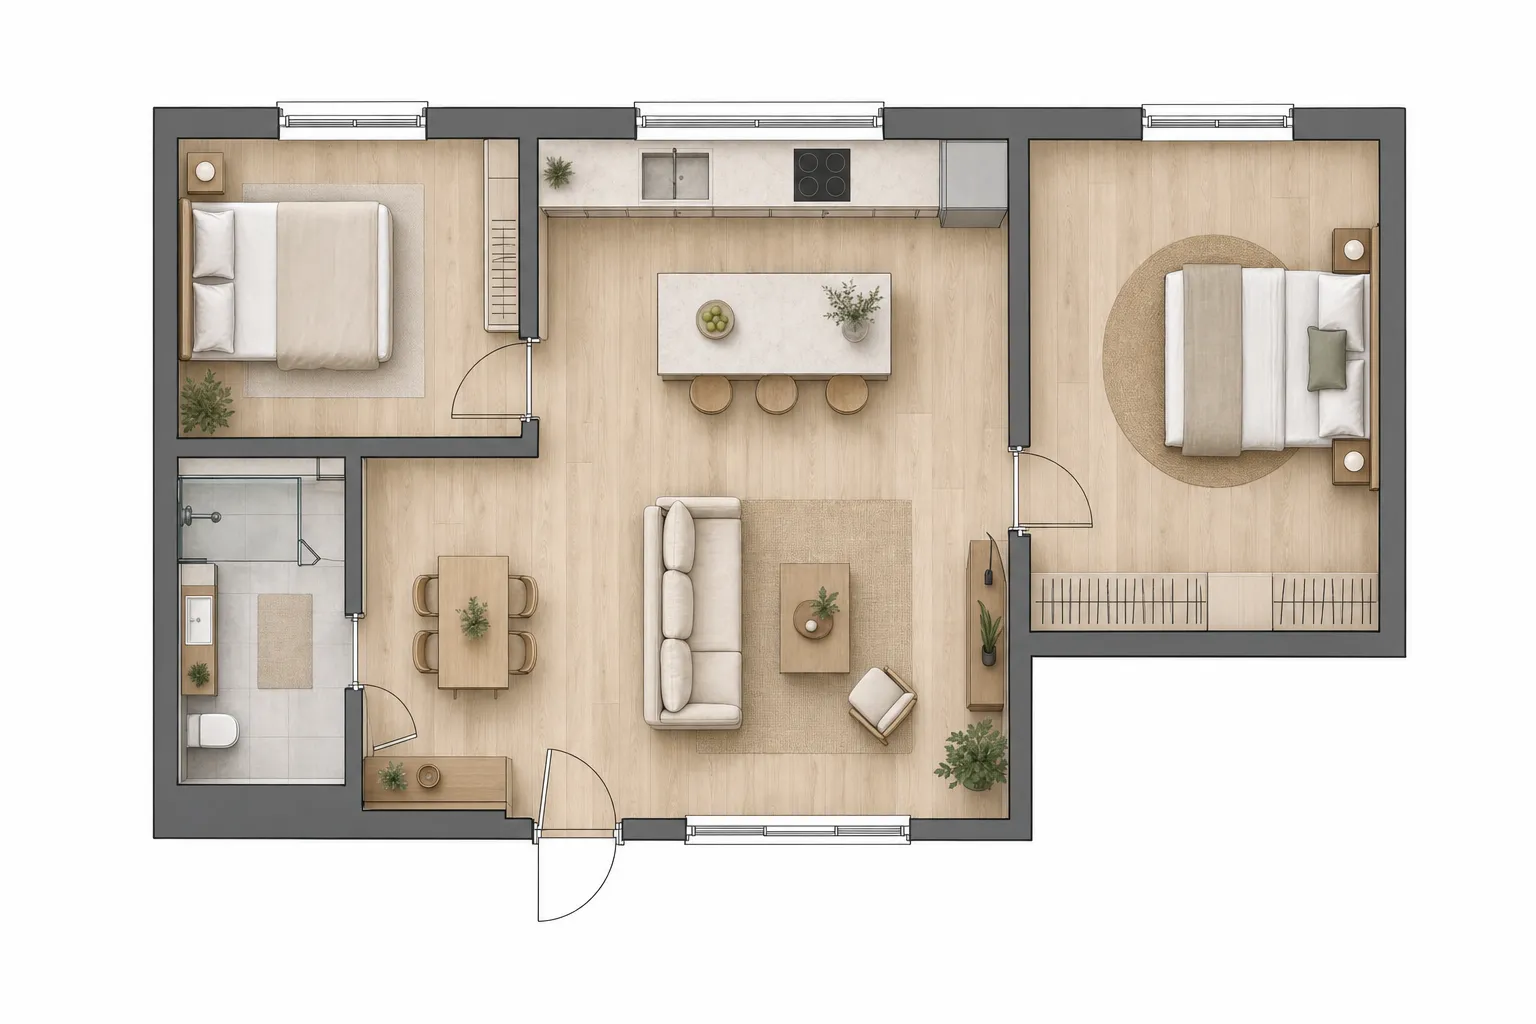
Can I get an AI render from a floor plan?
Yes. A floor plan image can guide a colored plan or a perspective concept. The source should be a clean screenshot, PDF export, PNG, or JPG. Keep the walls, openings, and room arrangement easy to read.
The result depends on the requested view. A colored plan stays close to the source because both images use the same top-down projection. A perspective view adds information the plan does not contain. The model must invent ceiling height, window height, camera position, and anything hidden behind walls.
This is one narrow branch of AI architectural rendering. It suits early layout communication. It does not replace a measured model, drawing set, or construction review.
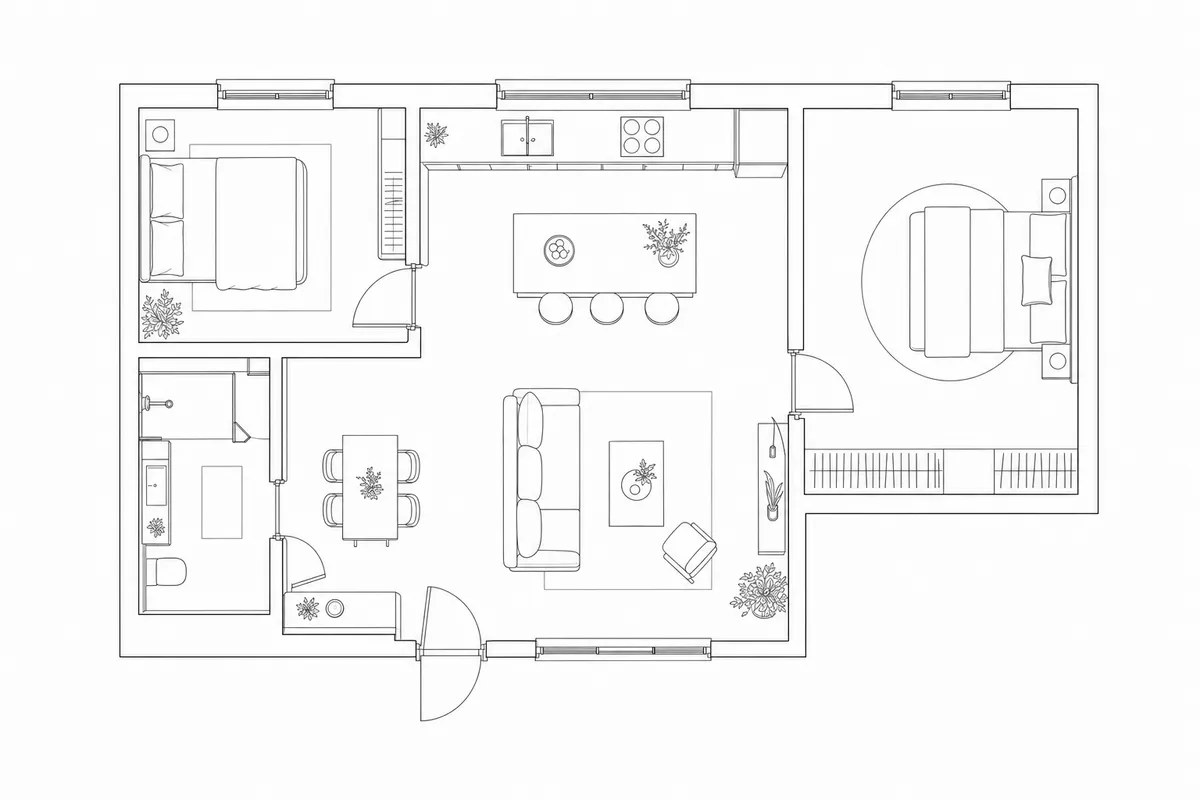 Line planColored plan
What kind of floor plan works best?
A useful source has one clear graphic hierarchy. Walls should read before furniture. Openings should remain visible. Room boundaries should not compete with dimensions, notes, or revision clouds.
Prepare the intended plan
Choose the correct level, option, and crop. Keep walls, openings, stairs, fixed joinery, and useful furniture.Choose the output
Decide between a top-down colored plan and a loose perspective concept before writing the brief.Write the visual brief
Name the room type, intended view, main materials, light, and atmosphere. Keep the request focused.Generate the study
Use the plan as visual guidance in Create. Use Enhance only after a modeled screenshot supplies the camera and visible geometry.Review the inference
Compare the result with the plan. Reject wrong openings, circulation, scale, program, or invented volume.
Before upload, turn off dimensions, tags, grids, revision clouds, and temporary construction lines. Use a sharp export with dark lines on a quiet background. Confirm every opening remains legible.
The general screenshot preparation checklist also applies. Remove interface chrome and selection marks. Keep the final subject inside the crop.
Start a room study from your brief and plan reference.
Should I make a colored plan or an interior concept?
Choose the output before writing the prompt. The two images solve different problems.
| Colored plan | Interior concept | |
|---|---|---|
| View | Top-down | Perspective |
| Best use | Layout communication | Atmosphere and material direction |
| Source control | Stronger | Looser |
| Model must infer | Graphic treatment | Height, camera, depth, and hidden surfaces |
| Review against | The plan | The plan and a 3D model when available |
A colored plan can support a board, client discussion, or option review. A perspective concept can test material character and light. It should not prove that the room fits exactly as drawn.
How should I use a plan in CAD Scene?
CAD Scene Create can use a plan as a Composer reference. The plan may guide the room program and broad arrangement. Write the intended view, materials, and light in the prompt. The reference is visual guidance. It does not lock the layout. See how the three modes fit together on the CAD Scene features page.
Enhance has a different contract. It is designed for a 3D screenshot with an existing camera and visible geometry. Use Enhance after the plan has become a modeled view. The screenshot-to-render workflow explains that source-guided path and its review limits.
If the plan remains the only source, keep the request exploratory. Ask for a possible room direction, not an exact reconstruction.
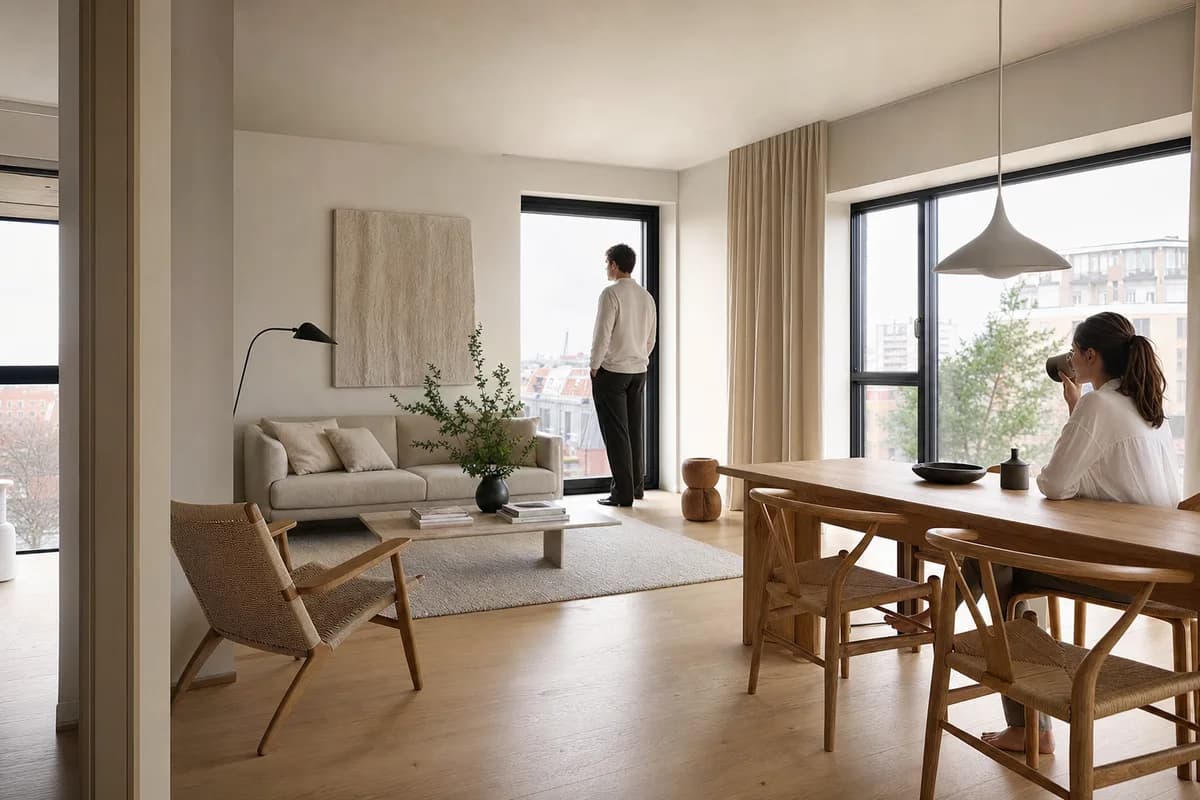
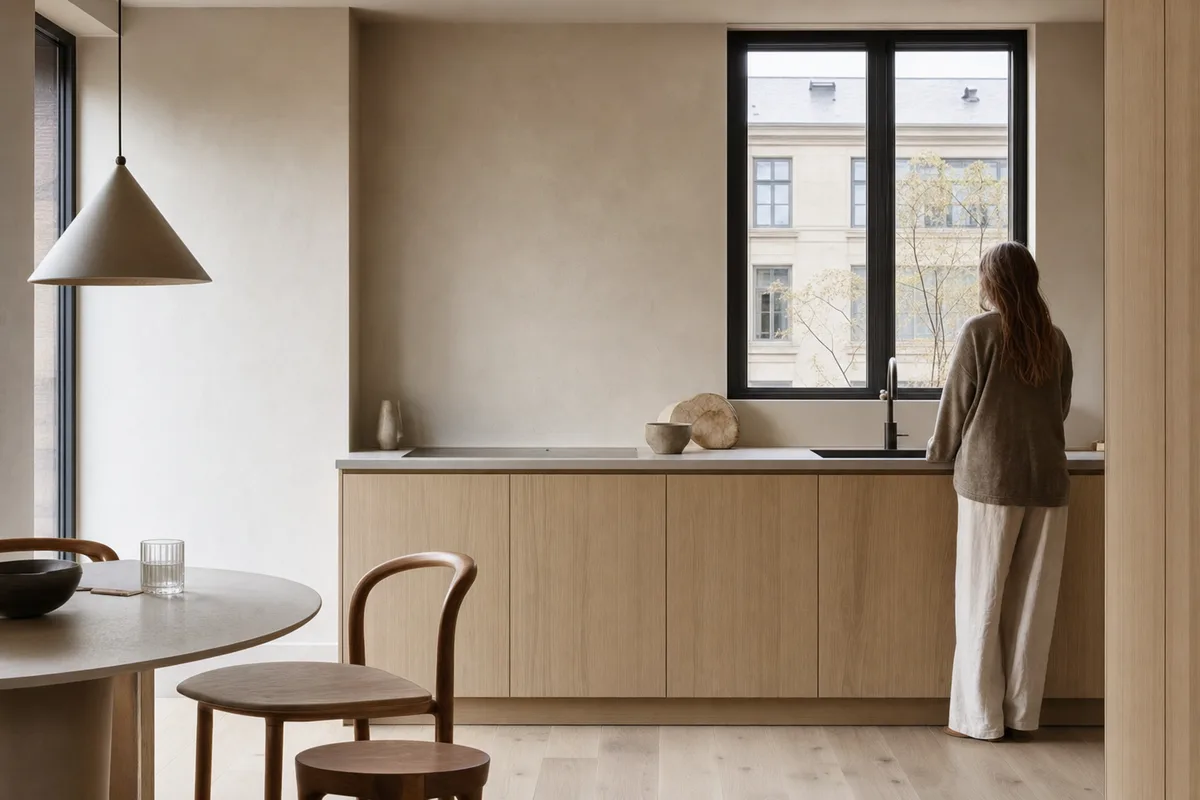
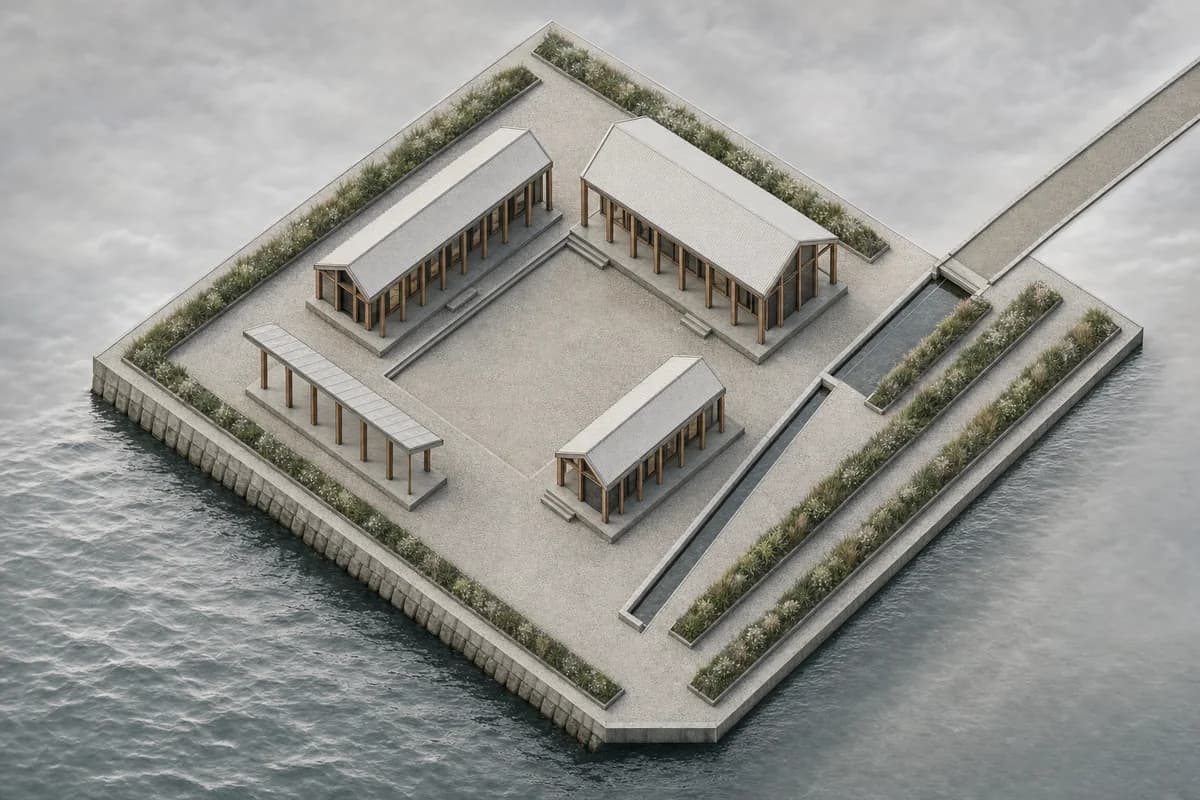
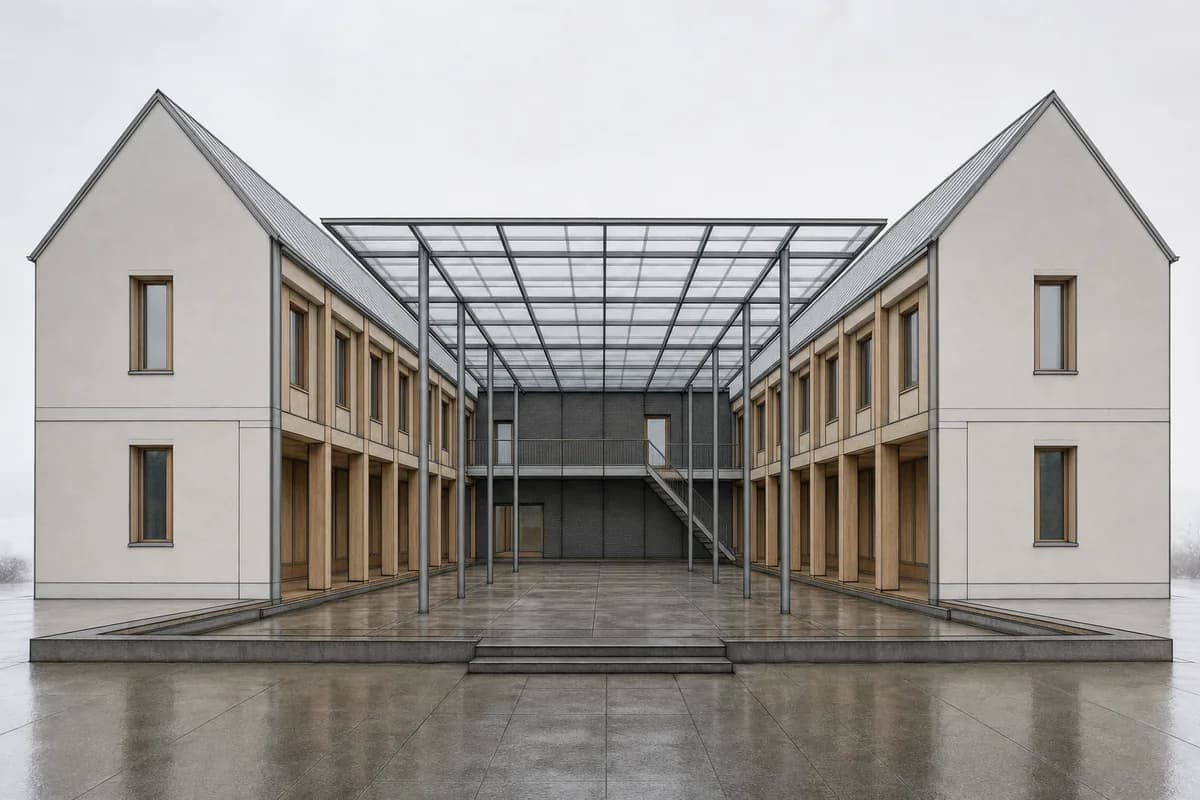
These are separate editorial studies, not one matched scene. The plan communicates layout. The perspective concepts communicate possible atmosphere. Browse architectural rendering styles explained before choosing the visual direction.
Prompt library · 14 promptsDrawing and model to renderBrowse prompts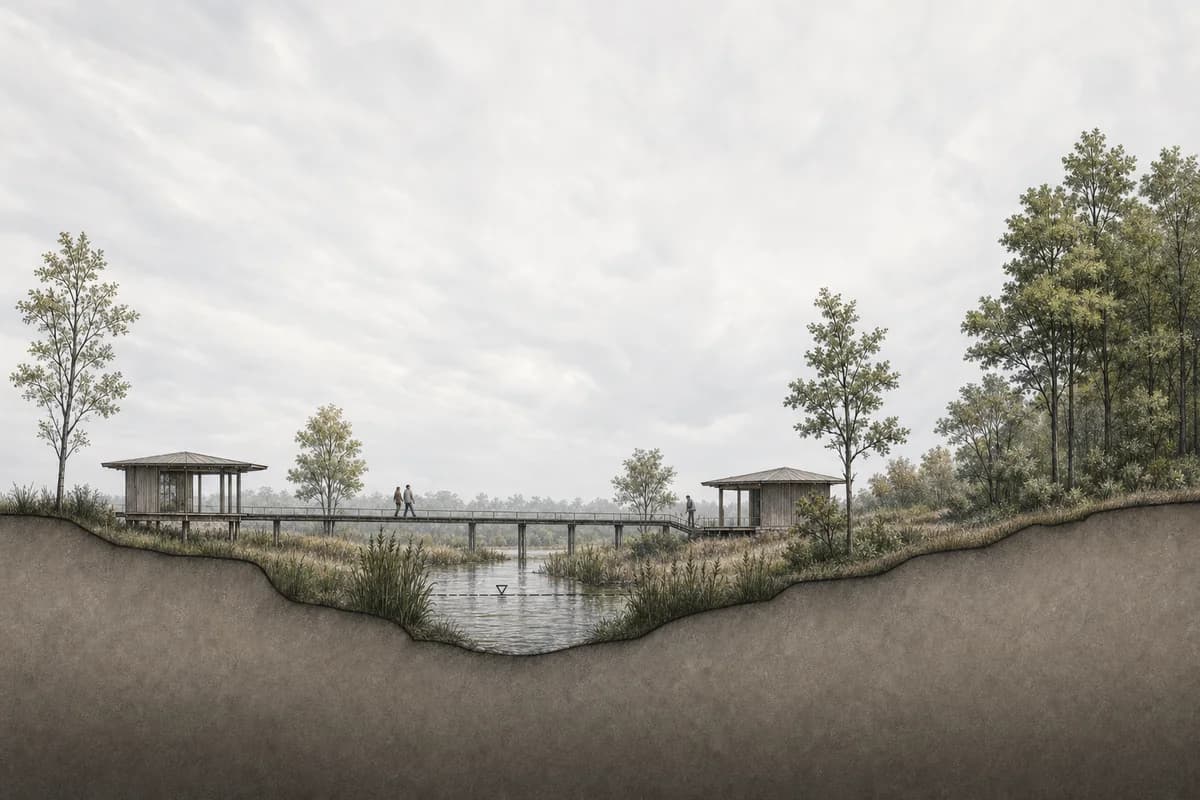
How accurate is an interior render from a plan?
Accuracy is limited by missing information. A plan shows horizontal relationships. It rarely defines the full volume. An image model can interpret the drawing, but interpretation is not measurement.
Check these items before sharing the result:
- Openings: compare door and window positions with the source.
- Circulation: confirm routes remain clear and correctly connected.
- Scale: inspect furniture, counters, stairs, and sanitary fixtures.
- Height: reject invented ceiling forms or implausible window heads.
- Program: confirm each room still serves its intended use.
- Artifacts: inspect glazing, furniture legs, hands, and repeated objects.
The published render-retention test method offers a useful comparison discipline. It does not provide a floor-plan accuracy score.
When should I model the plan first?
Model the plan before rendering when the image must carry resolved geometry. This includes fixed openings, level changes, ceiling conditions, custom joinery, and important sightlines.
Use a plan-led concept when the visual question remains broad. Use sketch to render when the input is looser than a measured plan. Use a 3D screenshot when the camera and visible form already matter.
How do I brief style, materials, and light?
Write the brief in visual layers. Name the room type first. Add the intended view. Then state the main materials, light, and atmosphere. Avoid asking for several design changes at once.
For example:
Open-plan apartment living and dining room. Eye-level view from the entry. Pale oak floor, off-white lime plaster, linen seating, and slim black frames. Soft overcast daylight. Keep circulation open and furniture restrained.
Use the architecture render prompt library for more source-assisted structures. The interior rendering guide covers material, lighting, and review decisions in greater depth.
Questions architects ask about plan renders
Can AI turn a floor plan into a 3D render?
It can generate a perspective concept from a plan image. The model must infer height, camera, depth, and hidden geometry, so the result is not a measured reconstruction.
Is a floor-plan render dimensionally accurate?
No. Use the source drawing or a measured 3D model for dimensions. Treat the generated image as visual communication.
What should I remove before uploading a plan?
Remove dimensions, tags, grids, revision clouds, selections, and interface chrome. Keep walls, openings, stairs, fixed joinery, and useful furniture.
Should I use Create or Enhance for a floor plan?
Use Create with the plan as visual reference for a loose concept. Use Enhance after you have a 3D screenshot with the intended camera and visible geometry.