
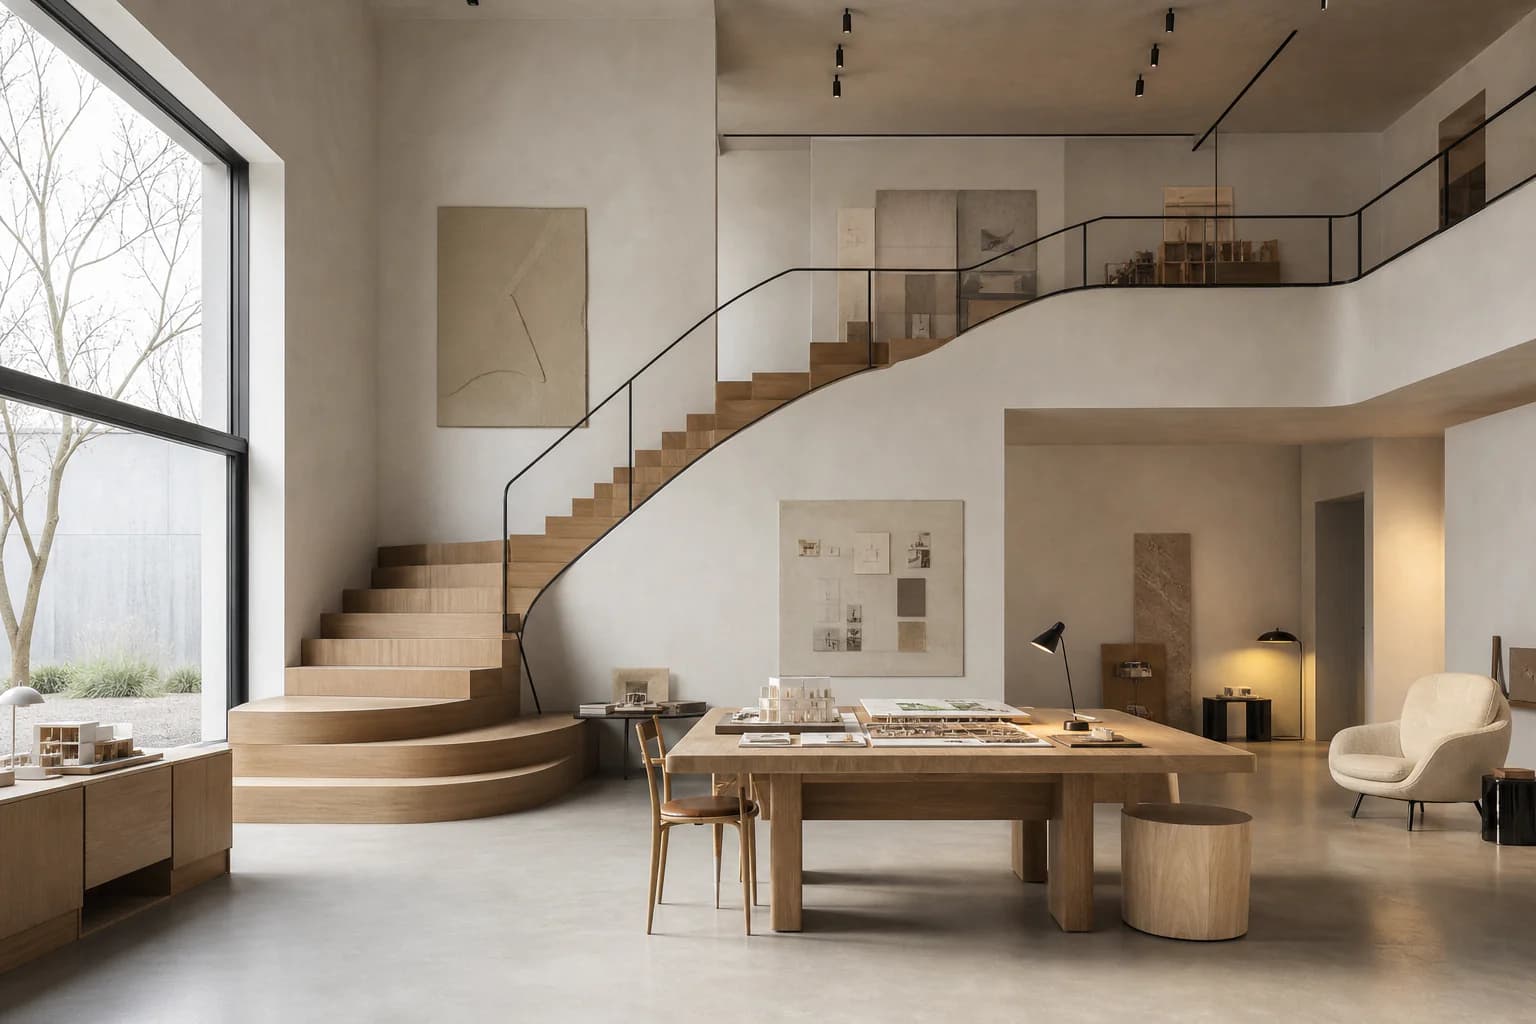
Image roles and source-image preparation
Choose the correct image role and prepare reliable inputs.
Updated Sep 9, 2026 · 6 min read
Enter a search term.
CAD Scene uses images in three distinct roles. Choose the role by what the image should affect.
Compare image roles
Project reference image
- Chosen once in Project settings.
- Read only when you select Generate Composition.
- Writes Style, Scene, Lighting, Materials, and Entourage.
- Is not sent with later renders.
Source image
- Chosen in the Enhance or Edit panel.
- Is the image being restyled or changed.
- Is sent as a direct render input.
- One source image is required for Enhance and Edit.
Composer reference image
- Attached to one Composer message as visual context.
- Can guide style, material, content, or mood.
- Does not replace the Enhance or Edit source image.
- Up to five can be attached to one message.
Interactive example
Image role comparison. The surrounding article includes the same guidance in static text.
Interactive contract comparison: The same sample image can represent three different contracts. The selected role changes where it is chosen, who reads it, what it affects, and whether it is sent with a render.
Three image contracts
- Project reference image
- LifetimeProject-wide text
- ActionGenerate Composition
- ResultFive persistent fields
- Source image
- LifetimeDirect render input
- ActionEnhance or Edit
- ResultTransformed render
- Composer reference image
- LifetimeThat message only
- ActionOne compatible Send
- ResultVisual guidance
Flow overview: The Project reference image produces persistent field text. A source image is the image Enhance or Edit transforms. A Composer reference travels with one compatible send as visual guidance.
Project reference image
Use a Project reference image when one image should seed the five text fields. It works well when the intended materials, light, setting, and atmosphere are clearly visible.
After generation, review the written fields. Those fields become the persistent project settings. The image does not remain in the render input.
Use a Composer reference instead when the image should guide one send. Use a source image when the image itself must be restyled or edited.
Source image
Enhance and Edit each require one source image.
In Enhance, the source is usually a screenshot from a 3D or CAD application. CAD Scene asks the model to preserve its geometry, camera, perspective, composition, framing, proportions, and canvas dimensions.
In Edit, the source is usually a finished render. CAD Scene sends it with a mask. The model is asked to change only the marked regions and preserve the rest.
All marked areas share one union mask. Region bounds can overlap, but each painted pixel appears in the mask once. Region names and bounds remain separate metadata. They are not separate uploaded masks. One Edit send uses that mask, the source, and one prompt that references every region name. It makes one image request, not one request per region.
Source selection lives in the right panel. Composer references remain in the Composer card. Keeping these controls separate prevents a reference from being mistaken for the image being changed.
Composer reference images
Composer references are available in Create and Enhance with every selectable model.
In Edit, the Nano Banana models accept Composer references. GPT Image 2.5 models do not. Their Edit requests use only the source and mask. The attach control is disabled for those combinations.
References are stored per mode. Switching modes keeps each mode's draft and reference list. A successful send clears the active mode's prompt and references unless Keep prompt is on.
You can upload references or attach an existing CAD Scene render. Duplicate images are skipped. The per-message limit is five.
In Create, a Composer reference supplies view intent only when the current prompt explicitly asks to use that reference's view. Attaching a reference by itself can guide visible style or content, but Create still asks for a written view.
Prepare Composition images
Works well
- One clear visual direction.
- Materials shown at a useful scale.
- Lighting and atmosphere visible across the frame.
- Context and entourage visible when they should enter the written fields.
- A crop that contains only relevant design evidence.
Prepare first
- Crop out browser chrome, tool palettes, cursors, guides, and annotations.
- Remove title blocks, watermarks, and overlaid labels.
- Choose a frame where important materials are not hidden.
- Avoid combining unrelated visual directions in one image.
- Crop empty borders that weaken the useful image area.
Composition generation is grounded in visible content. If no people, planting, vehicles, or objects are shown, the generated fields should not invent them. The camera is excluded from the generated brief.
Composition image
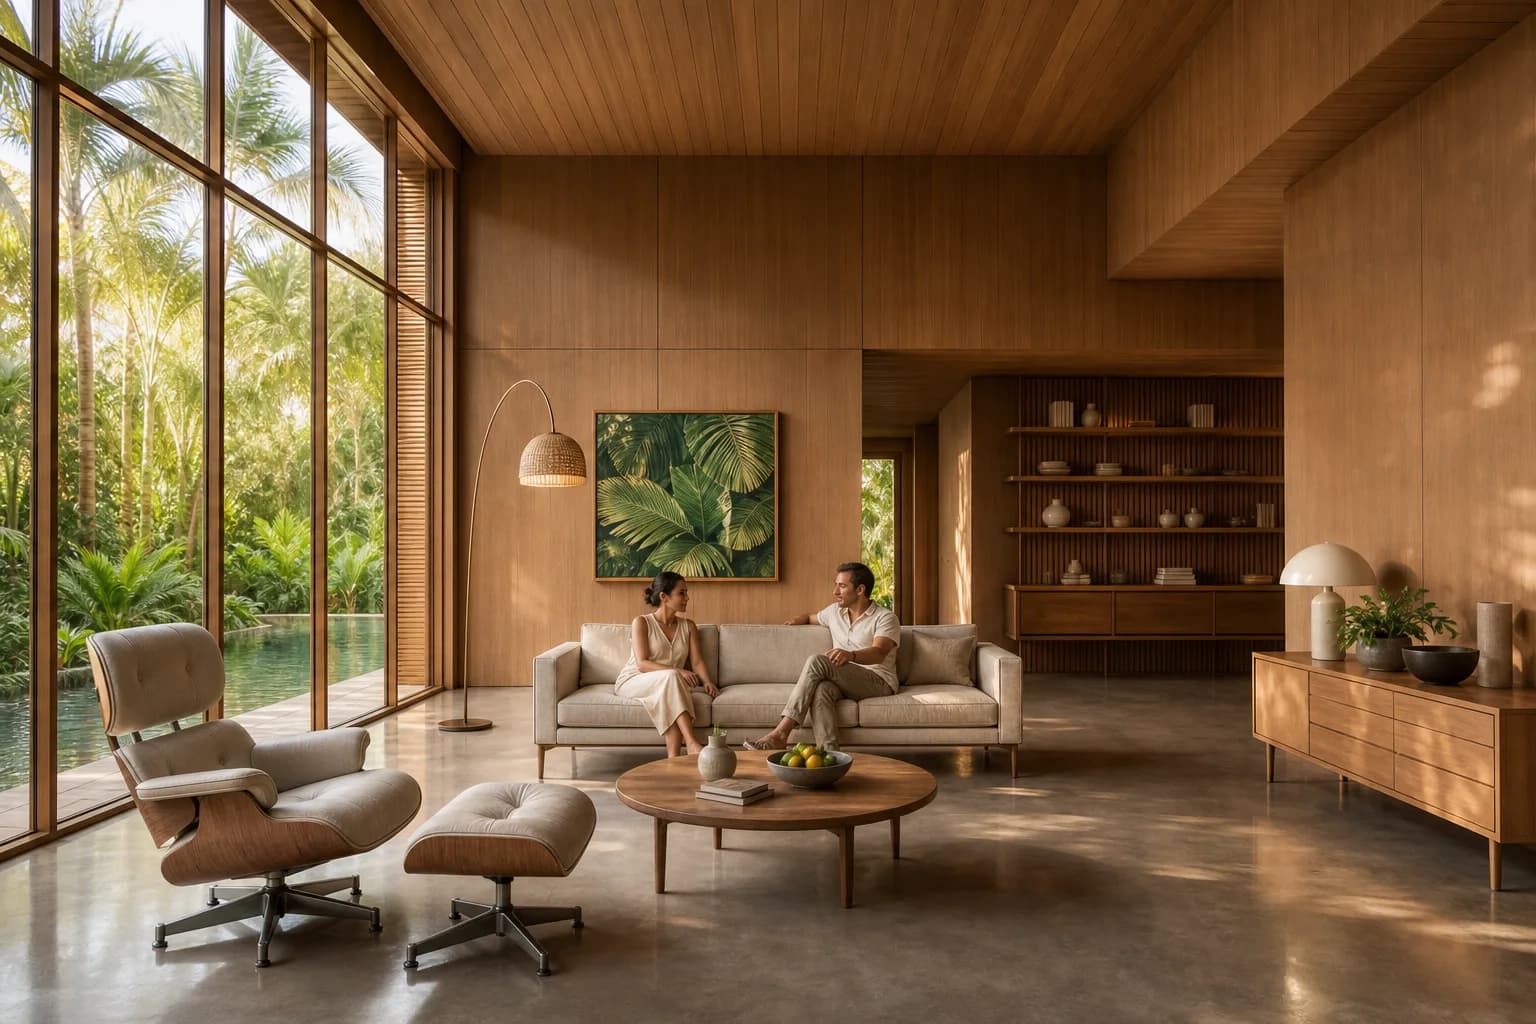
Works well: one clear material, light, and landscape direction.
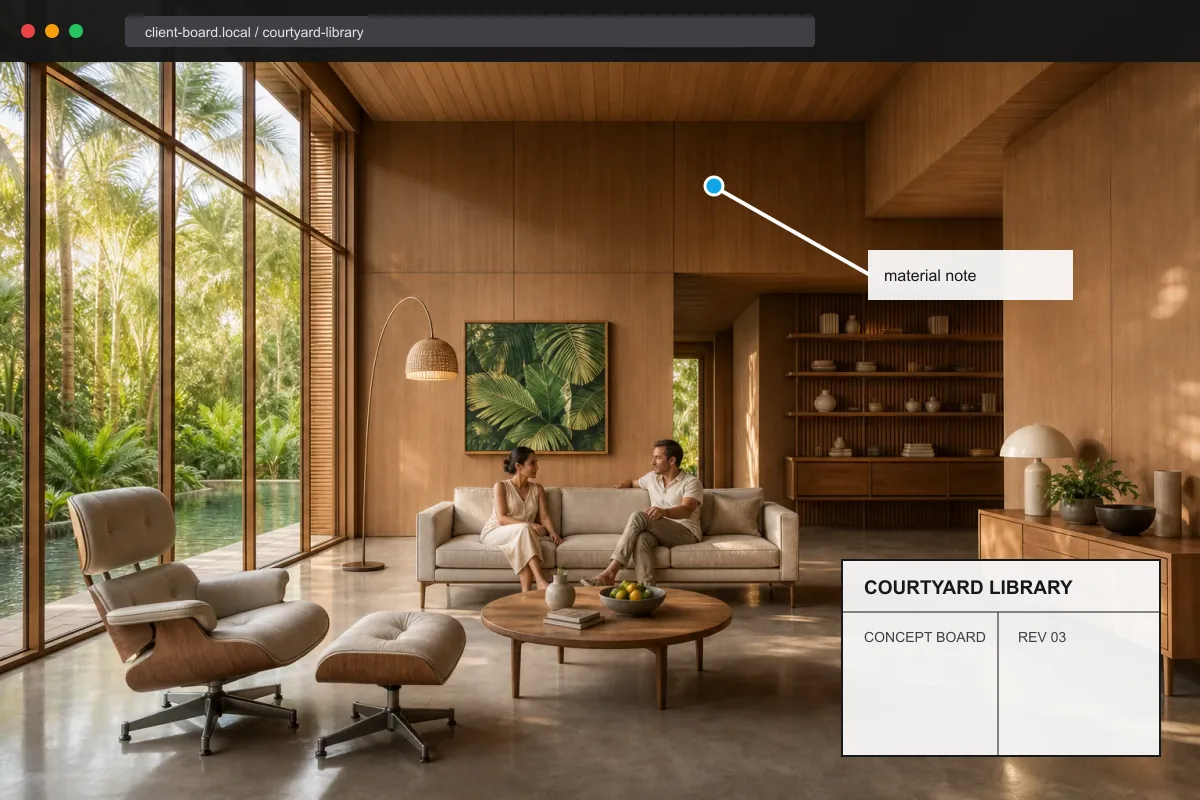
Prepare first: crop out browser chrome, labels, and annotations.
Prepare Enhance images
Works well
- A clean viewport capture from the final camera.
- Complete, readable geometry.
- Clear edges around walls, openings, roofs, and major site elements.
- Enough pixel detail to read surfaces and boundaries.
- The exact framing and aspect ratio you want to keep.
Prepare first
- Hide grids, axes, selection outlines, guides, and transform controls.
- Close menus, dialogs, tooltips, and floating palettes over the scene.
- Remove dimensions, notes, and viewport labels.
- Fix clipped geometry and unwanted objects before capture.
- Crop the viewport to the intended final frame.
The uploaded image is resized only when its long edge exceeds 2048 pixels. It is never enlarged during upload. Start with a source that remains readable at that size.
GPT Image 2.5 accepts source aspect ratios up to 3:1. Crop a more extreme panorama or tall strip before using either model. Other selectable models use their own output handling.
Enhance source
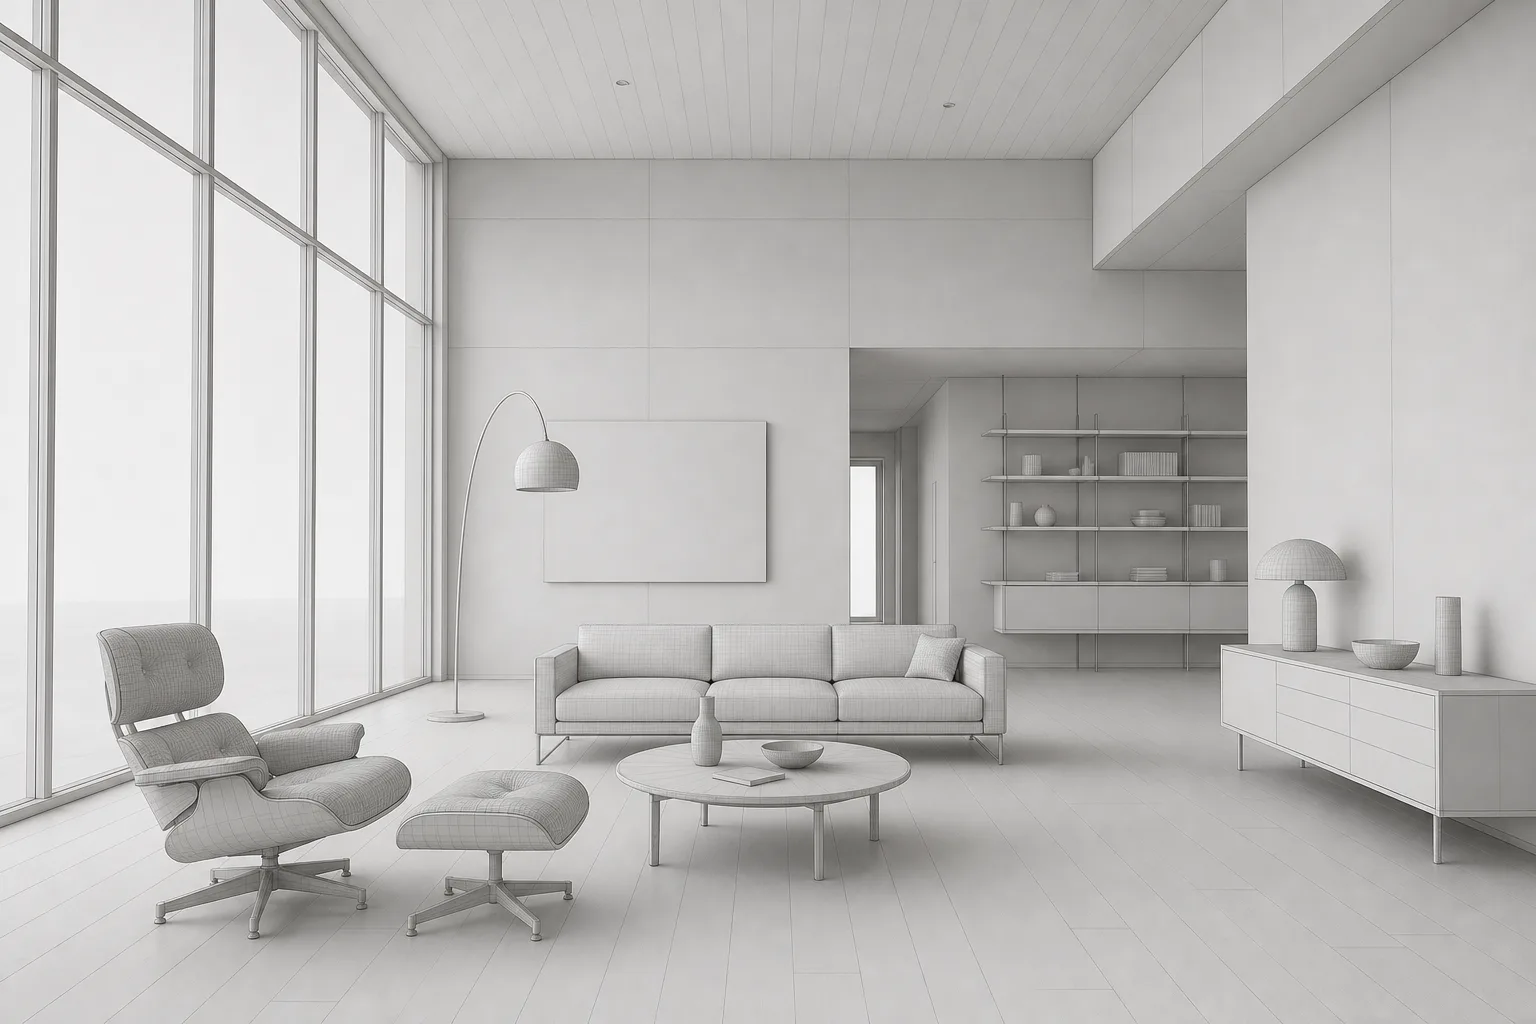
Works well: the final camera and complete geometry are visible.
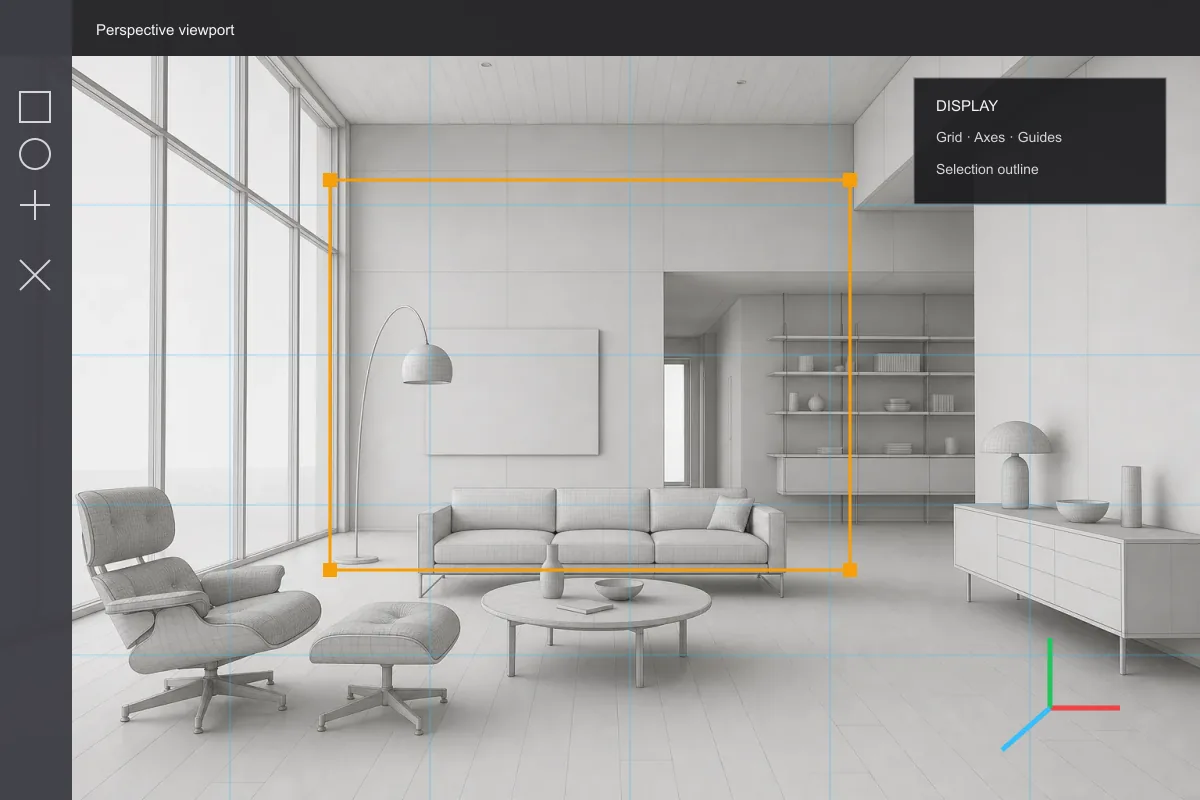
Prepare first: hide CAD controls, guides, axes, and selections.
Prepare Edit images
Works well
- A finished render with clear detail in the target area.
- A source whose camera and framing are already correct.
- Separate, tightly marked regions for separate changes.
- Overlapping regions only when their shared-area instructions can coexist.
- Automatic region names kept or edited for clarity.
- One prompt that mentions every unique region name.
Prepare first
- Remove overlays that cover pixels you need to edit.
- Use a larger source when the target detail is only a few blurred pixels.
- Keep each mark on the image.
- Split unrelated changes into separate named regions.
- Tighten overlapping marks or make their shared-area instructions compatible.
- Keep region names unquoted. Use straight double quotes only for exact new readable scene text.
- Re-upload the source if CAD Scene reports that it cannot read the file.
Edit sends one union mask that matches the source canvas. Generative models can follow mask boundaries loosely, especially where named regions share pixels. The output size remains subject to the selected model's constraints. GPT Image 2.5 can scale the source and round each edge to its nearest valid dimensions.
Edit source
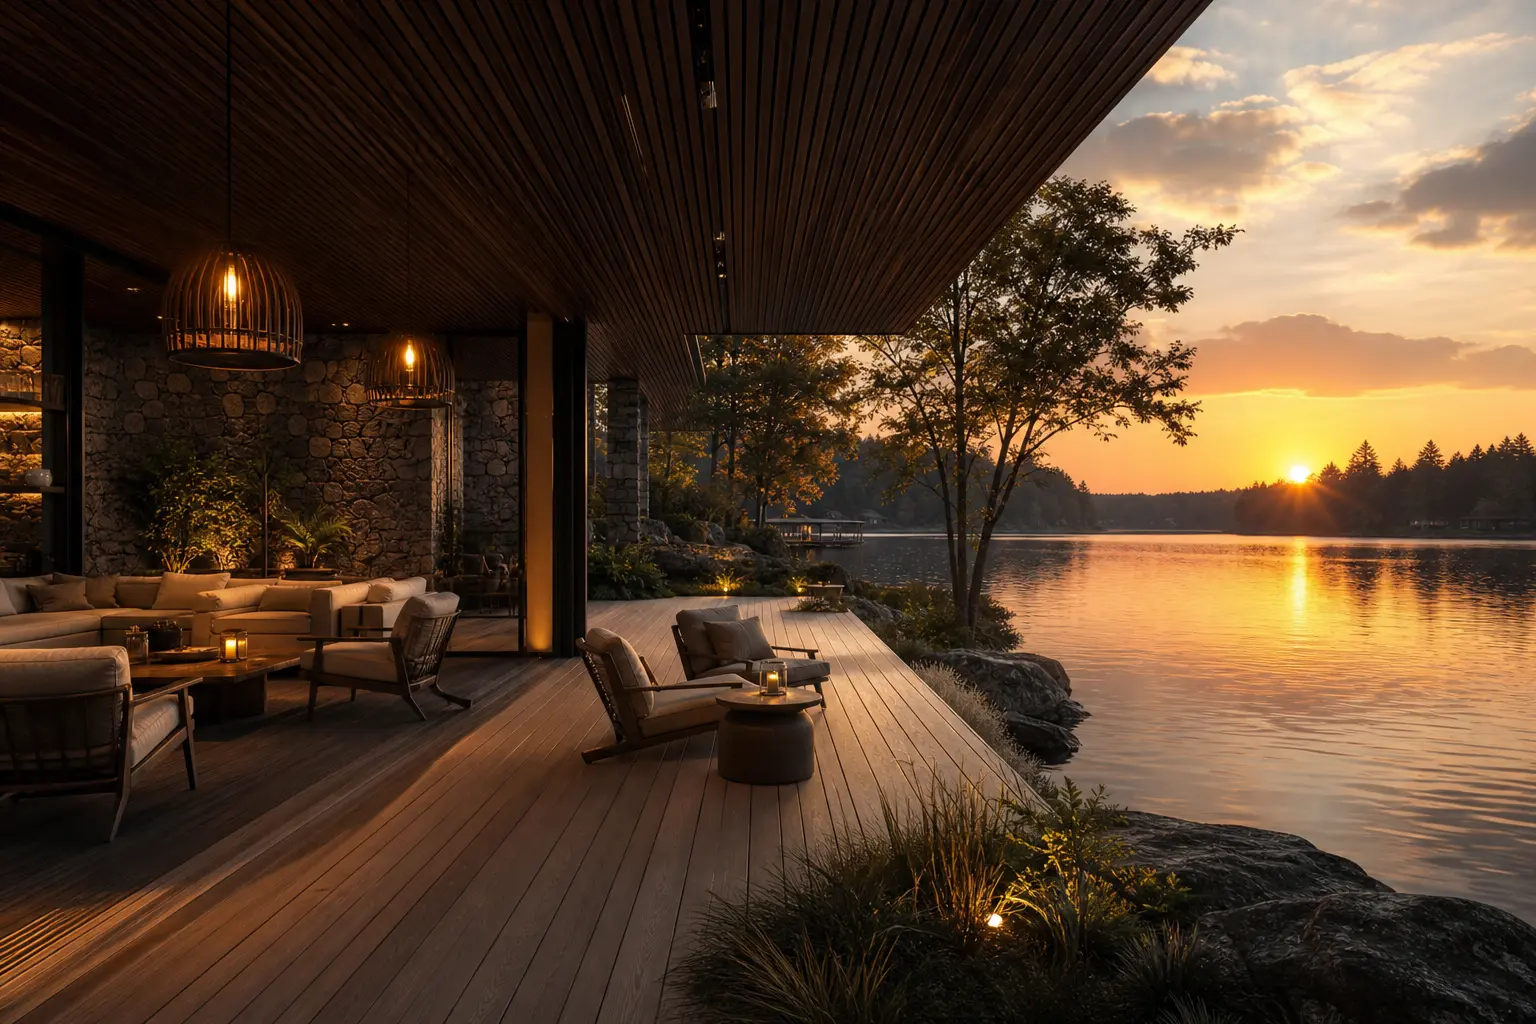
Works well: the source is finished and the target areas are clear.
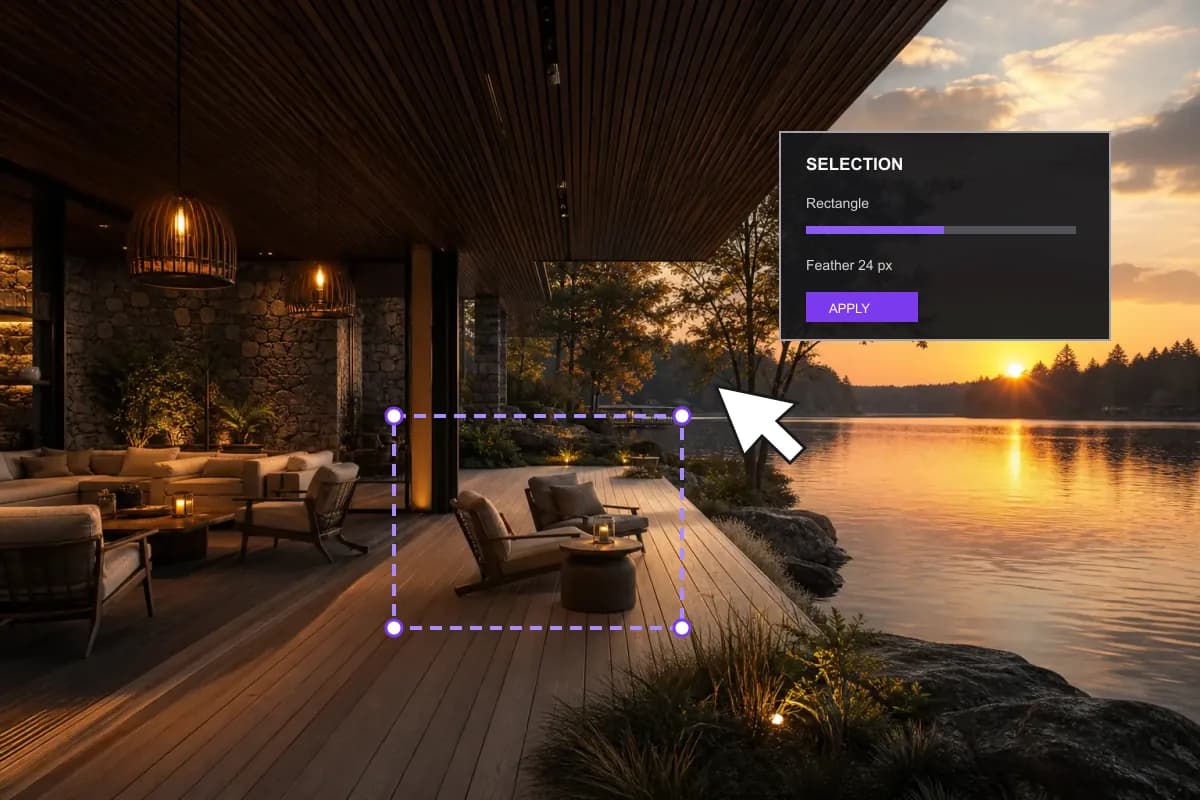
Prepare first: remove overlays that cover the target pixels.
File formats
Uploads are decoded in your browser, resized when needed, and normally encoded as WebP. PNG and JPEG are reliable inputs.
HEIC and HEIF decoding depends on the browser and operating system. If CAD Scene reports that HEIC is unsupported, convert the file to JPEG or PNG first.
Corrupt files and files whose contents do not match their declared format are rejected. Re-export or re-upload them instead of retrying the same bytes.