
How to use 3D models in your AI renders
Turn a composed 3D model view into a Viewer capture, then use it as the source for Enhance.
Updated Aug 11, 2026 · 3 min read
Enter a search term.
How the capture becomes an AI render
The viewer does not send your 3D file directly to AI. It turns the chosen camera and visible geometry into a 2D PNG Viewer capture.
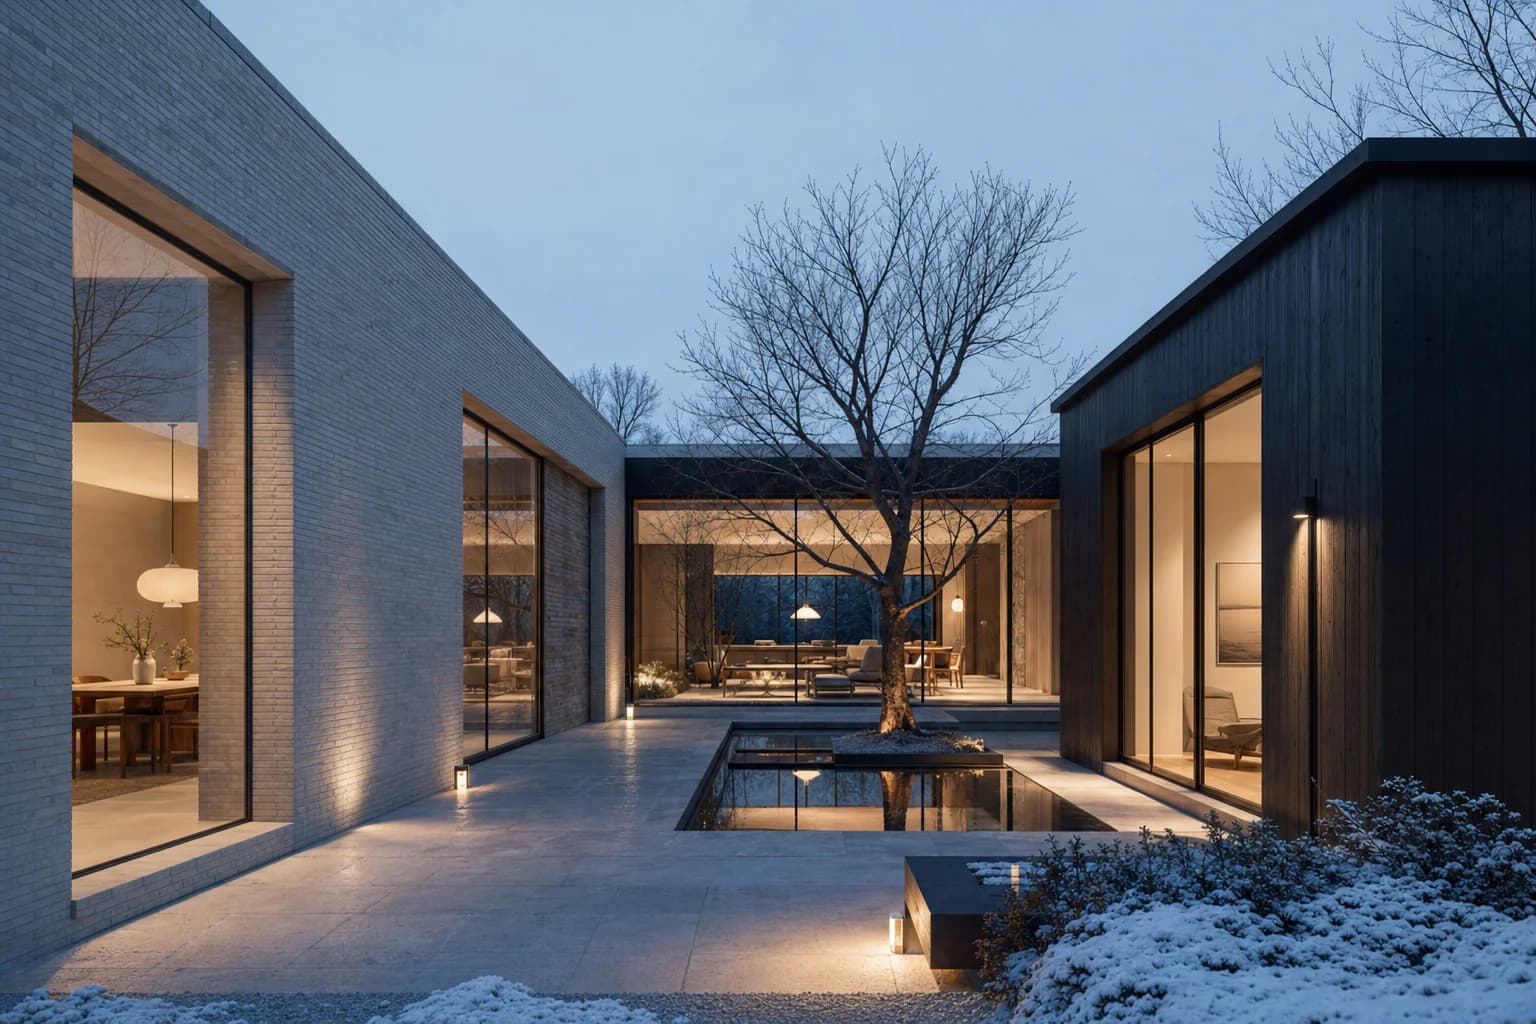
Enhance uses that Viewer capture as its explicit source image. It aims to keep the camera, framing, and visible geometry while applying your guidance.
Use a 3D model in an AI render
- Open the Project, then choose the 3D models panel.
- Add a supported package, then open its tile when conversion is ready.
- Compose the camera, projection, lens, visibility, and Presentation appearance in Viewer.
- Choose Capture, then frame and position the crop for the required output.
- Name the Viewer capture, then choose Save capture to create the PNG.
- Choose Enhance this capture, add guidance, review Render settings, then choose Send.
Expected results:
- The saved Viewer capture remains available under Captures and This project.
- Enhance opens with the PNG attached as its explicit source image.
- The finished render follows the captured camera, framing, and visible geometry.
Find the 3D models panel and upload
Open your Project settings rail, then choose 3D models. Add one supported package with Add model, Folder, drag and drop, or a ZIP.
Conversion continues if you leave the Project. Open the ready tile after its preview appears. A processing tile shows its current conversion stage.
If conversion fails, use the tile Actions menu. Choose Retry conversion when the retained source remains available. Choose Replace file for a corrected export.
Compose the camera in Viewer
Open the model tile, then choose Viewer. Use Camera to set projection, lens, and framing. Use Layers to hide or isolate geometry.
Keep Presentation when you want the default clay appearance. Saved Views let you return to a useful camera before capture.
- Use Reset view when the complete model sits outside the frame.
- Correct model setup when units, up axis, or Front orientation are wrong.
- Return to Layers when unwanted geometry remains visible.
Capture and save the shot
Choose Capture, then expand Capture controls. Select a ratio such as 4:3, then move or resize the crop over the intended frame.
Choose the output size and background. Add a stable capture name, then choose Save capture. CAD Scene saves the framed result as a PNG.
- Reposition the crop when important geometry falls outside the safe frame.
- Wait for the model to finish loading if capture actions remain unavailable.
- Use Stay in capture mode to adjust the same crop after saving.
Open the capture in Enhance
After saving, choose Enhance this capture. The handoff closes Viewer, attaches the PNG as the Enhance source, and focuses the prompt.
The handoff does not send a render. Add your guidance, review Render settings, then choose Send when the source and brief are correct.
- Reopen the Viewer capture from Captures if the wrong image was selected.
- Choose Stay in capture mode when framing needs another pass.
- Replace the source in Enhance before sending if a different capture fits better.
Formats, setup, and recovery
The 3D models and viewer reference owns details that change by model format:
- Check supported files and package requirements.
- Correct units, up axis, and Front orientation.
- Recover a failed model conversion.
That reference owns the format table, setup corrections, and conversion recovery. This tutorial owns the capture-to-Enhance procedure.