
Chief Architect to AI Render: A Clean Saved Camera Workflow

To turn a Chief Architect view into an AI render, start with a saved Full Camera. Hide room labels, dimensions, callouts, and other drawing layers in that view. Pick a source technique: Standard when current materials matter, Clay when the brief should lead them. Export the camera with File > Export > Export Picture, at the pixel size the board needs. Use that image as the source in Enhance. Describe cladding, roofing, light, planting, and people. Do not ask for a different house. Then compare the result with the camera view. Check the roof, porch, openings, garden walls, and repeated elements before client review.
This route suits quick residential concept and presentation studies. It does not read the plan file, schedules, or materials list. Chief Architect remains the source of truth for the design and its specification.
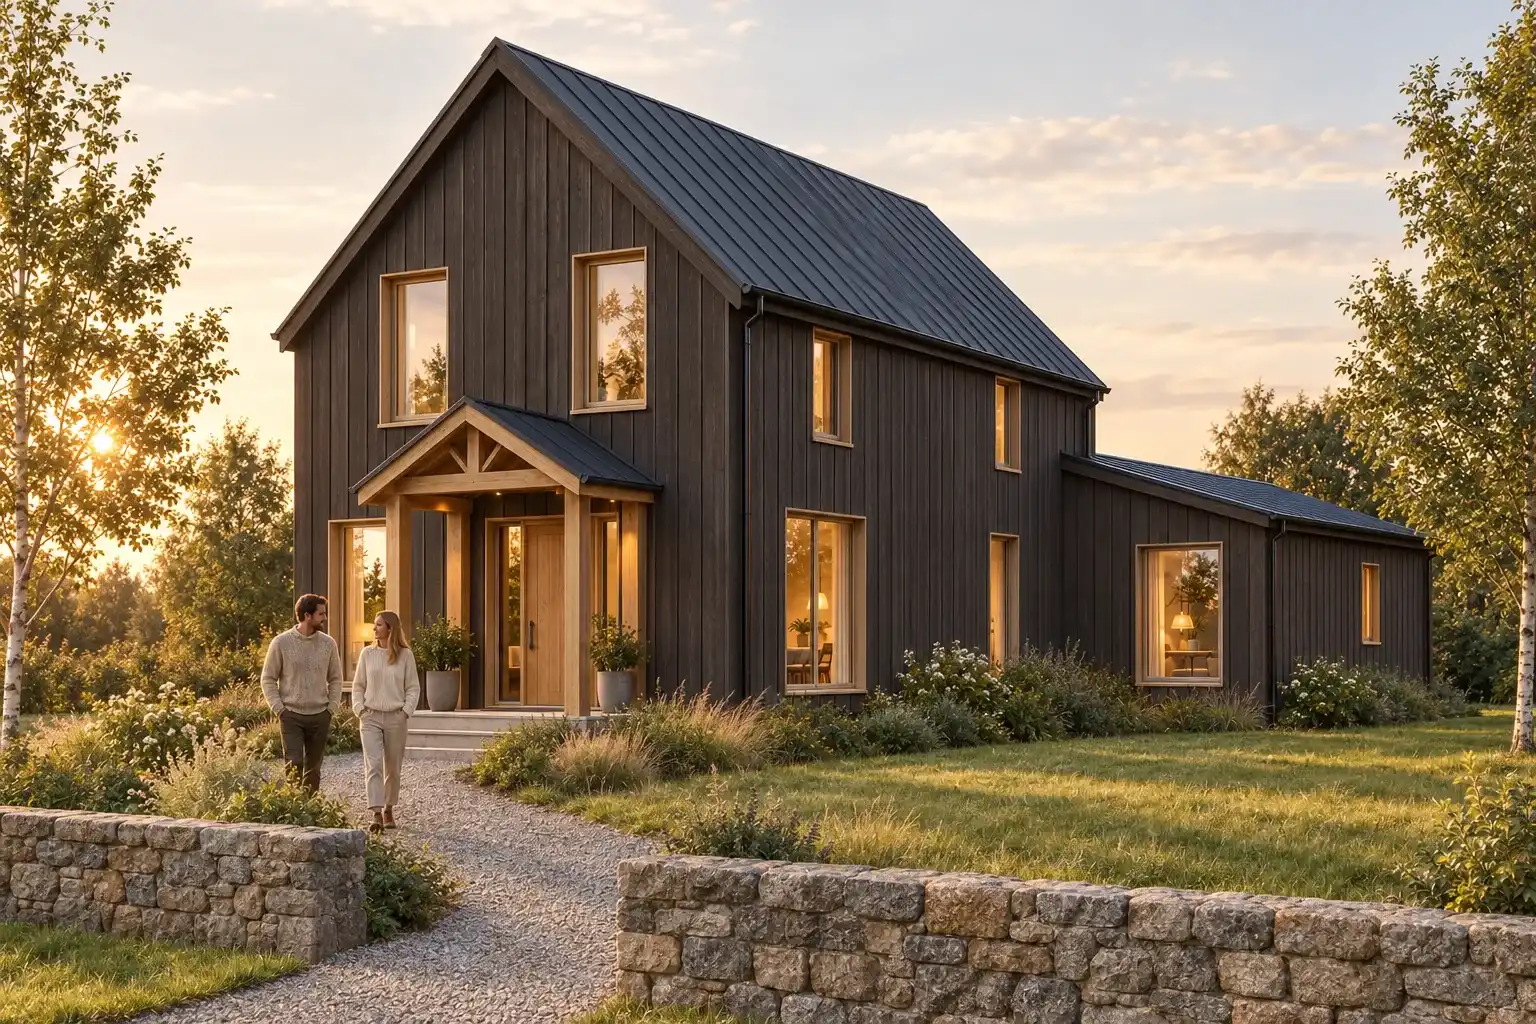
Can a Chief Architect camera view become an AI render?
Yes. A clean camera view can become the source for an image-based render study. The picture carries the visible camera, massing, roof form, openings, and site layout. The brief supplies the intended finish.
CAD Scene Enhance starts from one explicit source image. It asks the image model to preserve camera, framing, geometry, and proportions. That instruction is a constraint, not a guarantee. Generated details can still drift.
Chief Architect already renders well. Its X18 feature list documents GPU ray tracing, denoising, and focal blur. It also lists several artistic techniques. As of 10 October 2026, it lists no prompt-based image generator. An image workflow is a separate study step, not a replacement.
The wider screenshot-to-render workflow applies across modeling tools. For the full category, see the guide to AI architectural rendering.
Which Chief Architect view should you export?
Use a saved Full Camera for most render studies. Chief Architect creates it from 3D > Create Perspective View > Full Camera. A saved camera keeps its position, lighting, shadows, and rendering technique between sessions.
| Source | Best use | Main caution |
|---|---|---|
| Saved Full Camera | Repeatable exterior and interior studies at eye level | Confirm camera height, crop, layers, and technique |
| Perspective overview | Whole-house massing and site arrangement | Openings and trim lose resolution at whole-house scale |
| Cross section or elevation | Facade and section studies with flat projection | Depth and material order can stay ambiguous |
| Orthographic Floor Overview | Colored plan or furnished layout images | Room labels and wall poché need deliberate control |
An overhead plan image is a different task. The floor plan to render guide covers what a plan source can and cannot communicate.
How should you prepare the camera?
Prepare a visual view, not a working drawing. Keep design evidence. Remove graphics that could be mistaken for architecture, landscape, or text.
Fix the camera
Set the eye height, target, crop, and window proportion you intend to keep.Save the camera
Use 3D, Save Active Camera, or Tools, Active View, Save Active View.Hide drawing layers
Turn off room labels, dimensions, callouts, markers, and temporary objects in that view.Choose the source technique
Use Standard for current materials. Use Clay when the brief should lead the finish.Export the picture
Use File, Export, Export Picture, set the pixel size, and save a PNG.
Chief Architect documents two Reset Saved Camera tools under 3D > Camera View Options. One restores every saved property. The other restores position only. Use them after testing a light or technique change, so the next export matches the last.
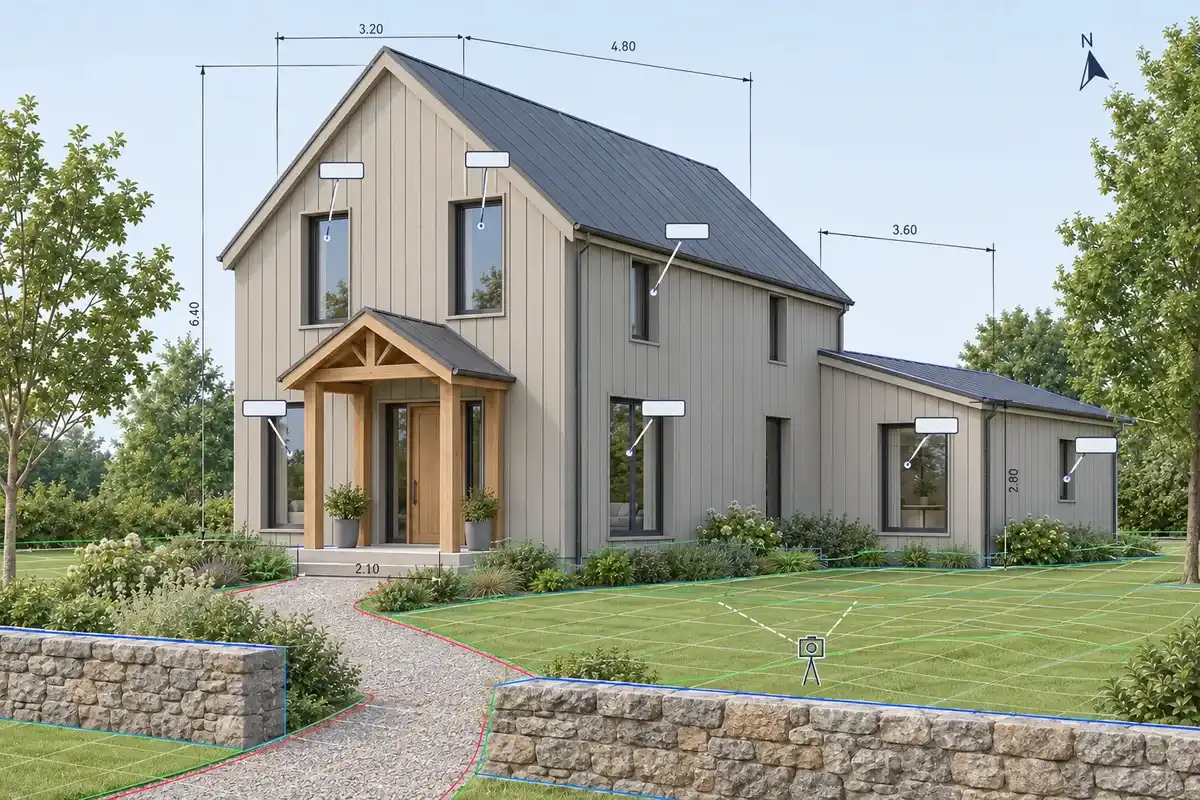
Which layers should stay visible?
Keep the house, roof, terrain, hardscape, planting, and context needed to judge the result. Hide framing, construction references, and option geometry that should not influence the image.
Use Tools > Layer Settings > Display Options or the Active Layer Display Options side window. Clear the Display check for each layer the render should not see. Chief Architect X18 also shows room labels in 3D views when their layer is on. Check that layer before every export.
Which rendering technique makes the best source?
Standard is the safest default when the model already carries useful material choices. It shows textures and color under simple light. The image model reads them as a starting palette.
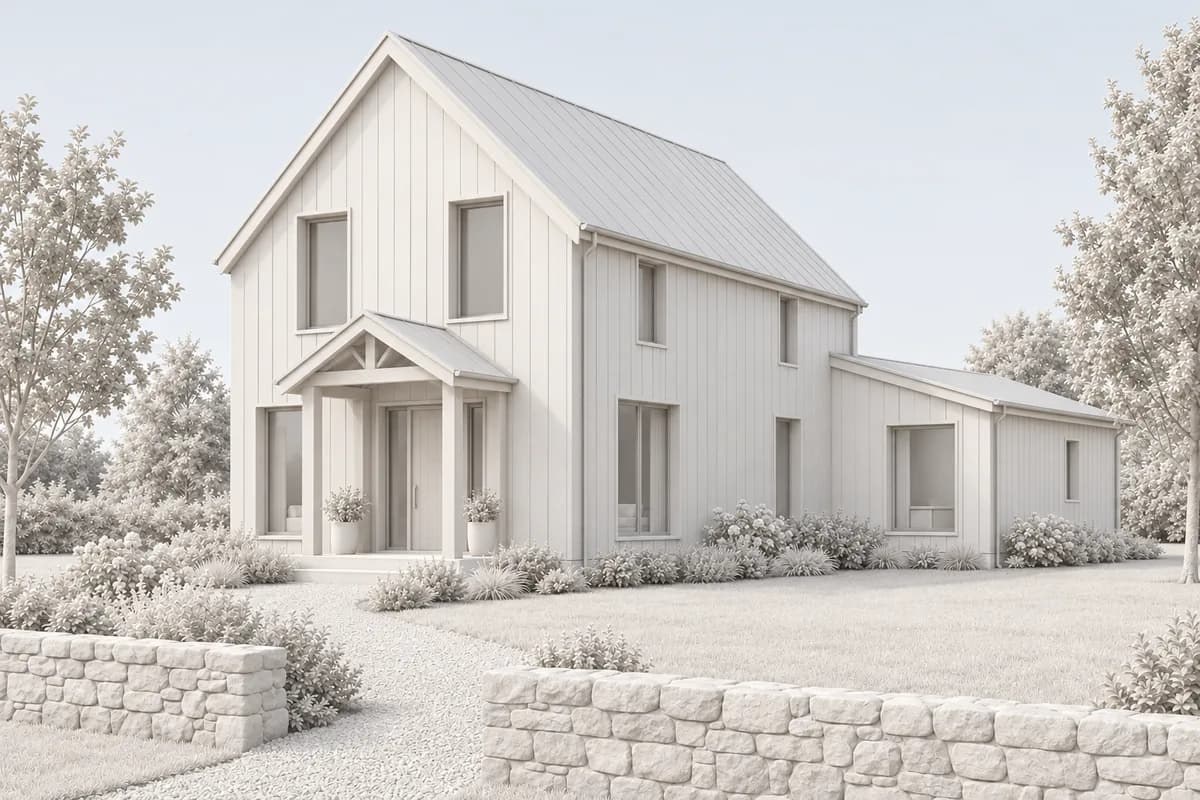
Clay is the better source when the brief should decide the materials. It removes color and texture, so form, depth, and shadow lead. Chief Architect notes that Clay and Physically Based views need hardware-accelerated ray tracing.
| Technique | What it carries | Use it when |
|---|---|---|
| Standard | Form, textures, color, and simple light response | Current material selections should guide the study |
| Clay | Form, depth, and soft shadow without color | The brief should lead materials and atmosphere |
| Physically Based | Ray-traced light, reflections, and finished materials | The native image is already close to the intended mood |
| Technical Illustration | Linework with limited surface information | A drawn or diagram character is intentional |
Turn focal blur off for the source. Blur hides edges the image model needs. Keep Draw Lines on Top only when lines clarify complex roofs or trim.
How do you export the image from Chief Architect?
Open the saved camera. Choose File > Export > Export Picture. Set the properties, then save the file. Chief Architect keeps those dialog settings between sessions, which helps repeat exports match.
Use Export Picture rather than an operating system screenshot. A screenshot captures screen resolution and nearby interface. The X18 feature list describes HD Picture Export above screen resolution for several techniques. X18 also exports WEBP. PNG remains the cleanest source for line-led and Clay views.
The clean screenshot capture guide covers crop, edge clarity, overlays, and source-image checks across several tools.
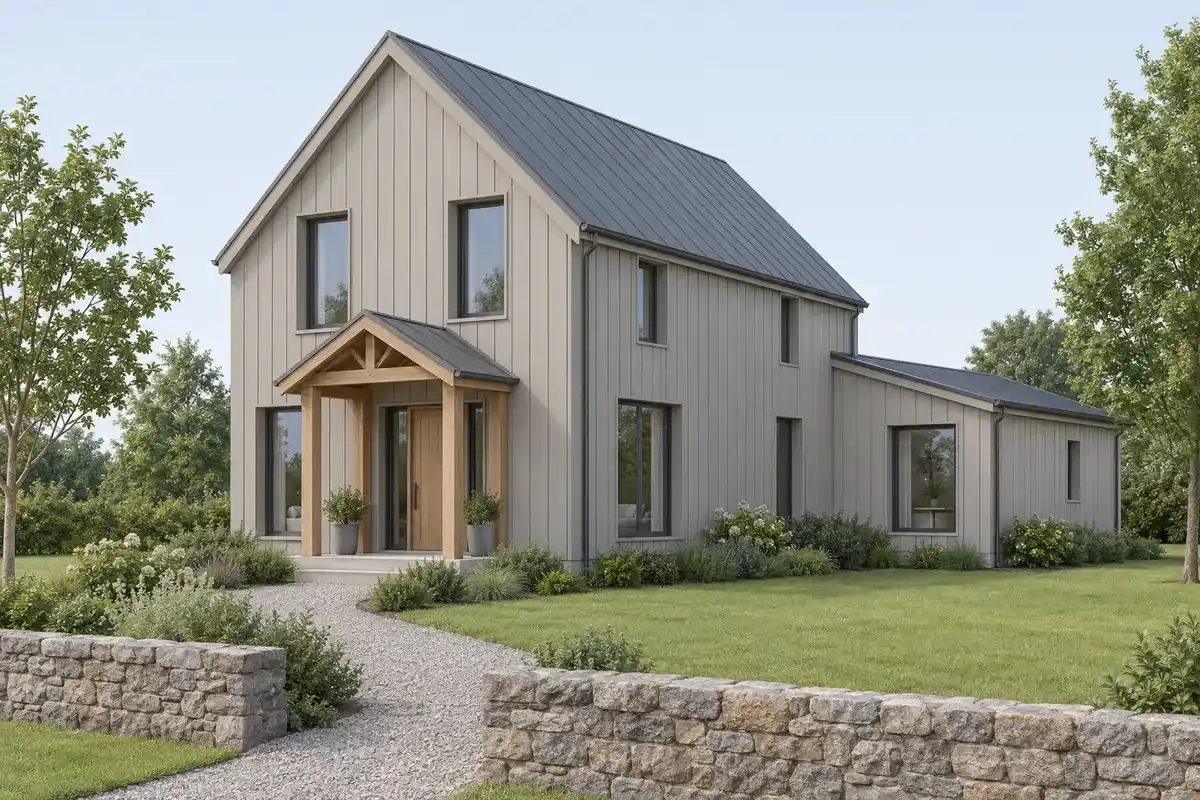 Synthetic camera viewRender study
Chief Architect camera / render study
Test one saved Chief Architect camera in CAD Scene.
What should the Enhance brief say?
The source image already carries the visible design. Ask for finish decisions, not a new composition.
Chief Architect exterior study
Copy the full brief, then adjust one variable at a time.
Prompt
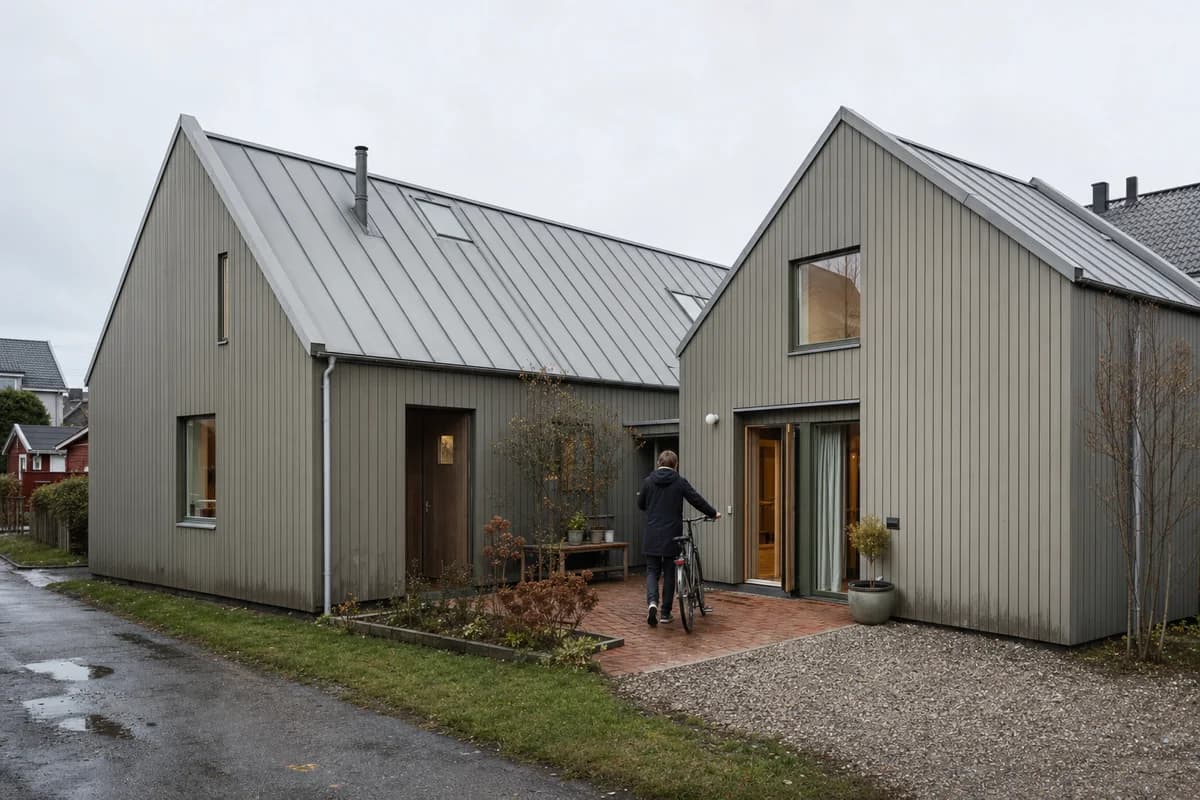
Preserve the source camera, crop, house massing, roof pitch, gables, side wing, porch, window and door openings, garden wall, path, and lawn. Render the house with dark-stained vertical board-and-batten cladding, a matte charcoal standing-seam roof, pale oak window frames, clear glazing with warm interior light, a granite garden wall, raked gravel, native grasses, birch trees, and golden-hour Nordic light. Keep two people near the path and clear of the architecture. Do not add floors, move openings, or change the roof.
Set the Project Composition before sending. Name the Style, Scene, Lighting, Materials, and Entourage needed across the study. Use Edit later for one focused change to a finished Render.
Name each material and its location. Avoid broad requests such as "make it realistic." The architectural rendering styles guide can help define the intended visual character.
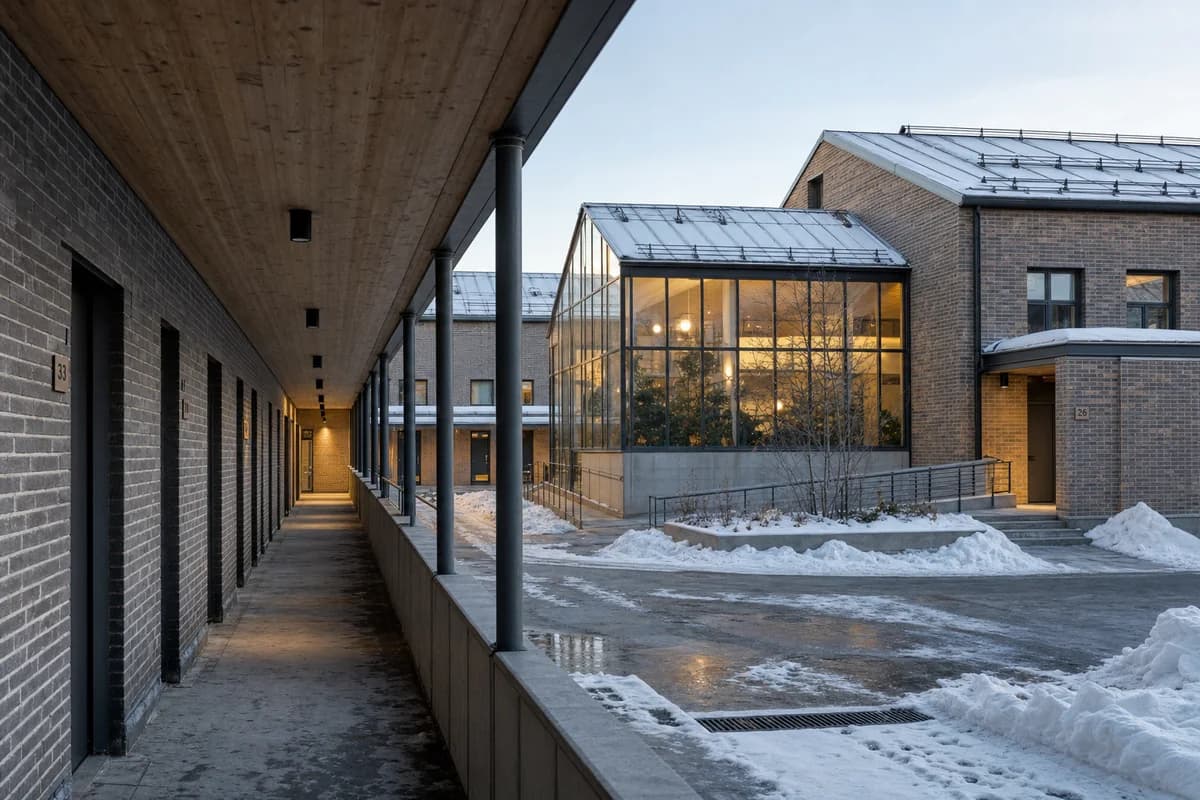
Prompt library · 22 promptsResidential exterior promptsBrowse prompts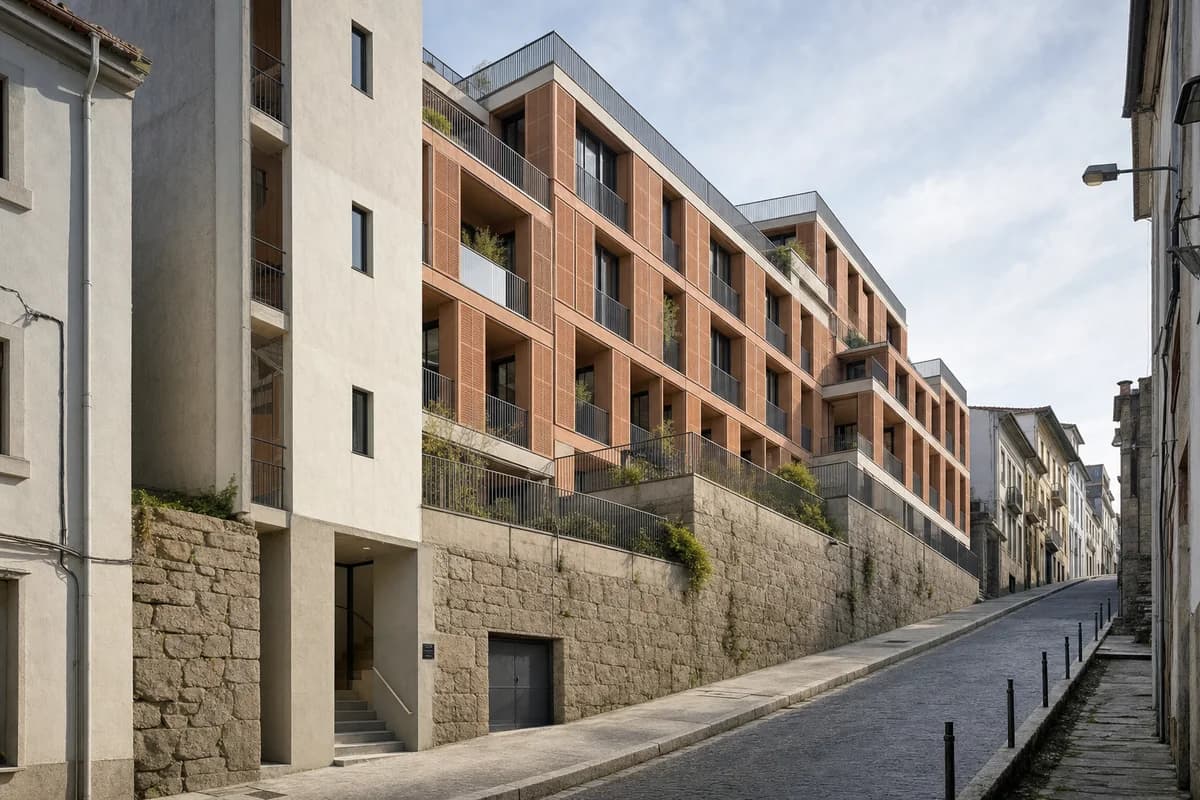
What should you check in the finished image?
Review the design before atmosphere. Keep the Chief Architect camera beside the generated image.
- Compare camera height, perspective, crop, and horizon.
- Check roof pitch, gables, eaves, and floor levels.
- Count windows and doors. Compare their placement and proportions.
- Check the porch, garden walls, paths, terrain, and planting positions.
- Inspect cladding direction, material boundaries, shadows, and people scale.
Reject a polished image when a design-critical edge has changed. The public render-retention method provides a repeatable review sequence. It does not claim a benchmark result.
When should you stay with Chief Architect rendering?
Stay with the model when the deliverable needs native control. This includes light sets, Kelvin color temperature, sun angles, walkthroughs, 360° exports, and Layout coordination.
Stay with it when the image documents a specification. A generated image can alter cabinet doors, fixtures, appliances, and hardware. Use Chief Architect views and schedules for those decisions. The kitchen render guide and bathroom render guide treat finished interiors as studies for the same reason.
Use image-based Enhance for quick still studies. It can test cladding, light, landscape character, and presentation direction. It cannot read layers, objects, materials lists, or ray-trace settings.
The residential AI rendering workflow covers view choice across a house project. The SketchUp screenshot guide and Revit exported-view guide cover other source tools. To compare tool categories first, use the AI rendering buyer framework.
Questions about Chief Architect AI rendering
Does Chief Architect have its own AI renderer?
As of 10 October 2026, the Chief Architect X18 feature list documents native rendering techniques, Physically Based ray tracing, and denoising. It lists no prompt-based image generator.
Can CAD Scene read a Chief Architect plan?
No. Enhance reads an exported image. It does not read the plan file, layers, objects, schedules, materials list, or rendering settings.
Should I use Standard or Clay as the source?
Use Standard when current material selections should guide the study. Use Clay when the brief should decide every finish. Clay needs hardware-accelerated ray tracing.
Is Export Picture better than a screenshot?
Yes, for a render source. Export Picture saves the active view without interface chrome. X18 can export several techniques above screen resolution. A screenshot is limited to what the screen shows.
Will Enhance keep every roof edge and fixture exactly?
No exact-retention guarantee applies. The source constrains visible camera and geometry, but generated details can drift. Compare every important result with the Chief Architect view.
Sources reviewed
- Chief Architect X18 Detailed Feature List and X18 upgrade features, reviewed 10 October 2026
- Saving a View of my Plan as a Picture and Creating a Screenshot, reviewed 10 October 2026
- Resetting the Properties and Position of Saved Camera Views, reviewed 10 October 2026
- Understanding Layer Sets and Creating an Image for Use in a Brochure, Flyer, or Website, reviewed 10 October 2026
- Cameras and Rendering knowledge base, reviewed 10 October 2026
- CAD Scene Product, Glossary, Enhance Help, and retention method, reviewed 10 October 2026